VTD-MD2TCH - 544 Vitek - Panduan pengguna gratis
Temukan panduan perangkat secara gratis VTD-MD2TCH Vitek dalam format PDF.

Pertanyaan pengguna tentang VTD-MD2TCH Vitek
0 pertanyaan tentang perangkat ini. Jawab yang Anda tahu atau ajukan milik Anda sendiri.
Ajukan pertanyaan baru tentang perangkat ini
Unduh instruksi untuk 544 dalam format PDF gratis! Temukan panduan Anda VTD-MD2TCH - Vitek dan ambil kembali perangkat elektronik Anda. Di halaman ini diterbitkan semua dokumen yang diperlukan untuk penggunaan perangkat Anda. VTD-MD2TCH merek Vitek.
PANDUAN PENGGUNA VTD-MD2TCH Vitek
natural_image
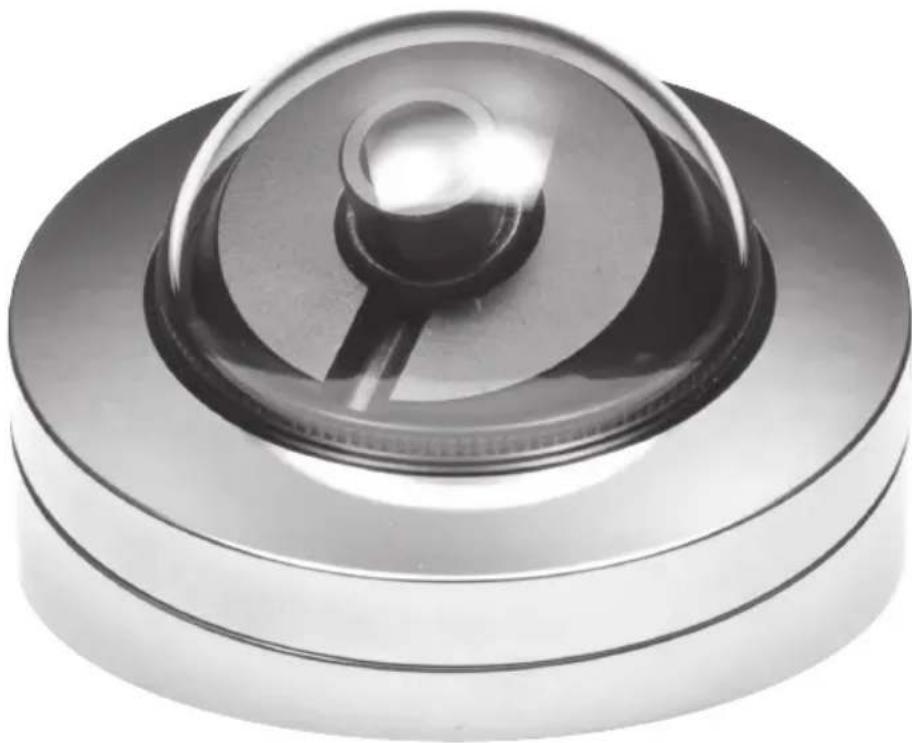
Close-up of a metallic cylindrical device with a reflective top and central knob (no text or symbols visible)FEATURES:
• 1/3" 2.1 MegaPixel Progressive Scan CMOS Sensor
• HD-TVI & CVBS Video Output
- 2.9mm Lens Included (8 and 16mm also available)
• Digital Wide Dynamic Range (D-WDR)
• 2D-DNR - Two Dimensional Motion Adaptive Noise Reduction
- Detachable External OSD Joystick Controller
- Advanced OSD Functions: BLC/HLC, D-WDR, Motion detection, Privacy mask, Flip, DeFog
• Over 1500' HD Video Transmission (Depending on cable characteristics and integrity)
- Can be Semi-Flush or Surface Mounted
- IP-66 Rated Weather Resistant Aluminum Enclosure w/ Polished Chrome Finish
• 12VDC Operation
natural_image
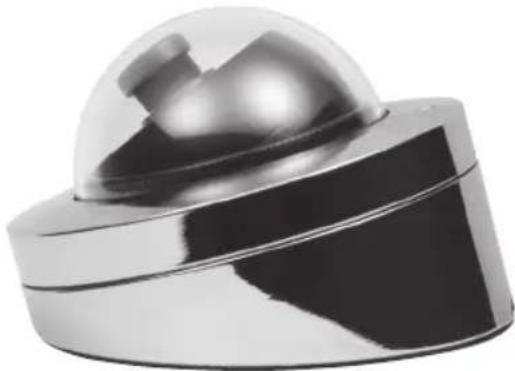
Close-up of a metallic spherical object with a reflective top, possibly a sensor or device component (no visible text or symbols)INSTALLATION
1) Align the camera unit with the surface of the ceiling, make marks on the ceiling in the places where the screw holes are to be drilled, and then drill the three holes.
2) Cut a hole (diameter:50mm) in the ceiling for routing the cables.
3) Pass the power cables from the camera unit through the cable hole in the ceiling.
4) Align the three screw holes in the camera unit with the screw holes in the ceiling, and then secure the camera in place by tightening the three tapping screws.
5) Use the supplied four screws to secure the middle base to the bottom base.
6) Tighten the guide ring, then adjustment the camera.
7) Attach the bubble to the middle base.
8) Attach the top cover to the middle base.
9) Use the supplied star-shaded L-wrench to tighten the set screw on the top cover.
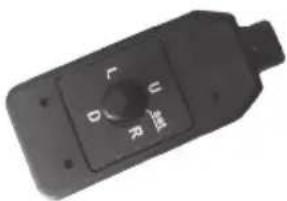
OSD MENU
- The setup menu can be accessed and controlled by the Detachable External OSD control joy stick.
natural_image
Close-up of a black industrial control knob with no visible text or symbols
natural_image
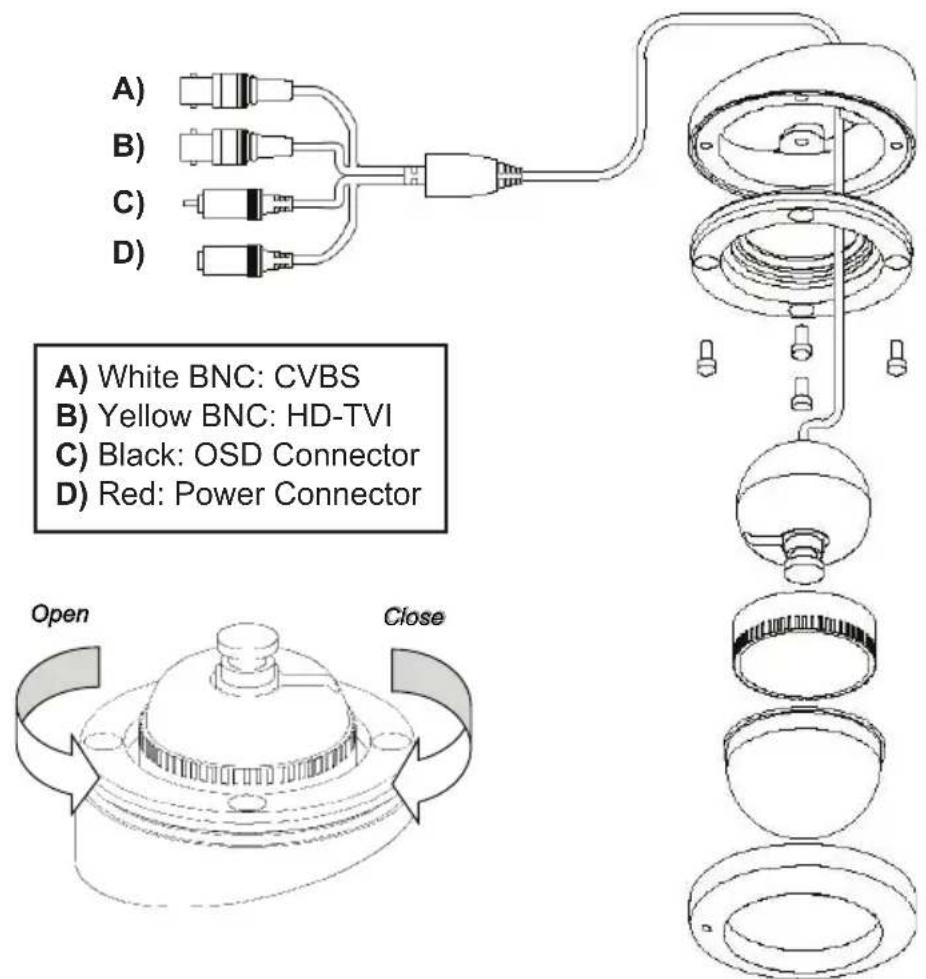
Close-up of three different types of audio/video cables (no text or symbols visible)SELECTION OPTIONS
LENS MANUAL DC
FOCUS ADJ ON/OFF
EXPOSURE BRIGHTNESS SHUTTER TCS SENS-UP AGC
BACKLIGHT WDR BLC HLC
DAY & NIGHT AUTO EXTERN B&W COLOR
WHITE BAL AWB MANUAL PRESET AUTOEXT
DNR OFF LOW MIDDLE HIGH
IMAGE SHARPNESS GAMMA MIRROR FLIP ACE DEFOG PRIVACY
MOTION DET WIN DET TONE MDRECT SEN MOTION OSD TEXT SIG OUT
OPTION COM IMAGE RANGE COLOR FRAME FREQ TVI COLOR BAR LANGUAGE CAM TITLE VERSION
SPECIFICATIONS
VTD-MD2T7CH
| Imaging Sensor | 1/3" Progressive Scan CMOS Sensor |
| Video Output | HD-TVI by BNC - CVBS by BNC |
| Resolution | 2.1 MegaPixel (1920p x 1080p) |
| Effective Pixels | 1920(H) x 1080(V) x 30p |
| S/N Ratio | More than 39.9dB (AGC Off) |
| Sensitivity | 0.1 Lux |
| Lens Type | 2.9mm Lens Included (8 and 16mm also available) |
| DAY / NIGHT | Auto |
| White Balance | Auto |
| DNR | 2D-DNR |
| Advanced OSD Features | BLC/HLC, D-WDR, Motion detection, Privacy mask, Flip, DeFog |
| Weather Resistance Rating | IP-66 |
| Operating Conditions | 14°~122°F (-10°~ +50°C) < 80% RH |
| Input Voltage | 12VDC |
| Power Consumption (12VDC) | 100mA |
| Weight | 14.11 Oz. (400g) |
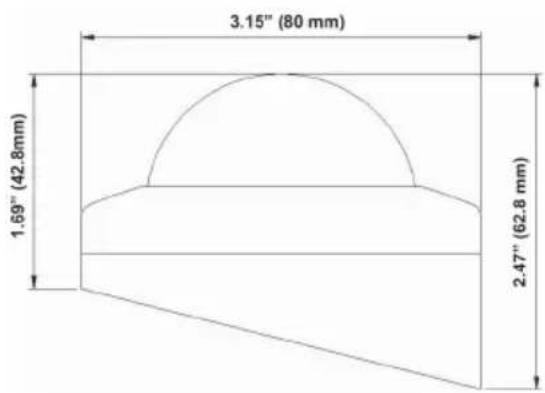
| Dimensions (W x H x L) | 3.15" x 1.69"/2.47" (80mm x 42.8mm/62.8mm) |

A) White BNC: CVBS
B) Yellow BNC: HD-TVI
C) Black: OSD Connector
D) Red: Power Connector