
B20 5G - Mobile Phone NUU Mobile - Free user manual and instructions
Find the device manual for free B20 5G NUU Mobile in PDF.


| Product Type | Mobile Phone |
| Brand | NUU Mobile |
| Model | B20 5G |
| Dimensions | 165.5 x 76.5 x 8.9 mm (6.52 x 3.01 x 0.35 in) |
| Weight | 190 g (6.70 oz) |
| Display | 6.5-inch IPS LCD, 720 x 1600 pixels |
| Processor | MediaTek Dimensity 700 (7 nm) |
| RAM | 4 GB |
| Storage | 64 GB eMMC 5.1, expandable via microSD |
| Rear Camera | 13 MP (f/2.2) + 2 MP (depth) + AI lens |
| Front Camera | 5 MP (f/2.2) |
| Battery | 5000 mAh, non-removable, 10W charging |
| Operating System | Android 11 (Go edition or stock) |
| Connectivity | 5G SA/NSA, Wi-Fi 802.11 b/g/n/ac, Bluetooth 5.1, GPS |
| SIM | Dual Nano-SIM |
| Ports | USB Type-C 2.0, 3.5mm headphone jack |
| Power Source | 5V/2A charger (included) |
| Maintenance | Clean with soft, dry cloth. Avoid liquids and abrasive cleaners. |
| Safety | Use only approved chargers. Do not disassemble or expose to extreme temperatures. |
| Spare Parts | Screen and battery replacement by qualified technician. Available via NUU Mobile service centers. |
| General Info | IMEI on back of box; SAR: head 1.2 W/kg, body 1.3 W/kg |
Frequently Asked Questions - B20 5G NUU Mobile
User questions about B20 5G NUU Mobile
0 question about this device. Answer the ones you know or ask your own.
Ask a new question about this device
Download the instructions for your Mobile Phone in PDF format for free! Find your manual B20 5G - NUU Mobile and take your electronic device back in hand. On this page are published all the documents necessary for the use of your device. B20 5G by NUU Mobile.
USER MANUAL B20 5G NUU Mobile
natural_image
Side-by-side comparison of a purple NuU smartphone showing front and back views, with no visible text or symbols on the device itself.B20
5G
User Manual
Table of Contents
- Overview
- Initial Set-Up
- Setting up your device
- Controls and Using the Touchscreen
- Those Three Buttons
-
Common Onscreen Buttons Power On/Off, Wake Up, Unlock, Go to Sleep
-
Power On/Off, Wake Up, Unlock, Go to Sleep
-
Home Screen
-
Quick Settings
-
Customize your Home Screen
-
Calling
-
Messaging
-
The Settings Menu
-
Network and Internet
- Connect Devices
- Apps
- Notifications
- Smart Assistant
- Battery
- Display
- Sound
- Storage
- Security & Location
- Accounts
- Accessibility
- Digital Wellbeing and Parental Controls
- Duraspeed
-
System
-
Warranty Information
B20 Overview

Setting up your device
Follow these step-by-step instructions to set up your B20. Power off the phone before inserting any cards!

1 Remove SIM Tray
Remove the SIM tray by inserting a pin eject key/paperclip in the small circular hole at the bottom of the tray. The tray will then eject from the phone.
2 Configuration 1: Dual SIM Standby
Orient SIM card to match layout on tray. SIM 1 (Nano) supports 5G connections. SIM 2 (Nano) supports 5G connections.
3 Configuration 2: microSD™ Card
Orient microSD card to match layout on tray. microSD card supports up to 512GB
4 Replace SIM Tray
After placing the SIMs and/or memory card in the tray, slide it back into its slot. It will
5 click and hold in place.
Plug in the type C connector to charge the phone or transfer data.
Warning:
SIM cards are small enough to become a choking hazard, so please keep them away from children & pets. SIM cards are also quite delicate. Please be careful when handling your card.
Setting up your device - cont.
Welcome Screen: Tap on the white arrow to select your language and then tap Start.

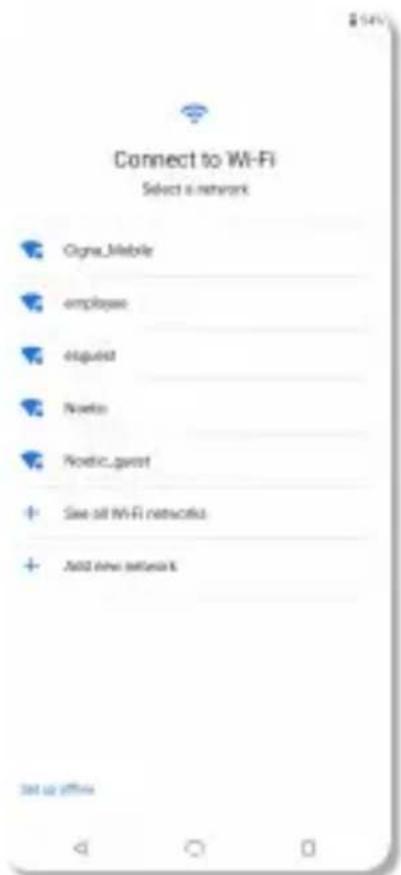
Connect to Wifi: If you are in range of a trusted Wifi network, configure and connect here. Tap the name of your Wifi network, enter the password and tap Connect.
Checking for updates: Once connected to a network, the phone will check for any system updates and prompt you to update if necessary.
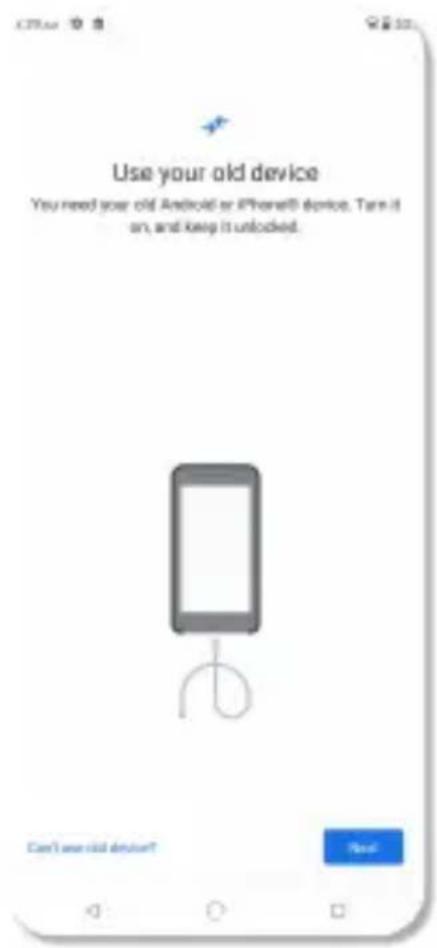
Copy apps & data: You can transfer apps, photos and music from a previous Android device or the cloud. If you choose this option you will be prompted to either use your old phone to copy data wirelessly, or sign into your Google account and restore from a cloud backup. You can also choose to set-up as a new device and start with a clean slate.

Google account: In these next screens, you have the option of skipping them entirely or filling out your Google account credentials, or even making a new Google account if you've never had one. Regardless you will at some point need a Google account, as they are necessary to use the Play Store and get apps and app updates. You will also need to accept Google's Terms of Service during this portion of the setup.

Protect your phone: Now is the time to prevent others from using this phone without your permission by activating device protection features. You can set up a pattern, PIN, or password unlock code. You can also skip this and add protection later. Remember that if you set-up device protection but later forget your unlock code, the only way to access the phone will be by performing a factory reset which will delete all device data.

Controls and Using the Touchscreen
"Tap": In some documentation, this may also be referred to as a "touch" or even a "click". It's almost exactly like tapping your finger on a table; aim a single fingertip, touch it to the screen, and pull it away from the screen. You can have your finger in contact with the screen for quite a bit before the phone registers it as a "long-press", so don't feel like you have to pull away instantly.
"Double-tap": Two taps in rapid succession, almost exactly like double-clicking a mouse, but with your fingertip. Rarely called a "double-click". Used for different things in different apps, so make sure to consult the help for that app!
"Long-press": Sometimes referred to as "hold" or "tap-and-hold" or "touch-and-hold". Place your finger on the screen and keep it there. After about a full second, the phone will recognize this as a long-press and give you some kind of feedback: a menu might appear, an icon might start shaking, or some element of the interface will change to indicate that you have the phone's complete attention. What makes the long-press a little difficult is that in some apps, removing your finger from the screen makes your next selection, and in other apps, you're expected to make a separate "tap" to select the thing you want after a long-press. This behavior isn't constant across all apps so you'll need to experiment a little with your apps. While your smartphone certainly has a number of buttons you can push, you will control it primarily by using the touchscreen. You may wonder just how many different ways one can touch a screen, and as it turns out there are a few of them! You'll find a handy list of the most common ones below, which includes the name for the gesture and a description how to perform it. Important!: Your phone's touchscreen is NOT pressure-sensitive, as it instead works by sensing tiny electrical currents. This means that when you touch the screen, you only need to make contact, you do not need to apply pressure. If your fingertips are heavily calloused (or if you are wearing non-conductive gloves), the screen may not register your touches properly. In that case, try a different fingertip or a patch of bare skin.
Controls and Using the Touchscreen
"Drag-and-drop": Sometimes mentioned a drag". First you long-press something, then once you've gotten the visual feedback that shows that the phone interpreted your long-press, you keep your finger on the screen as you move it around. When you remove your finger from the screen, you "drop" the item in question. The usual example is moving your app icons around. First you long-press the icon in question until you see it get "picked up" or highlighted somehow, then (keeping your finger on the screen) you "drag" the icon to its new spot. When you let go, you've "dropped" it. The key part is that a drag-and-drop always starts with a long-press.
"Slide": Closely related to the drag-and-drop. While a drag-and-drop requires a long-press at the beginning, a slide does not. Unlocking the phone, answering a call, and bringing up Google Now all require slide motions, where you slide an on-screen button in a straight line, with no pause or delay after touching the button.
"Swipe": A swipe is a gesture that's just like moving a playing card across a smooth felt table. There's no pause at either end, just a smooth motion. The tricky part of swiping is what is meant by the term "swipe left" or "swipe right"
Those Three Buttons

natural_image
Abstract gradient background with white geometric shapes (triangle, circle, square) on purple and white sides, no text or symbols present.Back Home Recent
Back: This does exactly what its name suggests; it takes you back one step. If you called up a sub-menu, for example, and wanted to go back to the previous menu, just tap the Back button one time to do that. If you tap Back enough times, you will eventually work all the way to your Home screen, so this is another way of getting back to familiar territory if you're lost.
Home: The Home button has two main functions. Tapping the Home button will always take you back to your Home screen, the "center" screen in the pages of icons you can have on your phone. If you're lost, tap Home and you'll be taken back to familiar territory! Long-pressing the Home button brings up the Google Assistant that can provide additional support.
Recent: Tapping this button brings up the "Recent" menu. This is a horizontal list of apps that are currently active. You can slide the list left or right to see the whole list. Slide an app's picture up to kill the app and make it inactive. This process is a useful thing to know as doing so can solve many problems
Common Onscreen Buttons
- Icon Drawer: This button is used to access a general
menu in a particular app. In Google Maps, for example, it
lets you switch between map and satellite view, among other things. In Gmail, the Drawer allows you to switch between folders. If your app has a Drawer button, you should familiarize yourself with the options it presents.

Icon Share: Pressing Share allows you to send the content of your current app to someone else. For example, when looking at the details for an app in the Play Store, using the Share button allows you to send a link to that app by e-mail, Bluetooth, MMS, or in a variety of other ways. The same thing can be done in the Contacts app and other places.

Icon Overflow: The official name is both Menu and Overflow, but NUU documentation uses Overflow to avoid confusion. This button brings up options relevant to the current screen. If you were looking at a Contact card, for example, Overflow would allow you to edit, delete, share, or set the ringtone for that contact only. Overflow provides access to your bookmarks and other settings in the Google Chrome app.

Icon Microphone: Used for Google Now, OK Google, and voice-recognition. Tap Microphone and then speak when prompted.

Icon Call: Dials the number entered on the keypad, or if you are looking at a contact page, dials the preferred number for that contact. Common Onscreen Buttons

Icon Locate: Most often found in mapping software, tapping this will center the map on your location if it was not already.

Icon Search: This magnifying-glass icon, when tapped, activates the search function for whatever app you are using.

Icon Send: Most often seen in e-mail apps, this sends the current message to its recipient.

Icon Trash: Destroys the currently selected item. There is usually no way to undo this, so be careful
Power On/Off, Wake Up, Unlock, Go to Sleep

Your phone can power on and power off fully, as discussed on the SIM card installation page. Here are those instructions again for reference.
On: Hold down the wake/sleep button for a few seconds. You will see the start-up screen when the phone powers on successfully. If a few seconds you will be taken to the unlock screen.
Off: Hold down the wake/sleep button for a few seconds. When you see the menu pop up, tap the "Power Off" option. Confirm the choice to power off the phone. Your phone can also go to sleep, and wake up from this sleep. Putting your phone to sleep saves battery power without the inconvenience of fully powering-off the phone.
Sleep: Tap the wake/sleep button once. The display turns off, but the phone remains on. Wake: Tap the wake/sleep button and the phone will wake up and show you the Lock Screen. Wake/Sleep Button
The Lock Screen shows up every time you wake your phone from sleep. To unlock it, slide the padlock icon straight up. You can directly access the assistant by sliding the microphone icon to the right, and you can access the camera by sliding the camera icon to the left.
Home Screen

1 Home Screen Status Bar: Top row of the phone that displays notification icons and status icons.
2 Notification Icons: Displays new messages, voicemails, emails and more.
3 Status Icons: Displays information about the device including battery life, network signal strength, and the time. App Folder: Multiple apps stored within one folder
App Shortcuts: Quick access to your favorite apps. Primary App Shortcuts: Quick access to your favorite apps displayed on all home screens
All Apps : Swipe up above your primary apps to display all apps Google Search Bar Widget: Quick access to Google Search
Quick Settings

Swipe the Status Bar down to display the Quick Settings. Swipe down again to display the Quick Settings details. Here you will find a list of commonly accessed settings including Wi-Fi, Bluetooth, DND mode, Flashlight, Auto-rotate, and Battery Saver among others by swiping down once more. This list can be customized and rearranged by tapping on the pencil logo.
You can also do screenshots by click the volume down and power button at the same time. That screenshot will go directly into your Photos.
Customize Your Home Screen
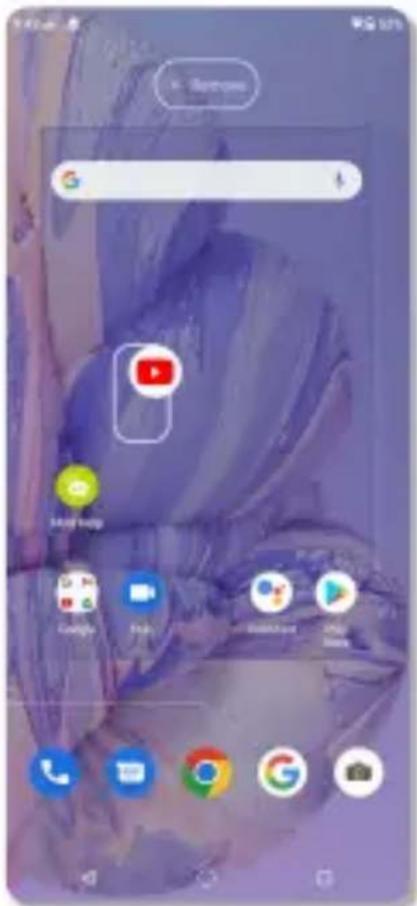
You can customize your home screen(s) by adding or rearranging application shortcuts, folders, customer wallpapers and more.
Adding an Application Shortcut: Swipe up on the All Apps Arrow to display the complete list of apps. Tap and hold on the app and start to drag it to the side. The home screen will appear, and you can place the app on the screen.
*This is a shortcut to the app, so you will notice that the app still remains in the list of All Apps.

Multiple Home Screens: You can have multiple home screens if you need quick access to many apps. In order to add a second home screen simply tap and hold on the app and then drag it to the far side of the screen and then place it on the second screen.
Rearranging or Removing an Application Shortcut: To move a shortcut to a different spot on the home screen tap and drag the shortcut to its new location. To remove a shortcut from the home screen tap and drag the app up to the X.
*Note this only removes the app shortcut, it does not uninstall the app.

Uninstalling an App: Same as removing a shortcut but drag the app to the trash can.
* Note that for some of the stock Google apps, there is no trash can because these apps cannot be uninstalled.
Creating a Folder Containing Multiple Application Shortcuts: Tap and drag one app onto a second app or folder and release.
Calling Place a Phone Call

First, start the Phone app. It's located on the main Home screen or can be accessed from All Apps. It can also be accessed from the Lock Screen by sliding the phone icon to the right. You can make a phone call from a list of your favorite, recent or all contacts. Tap on the corresponding icon to display that list, and simply tap on the contact to initiate the call Press the keypad icon to bring up a numeric keypad. Type the phone number you wish to dial and then press the call button which looks like a phone handset on a green circle.
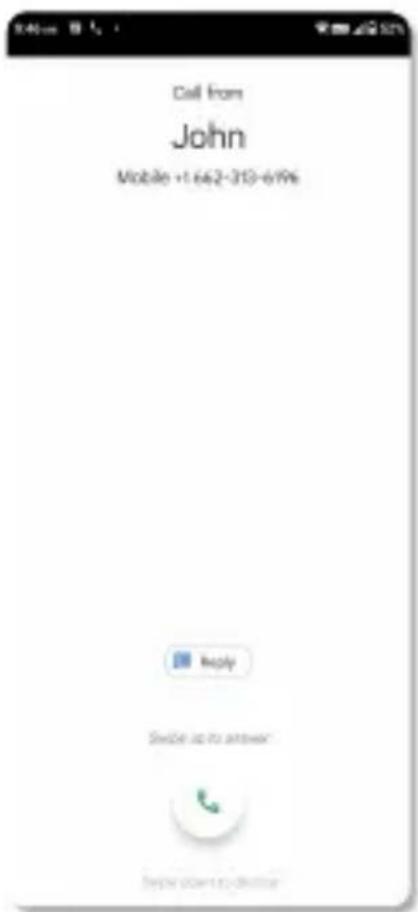
Answer a Call When a call is received the phone rings, and the caller's phone number or name is displayed. On the incoming call screen swipe up to answer, swipe down to ignore the call.
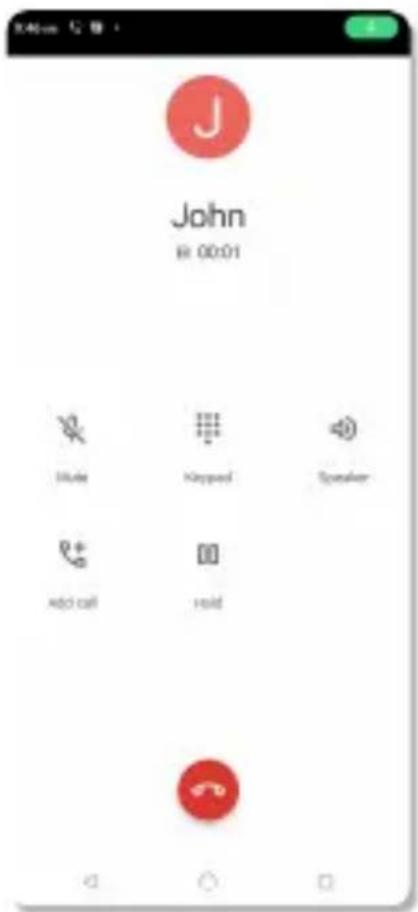
End a Call Tap the red phone button to end the call.
In Call Options There are several options that you can use during a call including mute your voice, listen to the call using the speaker, record the call, and add a call. These options appear only during an active call
Messaging
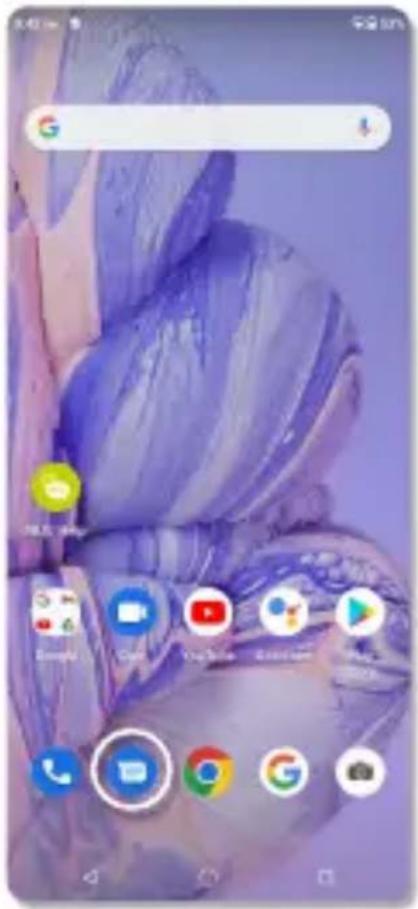
Tap on the Messaging app located on your home screen. The first time you open the app, you may need to opt in/out of certain settings. Once that is complete you will be taken to the messaging screen you will see from now on.

Tap on the Start Chat button and then enter phone number or contact you are sending the message too. You can also choose to send to one of your contacts listed below by tapping on the contacts name.
Enter your message in the Text message field, and hit the Send arrow when finished
The Settings Menu

The settings menu is a complex but necessary part of your smartphone. It allows you to connect to wireless networks, manage the apps stored on your phone, and change your security settings just to name a few among many options.
You can find the settings menu by swiping up to display all apps and selecting settings. Once you have opened settings, take note of the search box across the top. You may use this to search for a setting; very handy for finding one that's buried several menus deep!
Read on for an item-by-item breakdown of each part!
Network and Internet

1 Wi-Fi: Tapping the word "Wi-Fi" enters the sub-menu. There you may turn Wi-Fi On or Off, scan for new networks, add one manually and edit Wi-Fi preferences. Connecting to a new Wi-Fi network is a matter of tapping the name of the desired network, and entering the password for the network when prompted.

2 Mobile Network: Tapping "Mobile Network" enters the sub-menu. There you can turn on or off Mobile Data, turn on or off roaming, pick your preferred network, and see your app data usage. Tapping "Advanced" allows you to pick your preferred network type, turn on "Enhanced 4G LTE Mode", and turn on Wi-Fi calling.
Data usage: This menu shows you detailed data statistics and allows you to toggle cellular data usage with the ON/OFF switch.
Hotspot & Tethering: Allows you to turn your phone into a portable Wi-Fi hotspot as well as tether its Internet connection directly to another Wi-Fi or Bluetooth device. SIM Cards: Allows you to see what SIM is in what slot if you have installed two. You may also determine what SIM is used for Mobile Data, Calls, and SMS Messages.
Airplane Mode: Use the ON/OFF switch to toggle Airplane Mode, which turns off all communication with your phone, including calls, Wi-Fi, and cellular data. You can also access the Airplane Mode toggle by holding down the Power Button as if you were going to reboot your phone. VPN: Here you may configure a virtual private network.
VPNs are most often used to connect a phone securely to a work network while on the road.
6
Connect Devices

Tap the words "Pair New Device" to search for devices, and pair to a device. Tapping "Connection
Preferences" open a sub-menu so you can pick a connection type. Those being Bluetooth, Printing, Received Files, and Chromebook.
Connect Preferences
From connected devices, you can click on connection preferences. This lists Bluetooth, NFC set up, casting options, android beam, printing, files received via bluetooth, chromebook, nearby share and android auto
Apps

One of the largest sub-menus you'll encounter, Apps has many functions. First, it will show you exactly what apps are installed on your phone and the amount of space each one takes up. Secondly, you can see the space used on both the smartphone's internal storage and its microSD card here. Lastly, tapping on an app lets you stop it from running, disable it completely (not all apps allow that), uninstall it (again, not all apps allow uninstallation), clear its data, and view the permissions the app uses.
Notifications

This section can be used to control notifications from different apps, along with the history that has been set as well.
Smart Assistant
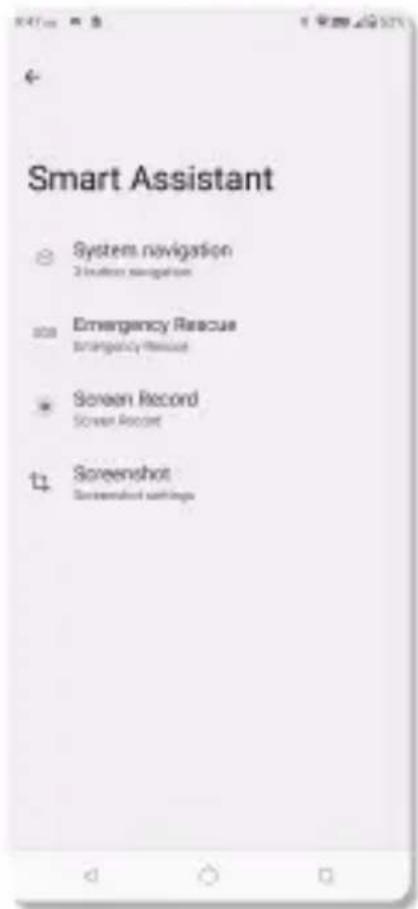
You can go here for more information about system navigation, screen recording, screenshotting and emergency rescue.
Battery

Shows you the current battery status and breaks down battery usage and charging details
Display

Brightness Level: Adjust the default screen brightness Night Light: Tints your screen amber making it easier to read in dim light Adaptive
Brightness: Toggle ON/OFF the option to adjust the brightness level for available light automatically.
Display continued

Wallpaper: Change your home screen's background to a different stock photo or image
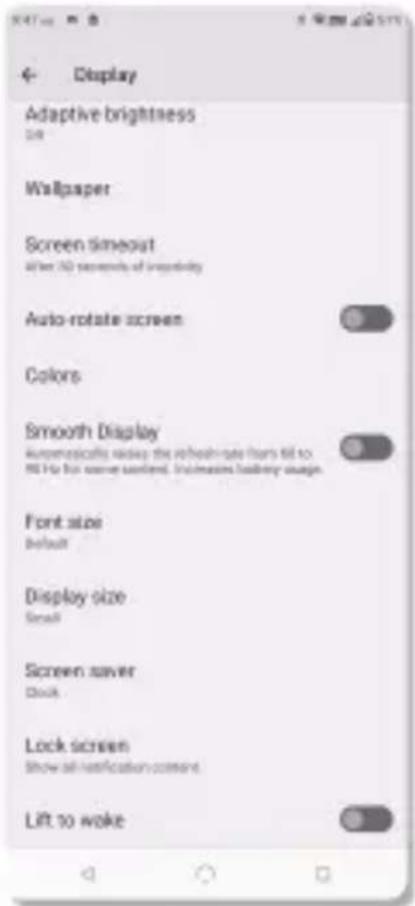
Advanced: Other options can be adjusted such as font, display size, auto-rotate, sleep, and screensaver
Sound

Here you can adjust the media, alarm, and ring volume. You can also set your ringtone and notification sounds. The advanced sound settings allows you to customize many other sounds such as dial pad, screen lock and touch sounds.
Storage

Displays the status of your internal storage. You'll see total storage as well as a breakdown by category of storage used.
Security & Location
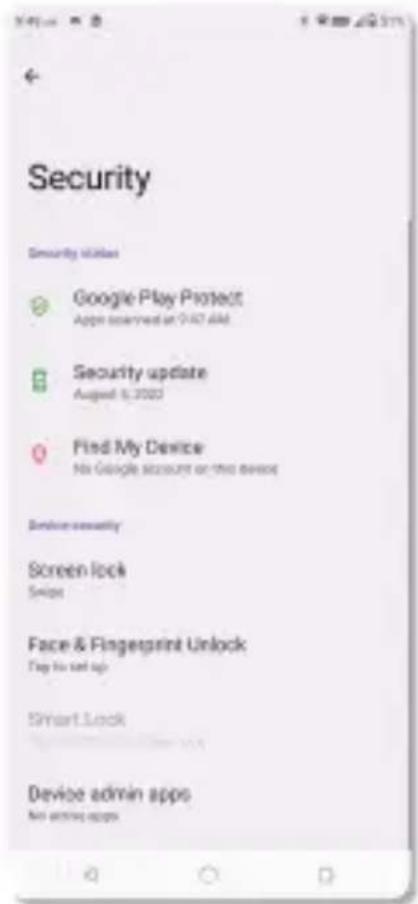
Another complex sub-menu that allows you to adjust how your phone and its data are secured. We highly recommend double-checking Google documentation before adjusting the more advanced options.
Accounts

If you made or entered a Google account during the initial configuration of your phone, it will show up here. The Accounts section serves to put all of your accounts in a single place for easy configuration. Tapping on an account lets you change its options, though these will of course vary by service. The Add Account button lets you add a new account to the phone. What kind of account it can add depends on what apps you have installed. As an example, if you have the Facebook app installed, tapping Add Account takes you to the Facebook app and prompts you to log in, at which point the account is added
Accessibility

Here you can change the default font size, display size, magnification, can display colors to help make the screen more accessible to you. There are many configurations available in this menu that come with on-screen explanations of each feature.
Digital Wellbeing and parental controls

pie
Digital Wellbeing & parental controls | Tool | Count | |---|---| | Messages | 1 | | Settings | 4 | | Phone | 8 | | Requests | 4 | | Notifications | 8 | Helps to discuss Dashboard No store or set Bedtime mode Tag to sell usTapping on Digital Wellbeing if you like to set timers or keep track of your screen time. Also includes Parental Controls for setting up restrictions and other limits for children.
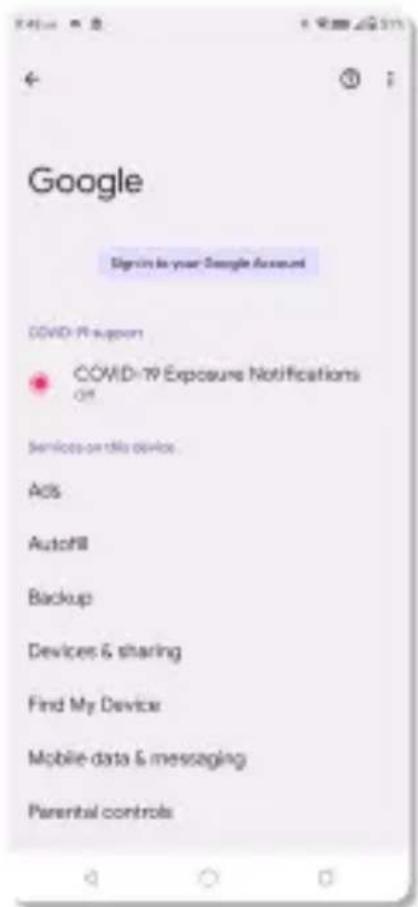
This menu provides quick access to various Google services and features
Duraspeed

Tapping on Digital Wellbeing if you like to set timers or keep track of your screen time. Also includes Parental Controls for setting up restrictions and other limits for children.
System

Languages & Input: Customize the language displayed on the phone as well as on the virtual keyboards.
Gestures: This allows you to turn on or off various hand gestures that work with your phone.
Date & Time: Automatic settings will handle time and date settings automatically, or you can configure your date and time manually.
Backup: The backup options here concern backing up your phone's configuration data to Google's servers, and it's all tied to your Google credentials
Advanced
Reset Options: Reset Wi-Fi, mobile, and Bluetooth connections, app preferences, erase downloaded sims, and perform a factory reset.
About Phone: This section contains all sorts of information about your device such as model, software versions, phone status and more. If you ever need to contact technical support for your carrier or device, they often will start here to get more information about your phone
Warranty Information
Limited One Year Warranty Information NUU Limited (hereafter referred to as NUU), warrants this device to be free from defects in workmanship and materials, under normal use and conditions, for a period of one (1) year from the date of original purchase. Removable lithium-polymer battery is covered under warranty for a period of one (1) year from date of original purchase. If you are experiencing any problems with the operation or function of your product, please make sure you have downloaded our full owner's manual from our website for reference or contact the authorized local distributor. Should this fail to resolve the matter and service is still required by reason of any defect or malfunction during the warranty period, NUU will repair or, at its discretion, replace this product without charge. This decision is subject to verification of the defect or malfunction upon delivery of this product to a designated factory service center. The product must include proof of purchase, including date of purchase. To obtain the Warranty Service, Customer must contact the authorized local distributor within the applicable warranty period to obtain warranty service authorization. Dated proof of original purchase from the authorized reseller will be required. NUU is not responsible for Customer's products or parts received without a warranty service authorization. Products or parts shipped by Customer to local distributor must be sent prepaid and packaged appropriately for safe shipment, and it is recommended that they be insured or sent by a method that provides for tracking of the package. THIS WARRANTY SHALL NOT BE EXTENDED, ALTERED OR VARIED EXCEPT BY A WRITTEN INSTRUMENT DULY SIGNED BY NUU WARRANTIES EXCLUSIVE. IF THIS PRODUCT DOES NOT OPERATE AS WARRANTED ABOVE, CUSTOMER'S SOLE REMEDY FOR BREACH OF THAT WARRANTY SHALL BE REPLACEMENT OR REPAIR OF THE PRODUCT OR PART OR REFUND OF THE PURCHASE PRICE PAID, AT NUU. THIS WARRANTY IS IN LIEU OF ALL OTHER WARRANTIES (OR CONDITIONS), EXPRESSED OR IMPLIED, INCLUDING (WITHOUT LIMITATION), ANY WARRANTIES OF MERCHANTABILITY, NON-INFRINGEMENT, OR FITNESS FOR A PARTICULAR PURPOSE. NUU SHALL NOT BE LIABLE FOR LOSS OF PROFITS OR ANY SPECIAL, INCIDENTAL, OR CONSEQUENTIAL DAMAGES WHICH THE PURCHASER MAY SUSTAIN. IN NO EVENT SHALL NUU'S LIABILITY EXCEED THE PURCHASE PRICE OF THE DEFECTIVE PRODUCT. NUU NEITHER ASSUMES NOR AUTHORIZES ANY OTHER PERSON TO ASSUME FOR IT ANY OTHER LIABILITY IN CONNECTION WITH THE SALE, INSTALLATION, MAINTENANCE OR USE OF ITS PRODUCTS. NUU SHALL NOT BE LIABLE UNDER THIS WARRANTY IF ITS TESTING AND EXAMINATION DISCLOSE THAT THE ALLEGED DEFECT OR MALFUNCTION IN THE PRODUCT DOES NOT EXIST OR WAS CAUSED BY CUSTOMER'S OR ANY THIRD PERSON'S MISUSE, NEGLECT, IMPROPER INSTALLATION OR TESTING, UNAUTHORIZED ATTEMPTS TO OPEN, REPAIR, OR MODIFY THE PRODUCT, *WATER DAMAGE, OR ANY OTHER CAUSE BEYOND THE RANGE OF THE INTENDED USE, OR BY ACCIDENT, FIRE, LIGHTNING, OTHER HAZARDS, OR ACTS OF GOD. THIS WARRANTY DOES NOT COVER PHYSICAL DAMAGE TO THE SURFACE OF THE PRODUCT, INCLUDING CRACKS OR SCRATCHES ON OUTSIDE CASING. THIS WARRANTY DOES NOT APPLY WHEN THE MALFUNCTION RESULTS FROM THE USE OF THIS PRODUCT IN CONJUNCTION WITH ACCESSORIES, OTHER PRODUCTS, OR ANCILLARY OR PERIPHERAL EQUIPMENT AND NUU DETERMINES THAT THERE IS NO FAULT WITH THE PRODUCT ITSELF. THIS WARRANTY DOES NOT APPLY TO ANY MALFUNCTION OR FAILURE OF THE PRODUCT OR PART DUE TO ANY COMMUNICATION SERVICE CUSTOMER MAY SUBSCRIBE TO OR USE WITH THE PRODUCT. WARRANTY IS VOID IF THE WARRANTY STICKER IS REMOVED.LIMITATION OF LIABILITY: TO THE FULL EXTENT ALLOWED BY LAW, NUU ALSO EXCLUDES FOR ITSELF AND ITS SUPPLIERS ANY LIABILITY, WHETHER BASED IN CONTRACT OR TORT (INCLUDING NEGLIGENCE), FOR INCIDENTAL, CONSEQUENTIAL, INDIRECT, SPECIAL, OR PUNITIVE DAMAGES OF ANY KIND, OR FOR LOSS OF REVENUE OR PROFITS, LOSS OF BUSINESS, LOSS OF INFORMATION OR DATA, OR OTHER FINANCIAL LOSS ARISING OUT OF OR IN CONNECTION WITH THE SALE, INSTALLATION, MAINTENANCE, USE, PERFORMANCE, FAILURE, OR INTERRUPTION OF THIS PRODUCT, EVEN IF NUU OR ITS AUTHORIZED RESELLER HAS BEEN ADVISED OF THE POSSIBILITY OF SUCH DAMAGES, AND LIMITS ITS LIABILITY TO REPLACEMENT, REPAIR, OR REFUND OF THE PURCHASE PRICE PAID, AT NUU'S DISCRETION. THIS DISCLAIMER OF LIABILITY FOR DAMAGES WILL NOT BE AFFECTED IF ANY REMEDY PROVIDED HERE-IN SHALL FAIL OF ITS ESSENTIAL PURPOSE. *Your NUU Mobile device is not water resistant, and its one year limited warranty does not cover any forms of liquid damage, regardless of source of origin. Please keep this in mind when using your NUU Mobile product. Disclaimer: Some countries, states, or provinces do not allow the exclusion or limitation of implied warranties or the limitation of incidental or consequential damages for certain products supplied to consumers, or the limitation of liability for personal injury, so the above limitations and exclusions may be limited in their application to you. When the implied warranties are not allowed to be excluded in their entirety, they will be limited to the duration of the applicable written warranty. This warranty gives you specific legal rights which may vary depending on local law. This warranty is only valid for purchases in the United States. If a product was purchased outside the United States, the warranty period and service is provided by the local authorized NUU Mobile Distributor under local regulations.
Customer Support
Questions? Let us help. We're here to support you. Social Media US:
Phone: Toll Free: 844-NUU-3365 U.S. hours: 9am-6pm ET, chat: M-F
24hrs Whatsapp: (507) 271-6007
Email: support@nuumobile.com

natural_image
Simple yellow circular ring on dark background (no text or symbols)- B20
- Table of Contents
- Setting up your device
- Remove SIM Tray
- Configuration 1: Dual SIM Standby
- Configuration 2: microSD™ Card
- Replace SIM Tray
- click and hold in place.
- Warning:
- Setting up your device - cont.
- Controls and Using the Touchscreen
- Those Three Buttons
- Common Onscreen Buttons
- Power On/Off, Wake Up, Unlock, Go to Sleep
- Home Screen
- Quick Settings
- Customize Your Home Screen
- Calling Place a Phone Call
- Messaging
- The Settings Menu
- Network and Internet
- Connect Devices
- Connect Preferences
- Apps
- Notifications
- Smart Assistant
- Battery
- Display
- Display continued
- Sound
- Storage
- Security & Location
- Accounts
- Accessibility
- Digital Wellbeing and parental controls
- Duraspeed
- System
- Advanced
- Warranty Information
- Customer Support
Brand : NUU Mobile
Model : B20 5G
Category : Mobile Phone