
CH1360 - Range hood Campomatic - Free user manual and instructions
Find the device manual for free CH1360 Campomatic in PDF.


| Product type | Range hood |
| Brand | Campomatic |
| Model | CH1360 |
| Installation type | Under-cabinet |
| Width | 59.8 cm |
| Depth | 52.0 cm |
| Height | 15.0 cm |
| Weight | 12 kg |
| Power supply | 220-240 V, 50 Hz |
| Maximum extraction rate | 600 m³/h |
| Noise level (max speed) | 65 dB(A) |
| Number of speeds | 3 |
| Lighting | LED, 2 x 1.5 W |
| Filter type | Aluminum grease filter (washable), charcoal filter (optional) |
| Energy efficiency class | A |
| Control type | Push buttons |
| Duct diameter | 150 mm |
| Maintenance | Clean grease filter monthly; replace charcoal filter every 3-6 months |
| Safety features | Thermal cut-off, anti-return flap |
| Spare parts available | Filters, LED lamps, motor, control board |
Frequently Asked Questions - CH1360 Campomatic
User questions about CH1360 Campomatic
0 question about this device. Answer the ones you know or ask your own.
Ask a new question about this device
Download the instructions for your Range hood in PDF format for free! Find your manual CH1360 - Campomatic and take your electronic device back in hand. On this page are published all the documents necessary for the use of your device. CH1360 by Campomatic.
USER MANUAL CH1360 Campomatic
natural_image
Line drawing of a closed book with textured cover and patterned front cover (no text or symbols)Made in China

INSTRUCTION MANUAL
Caution: Read and follow all safety and operating instruction before first use of this product.
Campomatic S.R.L. Via Configliachi 5/B . 35031, Abano Terme (Padova), ITALIA
WWW.CAMPOMATIC.COM
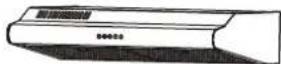
Information and advice
Specifications: 220-240V 50Hz 320W

In certain circumstances electrical appliance may be a danger hazard.
A) There shall be adequate ventilation of the room when the cooker hood is used at the same time as appliances burning gas or other fuels.
B) Do not check the status of the filters while the cooker hood is operating.
C) Do not touch the light bulb within half an hour after appliance use.
D) Do not flambe under the cooker hood.
E) Avoid opening gasometer when there is no pan on the stove, as it is damaging for the filters and a fire hazard
F) Constantly check food frying to avoid that the overheated oil may become a fire hazard.
G) Disconnect the electrical plug prior to any maintenance.
) H If the supply cord is damaged, it must be replaced by the manufacturer, its service agent or similarly qualified persons in order to avoid a hazard.
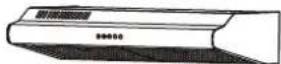
Know your cooker hood
Please read these instructions before using your cooker hood
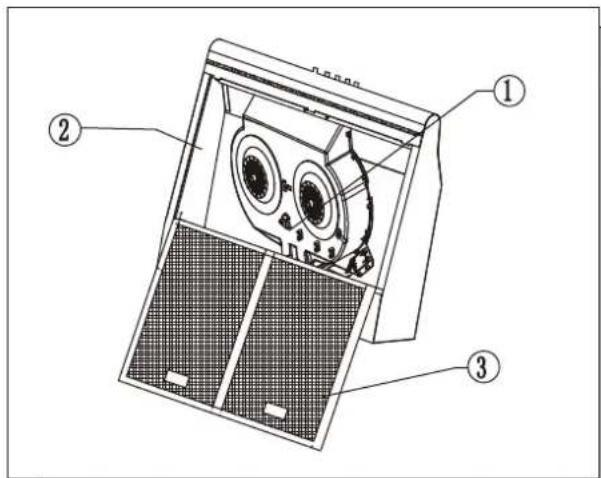
- Air duct assembly 2. Main body
- Filter assembly
Also included:
*Damper flap
*User instructions
i
Information
Congratulations on the purchase of our Cooker hood, which is designed to include many superior features that permit you the fullest expression of your living.
Before installing and/or using the cooker hood carefully read all the instructions.
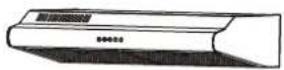
Selection of Venting Direction
Fully convertible for vertical, horizontal or ductless operation.
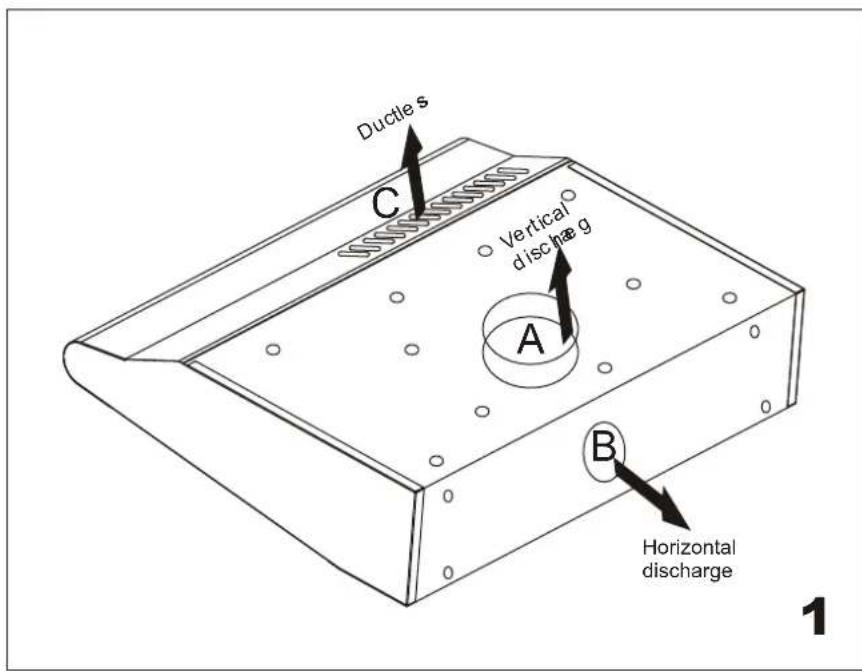

Information
The air must not be discharged into a flue that is used for exhausting fumes from appliances burning gas or other fuels. Regulations concerning the discharge of air have to be fulfilled.
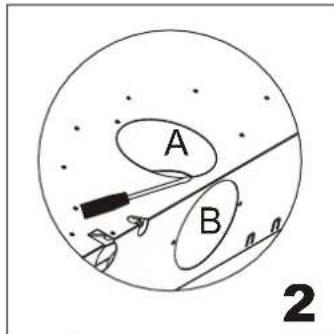
Vertical discharge
Vertical is the most common.
If you select this venting direction, you only need to open the ducting knockout A. Remove the ducting knockout by inserting a Flat head screwdriver under one end and prying it up. Then snip or break the attachment points by tin snips. You must make sure that the ducting knockout B is not removed.
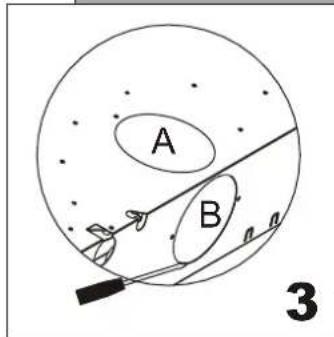
Horizontal discharge
Assuming that the range hood is located against an outside wall, horizontal discharge is preferred provided that there are no obstructions such as, wall joists, or where openings are difficult to make. If you select this venting direction, you only need to open the ducting knockout B.
Same with removing the ducting knockout A, you must make sure that the ducting knockout A is not removed.
i
Information
Sufficient air is needed for proper combustion and exhausting of gases through the flue (chimney) of fuel burning equipment to prevent back drafting.
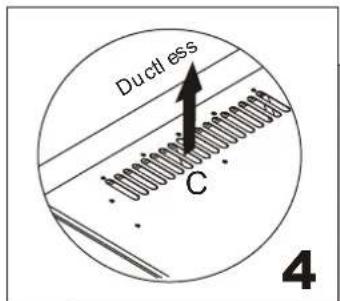
Ductless
In a ductless installation the air is re-circulated back into the kitchen. If you do not anticipate heavy cooking this method will be preferred. It will not be necessary to remove any duct knockouts, you only need chose knockout C. You should use filters to help remove cooking odors. These filter must be washed and replaced at regular intervals.
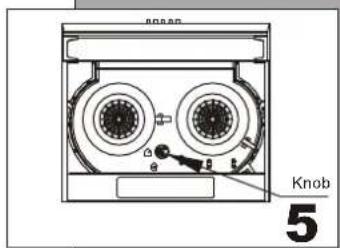
After selecting venting direction and completing installation, you can turn the knob to achieve ductless or duct.Open the filter, then you can see the knob.
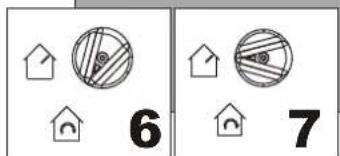
The knob arrowhead as per FIG. 7, then it is duct. The knob arrowhead as per FIG. 6, then it is ductless.

Information
Ductless fans must always be vented to the outdoors.
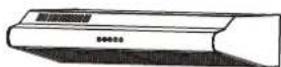
Installation
Ensure the power has been turned off before beginning this installation.
To install this hood you will require two assistants.
You will need the following tools and material to complete this installation: *Drill*Flat head screwdriver*Phillips head screwdriver or cordless drill and Phillips head bit*Tin snips*3/8" nut driver or ratchet with extension*measuring tape*hand saw or jig saw* electrical tape*duct tape
- Remove the range hood from the carton.
- Lay the hood upside down on a table covered with cardboard or paper to prevent scratching of the table or hood.
- Hood installation should be within 0.8m radius range.
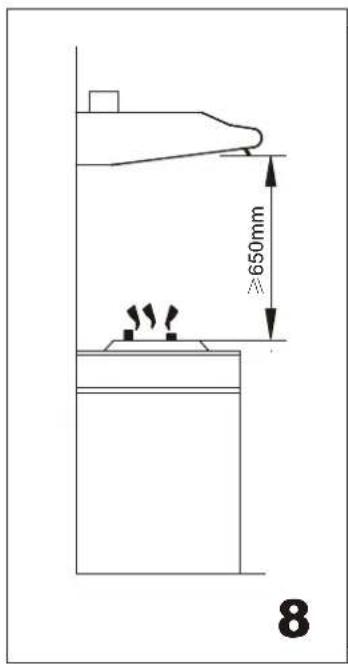
- We recommend that after installation the bottom of the hood should be no less than 650mm and no more than 750mm above the stove's heating elements and burners.

Information
Installation work and electrical wiring must be done by qualified person(s) in accordance with all applicable codes and standards, including fire-rated construction.
9
-
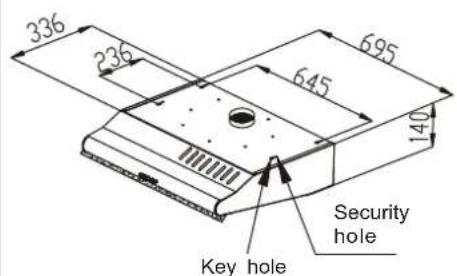
According to the figure, make sure the position of hood in the cabinet. The wood strips should be line up with the 4 keyholes slots on the top of the range hood. On the cabinet, install 4 screws (supplied) according to the relative position of 4 key holes on the bottom of hood. The extent of screwing should be convenience to the next installation.
-
Hang the hood and let it's 4 key holes aim at screws, the 4 screws should be in the narrow parts of key holes. Screws should be fasten firmly, make sure that the installation between the hood and cabinet is enough fasten.
-
Install screws in the security holes, in case of front and back moving of hood, so that the using is safer.

Information
When cutting or drilling into wall or ceiling, do not damage electrical wiring or other hidden utilities.
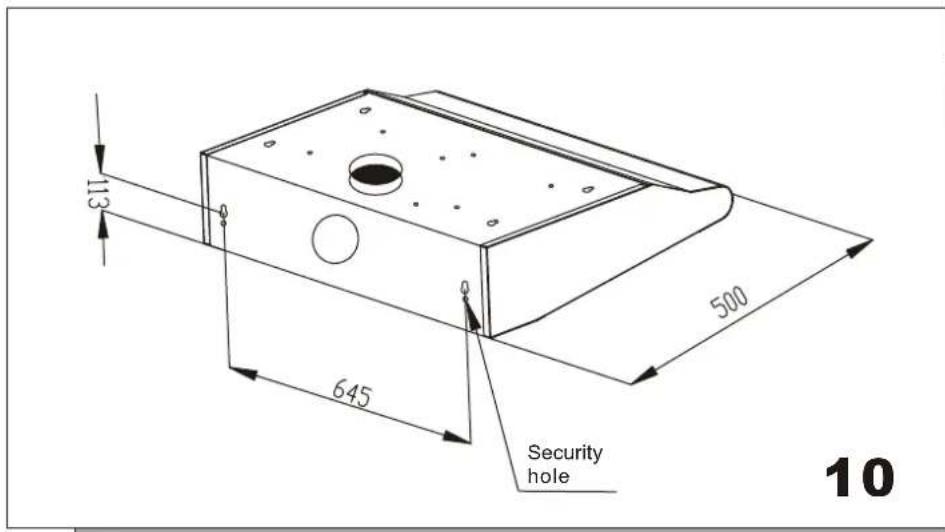
If the installation surface in cabinet don't adapt to install the cooker hood, then as per FIG. 5, fix the position of cooker hood on the wall. On the wall, install 2 screws (supplied) according to the relative position of 2 key holes on the back of hood. The extent of screwing should be convenience to the next installation. Also install screws in the security holes, in case of front and back moving of hood, so that the using is safer.
i
Information
The cooker hood must not be installed and connected to flues where other appliances are installed and which run off other energy supplied different to electricity (water heaters boiler cookers (range/agas) etc.).
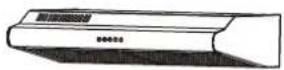
Hood Using Method
Turn the hood ON when cooking at high heat or when cooking flaming foods.
natural_image
Simple line drawing of a boat hull with no text or symbols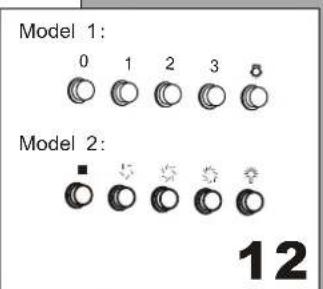
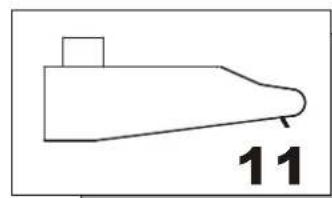
- Adjust the knob to be right position.
- Insert the power plug firmly.
Press the the switch of light to be on, the bulbs light on. Otherwise the bulbs don't work. When press the push button "1" or " ” on, the motor runs at low speed. When press the push button "2" or " ” on, the motor runs at middle speed. When press the push button "3" or " ” on, the motor runs at high speed. When press the push button "0" or " ■" on, the motor stops running.
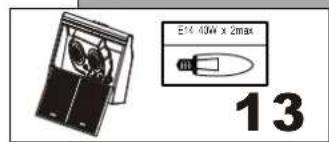
Replacing Bulb: Removing the bulb that need to be replaced, then reinstall the new bulb. The power of bulb must not be more than 40W.

Information
Clean ventilating fans frequently. Grease should not be allowed to accumulate on fan or filter.
Cleaning Instructions
Disconnect range hood from power supply before cleaning or servicing.
- Cleaning the surface of hood frequently. Use mild soap or detergent to clean the hood.
- Do not use harsh alkalis or abrasives.
- Avoid the use of scouring powers or dishwasher compounds.
- Grease filter may be washed using mild soap or detergent. (heavy grease build-up may not be cleaned easily and the filter may require replacement)
- Charcoal filters cannot be cleaned and must be replaced regularly.

Information
When cleaning, water must not inter into motor, control switch etc. electrical parts.
14
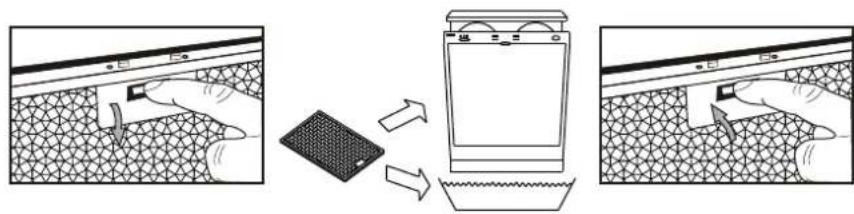
- It is recommendable to clean the metallic filter every three months by carrying out the following instructions:
- Remove the metallic filter from the cooker hood and wash it in a solution of water and neutral liquid detergent, leaving to soak
- Rinse thoroughly with warm water and leave to dry.
- The metallic filter may also be washed in the dishwasher. The metallic filter may alter in color after several washes.
This is not cause for customer complaint nor replacement of metallic filter.

Information
There is a fire risk if cleaning is not carried out in accordance with the instructions.
Correct Disposal of this product
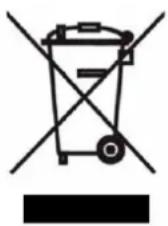
This marking indicates that this product should not be disposed with other household wastes throughout the EU. To prevent possible harm to the environment or human health from uncontrolled waste disposal, recycle it responsibly to promote the sustainable reuse of material resources. To return your used device, please use the return and collection systems or contact the retailer where the product was purchased. They can take this product for environmental safe recycling.
The manufacturer shall decline all responsibility if the foregoing recommendations and instruction regarding installation, maintenance and use are not observed and respected when using the cooker hood.
Brand : Campomatic
Model : CH1360
Category : Range hood