
STSCART - Office StarTech.com - Free user manual and instructions
Find the device manual for free STSCART StarTech.com in PDF.


| Product Type | Mobile Sit-Stand Desk |
| Brand | StarTech.com |
| Model | STSCART |
| Static Load Capacity | 50 kg (110 lb) |
| Lift Capacity | 4.5 kg (10 lb) |
| Lift Height | 400 mm (16 in) |
| Number of Casters | 4 (2 locking, 2 non-locking) |
| Color | Black |
| Warranty | 2 years |
| Included Tools | M4 hex key, M5 hex key |
| Includes | Base, column, desktop, 4 casters, 4 covers, screws, cable clips, 2 keys, manual |
| Height Adjustment Mechanism | Spring-assisted with adjustment lever and key lock |
| Intended Use | Indoor only |
Frequently Asked Questions - STSCART StarTech.com
User questions about STSCART StarTech.com
0 question about this device. Answer the ones you know or ask your own.
Ask a new question about this device
Download the instructions for your Office in PDF format for free! Find your manual STSCART - StarTech.com and take your electronic device back in hand. On this page are published all the documents necessary for the use of your device. STSCART by StarTech.com.
USER MANUAL STSCART StarTech.com
natural_image
Black medical or laboratory stand with four legs and a vertical cylindrical device on top, no visible text or symbols.*actual product may vary from photos
For the latest information, technical specifications, and support for this product, please visit www.StarTech.com/STSCART.
Use of Trademarks, Registered Trademarks, and other Protected Names and Symbols
This manual may make reference to trademarks, registered trademarks, and other protected names and/or symbols of third-party companies not related in any way to StarTech.com. Where they occur these references are for illustrative purposes only and do not represent an endorsement of a product or service by StarTech.com, or an endorsement of the product(s) to which this manual applies by the third-party company in question. Regardless of any direct acknowledgement elsewhere in the body of this document, StarTech.com hereby acknowledges that all trademarks, registered trademarks, service marks, and other protected names and/or symbols contained in this manual and related documents are the property of their respective holders.
Warning statements
Make sure that you assemble this product according to the instructions.
Read the entire manual and make sure that you understand the instructions before you start to assemble and use this product.
Do not allow children to climb on this product or use this product without proper supervision.
This product is intended for indoor use only and should not be used outdoors.
Do not move the cart over cords, cables, or uneven surfaces.
Before you start to move the cart, make sure that you unlock the casters.
Do not exceed the weight capacity of this product. Overloading this product might result in injury or property damage. This product can support the following weight: 50 kg (110 lb.).
Make sure that the equipment mounted on the workstation is secure before you move the workstation up or down. If the equipment is not secured, it could fall off the workstation as you move it and the equipment could be damaged.
Exercise caution when you raise the desktop because it can move with force and cause personal injury or damage to your equipment.
Varningsmeddelanden
Product diagram ......2
Technical specifications ....3
Package contents....4
Assembly 7
Attach the casters to the base....7
Attach the column to the desktop....9
Attach the column assembly to the base assembly....11
Using the mobile sit-stand desk 12
Lock the locking casters....13
Manage your cables....14
Technical support....15
Warranty information....15
Product dimensions
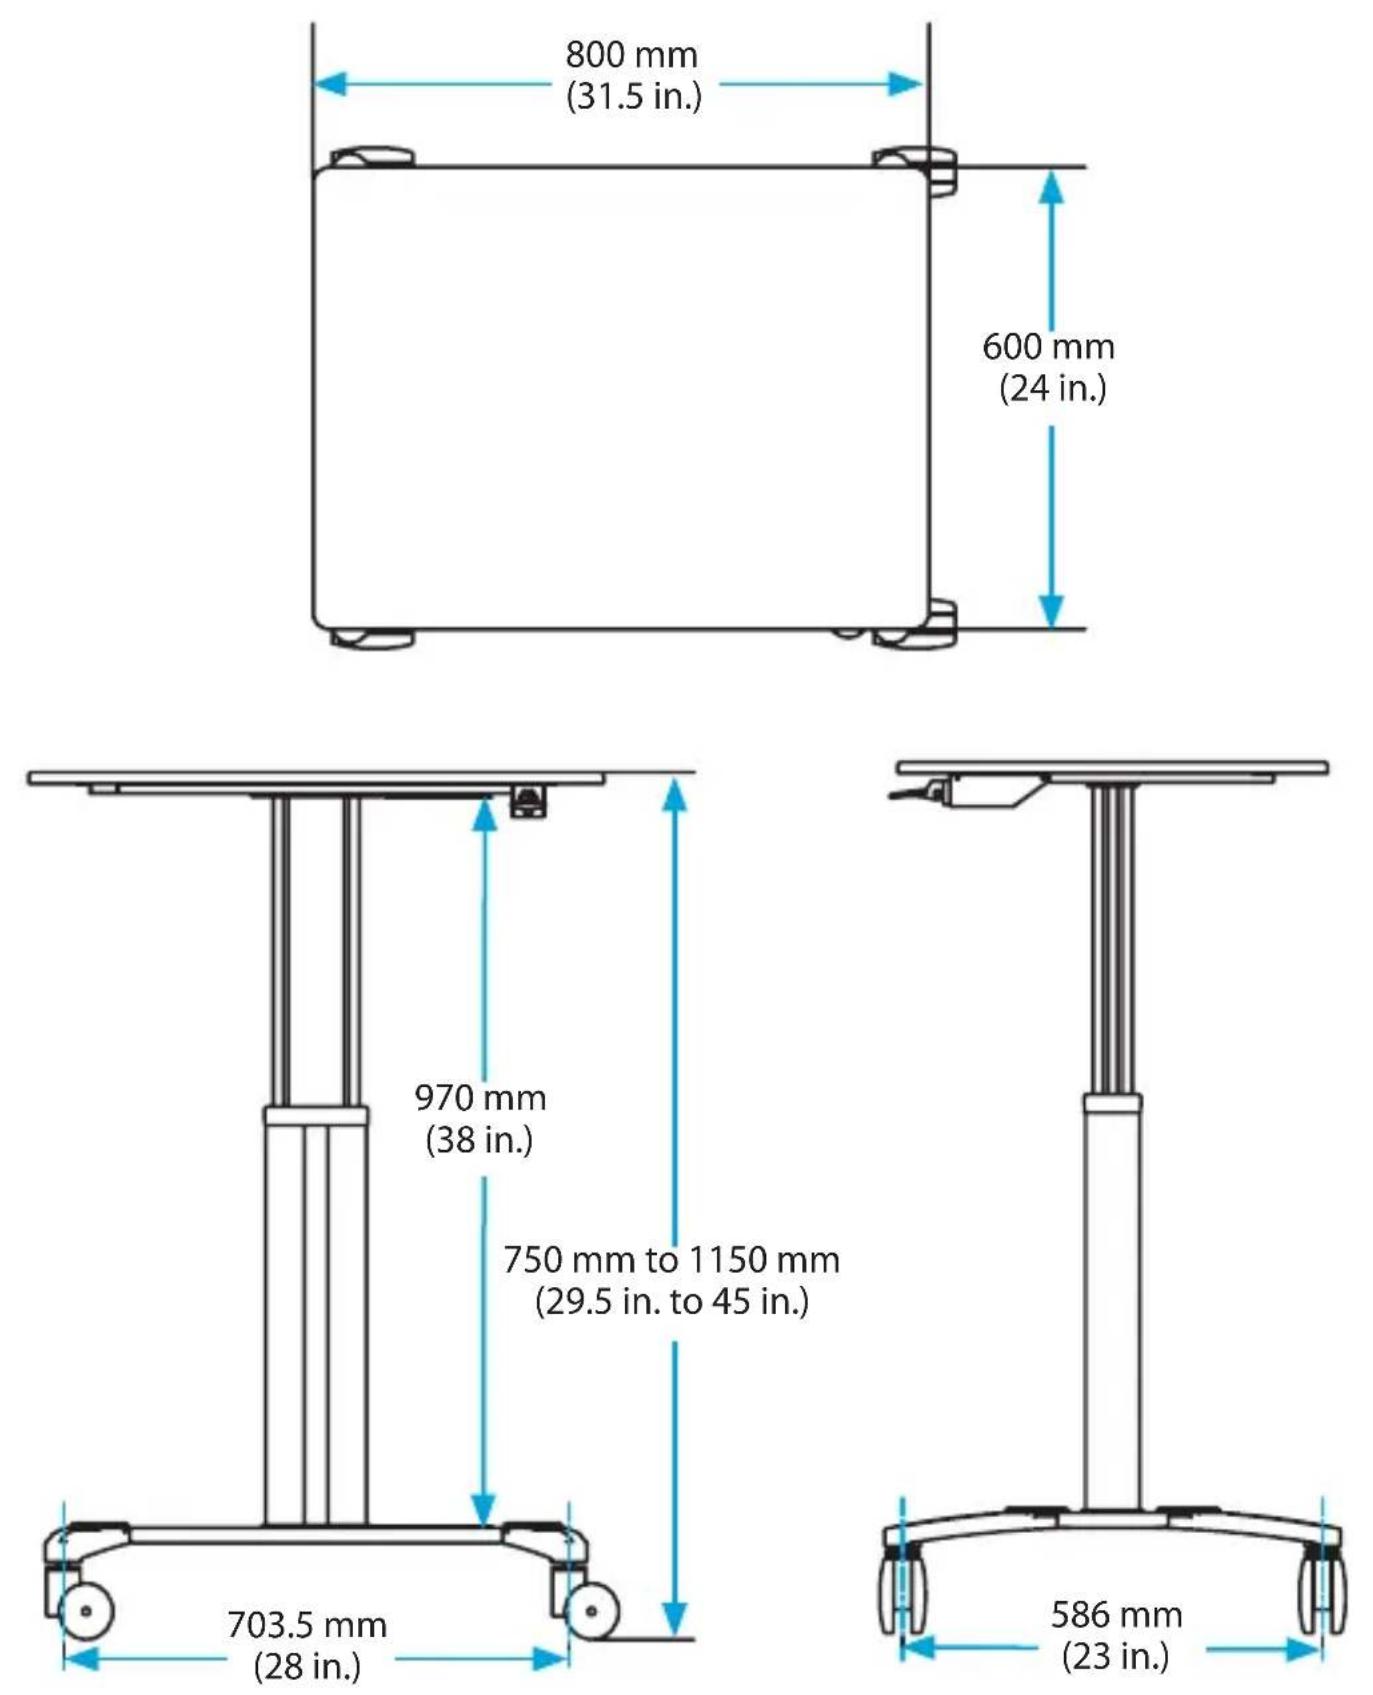
Product diagram
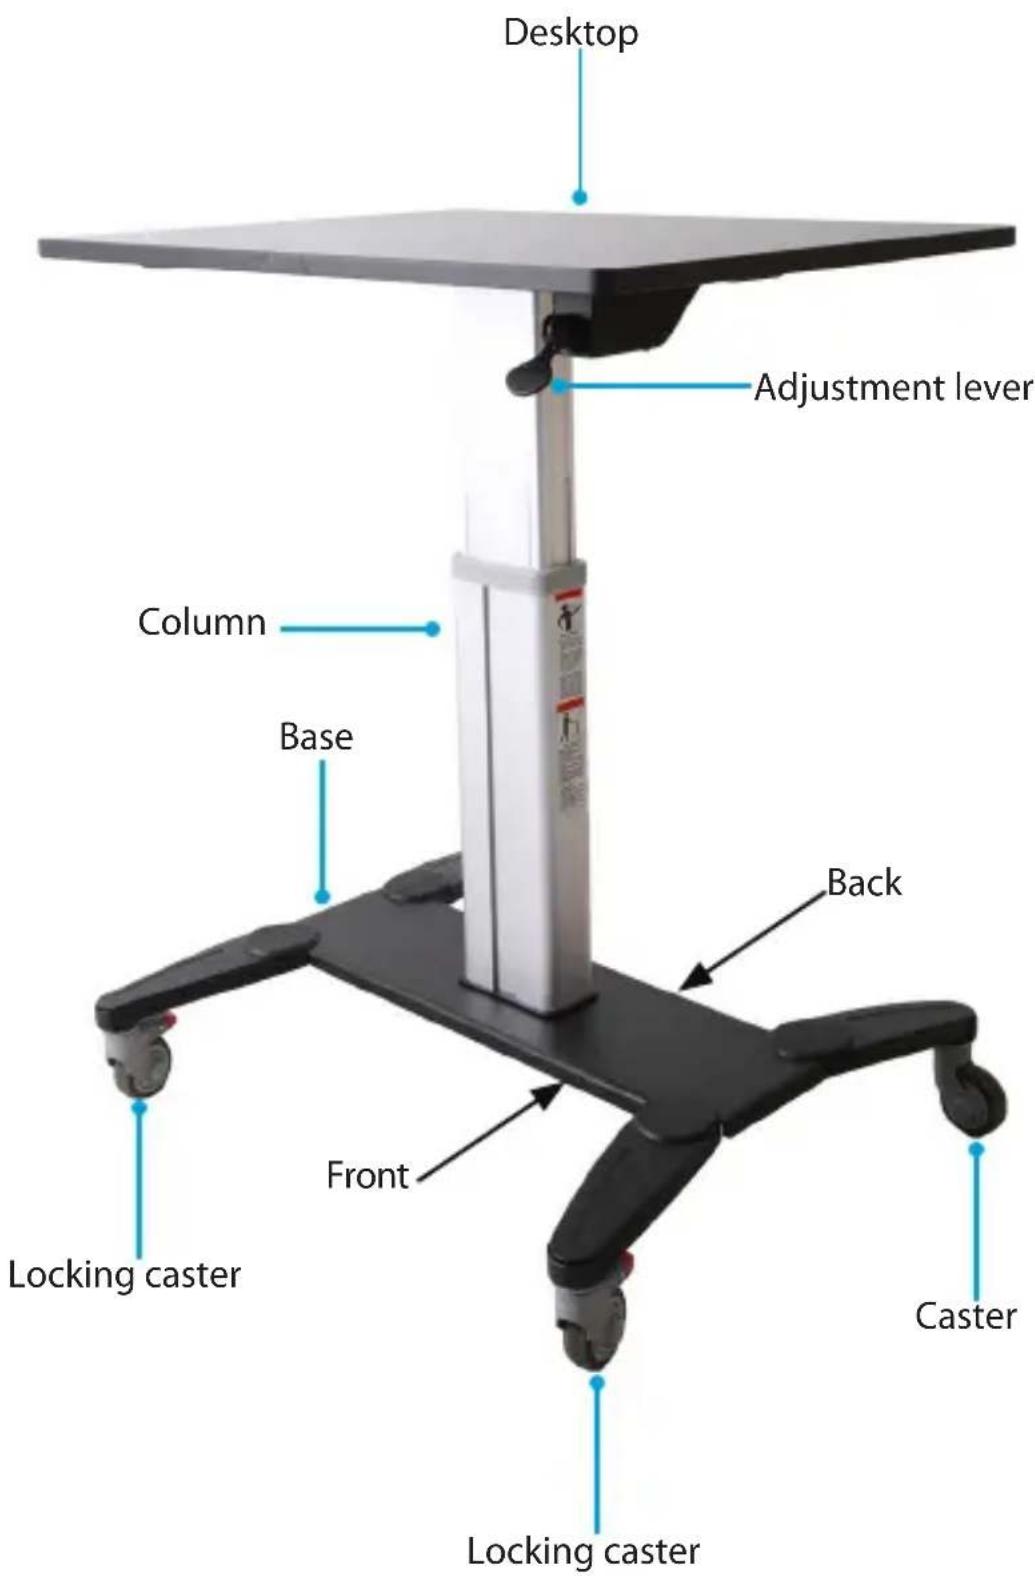
Technical specifications
Type of measurement Measurement
natural_image
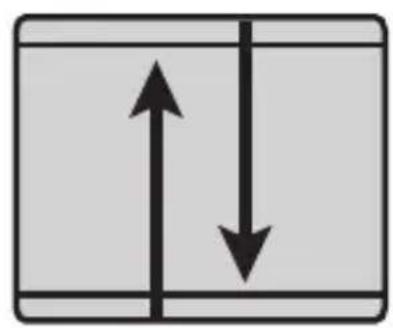
Simple diagram showing two opposing arrows inside a rectangular frame (no text or symbols)Lift
400 mm (16 in.)
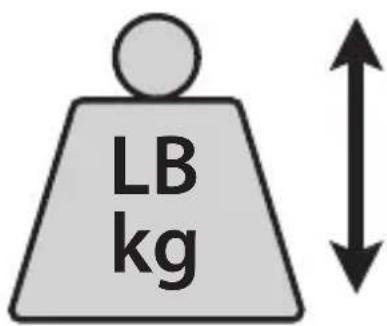
Lift capacity
4.5 kg (10 lb.)
Note: If you add more than 4.5 kg of weight to the desktop, you will need to exert some manual force to raise the desktop.
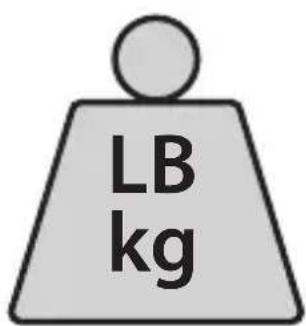
Static load capacity
50 kg (110 lb.)
Package contents
1
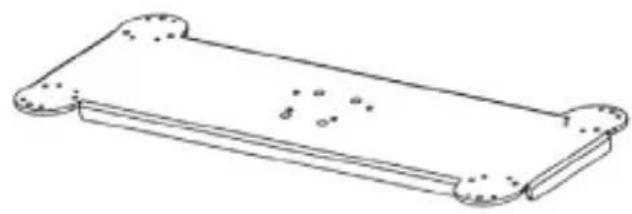
natural_image
Line drawing of a scroll or parchment with rounded ends and decorative borders (no text or symbols)Base
Qty: One
2
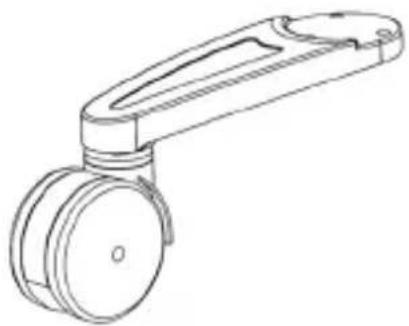
natural_image
Line drawing of a mechanical lever handle with two wheels (no text or symbols)Casters
Qty: Two
3
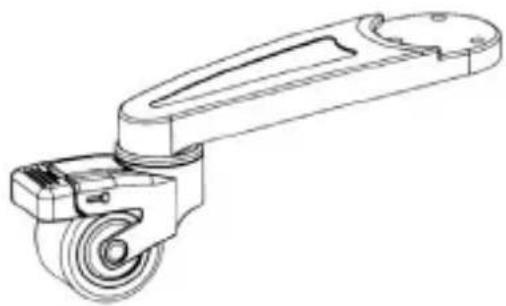
natural_image
Technical line drawing of a mechanical tool handle (no text or symbols)Locking casters
Qty: Two
4
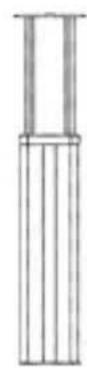
Column
Qty: One
5
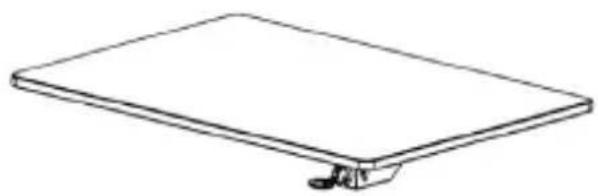
natural_image
Simple line drawing of a rectangular object with a small protrusion at the base (no text or symbols)Desktop
Qty: One
6
Covers
Qty: Four
7
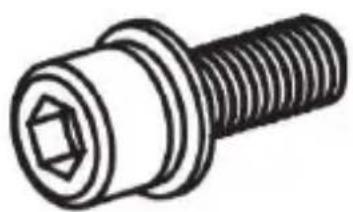
natural_image
Technical line drawing of a bolt with hexagonal end (no text or symbols)M6x15 mm socket-head screws Qty: Eight
8
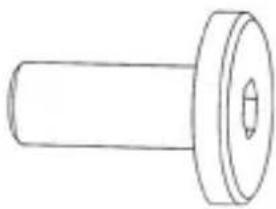
natural_image
Simple line drawing of a cylindrical mechanical part with a flanged end (no text or symbols)M6x15 mm flat-head screws Qty: Twelve
9
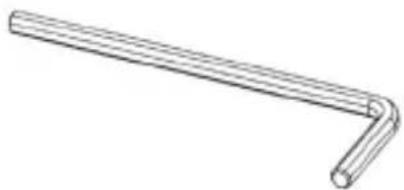
natural_image
Simple line drawing of a bent pipe or rod (no text or symbols)M4 hex key Qty: One
10
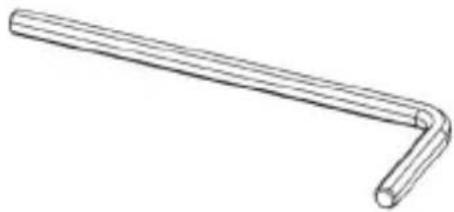
natural_image
Line drawing of a bent pipe or rod with a right-angle end (no text or symbols)M5 hex key Qty: One
11
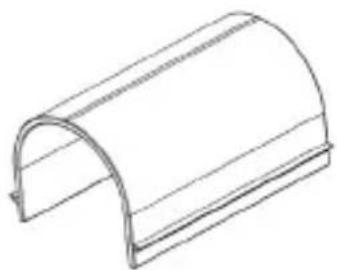
natural_image
Line drawing of a curved structural component (no text or symbols)Cable clips Qty: Four
12
natural_image
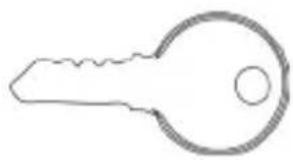
Simple line drawing of a key (no text or symbols)Keys Qty: Two

Instruction manual
Qty: One
Assembly
Attach the casters to the base
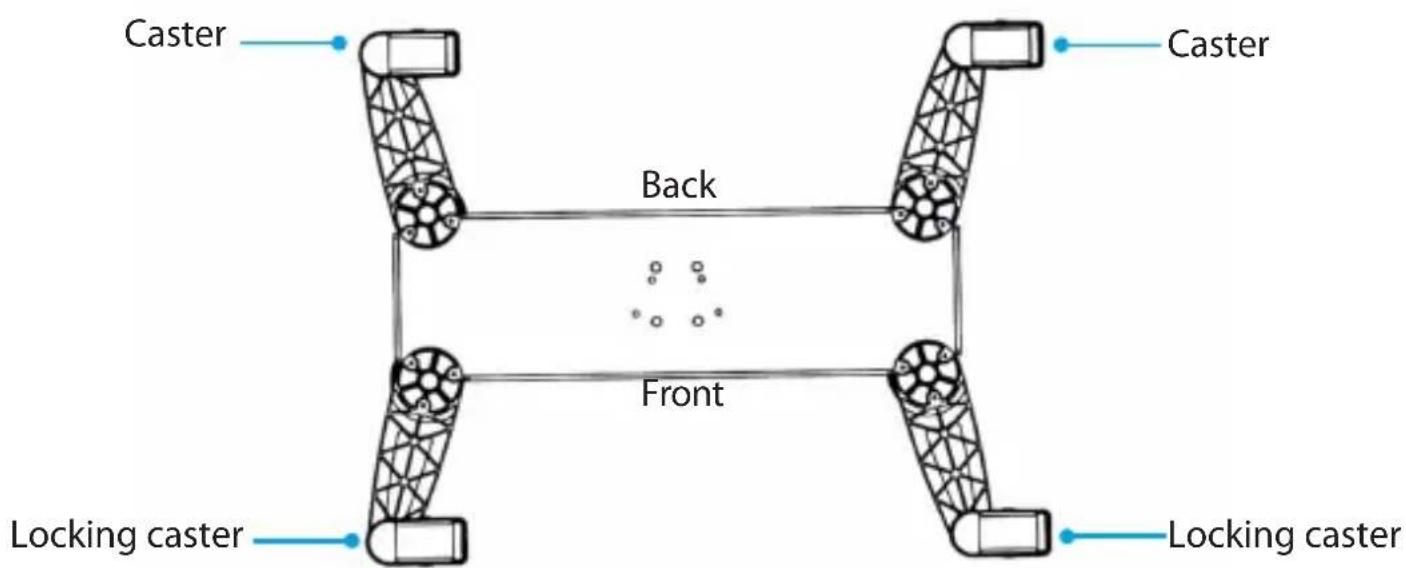
Tip! The back edge of the base is labeled on the underside of the base.
-
Position one of the non-locking casters in line with the assembly holes in one corner of the back edge of the base.
-
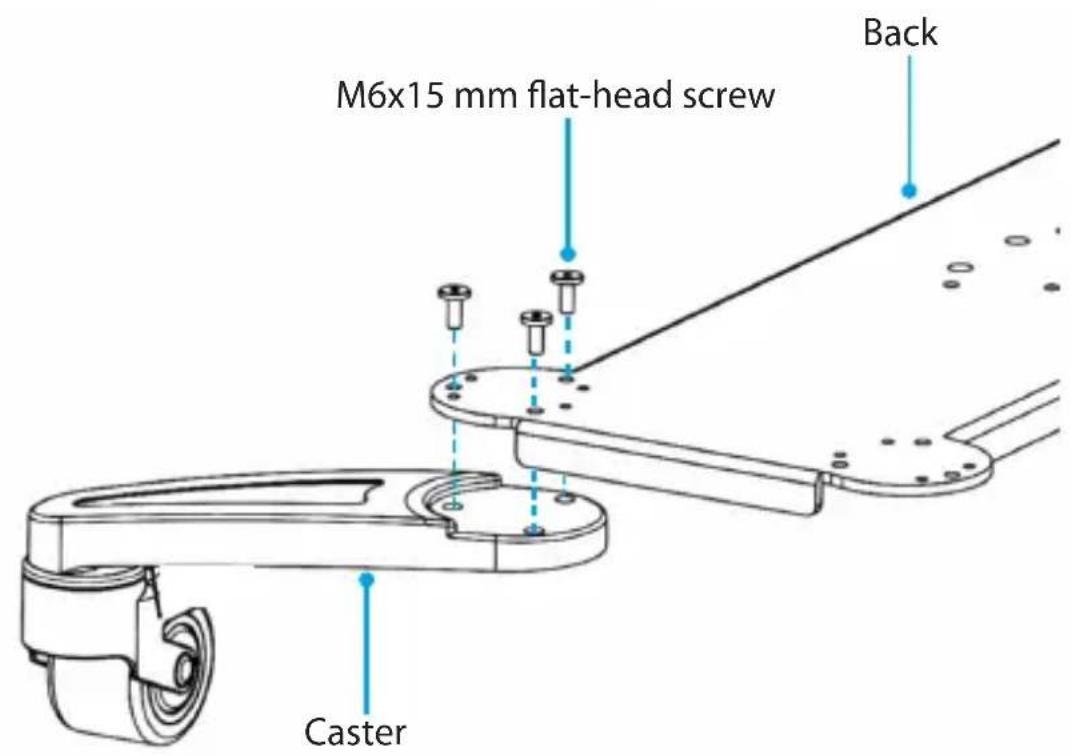
Insert three of the M6x15 mm flat-head screws through the top of the base and into the caster. (figure 1)
figure 1
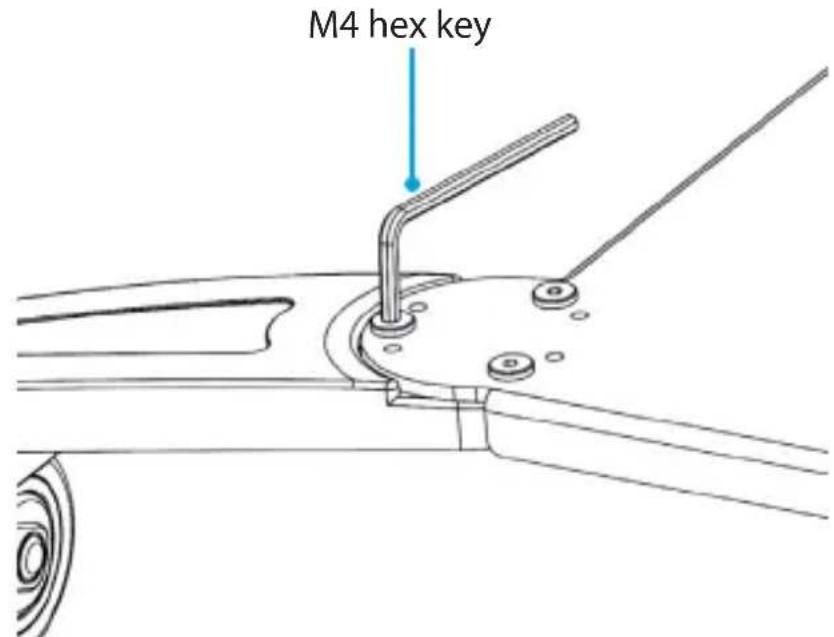
- Use the M4 hex key to tighten the screws. (figure 2)
figure 2
-
Repeat steps 1 to 3 to attach the second non-locking caster to the other corner of the back edge of the base.
-
Repeat steps 1 to 3 to attach the locking casters to the front corners of the base. (figure 3)
figure 3
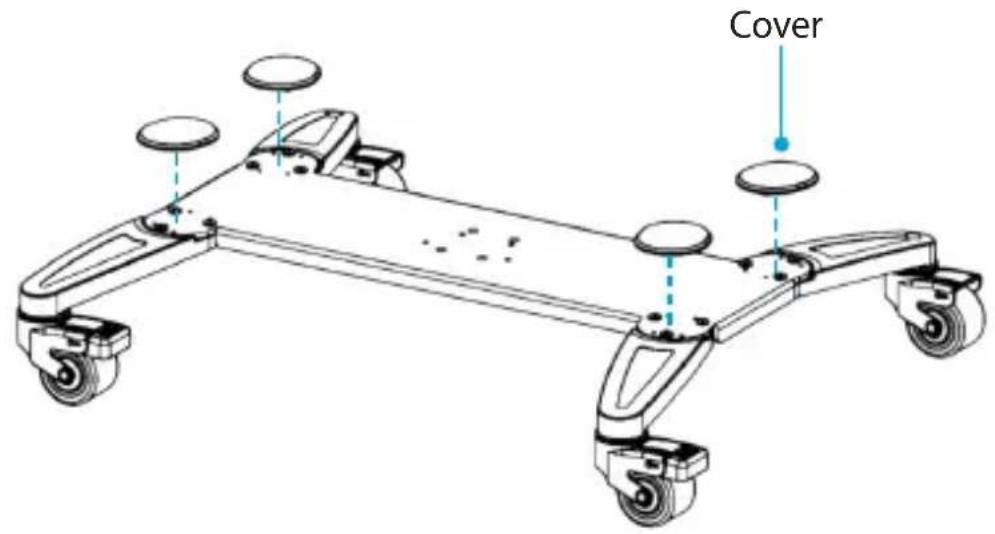
- Snap a cover over all four corners of the base. (figure 4)
figure 4
Attach the column to the desktop
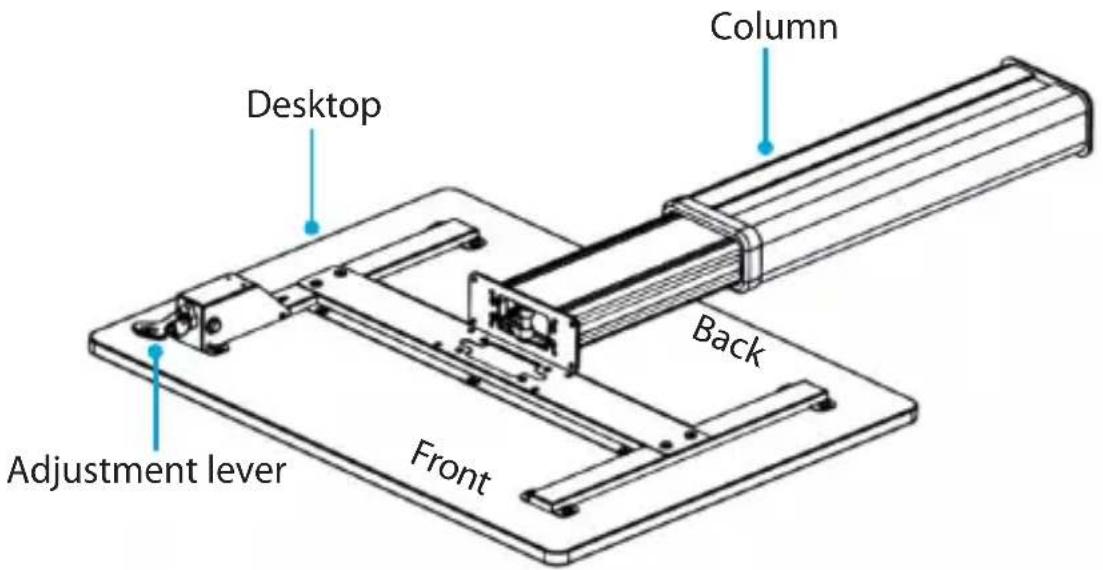
The desktop includes a wire cable with an end connector that you use to connect to the spring release in the column.
- Turn over the desktop so that the underside is facing up.
- Position the column so that the side labeled "Back" is laying on the back side of the desktop. (figure 5)
Note: The edge of the desktop with the adjustment lever is considered the front of the desktop and the opposite edge is considered the back.
figure 5
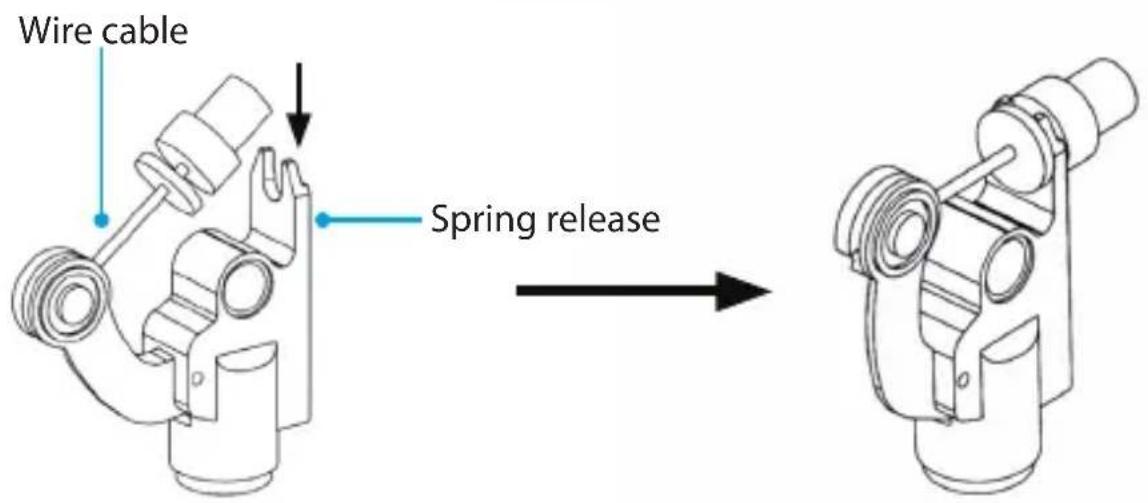
- Place the end connector attached to the wire cable into the circular opening in the spring release in the column.
- Thread the wire cable through the opening in the spring release and along the circular projection. (figure 6)
- Snap the wire into the tab on the other side of the spring release. (figure 7)
figure 6 figure 7
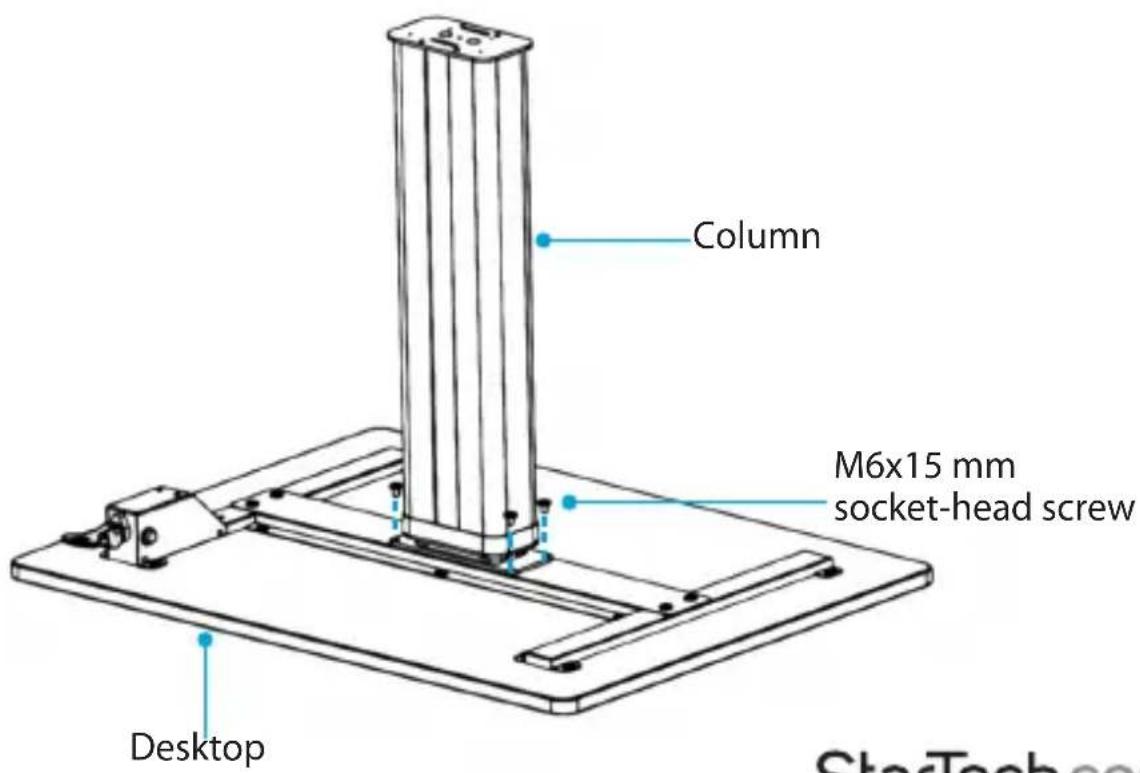
- Lift the column up and line up the assembly holes in the column with the holes on the underside of the desktop.
- Insert four of the M6x15 mm socket-head screws through the column and into the desktop. (figure 8)
- Use the M5 hex key to tighten the screws.
figure 8
Attach the column assembly to the base assembly
-
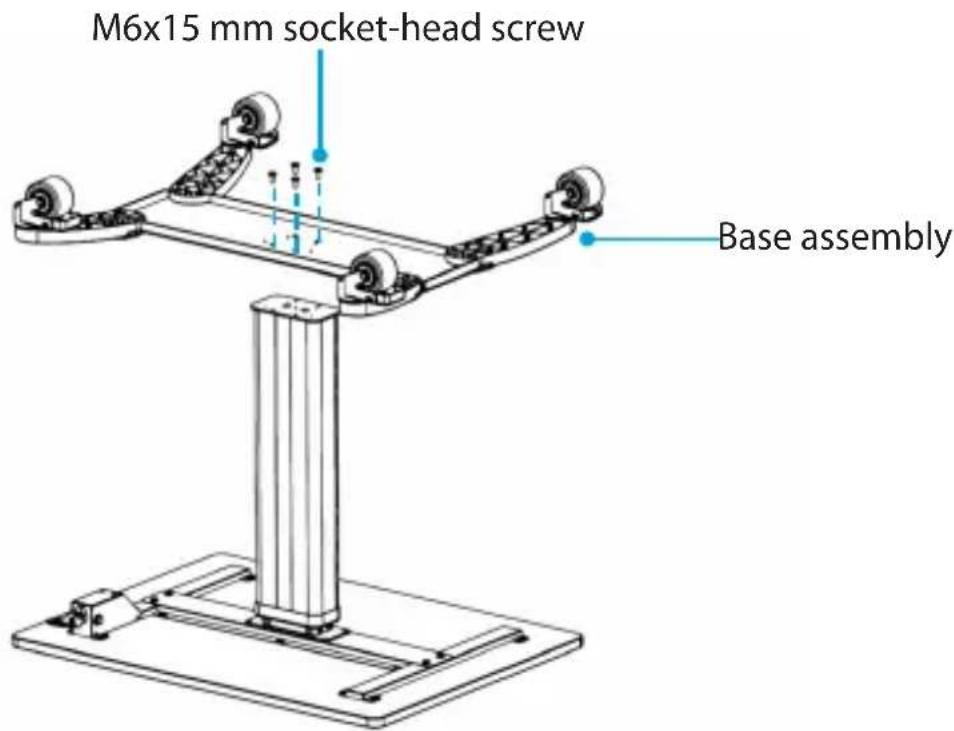
Position the base assembly so that the front of the base is in line with the front of the desktop.
-
Insert four of the M6x15 mm socket-head screws through the base assembly and into the column assembly. (figure 9)
figure 9
-
Use the M5 hex key to tighten the screws.
-
Carefully turn the assembly over.
-
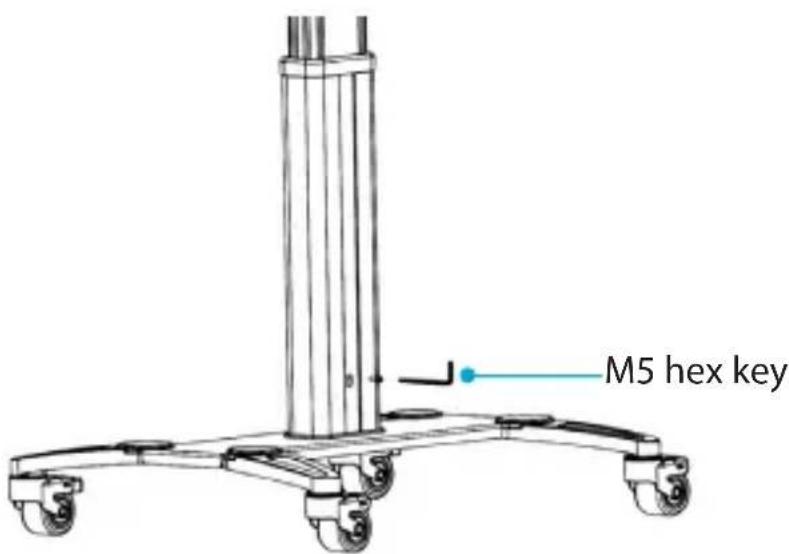
Use the M5 hex key to remove the safety screw from the back of the column (figure 10).
figure 10
Using the mobile sit-stand desk
Move the desktop up or down
Warning! Before you move the desktop up or down, make sure that the equipment on the desktop is secure. If your equipment is not stable, it could fall off of the desktop as you move it and the equipment could be damaged.
Warning! Exercise caution when you raise the desktop because it can move with force and cause personal injury or damage to your equipment.
Caution! Before you raise the desktop, make sure that the cables you're using are long enough to accommodate the increased height.
Do any of the following:
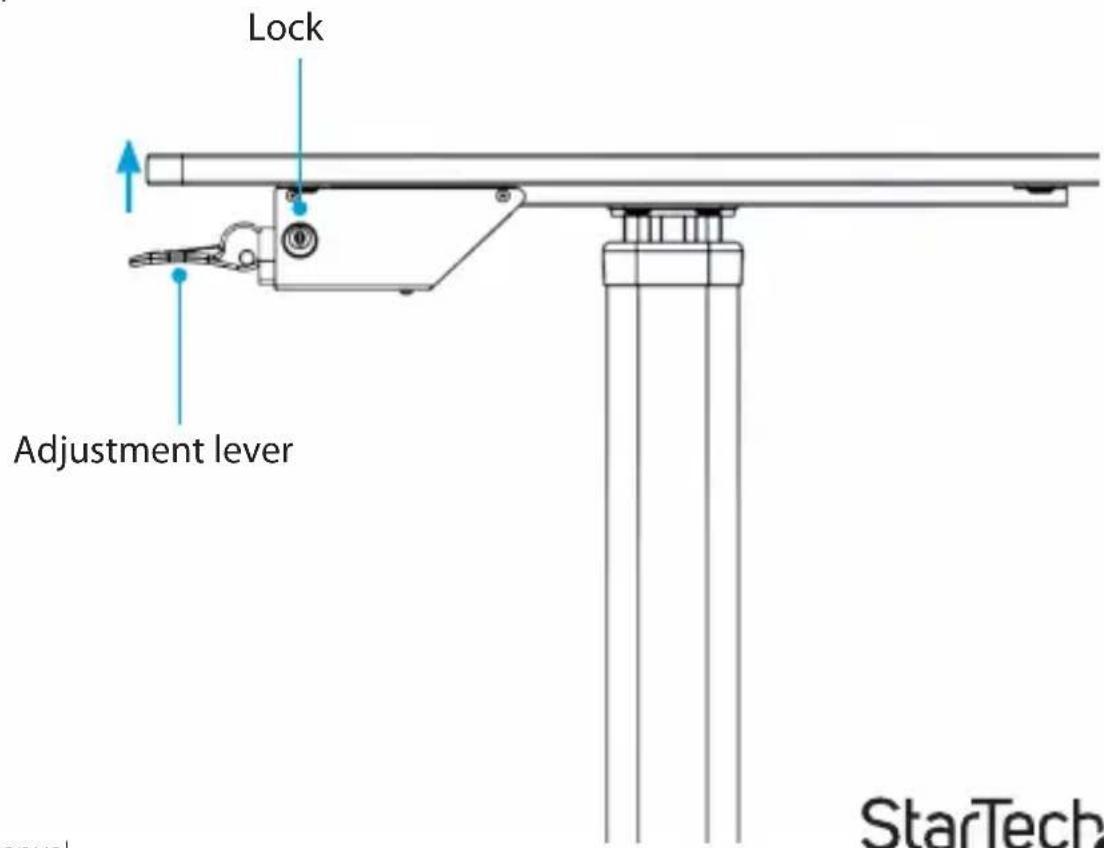
- To raise the desktop, squeeze the adjustment lever located on the right side of the desktop. (figure 11)
• To lower the desktop, squeeze the adjustment lever and push down on the desktop. - To lock the adjustment lever so that the desktop can't be raised or lowered, insert one of the provided keys into the lock on the side of the adjustment lever and turn the key counterclockwise.
figure 11
Lock the locking casters
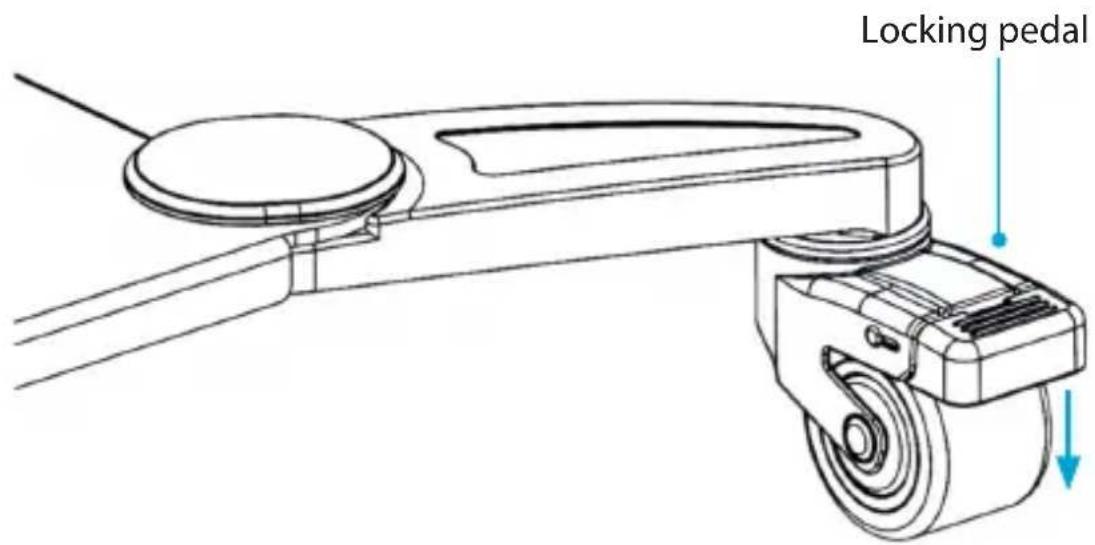
• To prevent the mobile sit-stand from moving, press the locking pedals located on the two locking casters at the front of the mobile sit-stand. (figure 12)
- Press the black tabs on the locking casters to release the locking pedals.
figure 12
Manage your cables
-
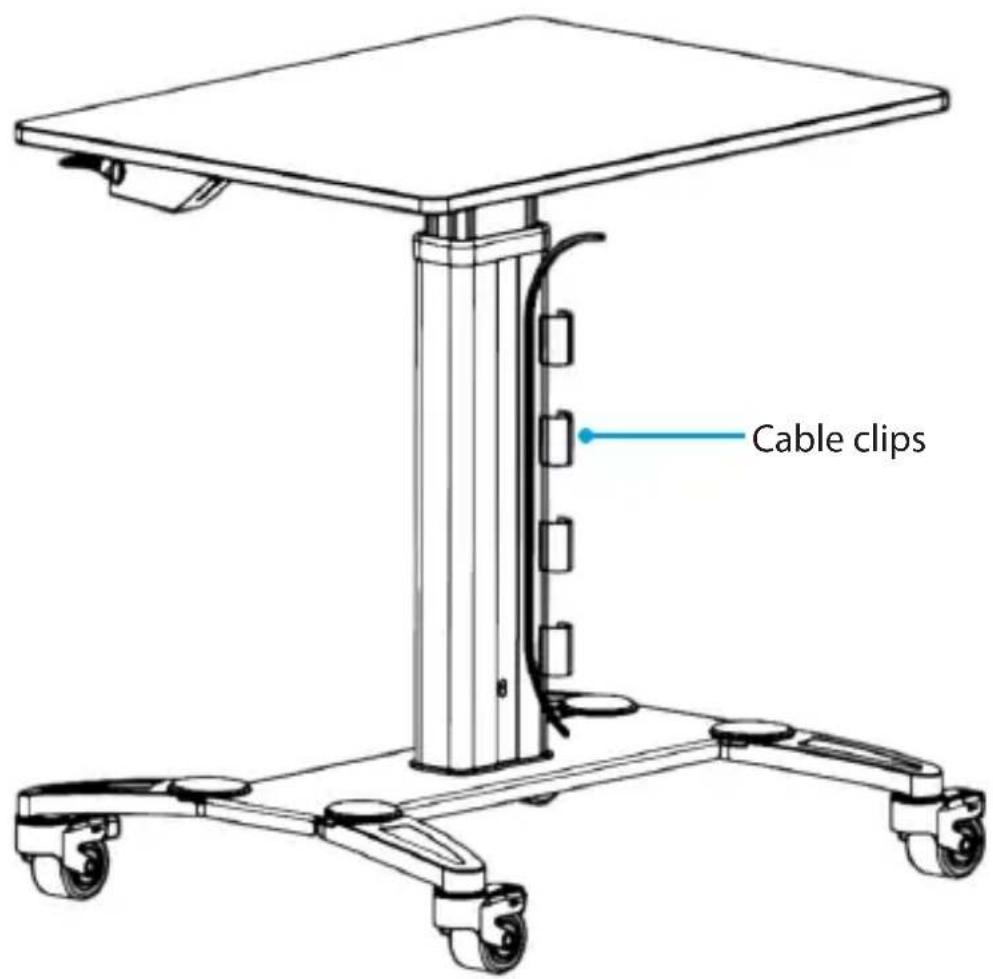
Snap the cable clips into the grooves located on the bottom half of the column at the back or front of the mobile sit-stand.
-
Position your cables down the column and through the cable clips. (figure 13)
figure 13
Technical support
StarTech.com's lifetime technical support is an integral part of our commitment to provide industry-leading solutions. If you ever need help with your product, visit www.startech.com/support and access our comprehensive selection of online tools, documentation, and downloads.
For the latest drivers/software, please visit www.startech.com/downloads
Warranty information
This product is backed by a two-year warranty.
StarTech.com warrants its products against defects in materials and workmanship for the periods noted, following the initial date of purchase. During this period, the products may be returned for repair, or replacement with equivalent products at our discretion. The warranty covers parts and labor costs only. StarTech.com does not warrant its products from defects or damages arising from misuse, abuse, alteration, or normal wear and tear.
Limitation of liability
In no event shall the liability of StarTech.com Ltd. and StarTech.com USA LLP (or their officers, directors, employees or agents) for any damages (whether direct or indirect, special, punitive, incidental, consequential, or otherwise), loss of profits, loss of business, or any pecuniary loss, arising out of or related to the use of the product exceed the actual price paid for the product. Some states do not allow the exclusion or limitation of incidental or consequential damages. If such laws apply, the limitations or exclusions contained in this statement may not apply to you.
Hard-to-find made easy. At StarTech.com, that isn't a slogan. It's a promise.
StarTech.com is your one-stop source for every connectivity part you need. From the latest technology to legacy products — and all the parts that bridge the old and new — we can help you find the parts that connect your solutions.
We make it easy to locate the parts, and we quickly deliver them wherever they need to go. Just talk to one of our tech advisors or visit our website. You'll be connected to the products you need in no time.
Visit www.startech.com for complete information on all StarTech.com products and to access exclusive resources and time-saving tools.
StarTech.com is an ISO 9001 Registered manufacturer of connectivity and technology parts. StarTech.com was founded in 1985 and has operations in the United States, Canada, the United Kingdom and Taiwan servicing a worldwide market.
- Use of Trademarks, Registered Trademarks, and other Protected Names and Symbols
- Warning statements
- Varningsmeddelanden
- Product dimensions
- Product diagram
- Technical specifications
- Package contents
- Assembly
- Attach the casters to the base
- Attach the column to the desktop
- Attach the column assembly to the base assembly
- Using the mobile sit-stand desk
- Move the desktop up or down
- Lock the locking casters
- Manage your cables
- Technical support
- Warranty information
- Limitation of liability
Brand : StarTech.com
Model : STSCART
Category : Office