
Electrical Assembly - Projector accessory DA-LITE - Free user manual and instructions
Find the device manual for free Electrical Assembly DA-LITE in PDF.


| Product Type | Projector Screen Electrical Assembly |
| Brand | Da-Lite |
| Model | Electrical Assembly |
| Compatible Screens | Da-Lite Tensioned, Manual, and other compatible screens |
| Motor Type | Quiet DC motor with encoder |
| Voltage | 100-240V AC, 50/60Hz |
| Power Consumption | 150W typical |
| Maximum Load | 50 lbs (22.7 kg) |
| Drop Distance | Up to 12 ft (3.66 m) |
| Control Options | Wall switch, IR remote, RS232 (optional) |
| Dimensions (L x W x H) | 96 x 4 x 4 in (243.8 x 10.2 x 10.2 cm) |
| Weight | 25 lbs (11.3 kg) |
| Material | Steel housing, aluminum roller |
| Installation | Ceiling mount or wall mount |
| Safety Features | Overload protection, limit switches, thermal cutoff |
| Maintenance | Dust with dry cloth; lubricate roller annually |
| Cleaning | Use soft, lint-free cloth; avoid harsh chemicals |
| Spare Parts Available | Motor, power supply, remote control, mounting brackets |
| Reparability | Modular design; replaceable motor and electronics |
| Warranty | 2 years limited |
| Certifications | UL, CE |
Frequently Asked Questions - Electrical Assembly DA-LITE
User questions about Electrical Assembly DA-LITE
0 question about this device. Answer the ones you know or ask your own.
Ask a new question about this device
Download the instructions for your Projector accessory in PDF format for free! Find your manual Electrical Assembly - DA-LITE and take your electronic device back in hand. On this page are published all the documents necessary for the use of your device. Electrical Assembly by DA-LITE.
USER MANUAL Electrical Assembly DA-LITE
Phillips screwdriver, 38 " wrench
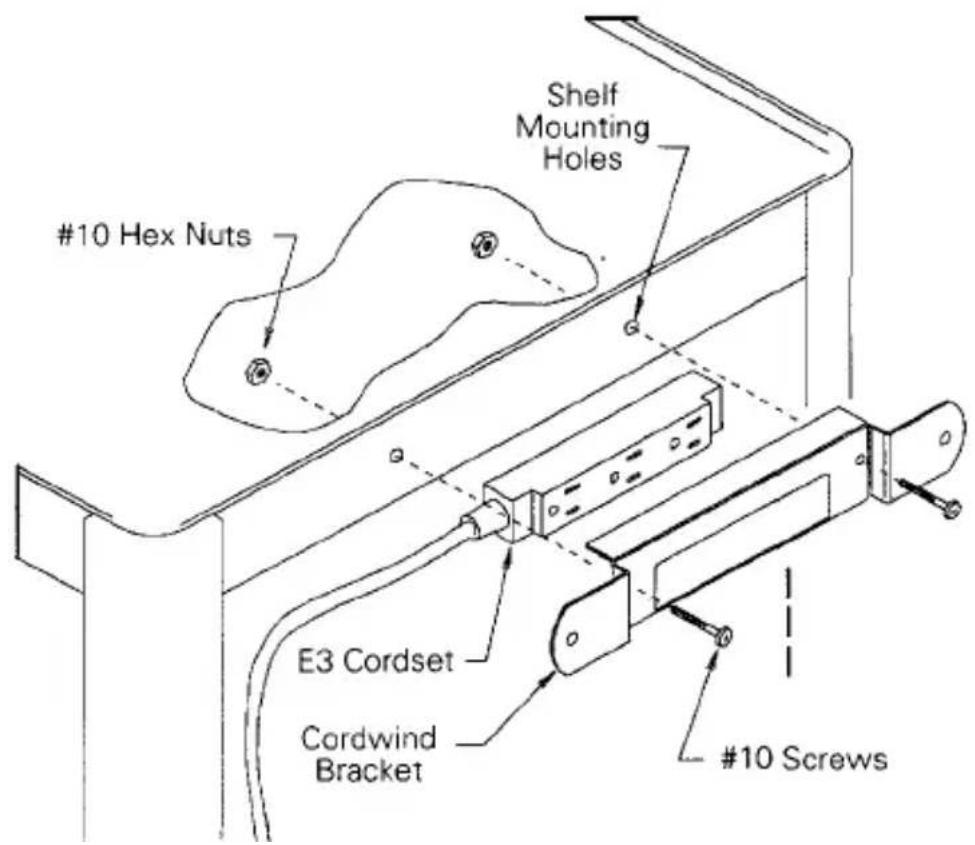
- Advance provides 6" on center mounting holes for the E3 cordset on all of its tables.
- To install the cordset, insert the molded receptacle through the rectangular slot in the cordwind bracket.
- Fasten the cordset/bracket to the table with the #10 fasteners provided. Refer to the illustration for detail.
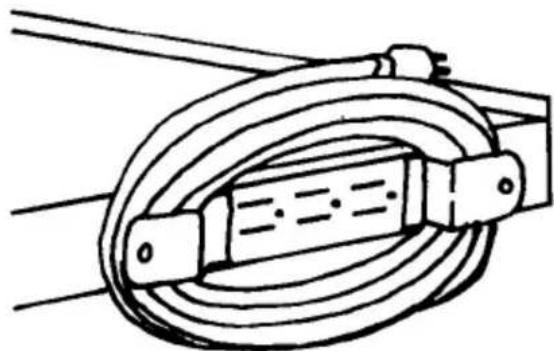
- Wind the cord around the cordwind bracket when the table is in transport or cordset is not in use.
DA-LITE
Assembly Instructions
For
ADVANCE
E-3 CORDSET
natural_image
Simple line drawing of a coiled cable or hose with connectors (no text or symbols)DA-LITE SCREEN
COMPANY, INC.
3100 North Detroit Street
Post Office Box 137
Warsaw, IN 46581-0137
Phone: 219/267-8101
1-800-622-3737
Fax: 219/267-7804
http://www.da-lite.com
e-mail: info@da-lite.com
PROCEDURES
TOOLS REQUIRED
Phillips screwdriver
- Unpack cordset and cord wind bracket. Arrange and organize related hardware as shown.
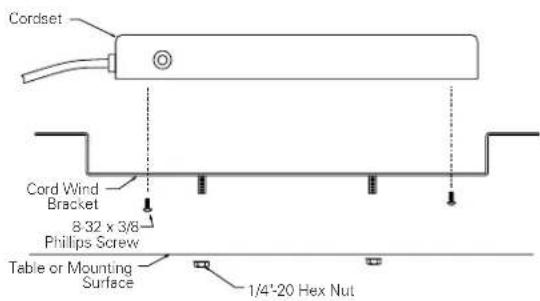
- Fasten cord wind bracket to cordset with the phillips screws.
- Fasten cordset/bracket assembly to table through mounting bolts
Cordset Specifications
Electrical Rating 125 VAC
Max. Surge Voltage 6,000 volts
Max. Surge Dissipation 50 Joules
Max. Spike Current 45,000 amps @ 25°C.
Max. Clamping Ratio 1.2:1
Clamping Voltage 175 Volts
Clamping Response Time < 10 nanoseconds
Temperature Range -40 C to +80 C
The
POWER
PRESENTATION PRODUCTS
natural_image
Illustration of a globe with multiple video and screen thumbnails, alongside a cable with a device (no text or symbols)Assembly Instructions
for
ADVANCE
E6S2 CORDSET

DA-LITE SCREEN COMPANY, INC.
3100 North Detroit Street
Post Office Box 137
Warsaw, Indiana 46581-0137
Phone: 574-267-8101
800-622-3737
Fax: 574-267-7804
www.da-lite.com
e-mail: info@da-lite.com


Brand : DA-LITE
Model : Electrical Assembly
Category : Projector accessory