
DS-5RSS - NAS Sabrent - Free user manual and instructions
Find the device manual for free DS-5RSS Sabrent in PDF.


| Product Type | External RAID Enclosure |
| Brand | Sabrent |
| Model | DS-5RSS |
| Drive Bays | 5 (supports 2.5" and 3.5" SATA HDD/SSD) |
| Interface | USB 3.2 Gen 2 Type-C (10 Gbps) |
| RAID Modes | RAID 0, 1, 5, 10, JBOD |
| Max Storage Capacity | Up to 100 TB (5 x 20 TB drives) |
| Data Transfer Speed | Up to 10 Gbps |
| Cooling System | 120 mm fan with smart speed control |
| Power Supply | External power adapter (12V/6A) |
| Dimensions (LxWxH) | 9.8 x 5.3 x 7.5 inches |
| Weight | 4.2 lbs |
| LED Indicators | Power, HDD activity, RAID status |
| Material | Aluminum alloy body with ABS plastic |
| Operating Temperature | 0°C to 40°C |
| Storage Temperature | -20°C to 60°C |
| Supported Drives | SATA I/II/III, 2.5/3.5 inch |
| Tool-less Drive Installation | Yes (trayless) |
| Security | No built-in encryption (relies on OS) |
| Spare Parts | Power adapter, USB-C cable, drive screws |
| Care | Keep dry, avoid dust, do not block vents |
Frequently Asked Questions - DS-5RSS Sabrent
User questions about DS-5RSS Sabrent
0 question about this device. Answer the ones you know or ask your own.
Ask a new question about this device
Download the instructions for your NAS in PDF format for free! Find your manual DS-5RSS - Sabrent and take your electronic device back in hand. On this page are published all the documents necessary for the use of your device. DS-5RSS by Sabrent.
USER MANUAL DS-5RSS Sabrent
5-BAY USB 3.0 RAID DOCKING STATION FOR 2.5" SATA DISKS AND SSDs
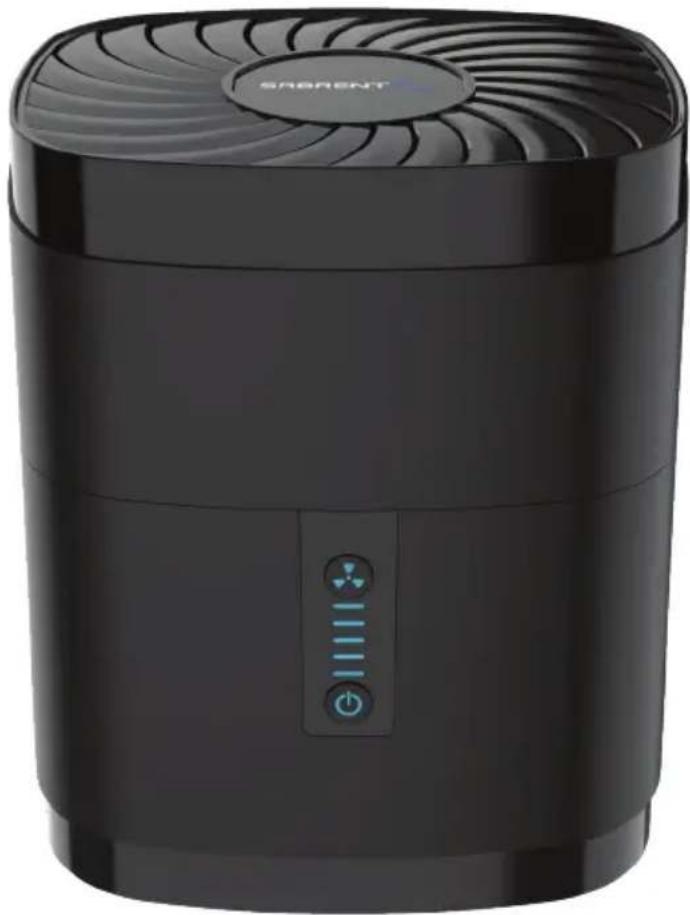
natural_image
Black SAGRENT air purifier device with digital display and control buttons (no visible text or symbols on body)WITH BUILT-IN COOLING FAN
USER MANUAL
FEATURES
- Expand your storage space professionally. Read and write up to five disks or SSDs simultaneously.
- Configure it for single-mode use or into a RAID array with a built-in controller capable of RAID 0, RAID 1, RAID 3, RAID 5, RAID 10 or JBOD.
- Get a stable and reliable USB connection on systems that lack sufficient power over USB ports and the right amount of internal SATA ports.
- Hot Swappable / Plug & Play. Supports 2.5" SATA I / II / III HDD and SSDs.
- Independent cooling fan can be switched on and off as desired.
- Individual LED power indicators.
- Tool-free installation with fast and convenient access to the disk bays.
NOTE: Maximum HD/SSD thickness is 9.5mm.
natural_image
Line drawing of a cylindrical air conditioner unit with fan grille and control panel (no text or symbols)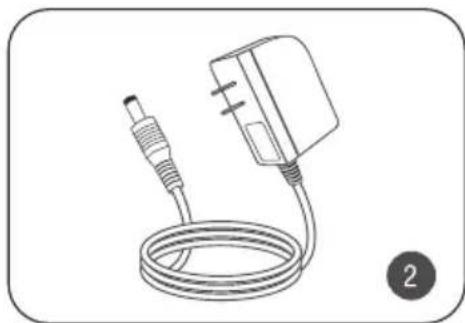
natural_image
Line drawing of a cable with a plug and power adapter, no text or symbols present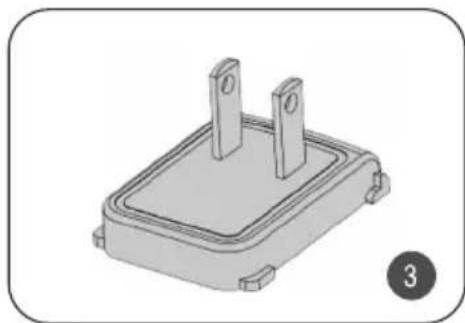
natural_image
3D rendering of a rectangular electronic component with two vertical slots and mounting base (no text or symbols)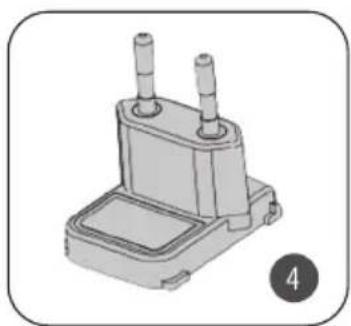
natural_image
3D rendering of a mechanical component with two cylindrical ports and a base plate (no text or symbols)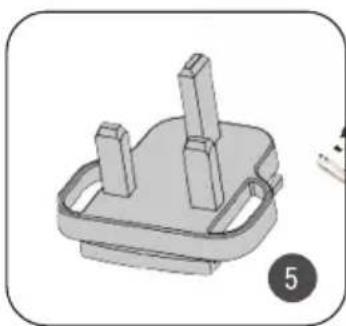
natural_image
3D rendered mechanical component with two protruding rods and a base plate (no text or symbols)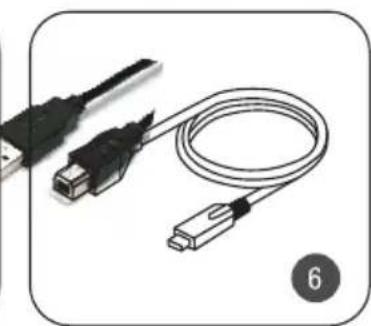
natural_image
Illustration of a USB cable with two connectors and a connector, labeled with number 6 (no text or symbols on the cable itself)
natural_image
Simple line drawing of a document with a numbered circle (7) beside it, no text or symbols present.PACKAGE CONTENTS
- 5-Bay docking station.
- 100-240V AC to 12V 4AMP DC power supply.
- US plug adapter.
-
Europe and South America plug adapter.
-
UK plug adapter.
- USB Type-B to Type-A cable.
- User Guide.
CONNECTION DIAGRAM
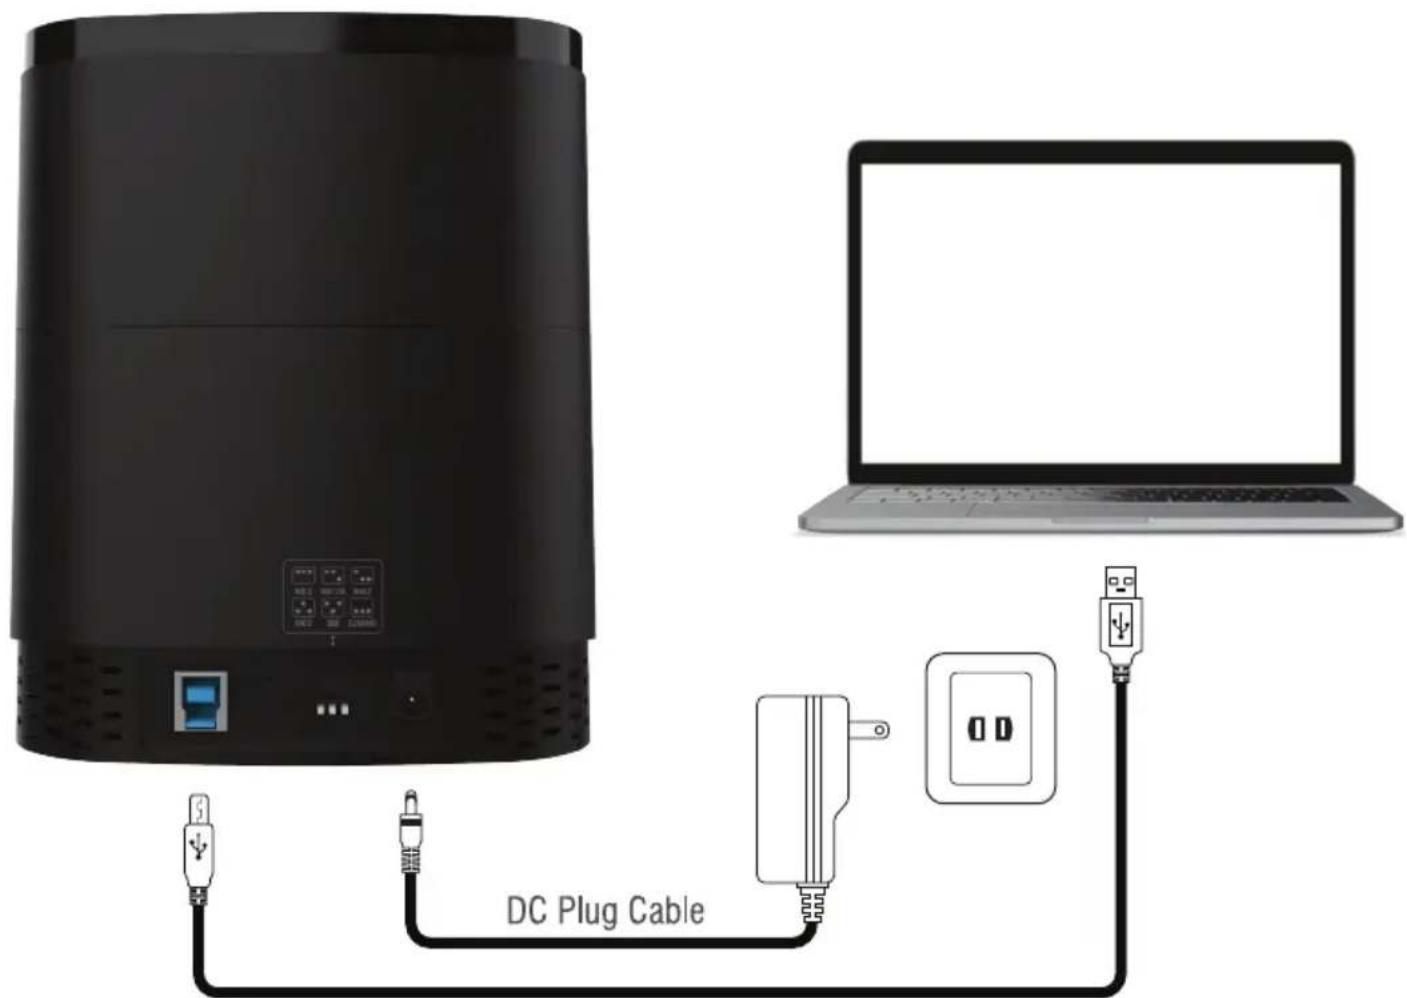
USB-B / USB-A Cable
LED STATUS INDICATORS
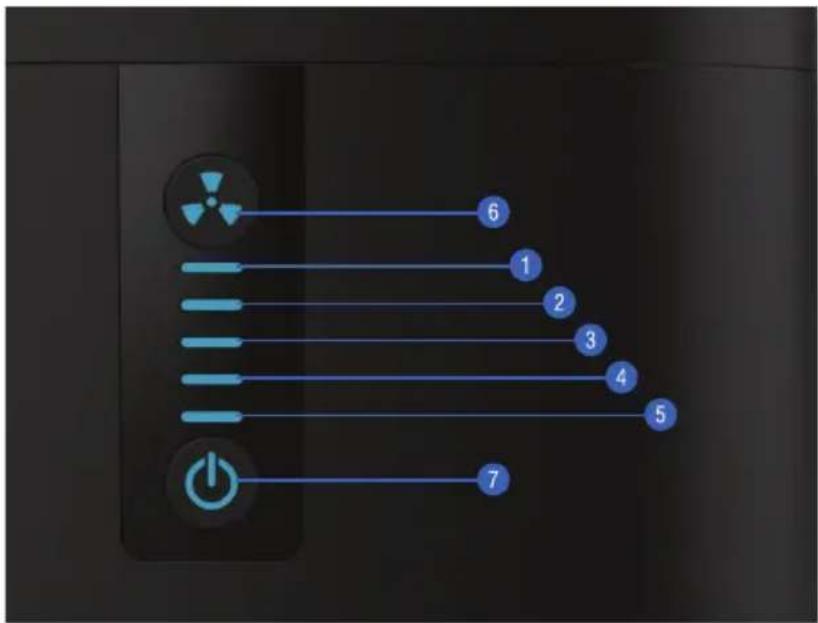
| # | COLOR | FUNCTION | DESCRIPTION |
| 1 | BLUE | POWER LED | INDICATES 2.5" DISK #1 IS CONNECTED |
| 2 | BLUE | POWER LED | INDICATES 2.5" DISK #2 IS CONNECTED |
| 3 | BLUE | POWER LED | INDICATES 2.5" DISK #3 IS CONNECTED |
| 4 | BLUE | POWER LED | INDICATES 2.5" DISK #4 IS CONNECTED |
| 5 | BLUE | POWER LED | INDICATES 2.5" DISK #5 IS CONNECTED |
| 6 | BLUE | FAN POWER BUTTON | SOLID BLUE TO INDICATE THE COOLING FAN IS ON |
| 7 | BLUE | MAIN POWER BUTTON | SOLID BLUE TO INDICATE THE UNIT IS ON |
FRONT AND REAR VIEWS
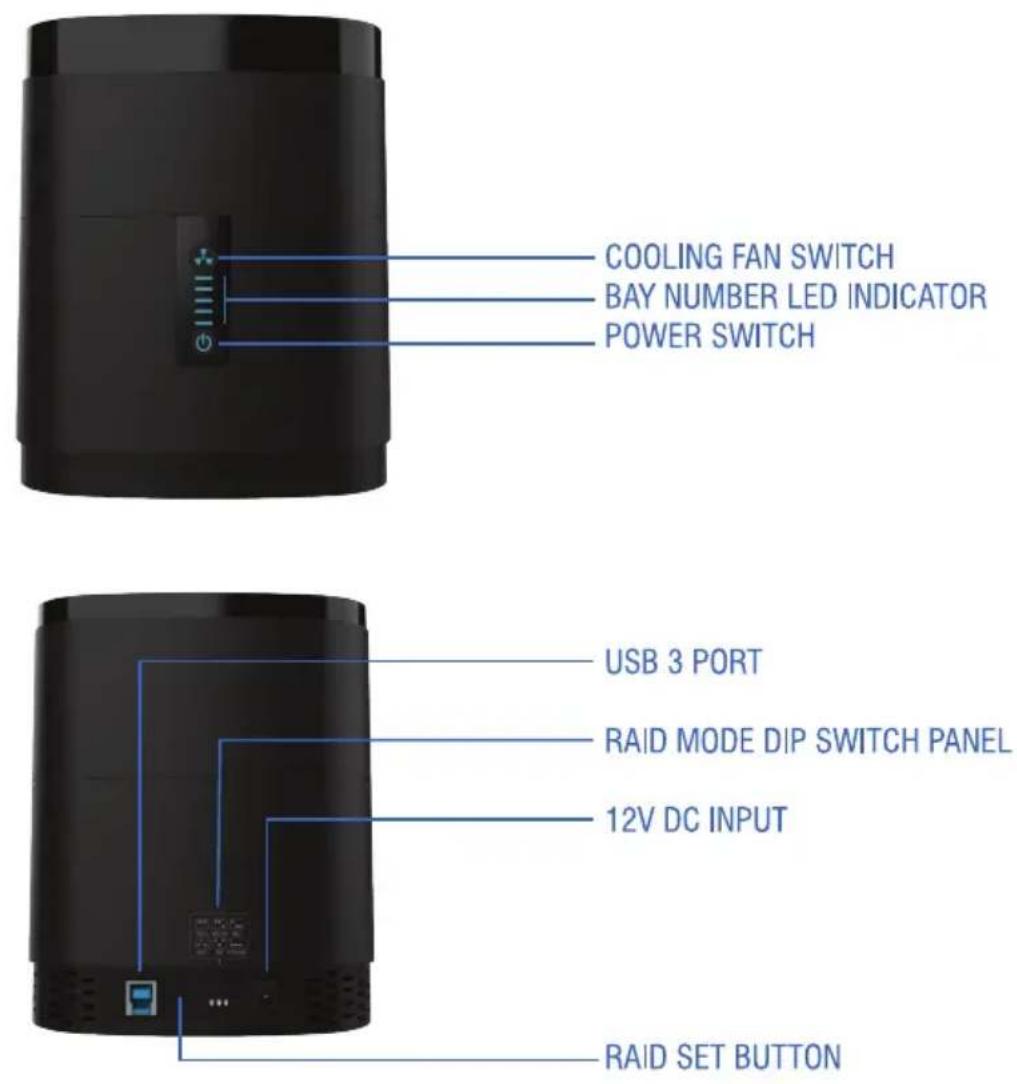
COOLING FAN SWITCH
BAY NUMBER LED INDICATOR
POWER SWITCH
USB 3 PORT
RAID MODE DIP SWITCH PANEL
12V DC INPUT
RAID SET BUTTON
AVAILABLE RAID MODES
| RAID0 | 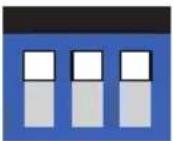 |
| RAID1/0 | 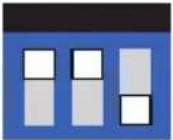 |
| RAID3 | 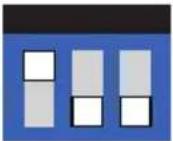 |
| RAID5 | 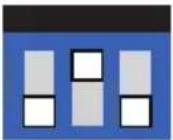 |
| JBOD | 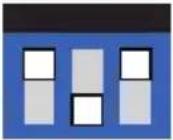 |
| Clear RAID | 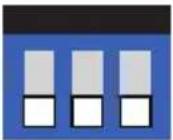 |
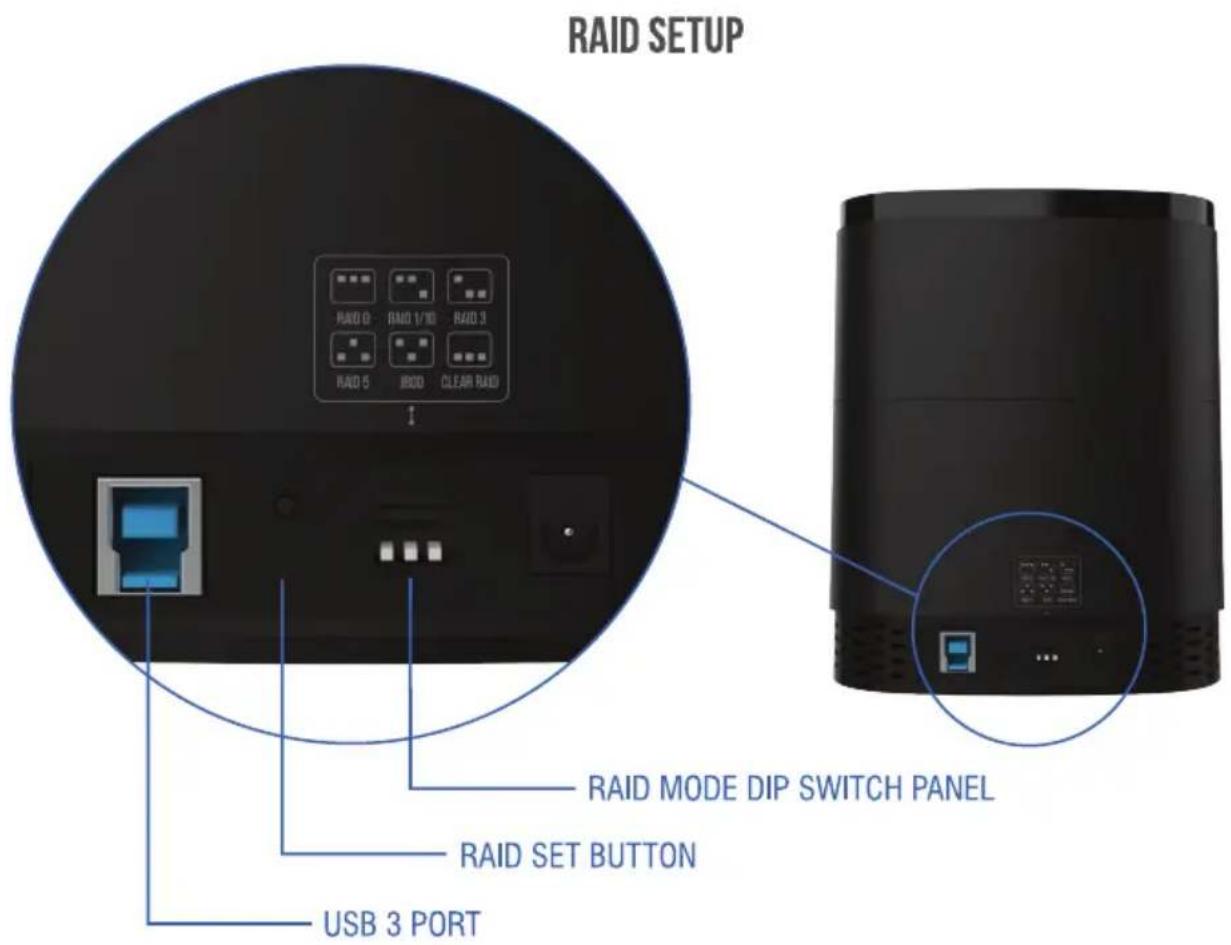
- Use the dip switch panel to select the desired RAID mode.
- Press and hold the SET button for 5 to 7 seconds for the RAID controller to start building the RAID array.
- Remember to format and assign a letter to your newly created RAID volume.
WARNING: Changing the RAID mode requires formatting the disks. Make sure to backup your existing data before proceeding because it will be erased.
RAID 0 (also known as a striped volume) splits data evenly across two or more disks, without parity information, redundancy, or fault tolerance. Since RAID 0 provides no fault tolerance or redundancy, the failure of one drive will cause the entire array to fail; as a result of having data striped across all disks, the failure will result in total data loss. This configuration is typically implemented having speed as the intended goal. RAID 0 is normally used to increase performance, although it can also be used as a way to create a large logical volume out of two or more physical disks.
RAID 1 consists of an exact copy (or mirror) of a set of data on two or more disks; a classic RAID 1 mirrored pair contains two disks. This configuration offers no parity, striping, or spanning of disk space across multiple disks, since the data is mirrored on all disks belonging to the array, and the array can only be as big as the smallest member disk. This layout is useful when reading performance or reliability is more important than writing performance or the resulting data storage capacity. The array will continue to operate so long as at least one member drive is operational.
RAID 1/0 (striping of mirrors) is obtained by combining RAID 1 and RAID 0. RAID 10 fast and resilient at the same time. If you need hardware-level protection for your data and faster storage performance, RAID 10 is a simple, relatively inexpensive fix. RAID 10 is secure because mirroring duplicates all your data. It's fast because the data is striped across multiple disks; chunks of data can be read and written to different disks simultaneously. To implement RAID 10, you need at least four physical hard drives.
RAID 3, which is rarely used in practice, consists of byte-level striping with a dedicated parity disk. One of the characteristics of RAID 3 is that it generally cannot service multiple requests simultaneously, which happens because any single block of data will, by definition, be spread across all members of the set and
will reside in the same physical location on each disk. Therefore, any I/O operation requires activity on every disk and usually requires synchronized spindles.
This makes it suitable for applications that demand the highest transfer rates in long sequential reads and writes, for example uncompressed video editing. Applications that make small reads and writes from random disk locations will get the worst performance out of this level.
RAID 5 consists of block-level striping with distributed parity. Parity information is distributed among the drives. It requires that all drives but one be present to operate. Upon failure of a single drive, subsequent reads can be calculated from the distributed parity such that no data is lost. RAID 5 requires at least three disks. RAID 5's distributed parity evens out the stress of a dedicated parity disk among all RAID members. Additionally, write performance is increased since all RAID members participate in the serving of write requests. Although it will not be as efficient as a striping (RAID 0) setup, because parity must still be written, this is no longer a bottleneck.
JBOD (also called concatenated) is not a RAID, it is a group of disks connected together for the purpose of creating a larger volume. As in RAID 0, JBOD provides no fault tolerance or redundancy. The failure of one drive will cause the entire array to fail and will result in total data loss.
CLEAR RAID disables all RAID functionality. The docking station will see each disk as an independent disk and will let the operating system see them as single units.
DISK FAILURE AND REPLACEMENT
When a disk from the RAID fails, the corresponding LED will start to flash in red. Remove the failing disk and replace it with a new one of the same or bigger capacity. Depending on the selected RAID mode, after rebuilding the array, the red LED should turn to blue, indicating normal operation.
1
natural_image
Black rectangular electronic device with ventilation grille and control buttons (no visible text or symbols)
natural_image
Black rectangular electronic device with a circular grille and a circular top (no visible text or symbols)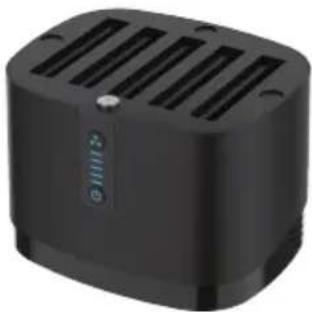
natural_image
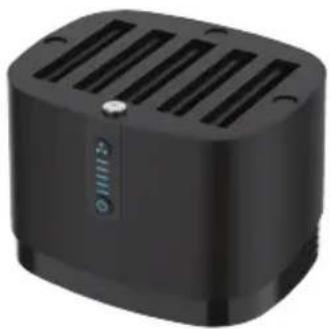
Black rectangular electronic device with ventilation slots and a small indicator light (no visible text or symbols)
natural_image
Black rectangular electronic device with ventilation slots and a small indicator light (no visible text or symbols)STEP 1
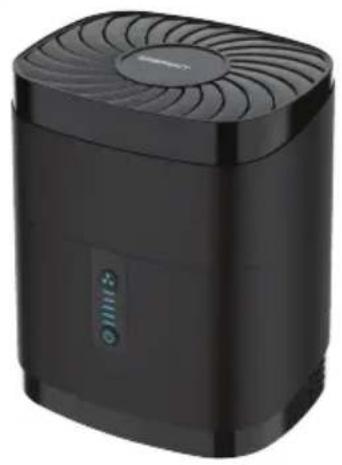
Open the docking station by lifting the magnetic lid straight up.
2
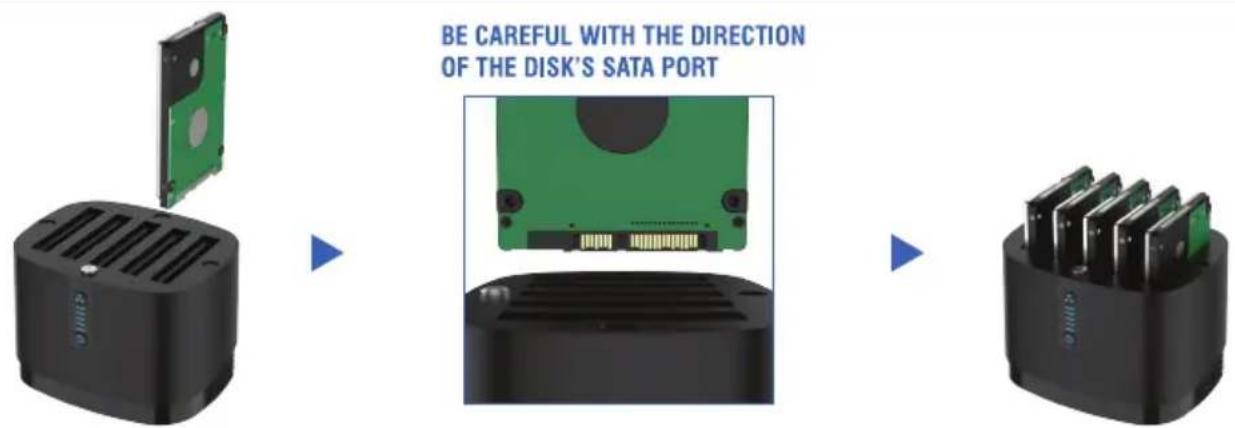
STEP 2
Carefully insert each disk until it is properly connected to the SATA connector at the bottom of each bay. Be careful with the direction of the SATA port as it can only go one way. Avoid damaging the connector.
3
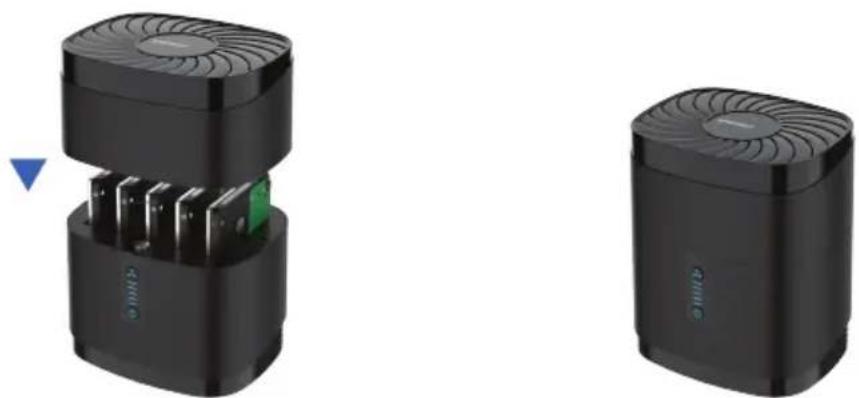
STEP 3
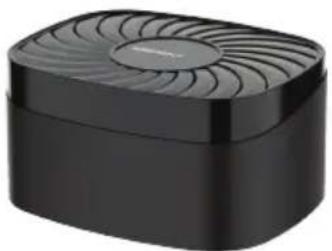
Place back the magnetic lid to close the docking station.
Use the front power switch to turn the unit it on and the fan switch to turn on the built-in cooling fan.
TROUBLESHOOTING
My Computer Will Not Recognize My Docking Station:
- Make sure the USB cable is properly connected to your docking station and computer.
- Try connecting the docking station to a different USB port on your computer or laptop. It may take up to 60 seconds for the computer to recognize the docking station.
- Make sure you have the most recent updates for your operating system.
- Make sure your power outlet is working.
- Plug your USB device directly into a USB port on your computer (if plugged into a USB hub).
- If your computer still does not recognize the device, please contact Sabrent support.
Connection Is Slow:
Make sure the docking station is connected directly to a USB 3.0 port on your computer. Do not use a USB hub. While the docking station is backwards compatible, when connected to a USB 2.0 or 1.1 port, the docking station will operate at much slower speed.
Power Issues:
Try the power adapter on a different power outlet. Make sure that the power adapter is securely connected to the docking station.
Docking Station Disconnects From Computer:
Make sure the USB cable is securely connected to your docking station and computer. Connect the power adapter to the docking station and a working power outlet. Try connecting the docking station to a different USB port on your computer. Check your computer's sleep or standby settings.

FOR HELP, COMMENTS, QUESTIONS OR CONCERNS PLEASE CONTACT OUR TECH SUPPORT TEAM VIA OUR WEBSITE
WWW.SABRENT.COM
Brand : Sabrent
Model : DS-5RSS
Category : NAS