PT86H - User interface Allsee - Free user manual and instructions
Find the device manual for free PT86H Allsee in PDF.


| Product Type | Interactive Flat Panel Display |
| Model | PT86H |
| Brand | Allsee |
| Screen Size | 86 inches (diagonal) |
| Resolution | 3840 x 2160 (4K UHD) |
| Brightness | 350 cd/m² |
| Contrast Ratio | 4000:1 |
| Touch Technology | Infrared, 10-point touch |
| Viewing Angle | 178° horizontal / 178° vertical |
| Operating System | Android |
| Processor | Quad-core |
| RAM | 4 GB |
| Storage | 32 GB |
| Connectivity | HDMI (x3), VGA, USB 2.0 (x2), USB 3.0, LAN, Wi-Fi, Bluetooth |
| Power Supply | AC 100-240V, 50/60Hz |
| Power Consumption (Typical) | ≤350 W |
| Standby Power | ≤0.5 W |
| Dimensions (W x H x D) | 1950 x 1130 x 80 mm |
| Weight | 60 kg |
| VESA Mount Pattern | 600 x 400 mm |
| Included Accessories | Touch pen, remote control, power cable, user manual |
Frequently Asked Questions - PT86H Allsee
User questions about PT86H Allsee
0 question about this device. Answer the ones you know or ask your own.
Ask a new question about this device
Download the instructions for your User interface in PDF format for free! Find your manual PT86H - Allsee and take your electronic device back in hand. On this page are published all the documents necessary for the use of your device. PT86H by Allsee.
USER MANUAL PT86H Allsee
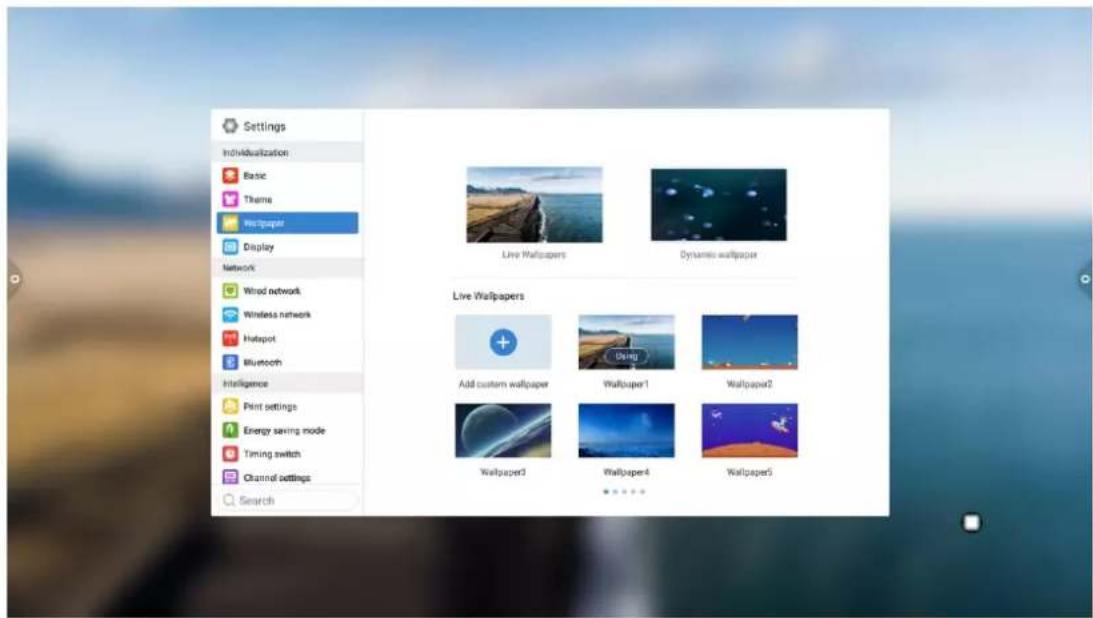
1. Wallpaper
Wallpaper has dynamic and static wallpaper or can be added by custom. Custom added wallpaper will be stored in static wallpaper and can be deleted by long press.
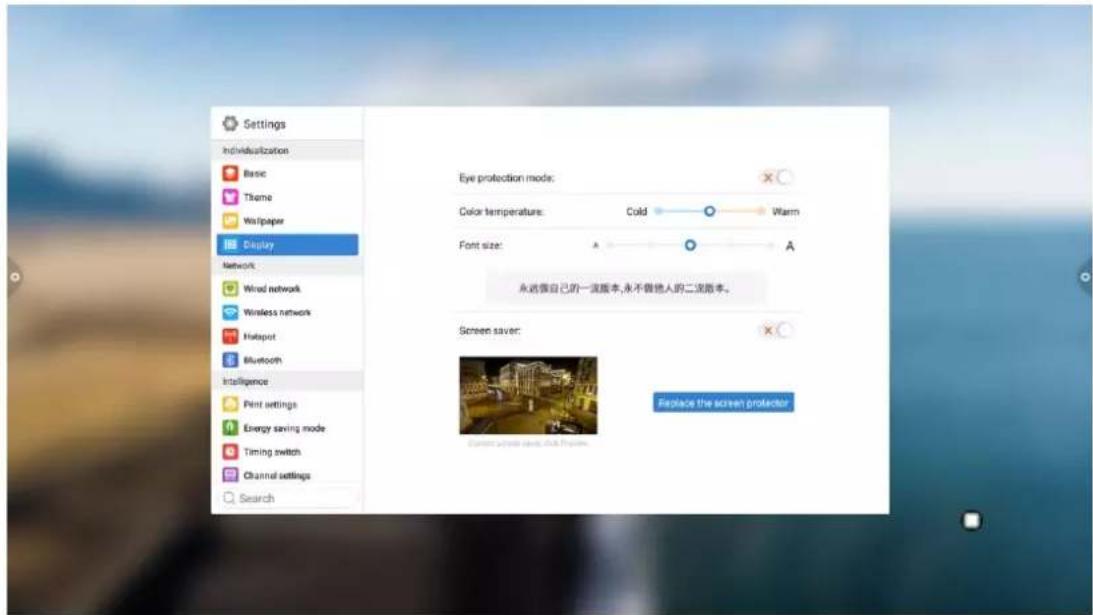
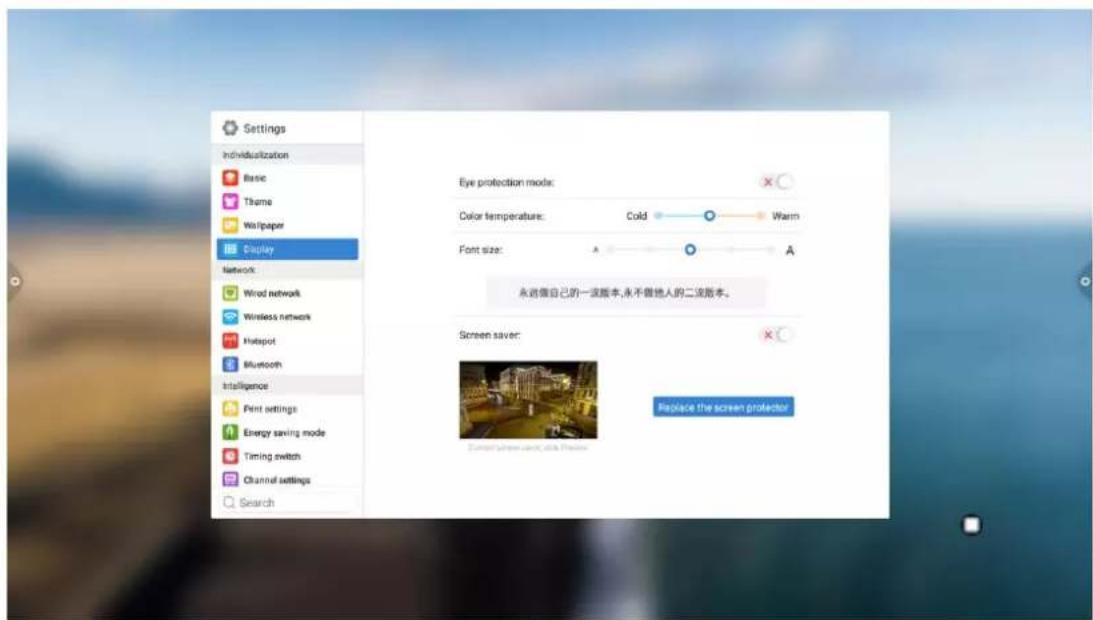
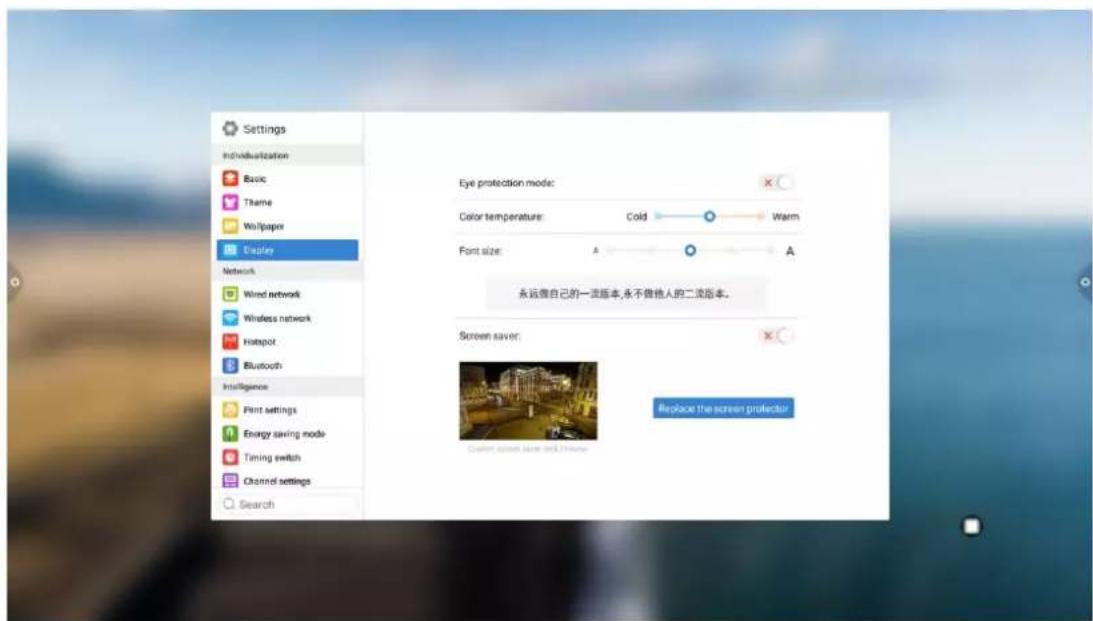
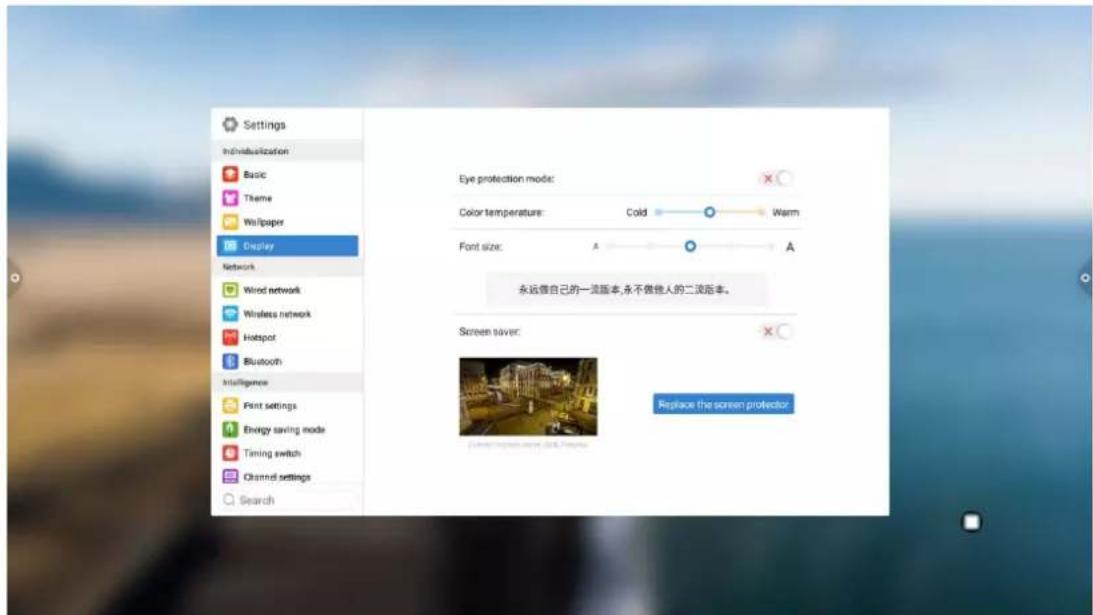
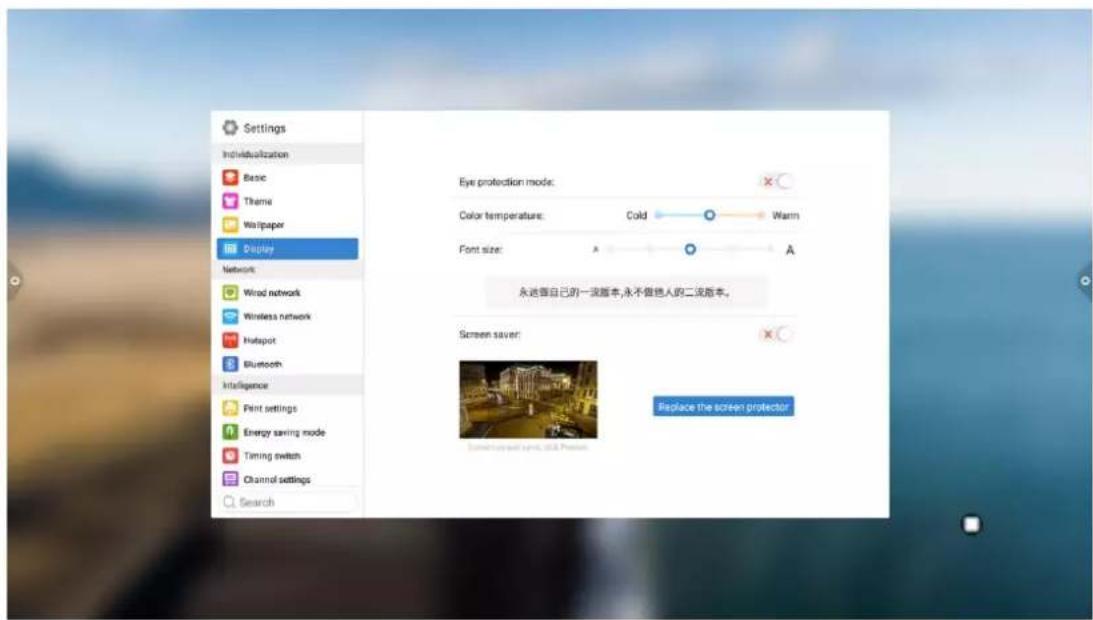
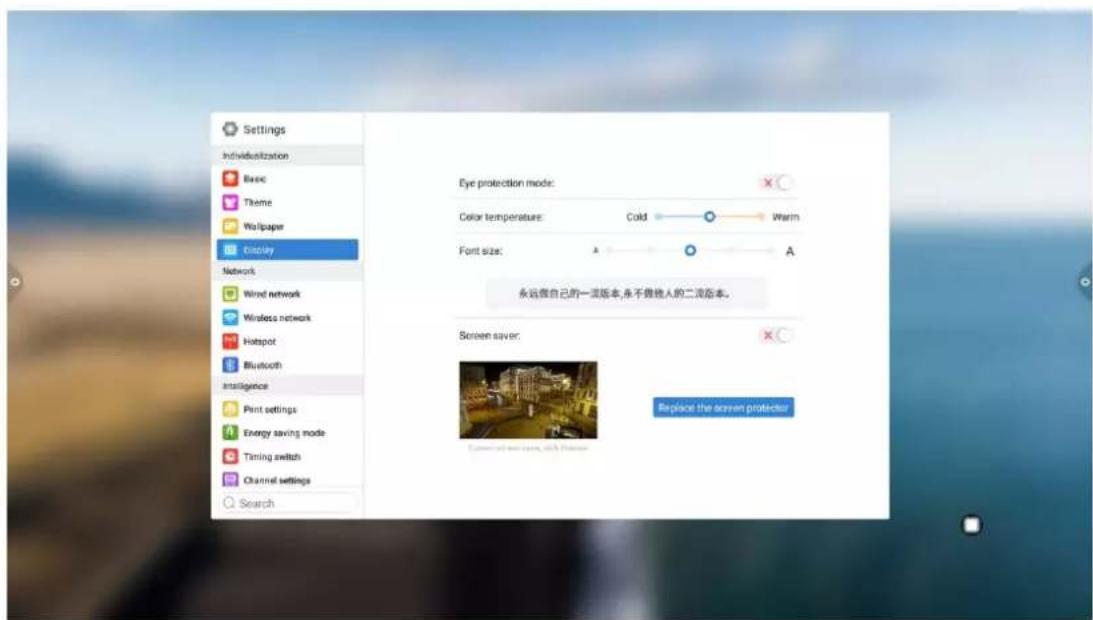
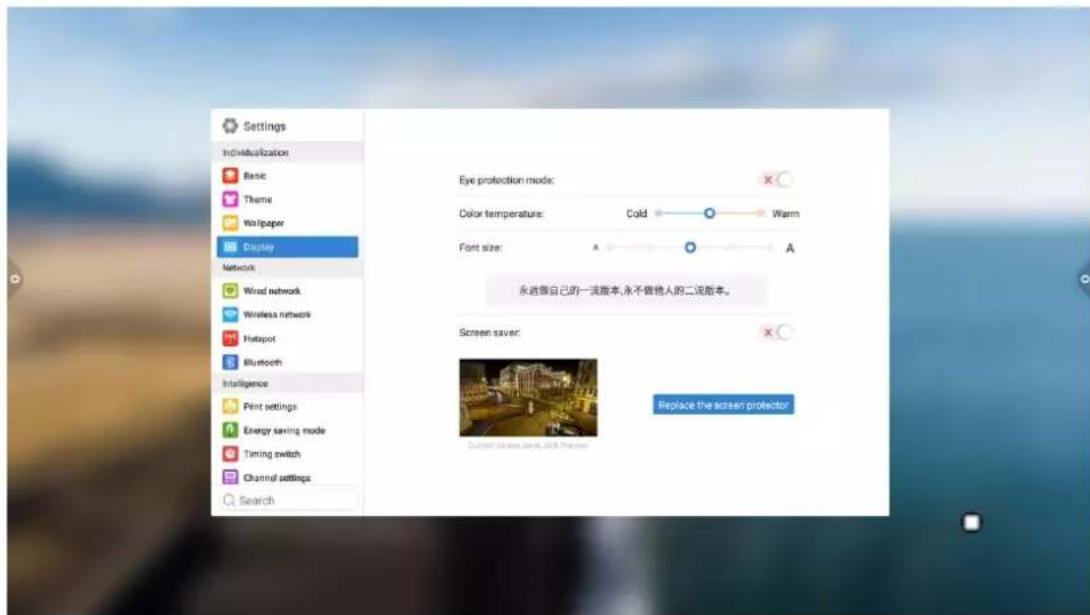
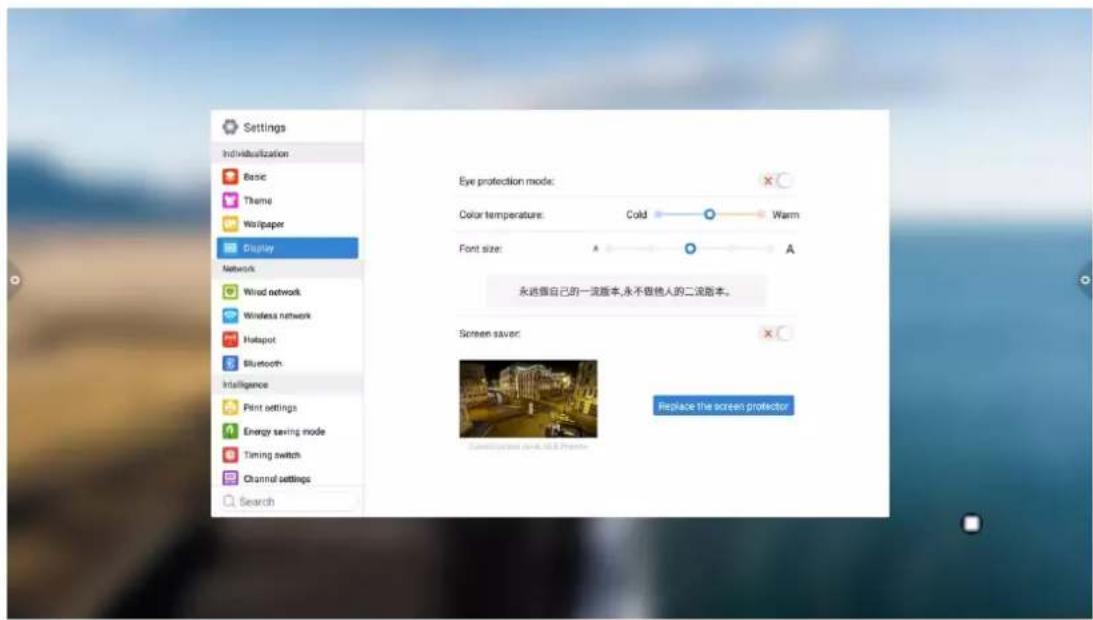
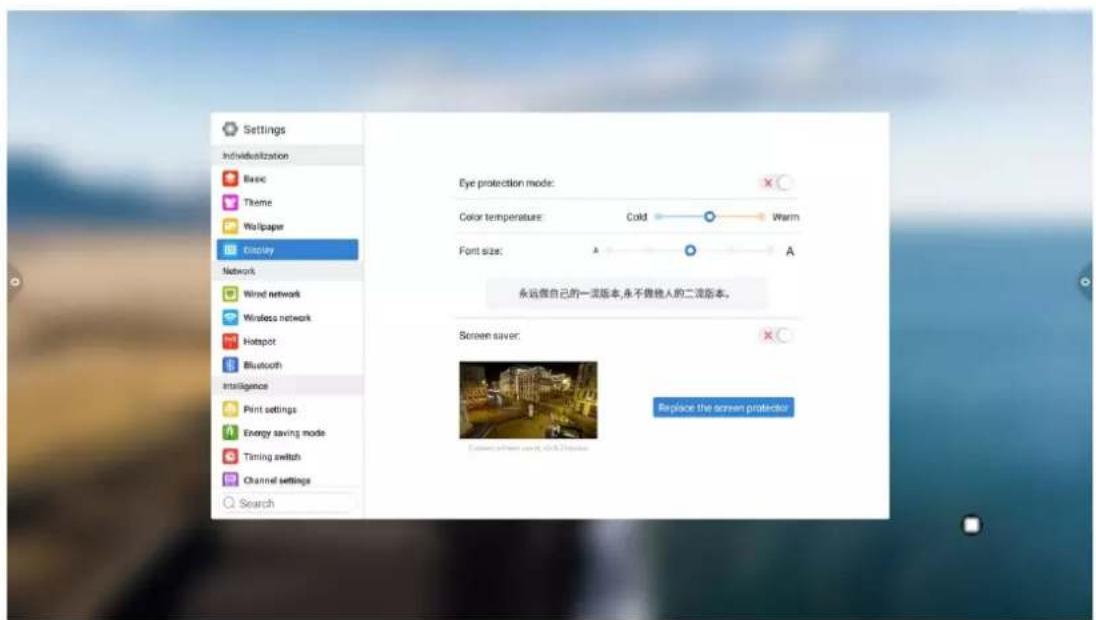
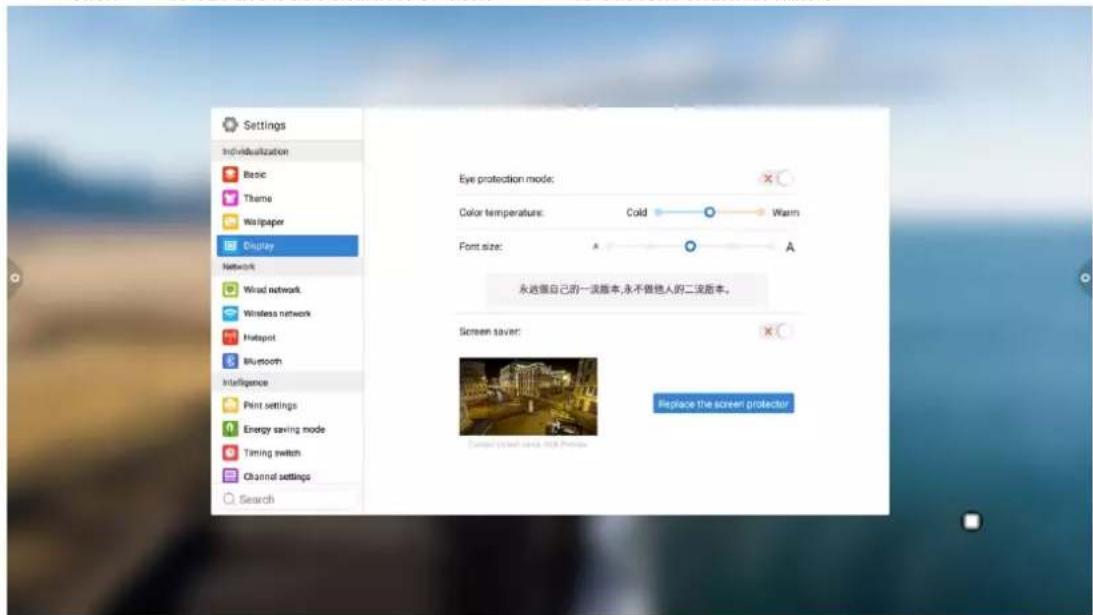
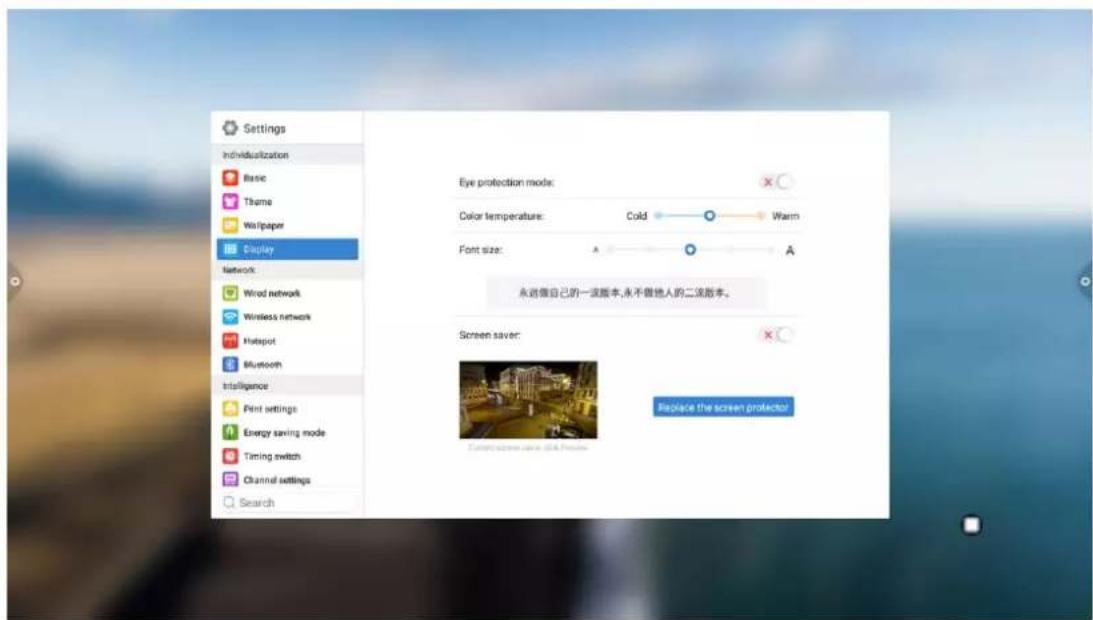
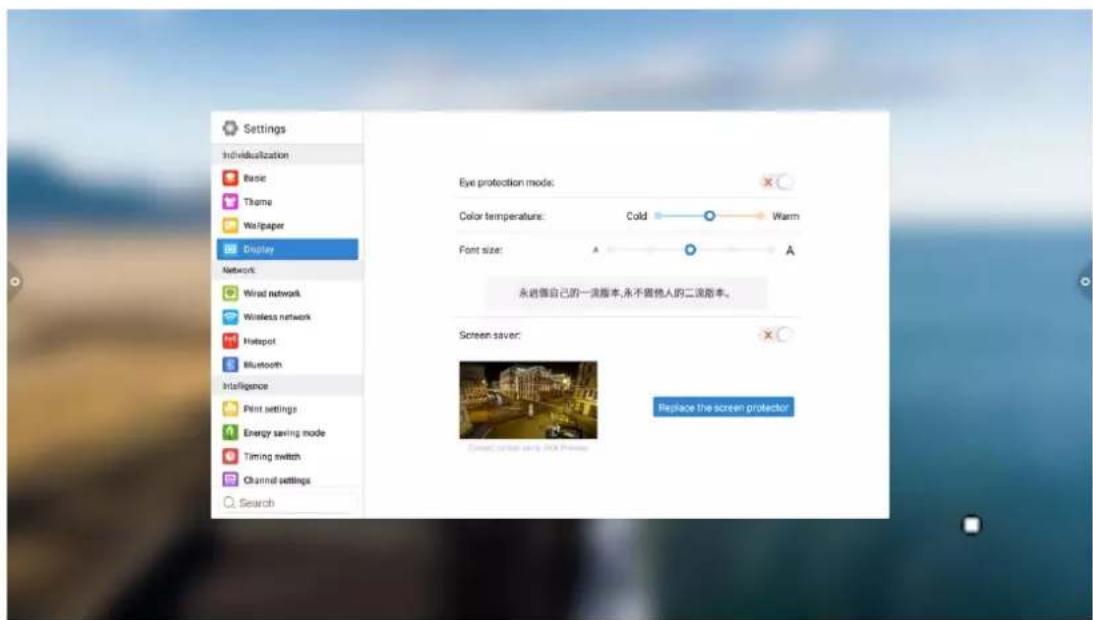
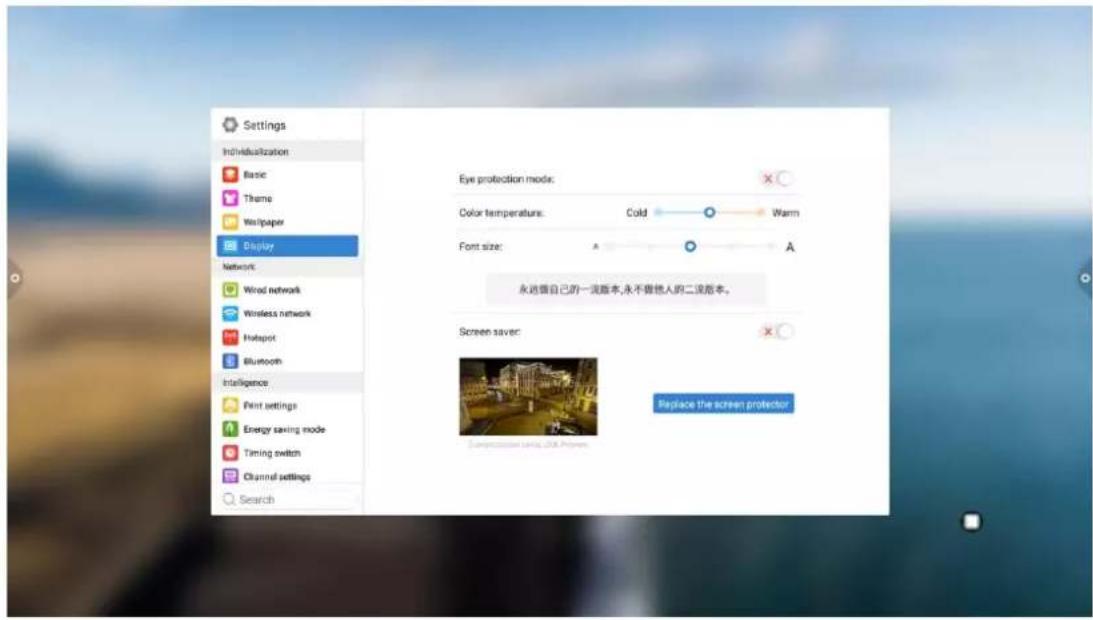
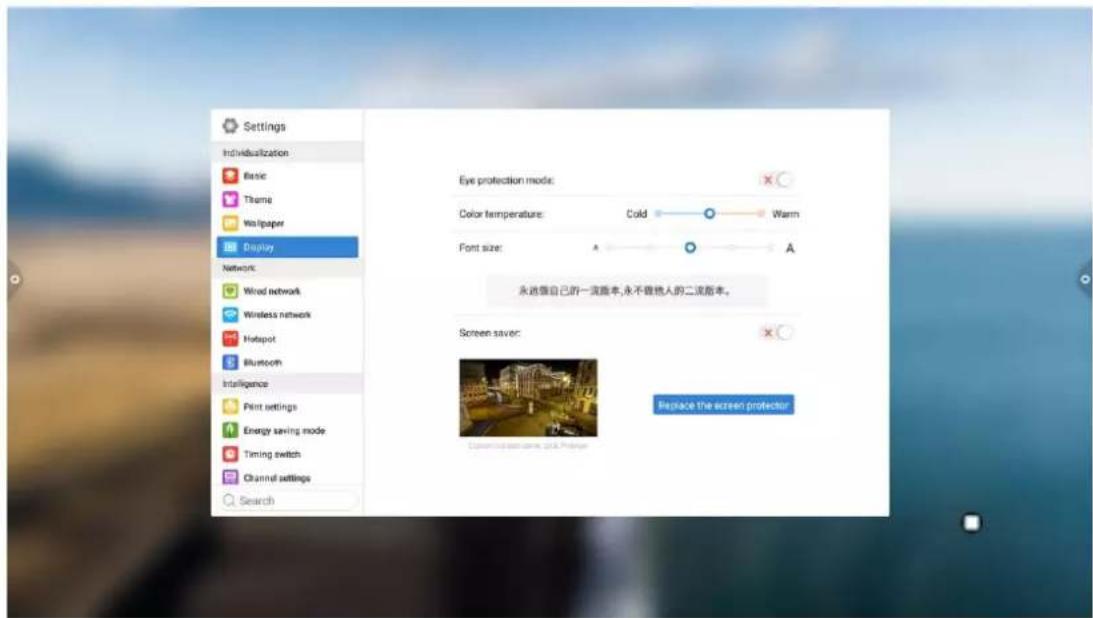
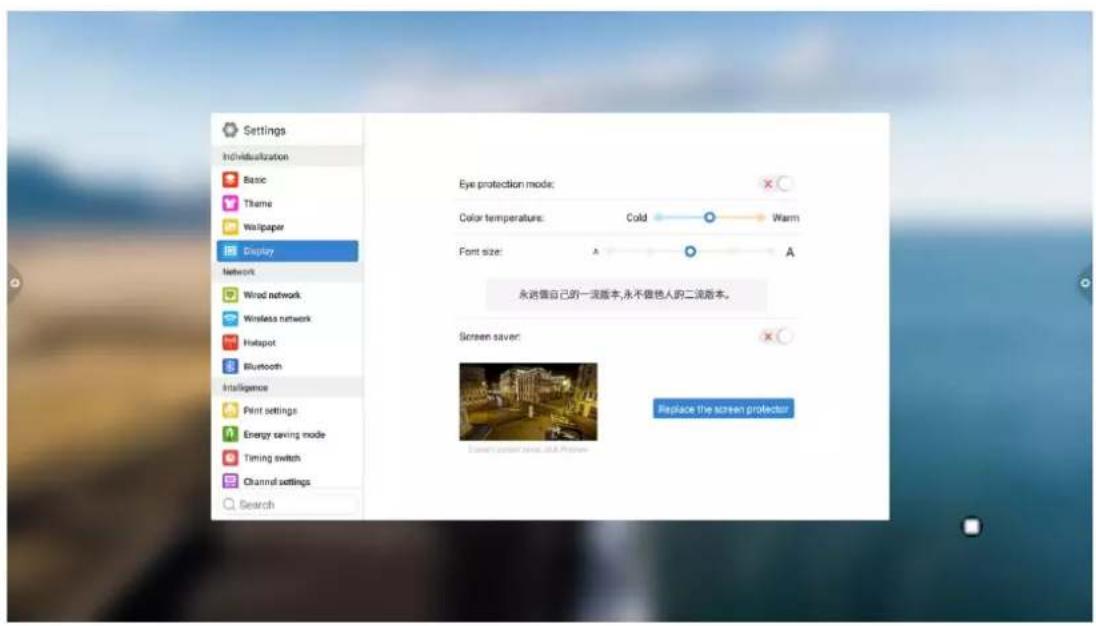
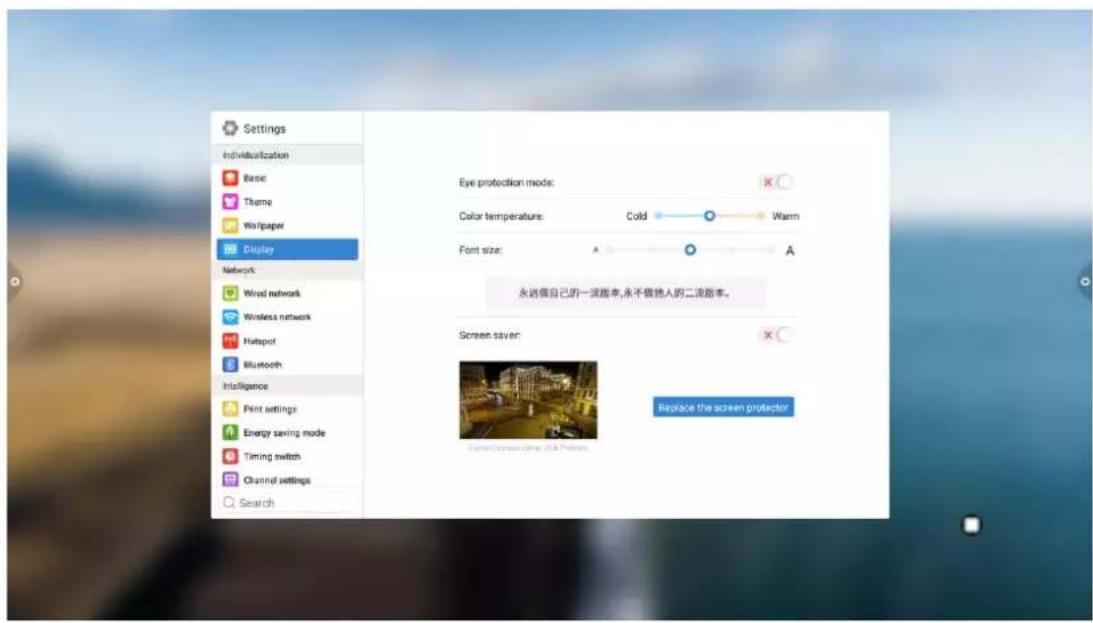
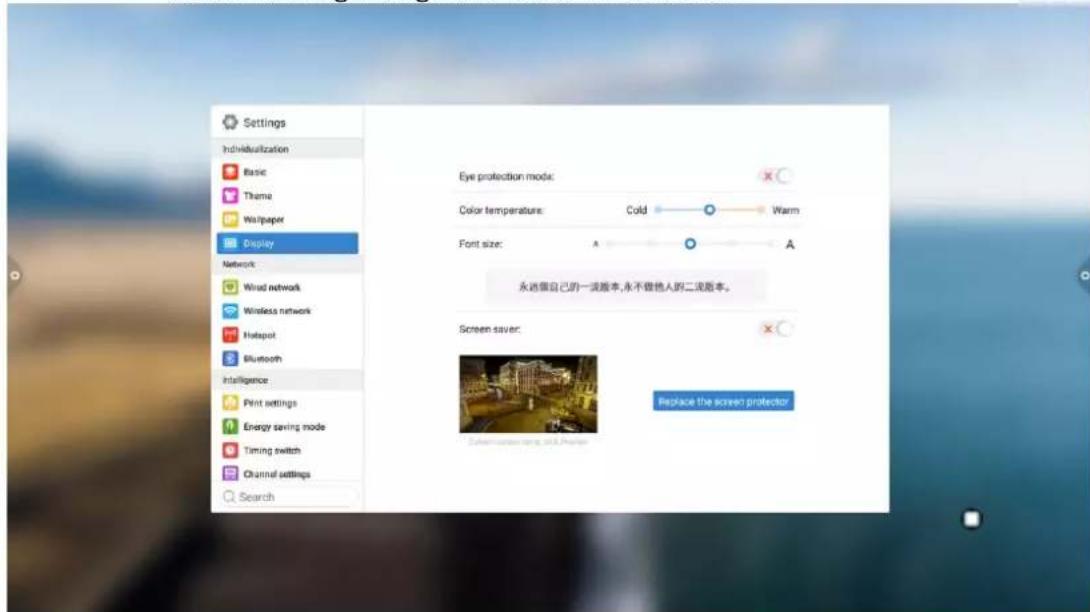
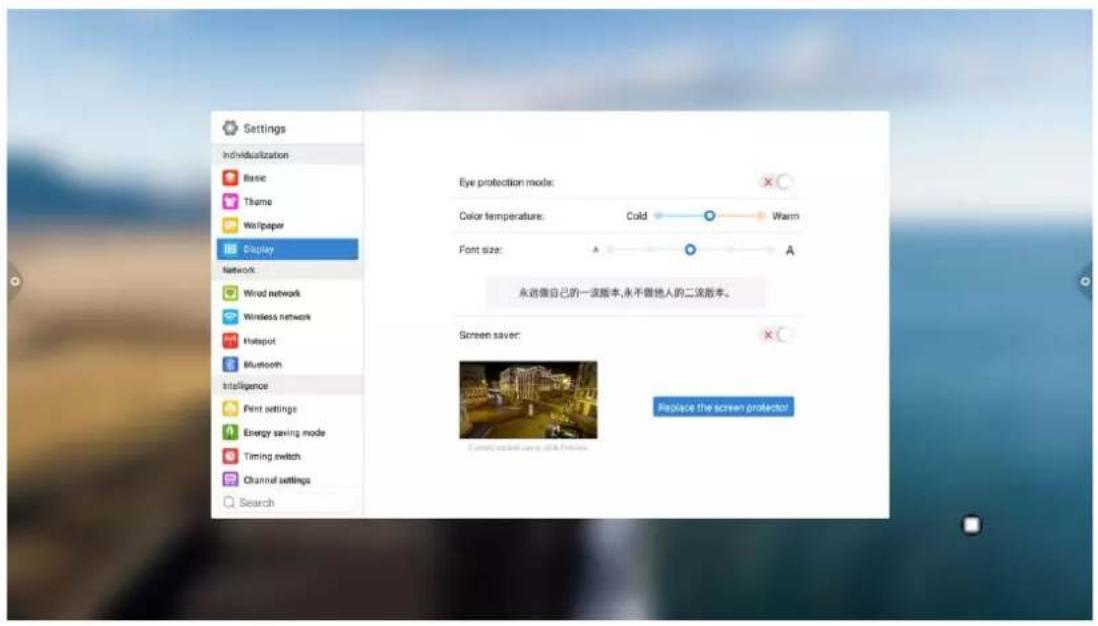
2. Display
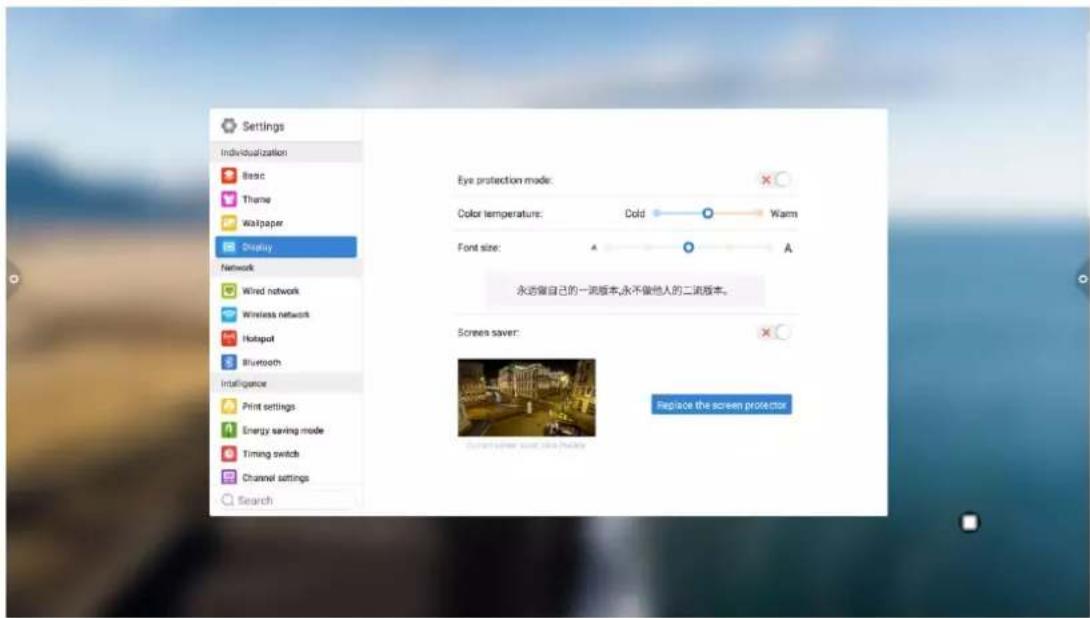
Eye protection function: the current brightness decreases when turned on.
Color temperature adjustment: adjust color temperature.
Font size: adjust the page font size.
Screen saver: When turned on, enter screen saver mode after sleep.
Change screen saver: Click to change screen saver animation, users can add or delete static screen saver and dynamic screen saver by themselves.
1.5.2 Network
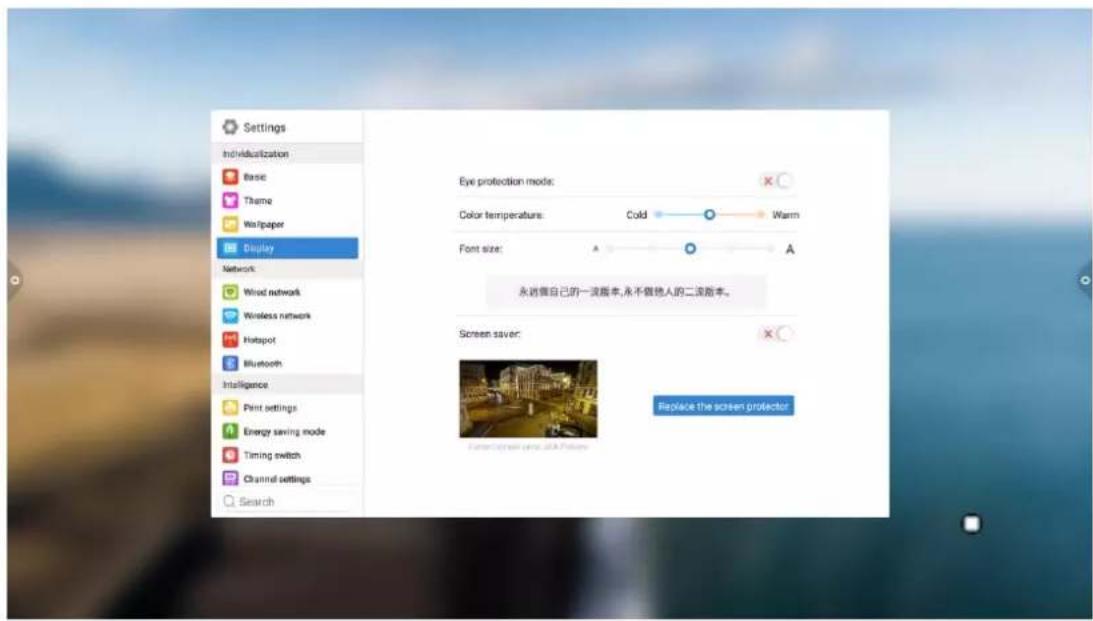
Under the network interface, users can set wired network, wireless network, wireless hotspot and Bluetooth and so on.
1. Wired network
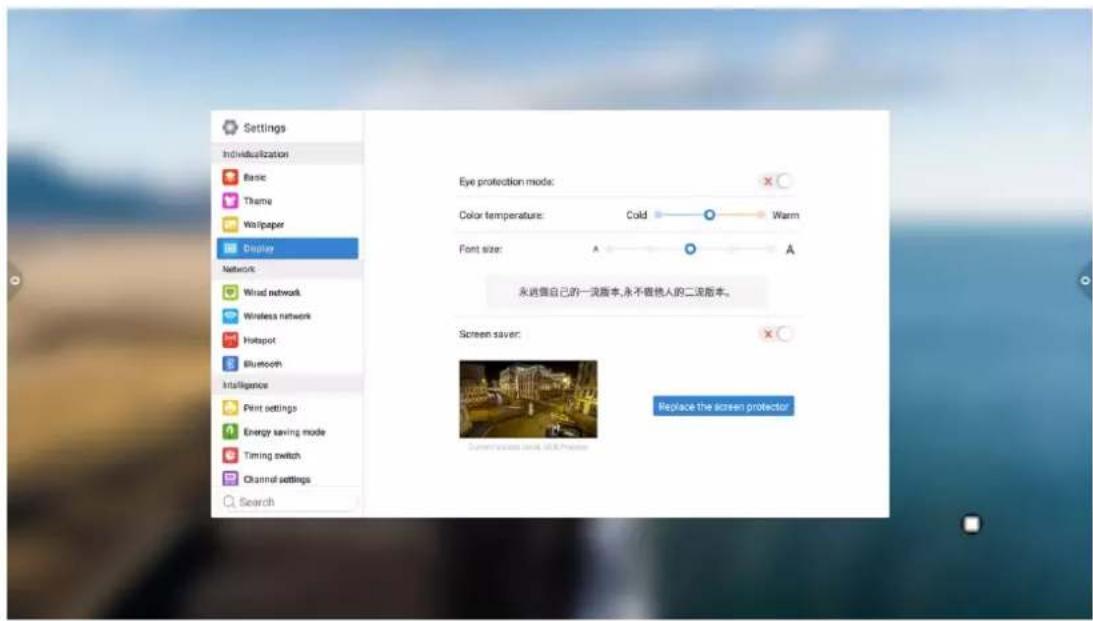
Under the cable network interface, users can view the MAC address, IP address and other information. The automatic access to the IP address is opened by default, and the parameters such as the IP address and the subnet mask can be manually modified after the automatic acquisition is closed.
2. Wireless network
Turn on the wireless network switch button, which automatically gets the display of the available wireless network.
3. 2.4 and 5G Hot spot
Under the 2.4 and 5G hot spot settings interface, users can change the hot name, security, password and other parameters.
Notice: 2.4G and 5G hot spot, 2.4G hot spot and wireless network can neither be opened at the same time.
4. Bluetooth
(1) When the integrated machine supports Bluetooth function, Bluetooth pairing can be implemented here to achieve Bluetooth transmission function.
(2) When the integrated machine does not support the Bluetooth function, the Bluetooth function switch will be grayed out and unavailable.
1.5.3 Intelligence
Under the intelligent settings interface, users can change the intelligent lock password.
Standby mode, time switch machine and power button function could be set.
- Print settings
- saving mode: Set the sleep time of the machine. After setting the sleep mode, it will be in the screen-hold state or screen saver state. The screen saver can be customized.
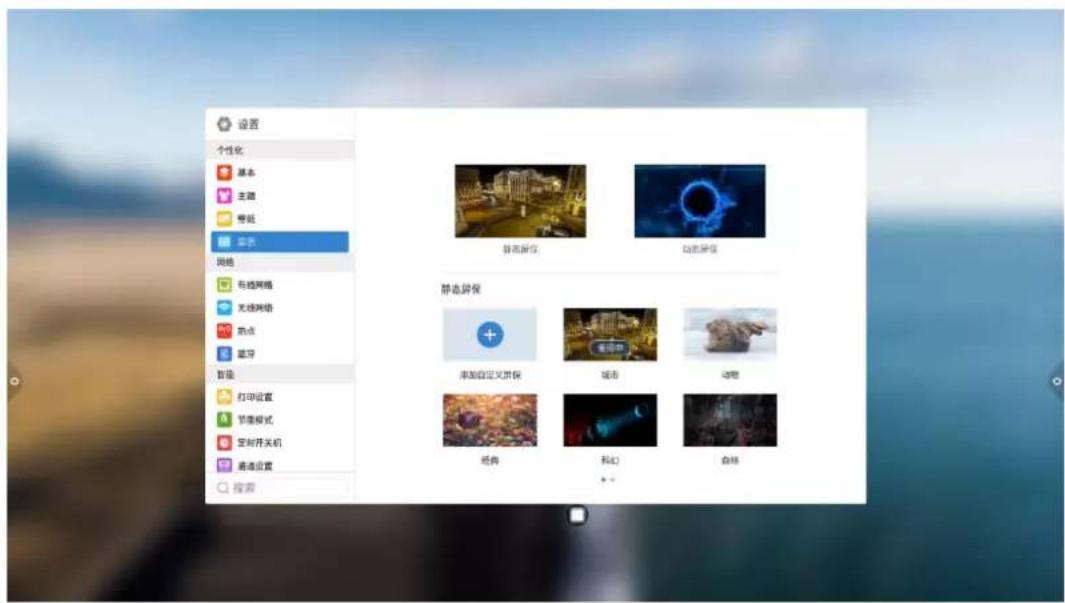
After changing the screen saver, you can customize the screen saver (the picture is a static screen saver, the video is a dynamic screen saver), and you can delete it by clicking the delete icon
- Timed power on/off: After setting the power-on time and power-off time, the system will automatically power on or power off when the set time is up.
- Channel settings

to set the boot channel or click

to custom channel name
- Security settings: USB lock, screen lock, application lock and touch lock can be turned on or off. You can also set the corresponding unlock password, the initial password is 2580.
Click Change Password to change the corresponding password.
- More functions: You can set the power button, floating menu, sidebar, photosensitive, centralized control, temperature monitoring, five-finger extinguish screen, three-finger extinguish screen and other functions.
1.5.4 System
The system setting options are mainly for system input method, language display setting, system update and upgrade, etc., as well as system version information and built-in storage usage.

- Language and input method: Click to set the language (Chinese,
Chinese Traditional, English, Arabic, Spanish, French, Italian,
Japanese, Portuguese, Russian and other 9 languages), and you can
also set the input method.
- Time and date: Turn on the automatic time setting. If the network connection is successful, the current network time will be automatically synchronized. When the automatic time setting is off, you can manually set the date and time.
Click to change the time.
Click to change the time zone.
- Image function: This function can only be applied to the channel, mainly used to adjust the image quality of the channel and the ratio of the channel picture.
- Sound: adjust sound and set sound mode, output device
Sound mode: standard, news, music, theater, sports, user voice output device: speaker, coaxial, Bluetooth, USB mode Analog microphone: Analog microphone switch
- System information: you can view the system version information and built-in storage usage and other information
- System update: divided into local upgrade and online upgrade
(1) Restore factory settings: click Reset to restore the factory settings
(2) Local upgrade: Copy the firmware to the root directory of the U disk, insert the U disk into the multimedia USB interface of the all-in-one, and select local upgrade and update.
(3) Online upgrade: Check whether a new version of firmware is released through the network to download and update.
II The software description
2.1 Electronic Whiteboard
2.1.1 Interface display
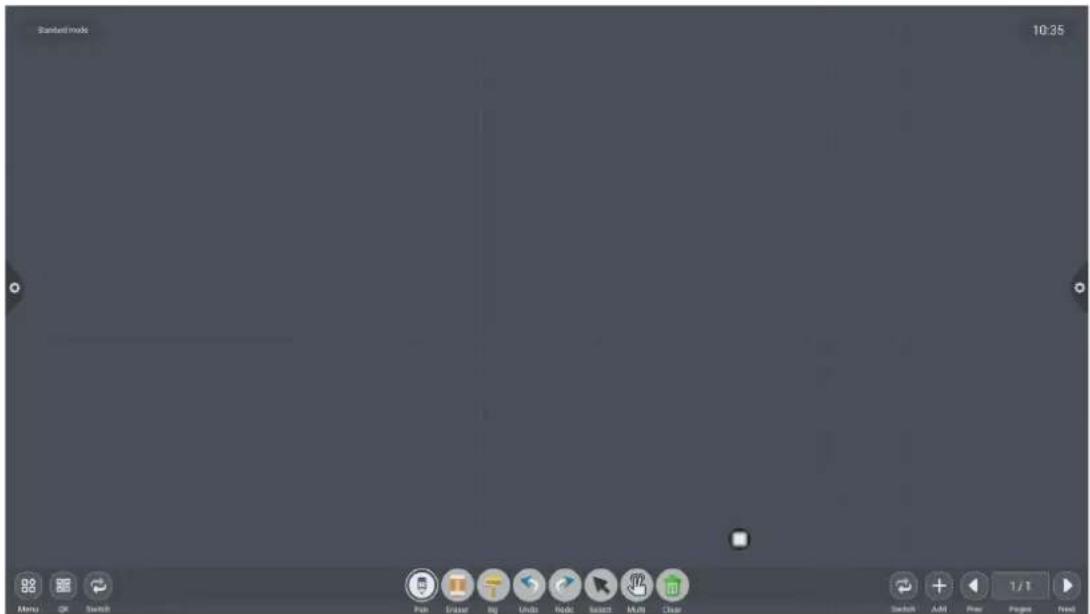
Click the conference whiteboard icon on the main interface to launch the conference whiteboard software.
-
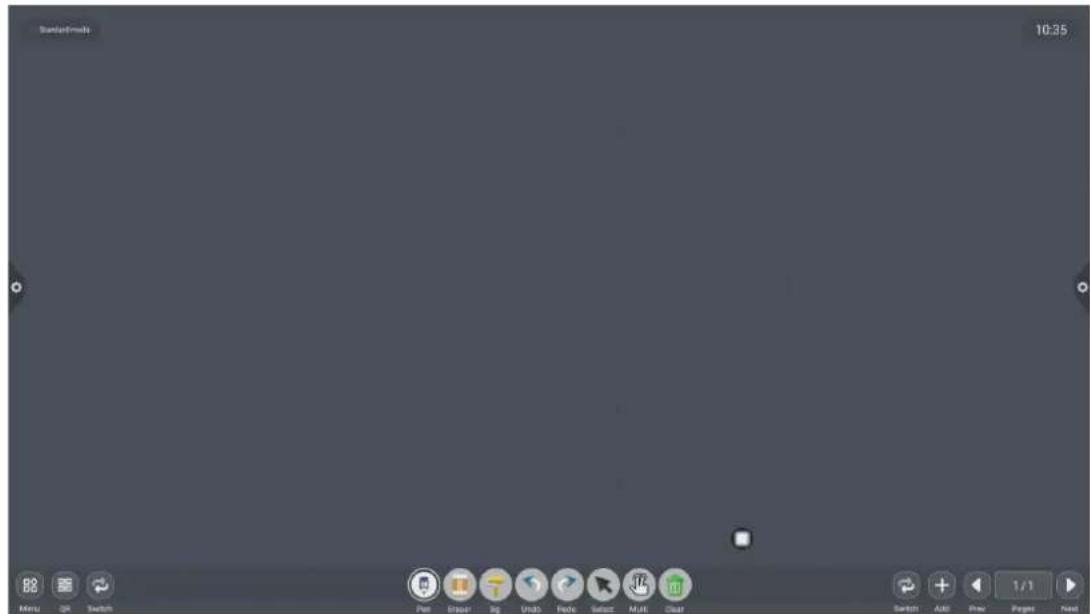
The conference whiteboard default pencil tool is selected and can be written directly.
-
Support single-point mode and multi-point mode, multi-point supports up to 20 points.
- Single-point mode support roaming and zooming functions of two points and above.
- Support single-stroke mode and double-stroke mode. Double-stroke mode is pen writing style.
2.1.2 More menus
- Click 📁 on the (More Menu icon) in the lower left corner of the interface to pop up and display the subordinate content menu;
- Operating instructions for the content menu icon function
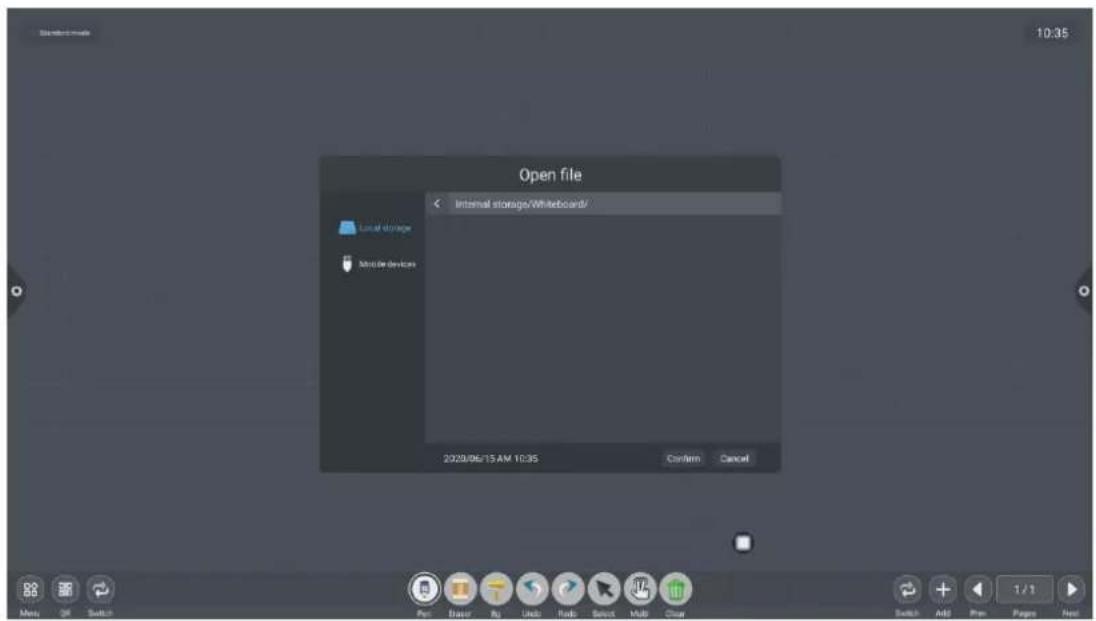
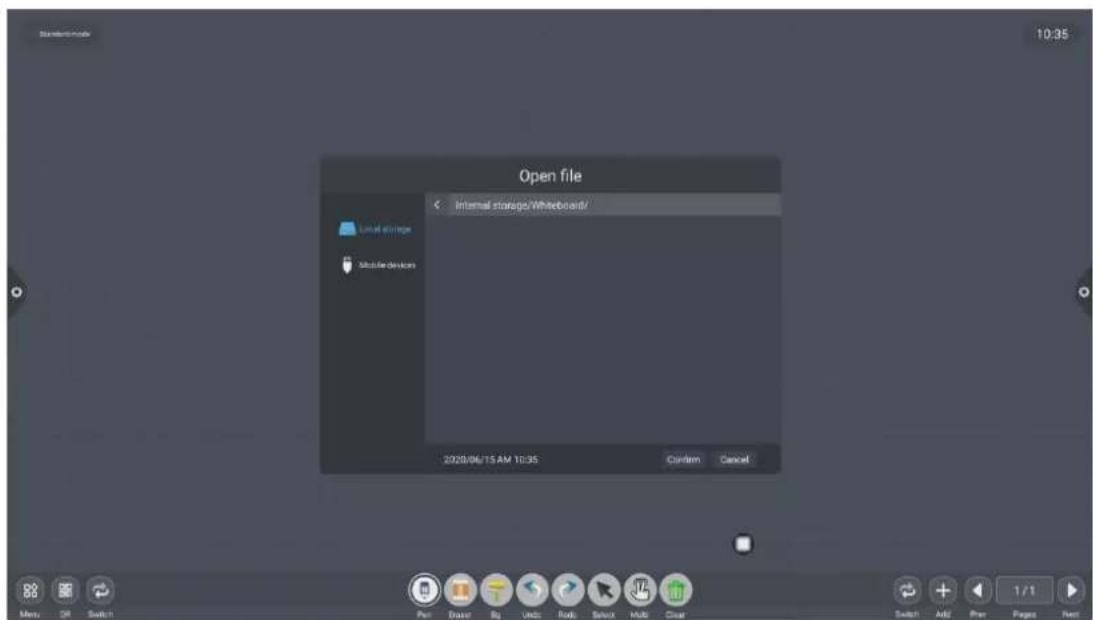
(1) Open the file: Click the icon to open the file saved in the whiteboard file directory (the default path directory is built-in storage/whiteboard), click the file to open directly, and perform the functions such as editing and saving again.
(2) Save the file: Click the icon to save the currently written content.
The default time is saved and saved. The user can customize the naming and save. The user can customize the built-in storage or U disk to save the whiteboard file.
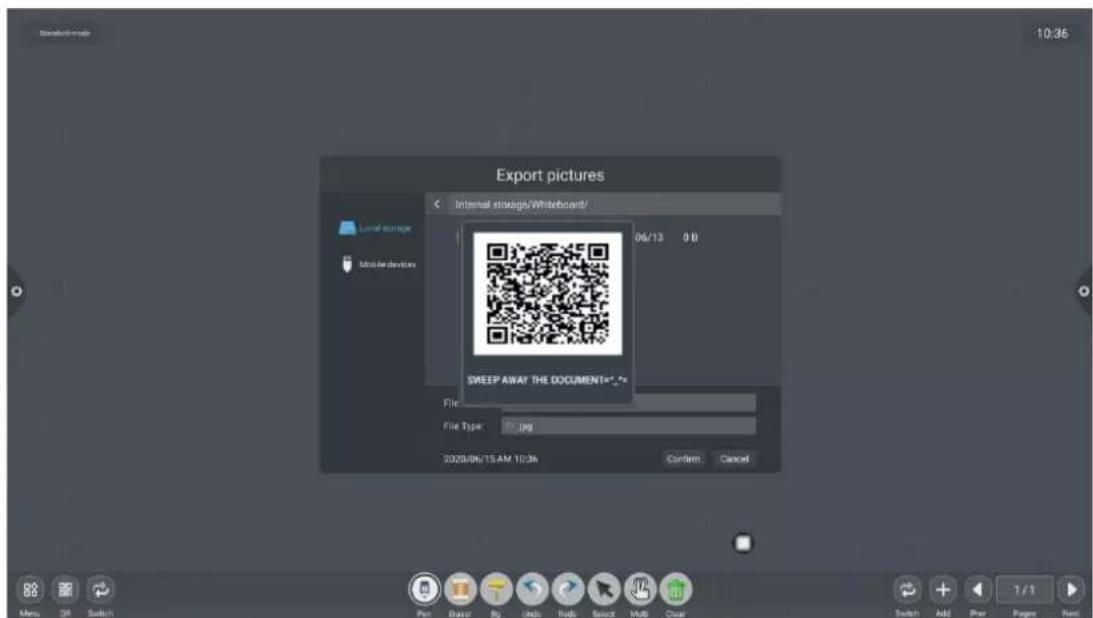
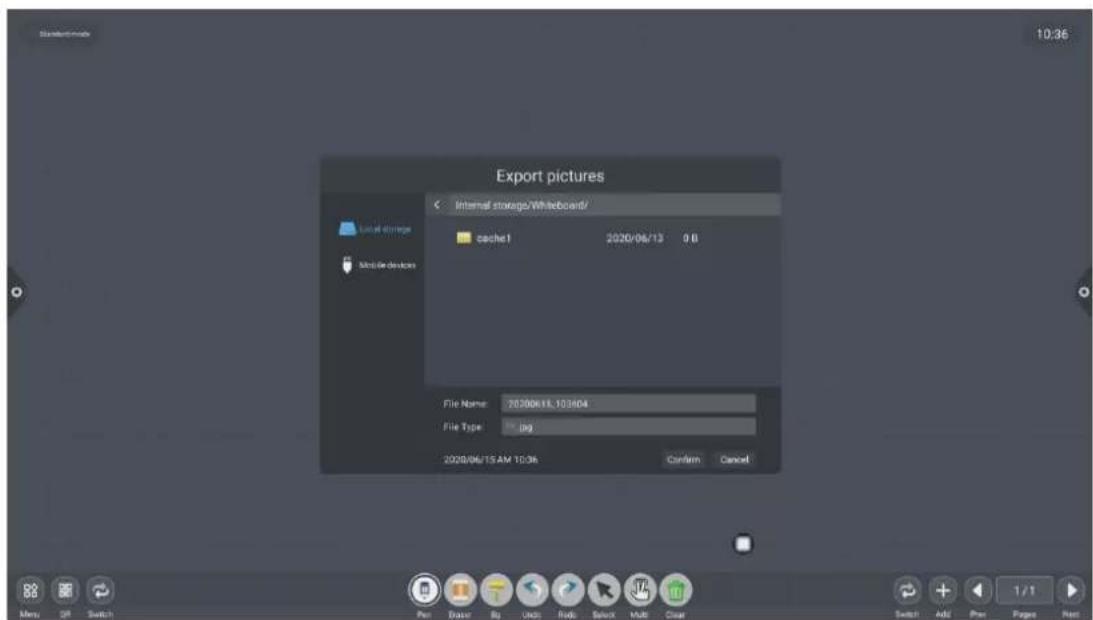
(3) Export: Click to export the content written on the whiteboard in picture format *.jpg. The storage location of the exported pictures can be selected from built-in storage or U disk.
(4) Insert: Click → to open the picture file of the local storage or U disk. The user can insert the picture on the whiteboard by selecting the picture and can mark and write the picture.
(5) Email: ClickWhen using the email sending function for the first time, you need to set the email sender's mailbox related information on the email login interface, as shown in the figure:
a. Use Tencent's corporate mailbox, enter your account number and password, and
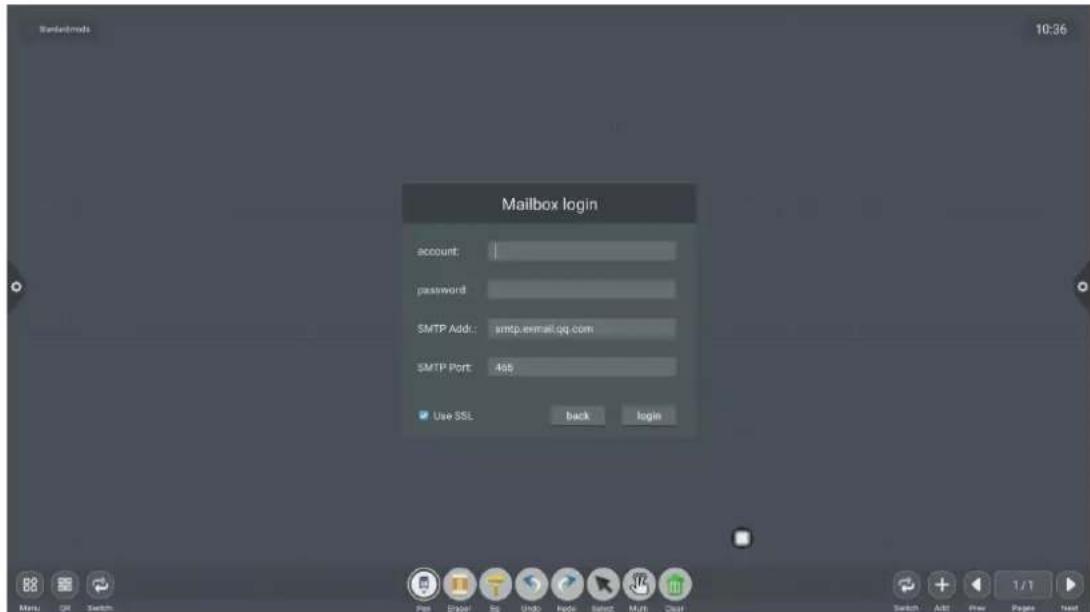
click Login
b. After successful login, the user enters the email address of the recipient and clicks send to record the content on the whiteboard to
Click the setting in the recipient email of PDF format file to modify and replace the current account;
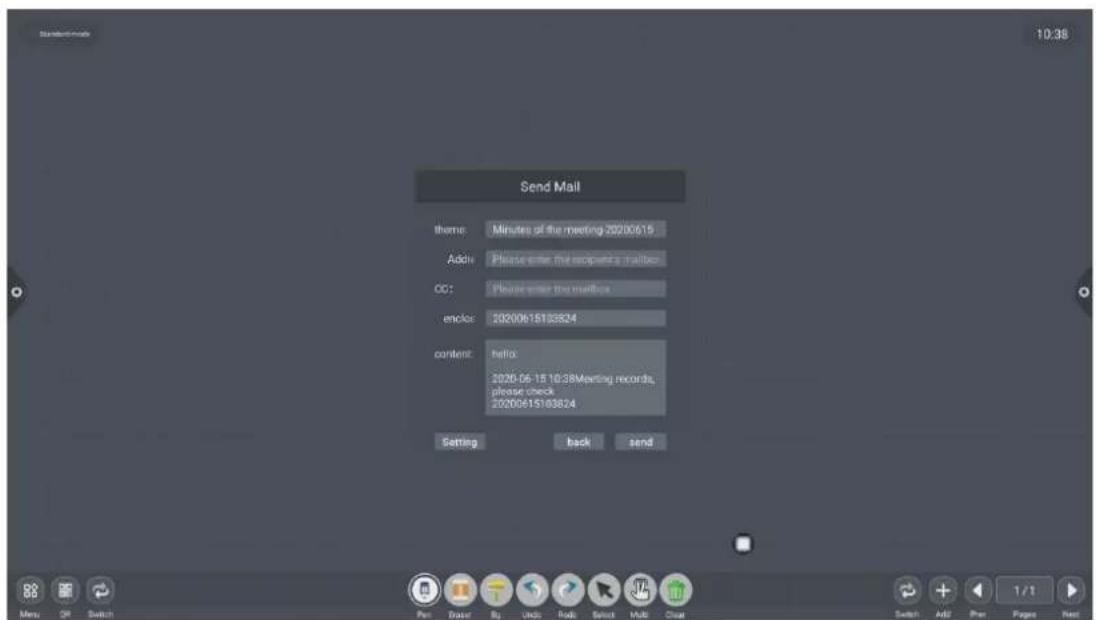
(6) Click

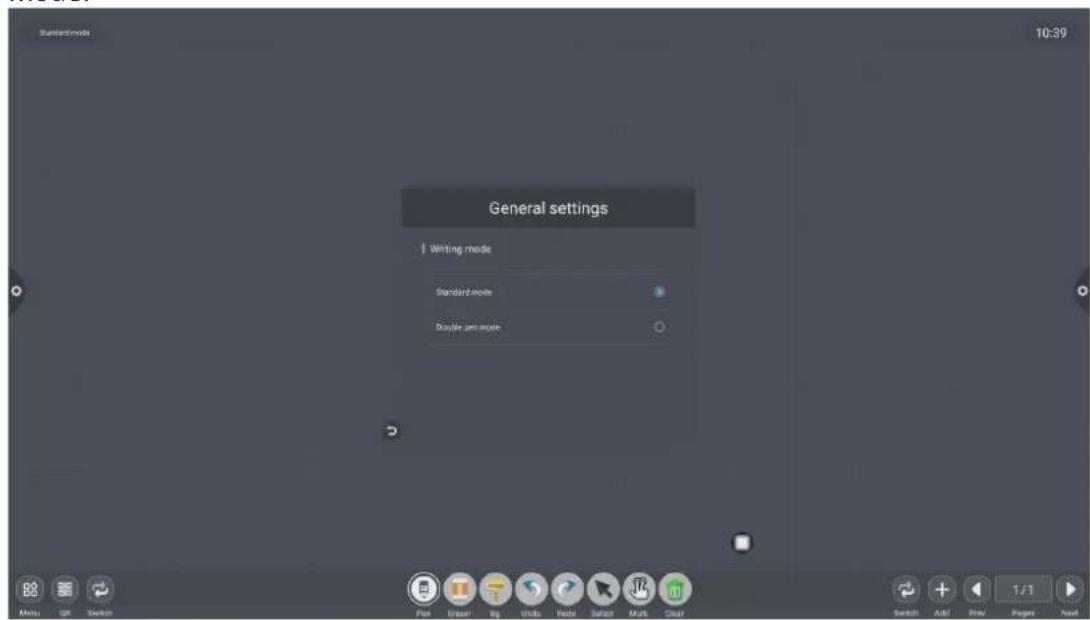
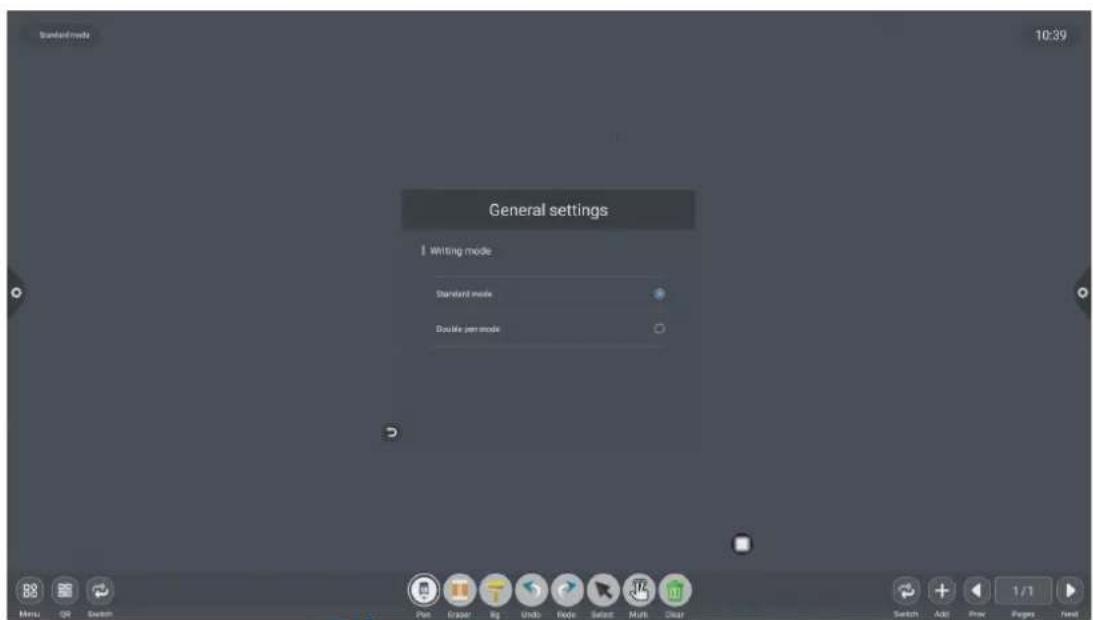
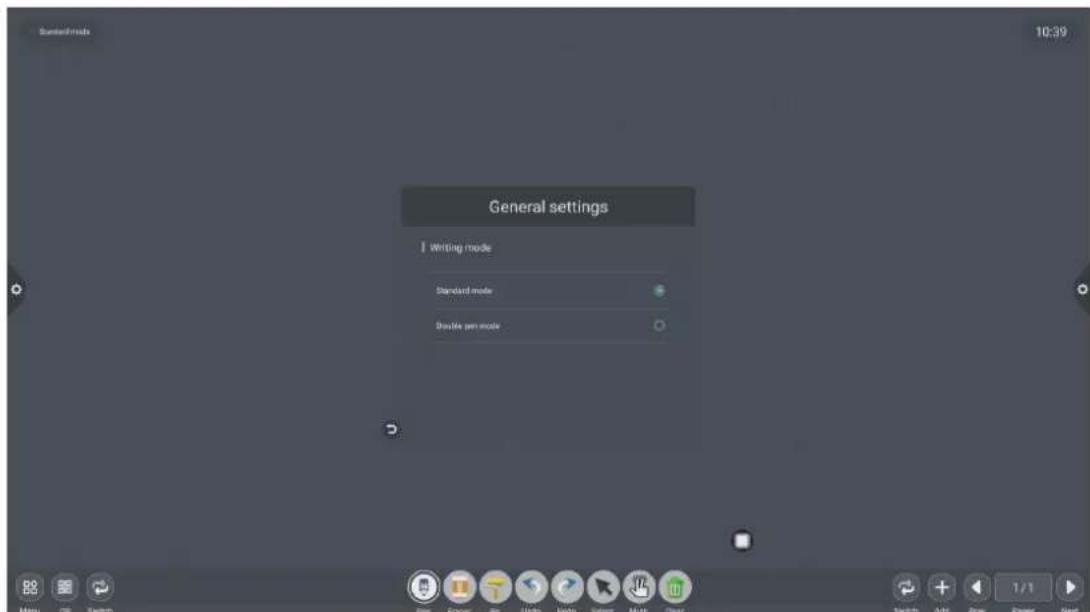
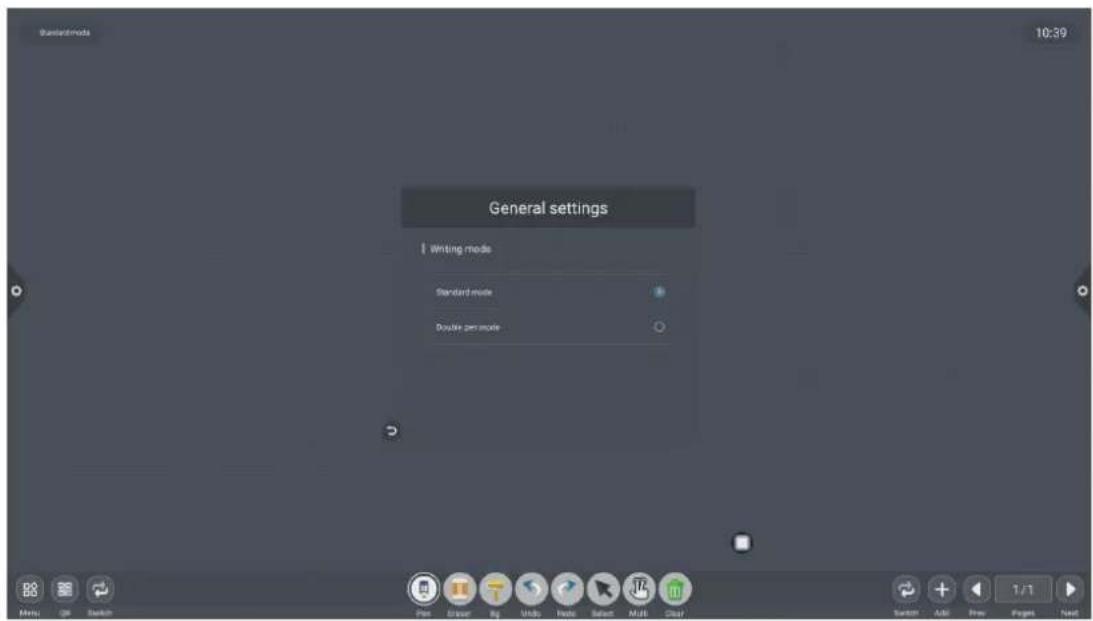
to Enter network sharing settings and writing mode settings.
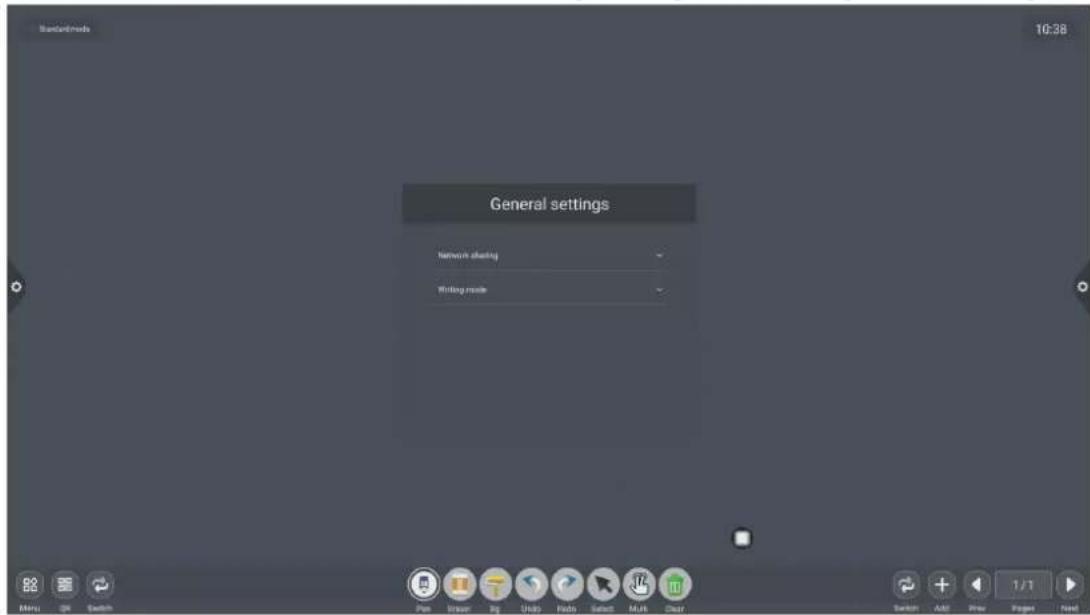
The network sharing settings are divided into network sharing and local sharing functions.
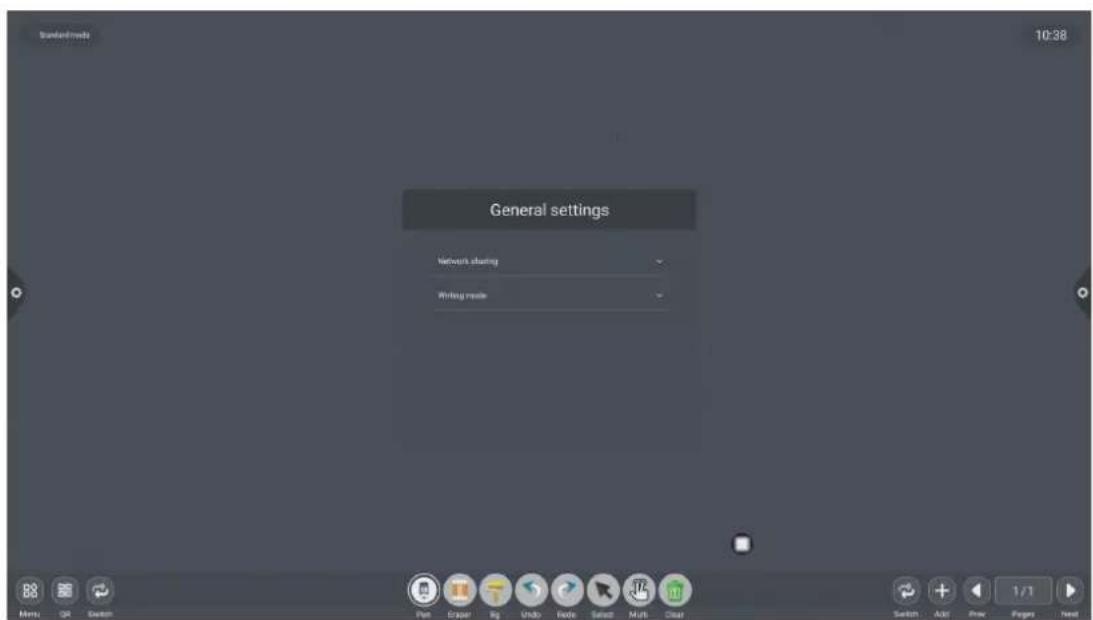
Writing mode is divided into standard mode (single pen mode) and double pen mode.
(7) About: Click ⓘ, to check version information.
(8) Exit: Click

. When there is content in the
whiteboard, a prompt pops up when exiting the whiteboard: The whiteboard is not saved. Do you want to save the whiteboard before exiting the whiteboard? Perform function operation according to whether or not; if there is no content on the whiteboard, click Exit Whiteboard to exit directly.
2.1.3 Scan code sharing:
Click the icon, when the network is connected, you can generate a QR code window, and scan the current meeting record with the WeChat sweep function; if
prompted, return to the home page and click to enter the system. Set the network connection, and re-scan the code after the connection is successful.
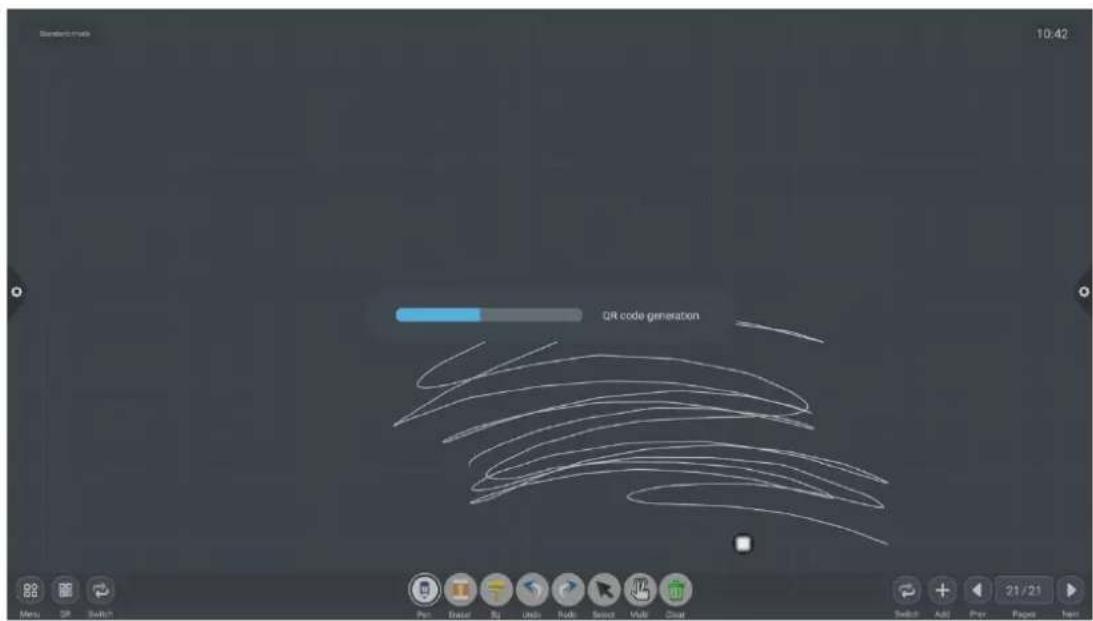
After the QR code is generated, the following figure is displayed. Click the lock icon to start the QR code lock mode, and the password is displayed next to it. After scanning the QR code, you must enter the password to view the file.
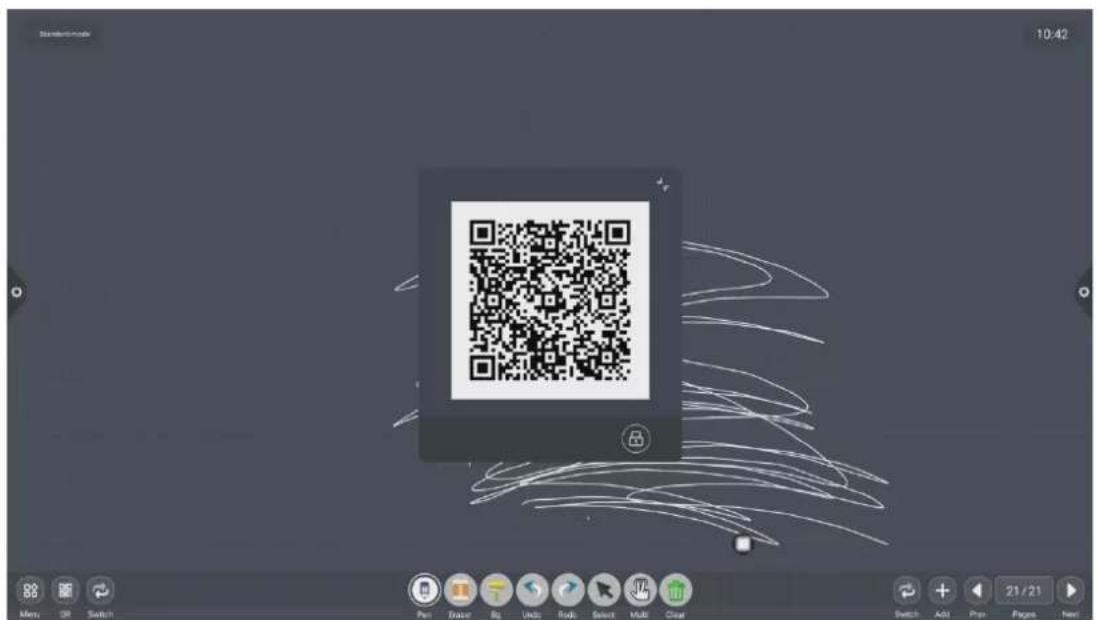
2.1.4 Common Function Menu
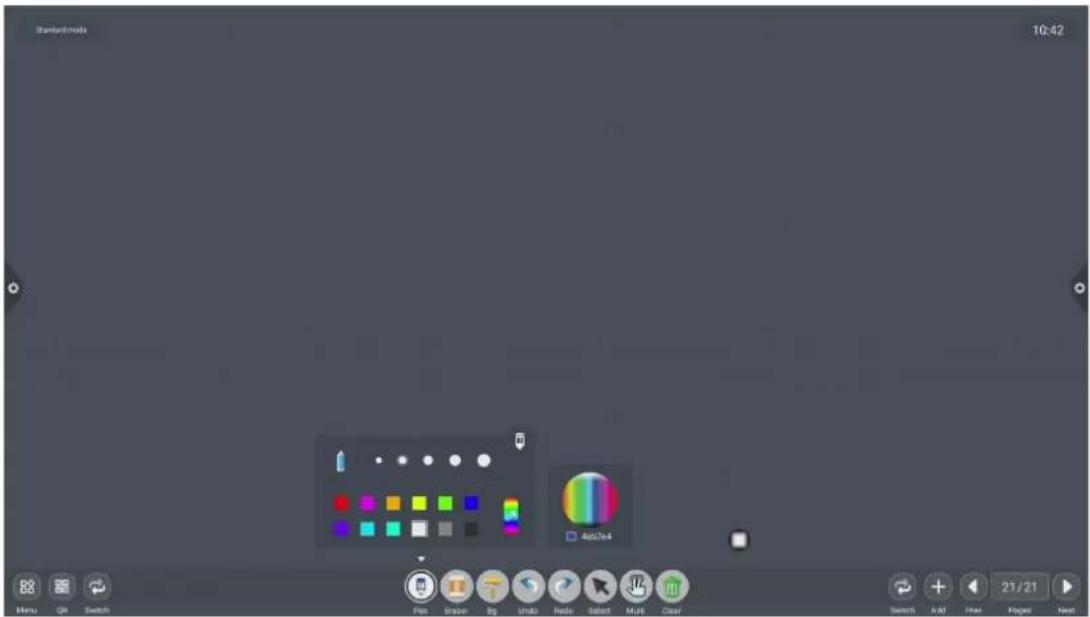
1. Brush tool
(1) Click the icon to bring up the brush tool menu.
(2) Modify the thickness and color of the handwriting:
Click the dot icon above to modify the thickness of the brush trace, click the color box to select the brush color, click the custom icon to expand the palette, and customize the brush color.
- Eraser
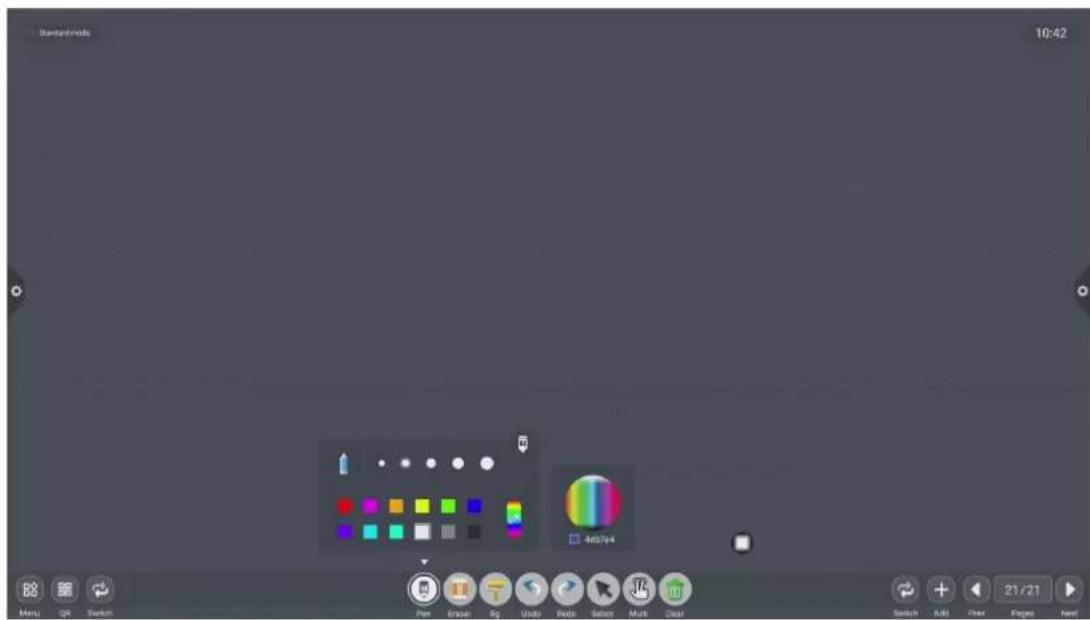
(1) Click wipe: Click the icon to perform a fine erase operation on the written content;
(2) Circle rub: Click the icon to erase the handwriting in the area inside the erase circle to perform the erase operation;
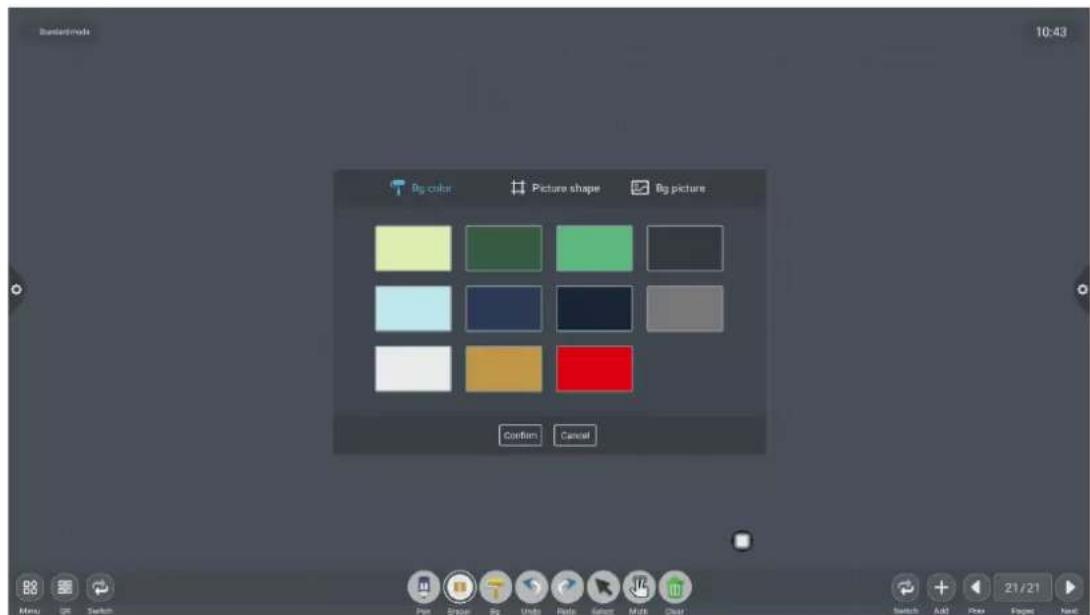
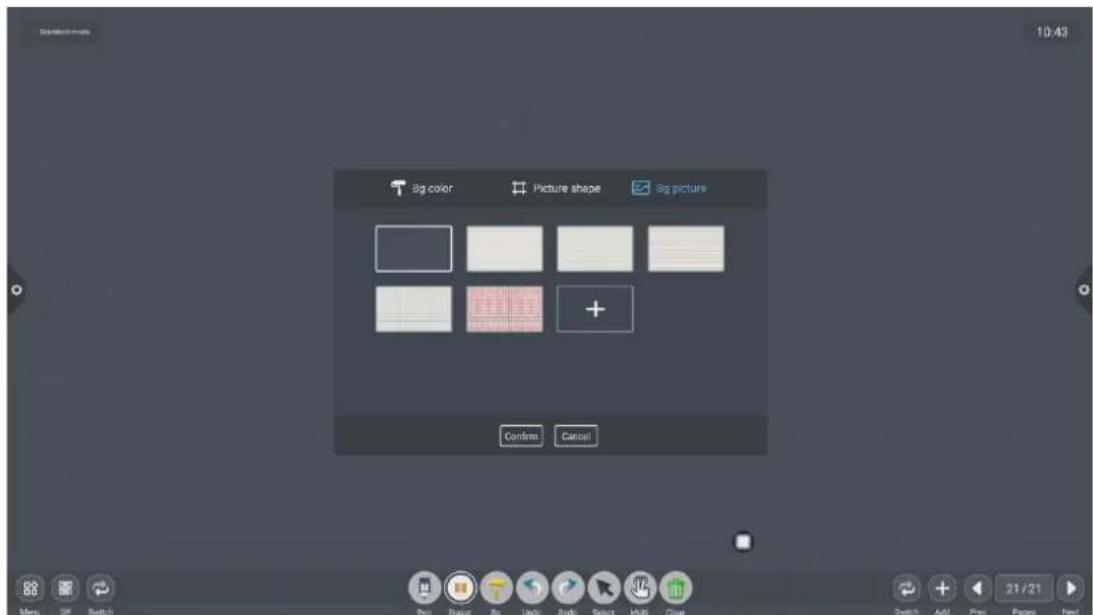
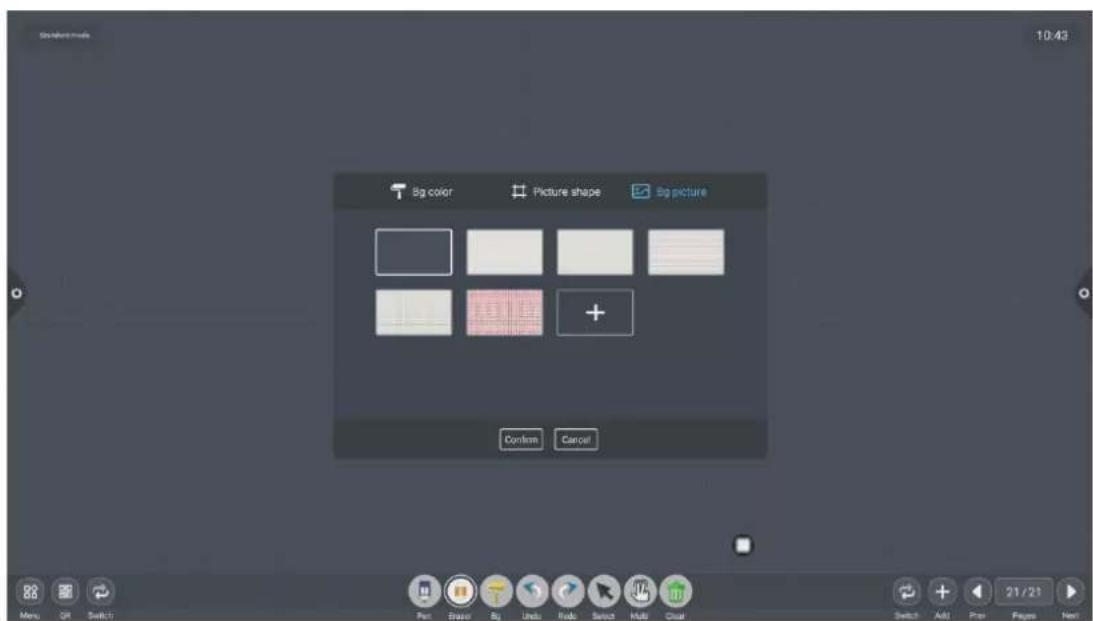
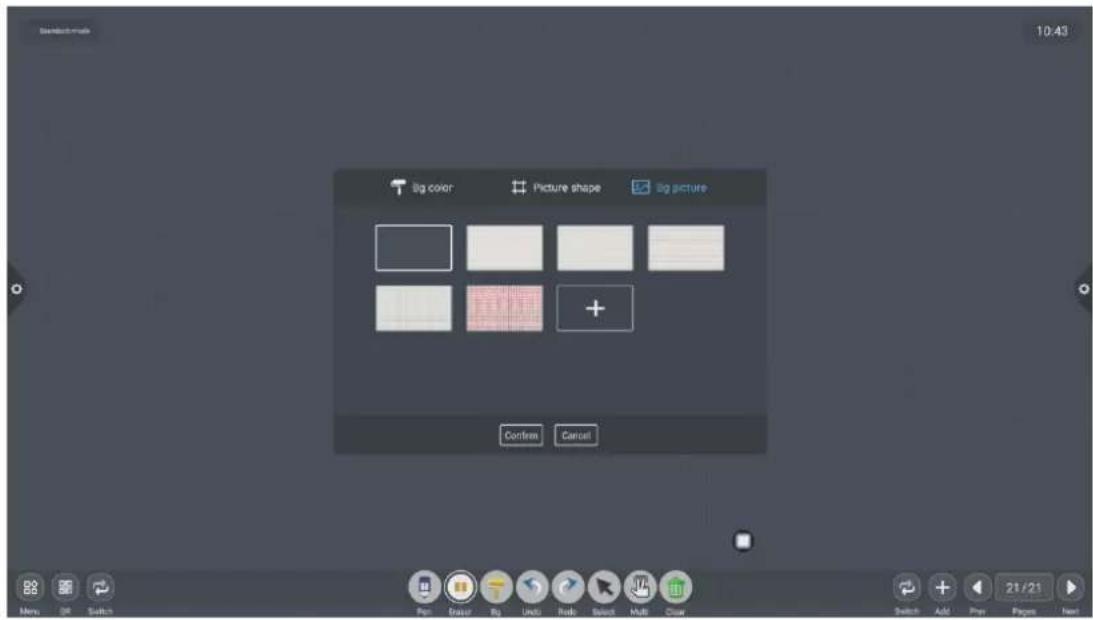
- Change the background
(1) Click , Change the background color of the whiteboard
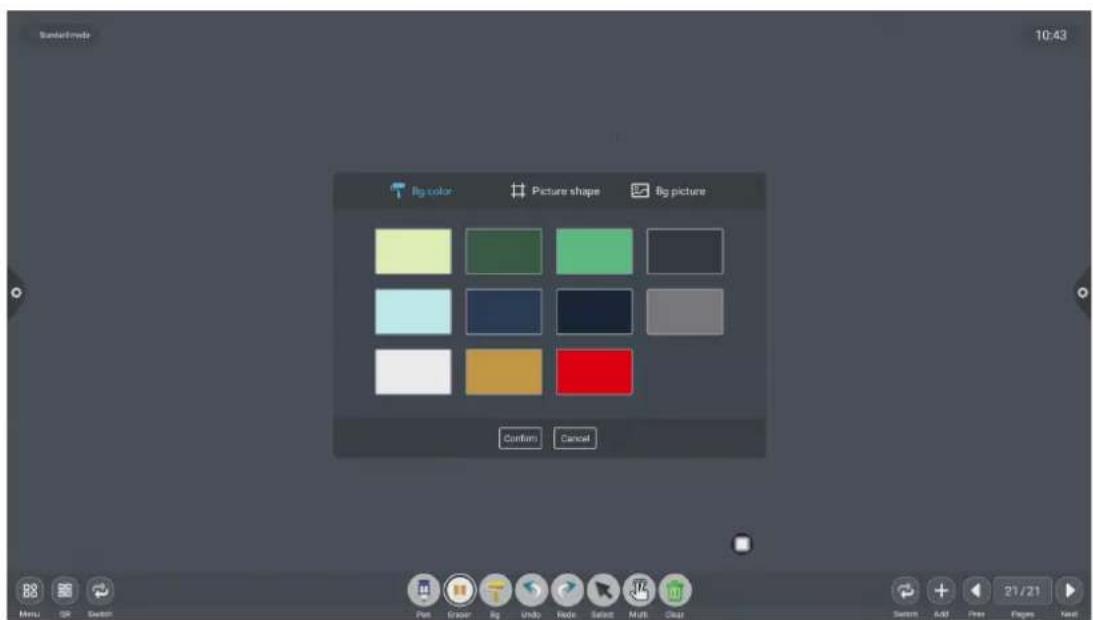
(2) Picture shape
(3) Background picture
- Cancellation and recovery
(1) Cancellation: Click

the icon to cancel the previous operation, and support
up to 50 steps at a time;
(2) Recovery: Click

the icon to re-execute the operation that has been revoked,
and support up to 50 steps at a time.
5. Select function
Click

to select the selection function, the interface switches from the writing mode to the selection mode, and the handwriting and shape in the interface can be drawn, and then the functions of moving, deleting, copying and pasting can be
realized, and the inserted picture to move, delete, copy and paste, rotate and zoom.
6. Slide clear screen function
Click the icon to bring up the slider 滑动清屏 and manually drag the icon to the right to clear the current screen writing.
- Left and right switching function
Click the icon to switch between the left and right positions of function icon including more function icons, code scanning, switching function icons, and up and down page function icons, page number preview function icons, page addition function icons.
- Page preview
(1) Open the page preview popup window: Click 8/8 to display the current page
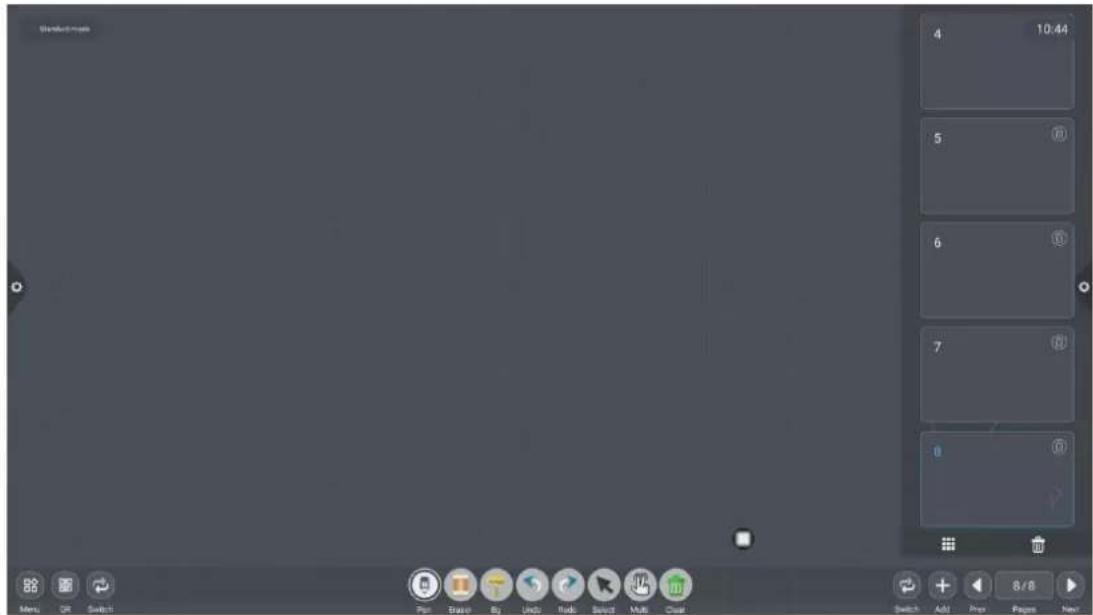
as selected:
(2) Add page: Click + the icon to add the page;
(3) Delete page: In the open page preview window, click the delete button in
the upper right corner of the page thumbnail to delete the page or click 📄 at the bottom of the page preview window to delete all pages. Click 📄 to enter all page display
mode.
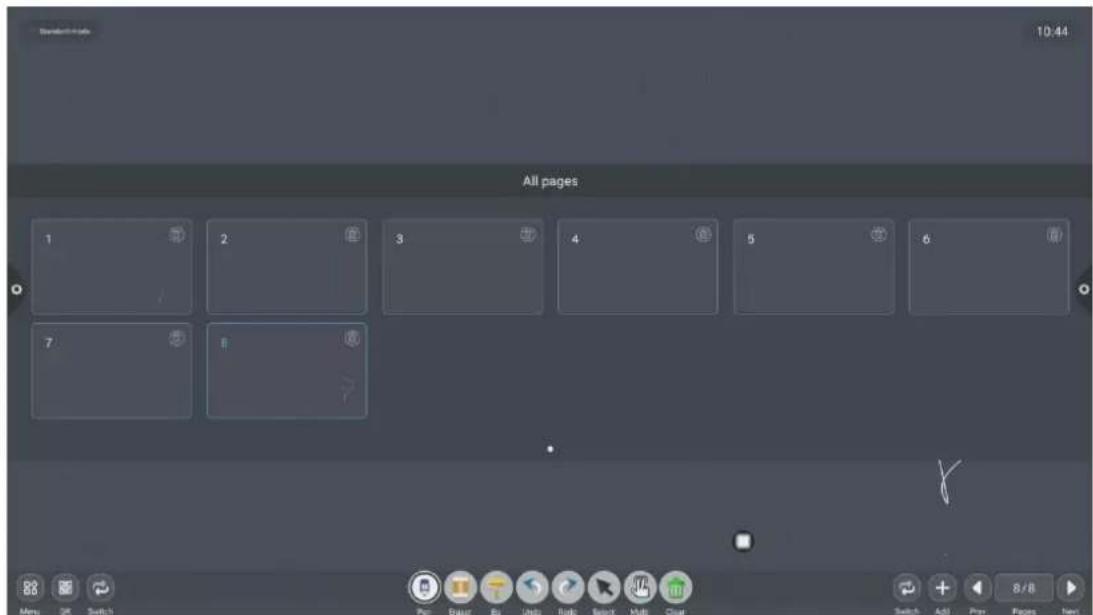
(4) Turning page function: Click the left and right page turning buttons and icons to achieve the page turning effect, or in the page preview window, the preview page exceeds the limited preview range, slide up and down to quickly find the page, click to select, and realize the page turning function.
2.2 Document management
2.2.1 Interface introduction
- Click the file manager icon 📄, Open the file management application, and the external SD card and USB external storage device are displayed on the left side of the file browser.
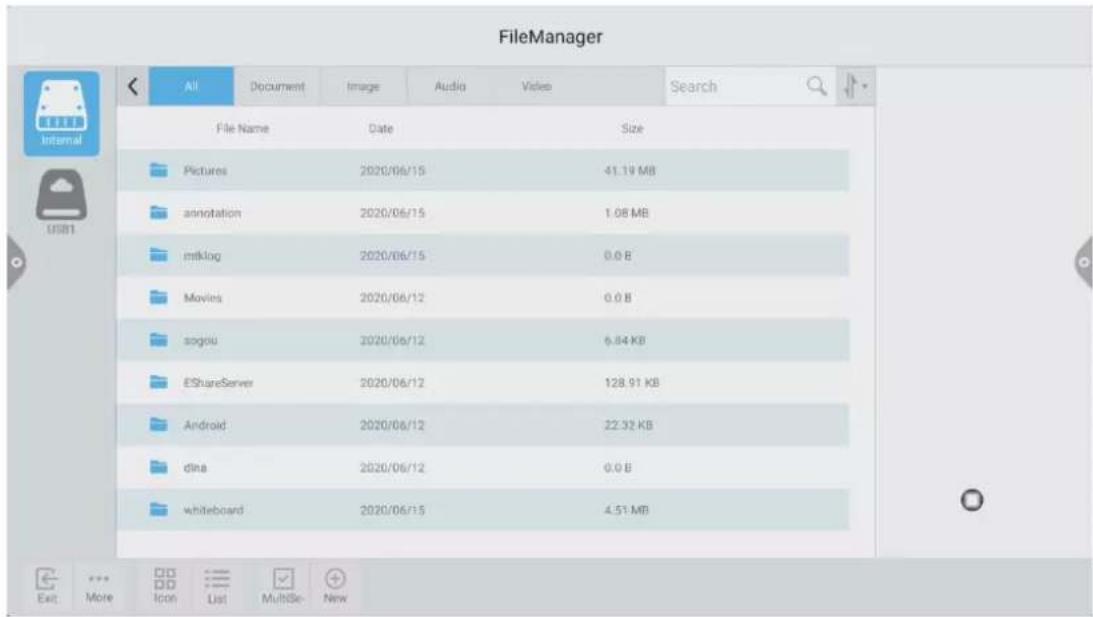
2.2.2 Classification display
- When user click "Documents", the main contents are: Word, EXCEL, PDF, TXT files.
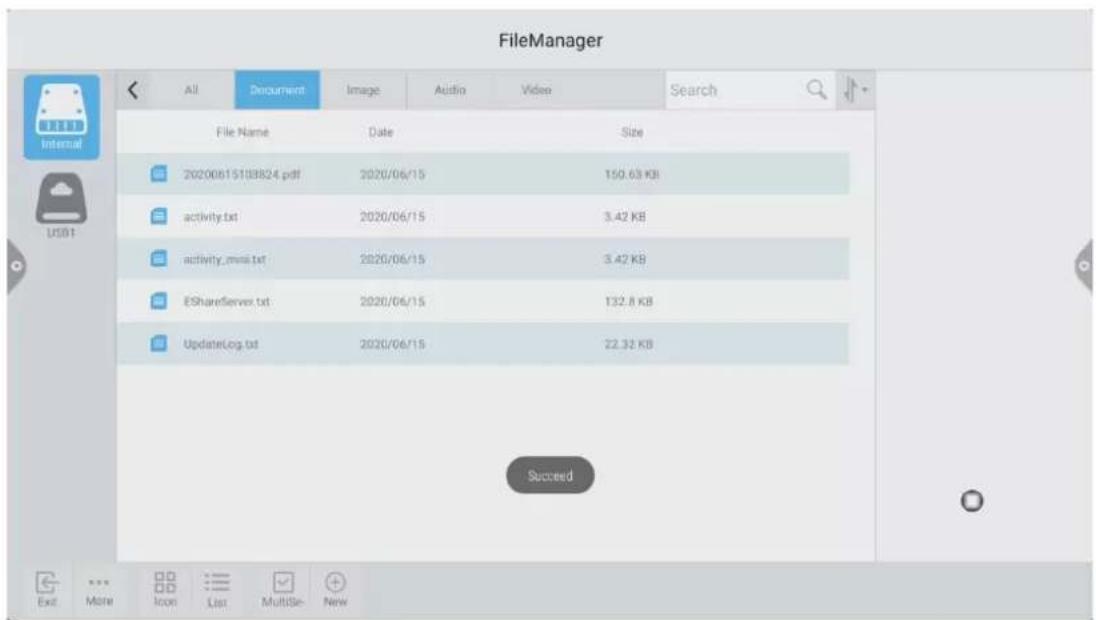
- When user click "Picture", the image format file is displayed.
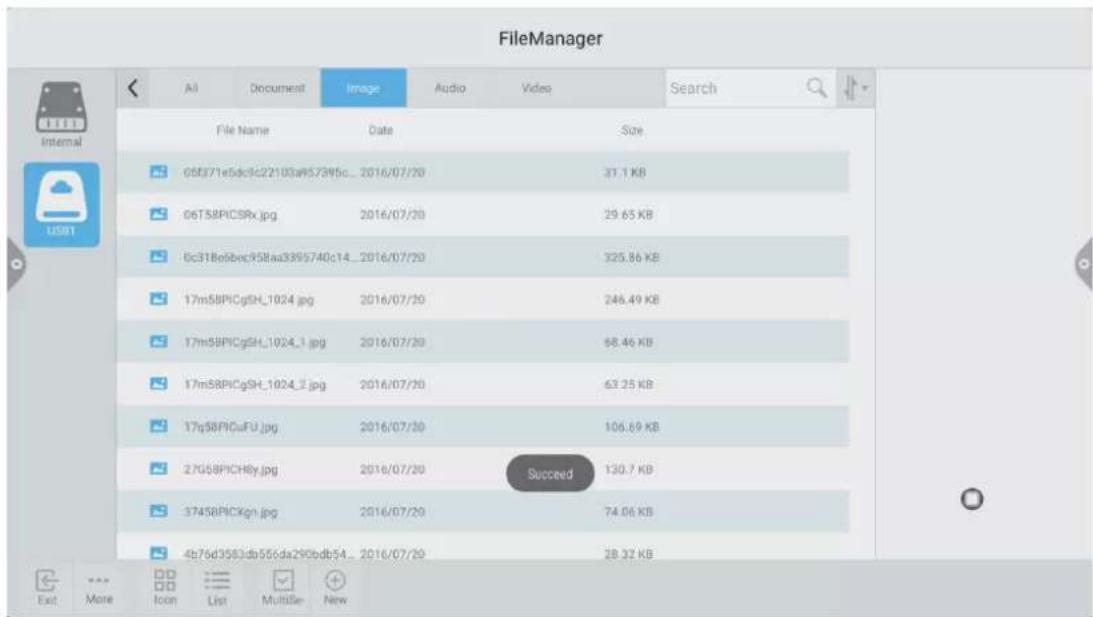
- when user click "Audio", the audio format file is displayed.
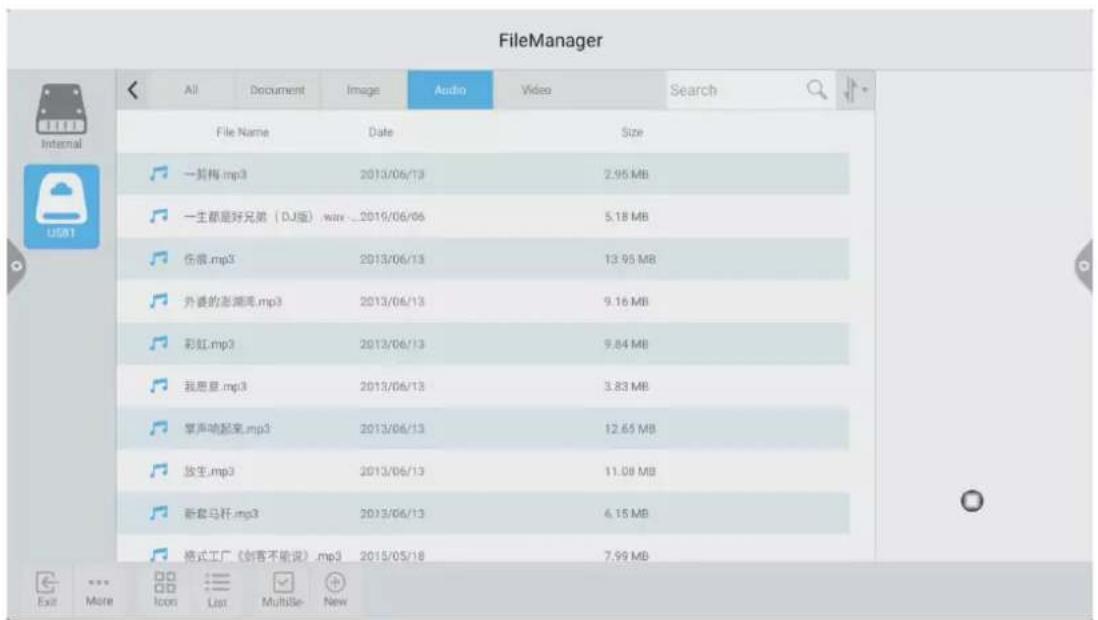
- When user click "Video", the video format file is displayed.
![FileManager All Document Image Audio Videos Search File Name Date Size test_AVI.avi 2018/02/05 2.37 MB [阿凡达:第一次见阿凡达].Avat... 2016/04/01 46.4 MB test_WMV.wmv 2018/02/05 3.23 MB [阿凡达:第一次见阿凡达].Avat... 2016/04/01 62.97 MB test_电影.mpg 2018/02/05 1.82 MB [阿凡达:第一次见阿凡达].Avat... 2016/04/01 16.32 MB test_MP4.mp4 2018/02/05 3.1 MB HD.Club-4K-Chimei-inn-60mbps...2013/05/20 Succeed 252.4 MB HD.Club-4K宫宫箱幕美食道-100...2012/11/02 2.53 GB 欧洲(按邦AVC).mp4 2013/08/22 2.04 GB Exit More Icon List Multise- New](/content/2026/05/981130/images/ec1581431bde88f3f2dde7ccdf3e3fd152cdb074cbe07dfd5a2bb8beaddcc09c.jpg)
- Searching feature: In the search bar, enter the name of the file that the user needs to find. After clicking Search, the file to be found will be displayed in the main content window, as shown in the figure.
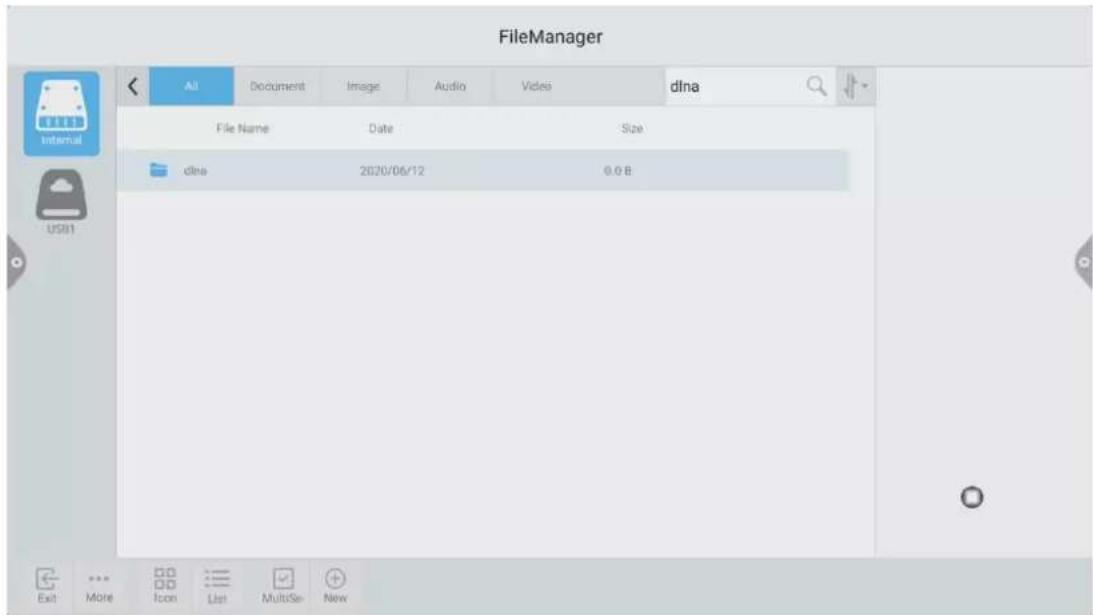
- Sort
Click icon, The sorting list will pop up. The sorting method has four sorting methods: size, name, type, and time. Users can sort and sort files according to their needs.
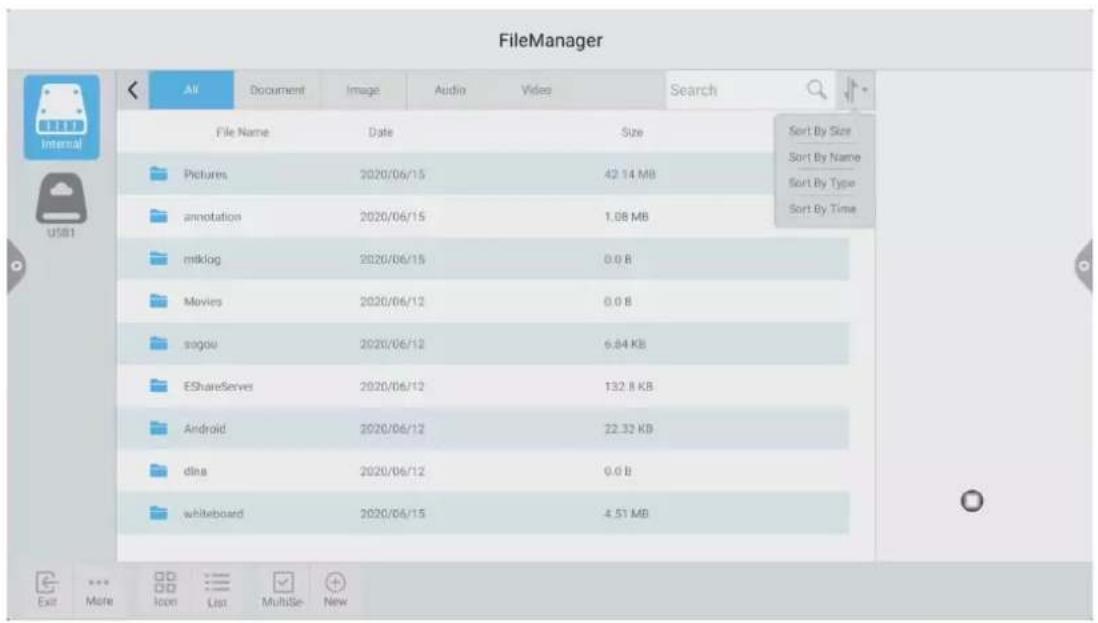
2.2.3 Extended menu
Click 更多 icon, there are functions such as display settings, favorites, and version information.
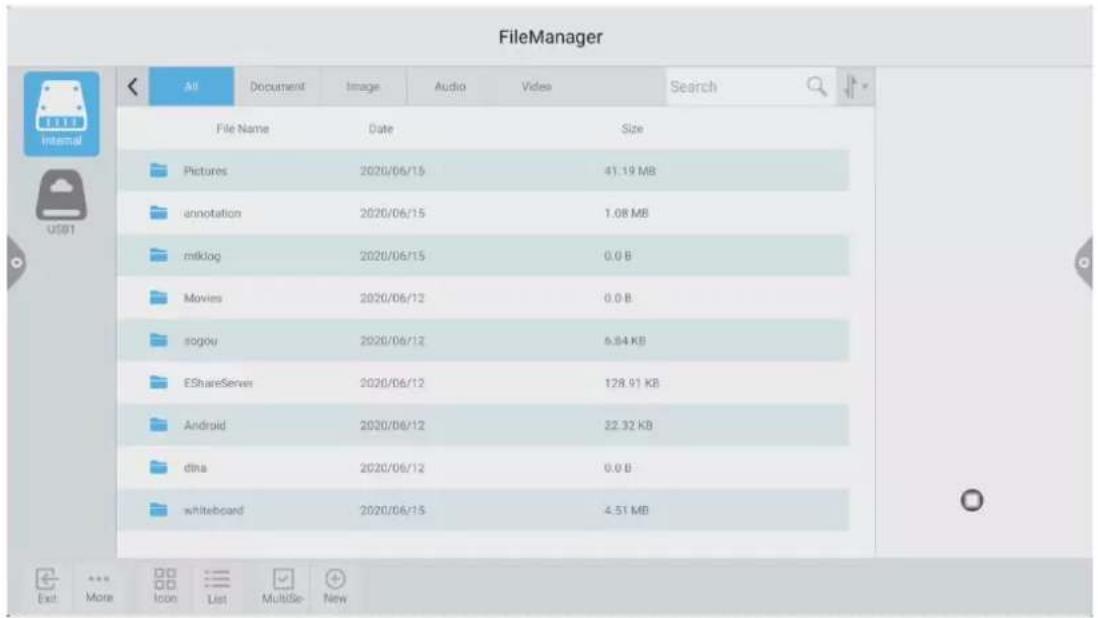
1. Display settings
User can set the file manager's font display and background color display.
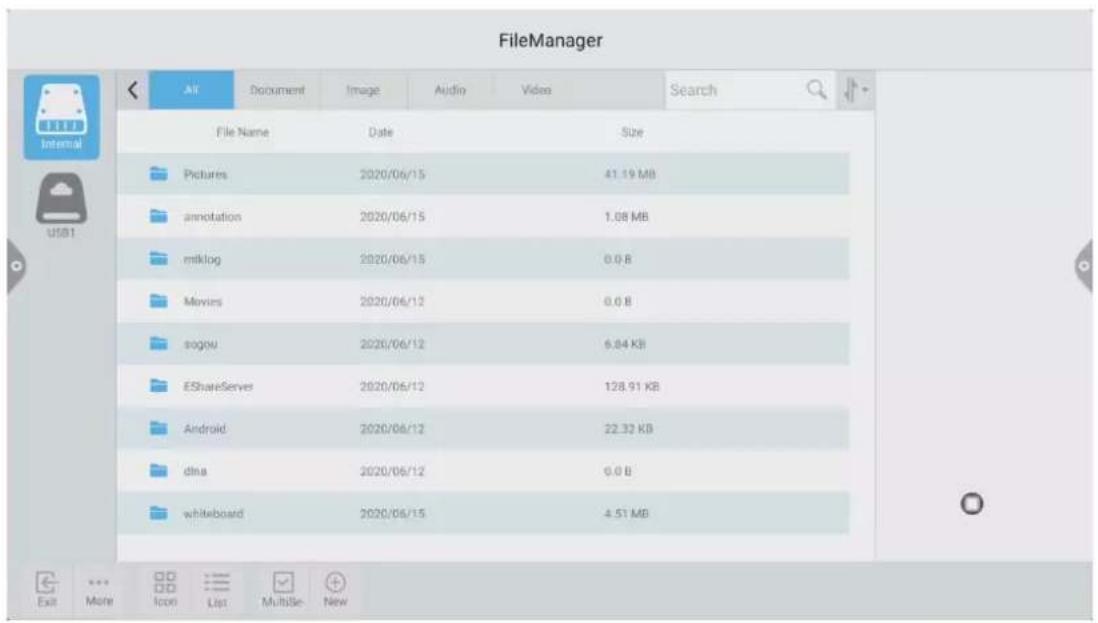
2. Language selection
Language can choose Chinese simplified, English. When the system language is switched, the language of the file browser will also be switched with the system without manual switching.
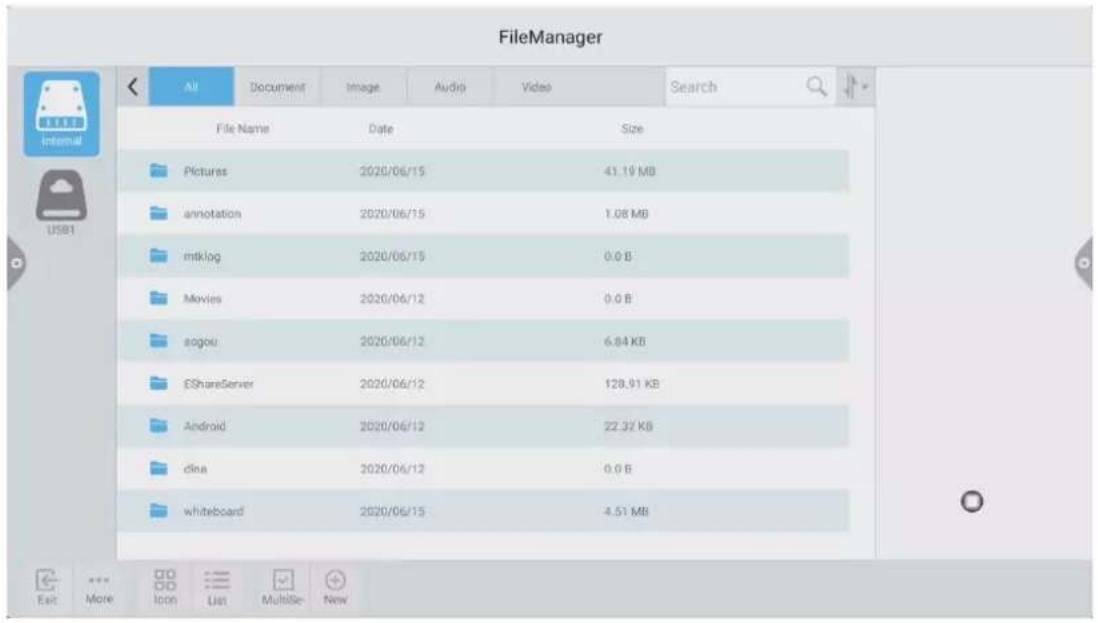
3. Favorites
(1) File collection: Select the files you want to collect and click on the collection.
(2) Viewing files: When viewing a file or folder in a favorite, user need double-click to receive the file or folder.
(3) Remove the favorite file: Click to select the file or folder to be removed, and then click to remove the favorite to remove.
(4) Exit the favorites: Click outside the Favorites interface to exit.
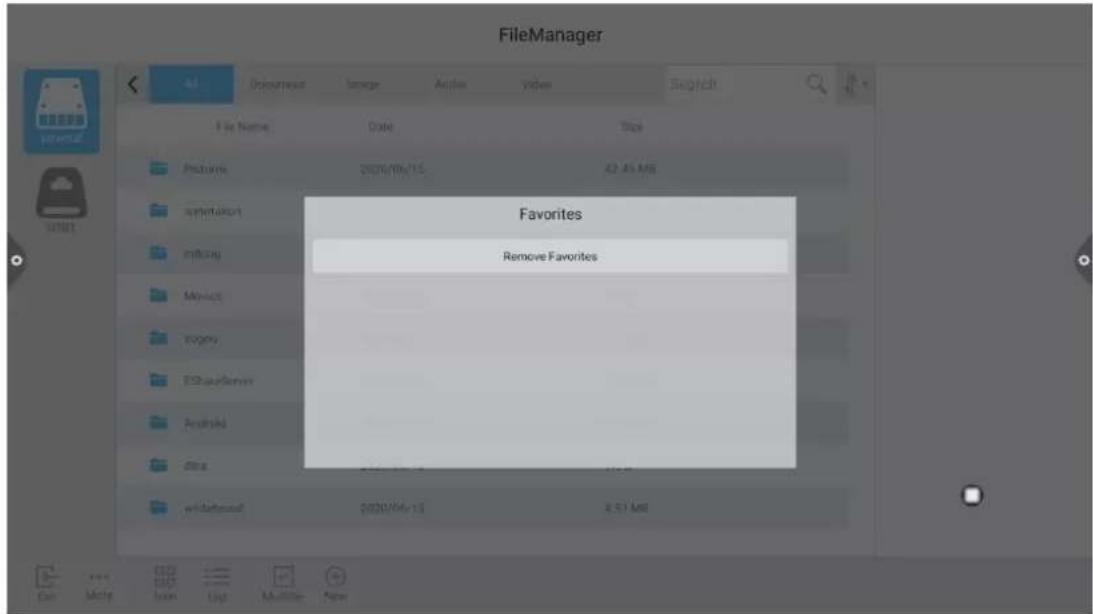
4. About
User can view the file browser version information.
2.2.4 Display method
1. Icon display
The icon display can be divided into a large icon display and a small icon display.
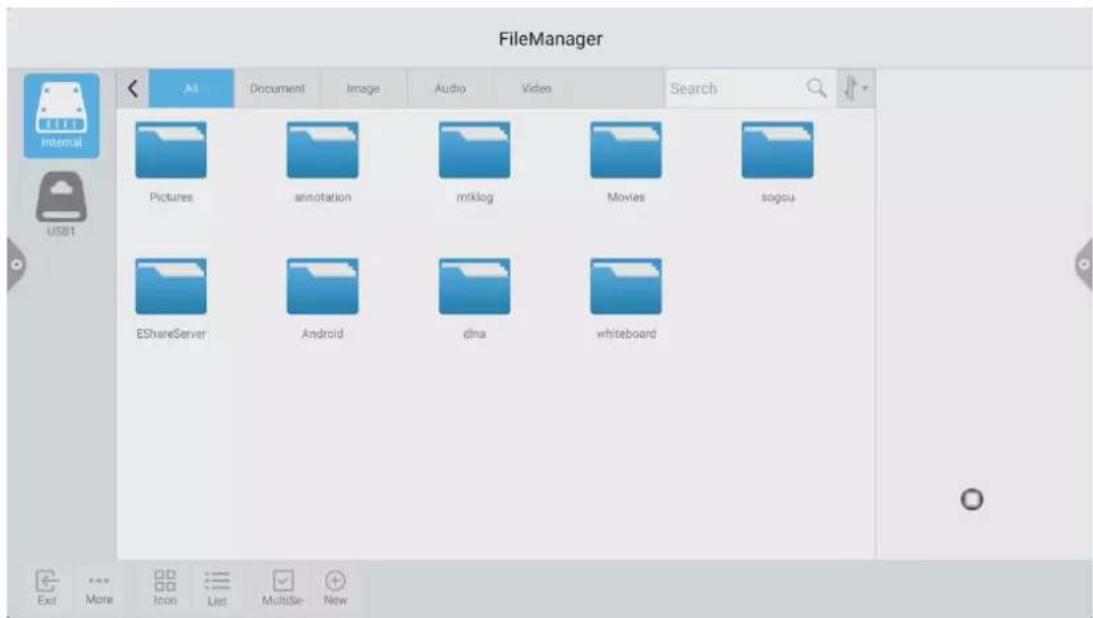
2. List display
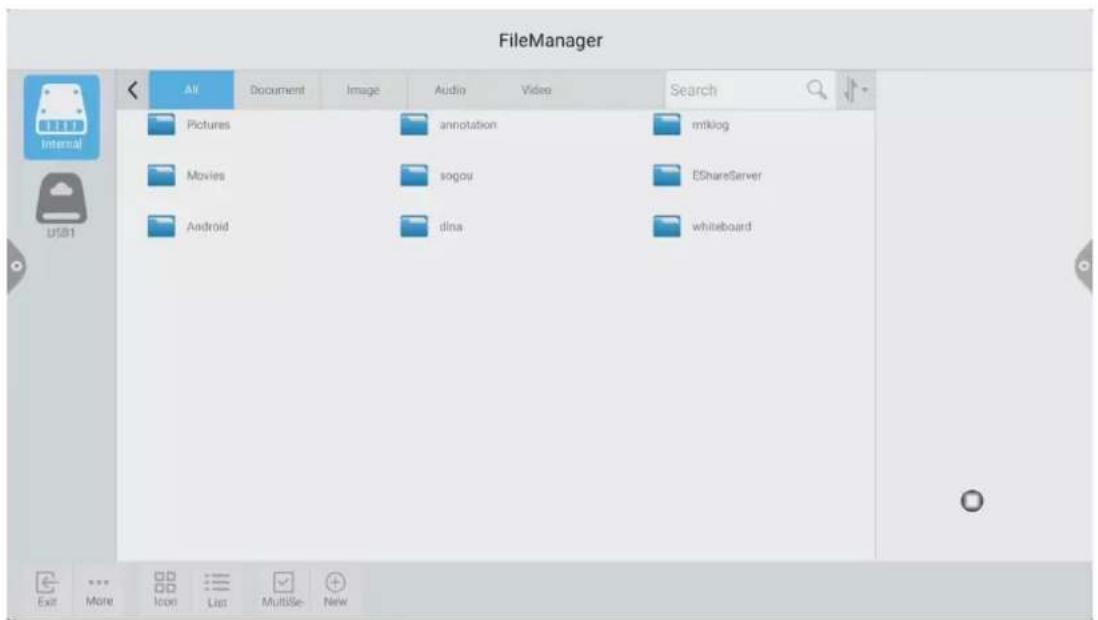
2.2.5 Toolbar
1. Multiple selection
Click MultiSe icon, Multiple folders can be selected at the same time.
1. Extension tool
When you enter the selected state, the extension toolbar will pop up, which copies, cuts, deletes, renames, compresses, encrypts, and collects functions.
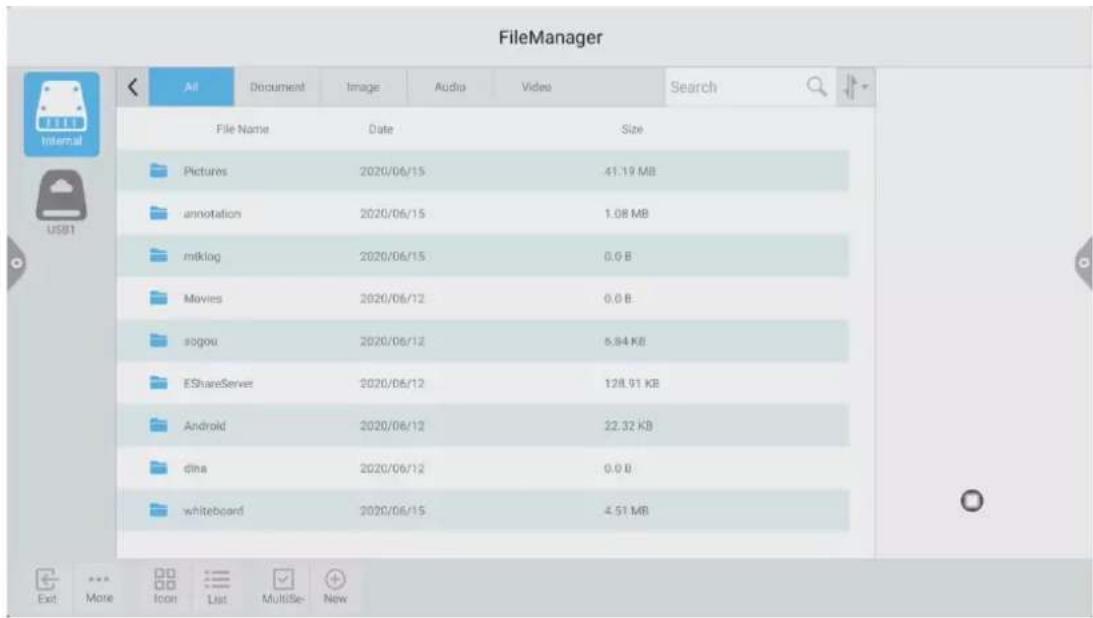
(1) File encryption
a. Open password protection: long press to select the file or folder to be protected, click encryption, enter the password to confirm. After the file is encrypted, you cannot delete, copy, cut, rename, etc. the file.
b. Unprotect the password: long press to select the protected file or folder, click decrypt, enter the password to unlock the password of the file or folder.
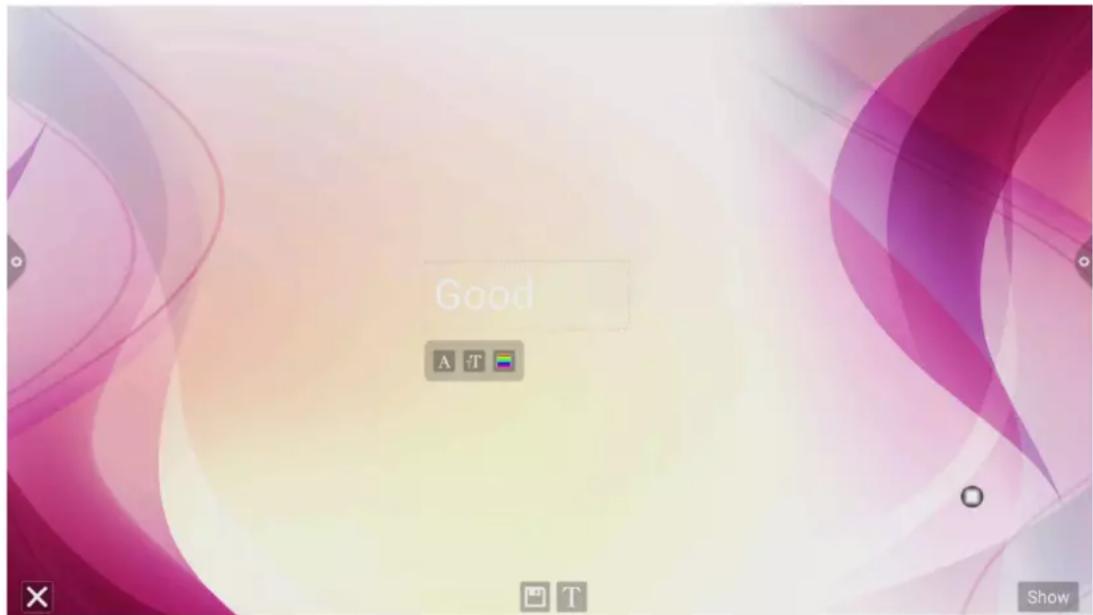
2.3 Welcome template
2.3.1 Interface description
Click on the welcome template app Hi , enter to the app main page. The main interface is divided into a theme bar and a preview display bar.
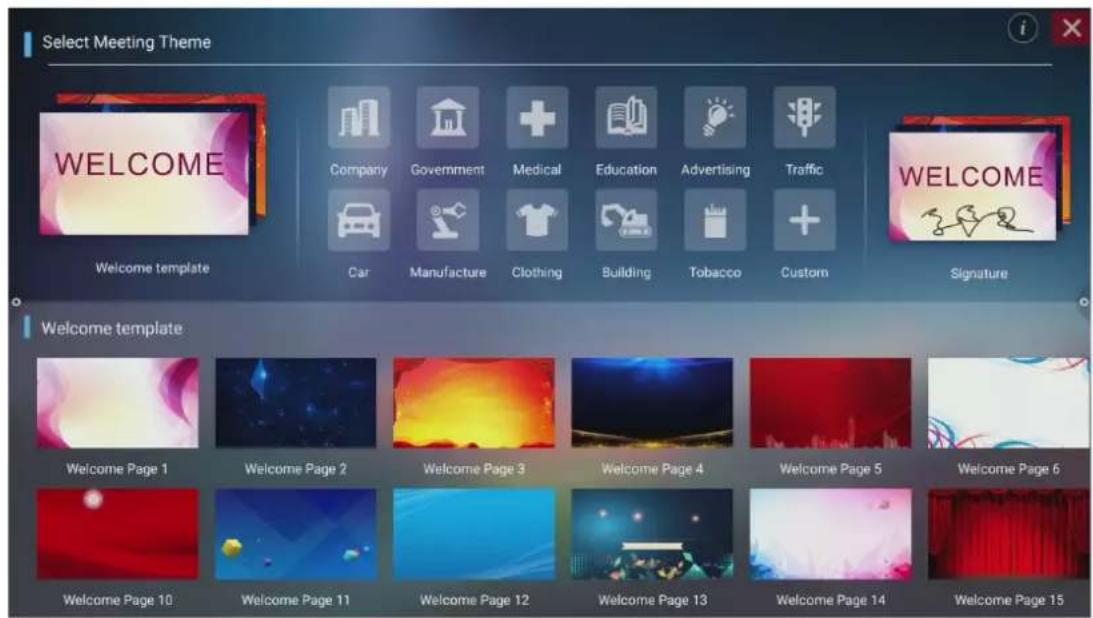
The topic column is divided into three modules: welcome module, industry theme, and signature picture. Users can customize the theme, edit the theme, etc. under the Welcome Module, Industry Theme module. Signed images can only be deleted.
2.3.2 Functional application
Open the theme image in the preview display bar.
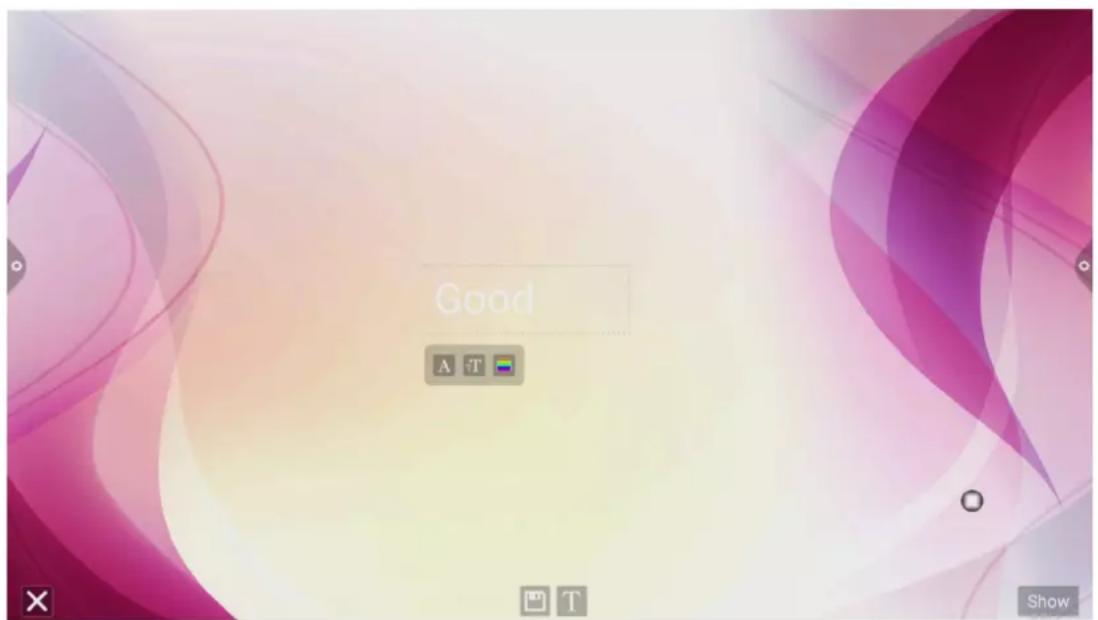
1.Text Editor:
(1) Click

icon to enter text editing status, when in text editing state, user
can enter text by touching the keyboard, Click select the font, size and color of the text.

the function icon to
(2) Press and hold the edit box at the top of the theme screen to pop up the Edit menu. Use the Edit menu to select, cut, copy, delete, etc. the contents of the edit box.
(3) Save: Click under the theme.

icon to save, save as the theme image and it will appear
2. Signature mode
If you select Show, you will enter the signature state. You can manually touch the written content in the signature state, as shown in the figure.
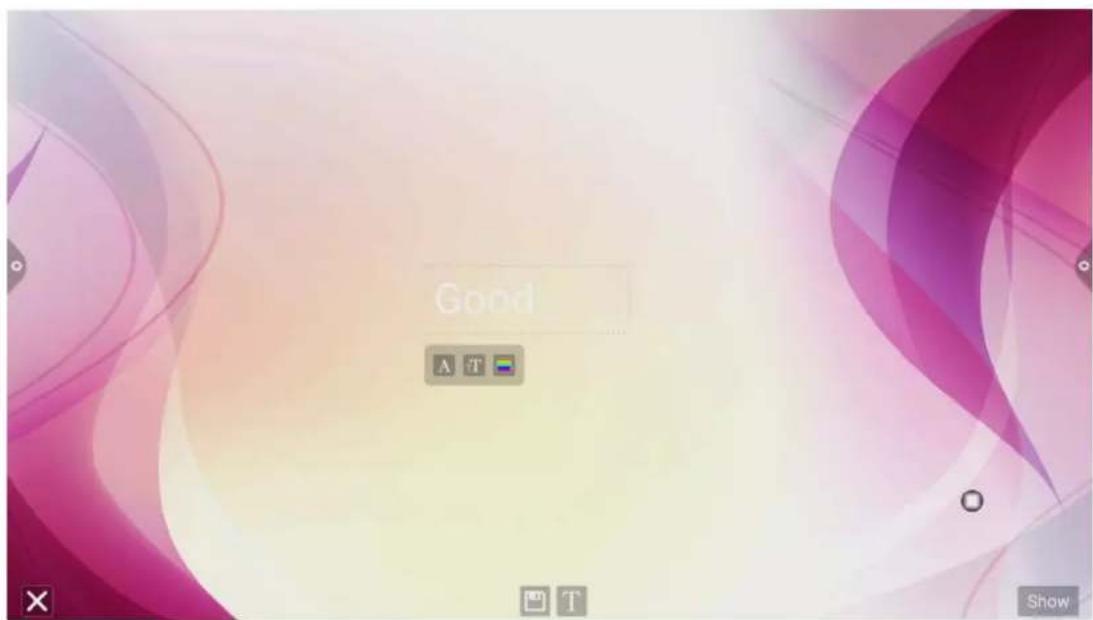
(1)Write: Click icon to choose the thickness of the line and the color of the line
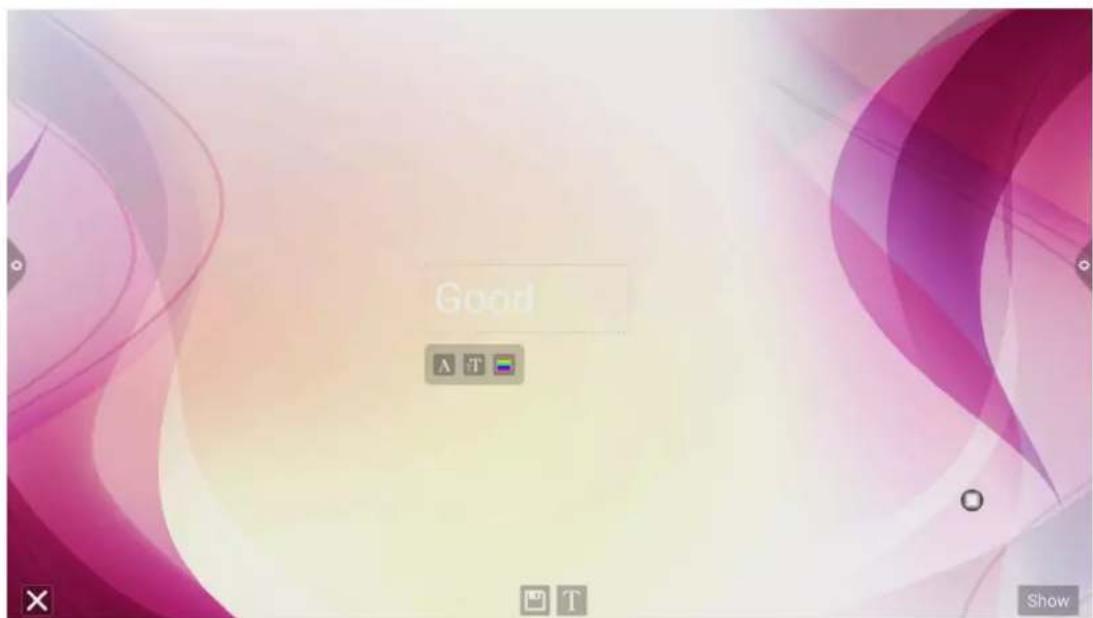
(2) Erase: a. Click icon to clear the edited content in the signature state;
b. Click icon to bring up the eraser function.
(3) QR code sharing: Click

icon to save theme interface signature image, If the network is be connected, user can use the mobile phone to scan the QR code to view and download the saved theme image.
2.4 Multi-screen interactive
2.4.1 Application note
The main function of this application is to wirelessly transmit the content of mobile phones, tablets or computers to the conference all-in-one machine, and truly realize the wireless screen transmission function of the projection device and the projected device (note: mobile phones, tablets or computers need to be On the same local area network as the conference tablet).
2.4.2 Operating instructions
- Click
(multi-screen interactive) icon to open the multi-screen
interactive interface, and the application display interface is as shown.
IOS system does not need to install the client
DevName : RECV_026B3D
HotSpot : Dazzle-2327
Password: Dazzle123456

flowchart
graph TD
    A["PC Users"] --> B["Insert the Button"]
    B --> C["Run ESHOW"]
    C --> D["Click&Share"]
    D --> E["Android sender App"]
    F["Pad/Phone Users"] --> G["Connect to host via Wifi SSID\n(which is shown at the top left\ncorner of the screen)\nDefault PSW : 12345678"]
    G --> H["Smartphone"]
    H --> I["Smartphone"]
    I --> J["Smartphone"]
    J --> K["Smartphone"]
    K --> L["Smartphone"]
    L --> M["Smartphone"]
    M --> N["Smartphone"]
    N --> O["Smartphone"]
    O --> P["Smartphone"]
    P --> Q["Smartphone"]
    Q --> R["Smartphone"]
    R --> S["Smartphone"]
    S --> T["Smartphone"]
    T --> U["Smartphone"]
    U --> V["Smartphone"]
    V --> W["Smartphone"]
    W --> X["Smartphone"]
    X --> Y["Smartphone"]
    Y --> Z["Smartphone"]
    Z --> AA["Smartphone"]
    AA --> AB["Smartphone"]
    AB --> AC["Smartphone"]
    AC --> AD["Smartphone"]
    AD --> AE["Smartphone"]
    AE --> AF["Smartphone"]
    AF --> AG["Smartphone"]
    AG --> AH["Smartphone"]
    AH --> AI["Smartphone"]
    AI --> AJ["Smartphone"]
    AJ --> AK["Smartphone"]
    AK --> AL["Smartphone"]
    AL --> AM["Smartphone"]
    AM --> AN["Smartphone"]
    AN --> AO["Smartphone"]
    AO --> AP["Smartphone"]
    AP --> AQ["Smartphone"]
    AQ --> AR["Smartphone"]
    AR --> AS["Smartphone"]
    AS --> AT["Smartphone"]
    AT --> AU["Smartphone"]
    AU --> AV["Smartphone"]
    AV --> AW["Smartphone"]
    AW --> AX["Smartphone"]
    AX --> AY["Smartphone"]
    AY --> AZ["Smartphone"]
    AZ --> BA["Smartphone"]
    BA --> BB["Smartphone"]
    BB --> BC["Smartphone"]
    BC --> BD["Smartphone"]
    BD --> BE["Smartphone"]
    BE --> BF["Smartphone"]
    BF --> BG["Smartphone"]
    BG --> BH["Smartphone"]
    BH --> BI["Smartphone"]
    BI --> BJ["Smartphone"]
    BJ --> BK["Smartphone"]
    BK --> BL["Smartphone"]
    BL --> BM["Smartphone"]
    BM --> BN["Smartphone"]
    BN --> BO["Smartphone"]
    BO --> BP["Smartphone"]
    BP --> BQ["Smartphone"]
    BQ --> BR["Smartphone"]
    BR --> BS["Smartphone"]
    BS --> BT["Smartphone"]
    BT --> BU["Smartphone"]
    BU --> BV["Smartphone"]
    BV --> BW["Smartphone"]
    BW --> BX["Smartphone"]
    BX --> BY["Smartphone"]
    BY --> BZ["Smartphone"]
    BZ --> CA["Smartphone"]
    CA --> CB["Smartphone"]
    CB --> CC["Smartphone"]
    CC --> CD["Smartphone"]
    CD --> CE["Smartphone"]
    CE --> CF["Smartphone"]
    CF --> CG["Smartphone"]
    CG --> CH["Smartphone"]
    CH --> CI["Smartphone"]
    CI --> CJ["Smartphone"]
    CJ --> CK["Smartphone"]
2. Function activation
This feature is available for a fee.
3. Operating description
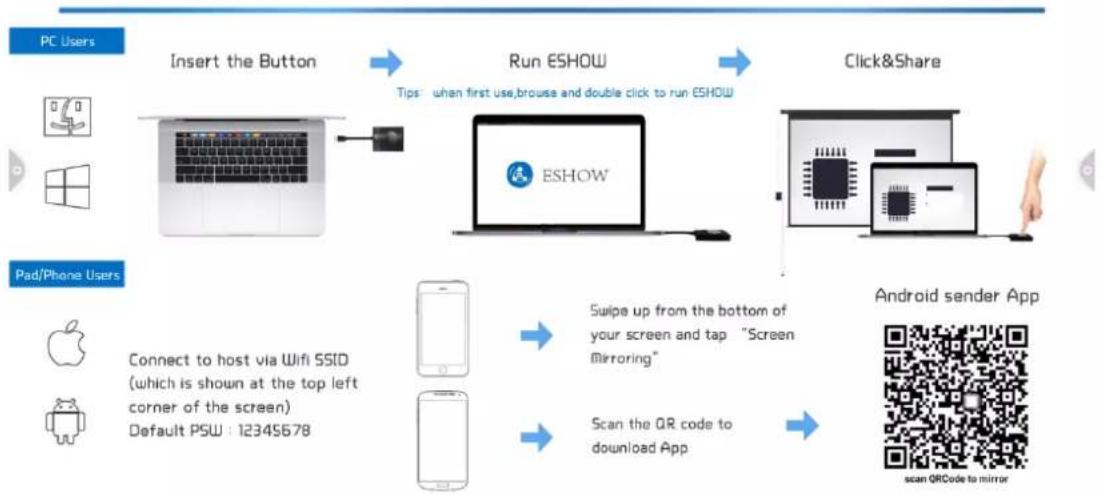
A. Android mobile phone connection network, scan the multi-screen interactive interface QR code to download and install E-share application software (Apple mobile phone does not need to download);
B. The mobile phone needs to use the same network as the all-in-one. The Android mobile phone can open the E-share to cast the screen, and the Apple mobile phone can open the Air Play connection device to cast the screen.
IOS
Android
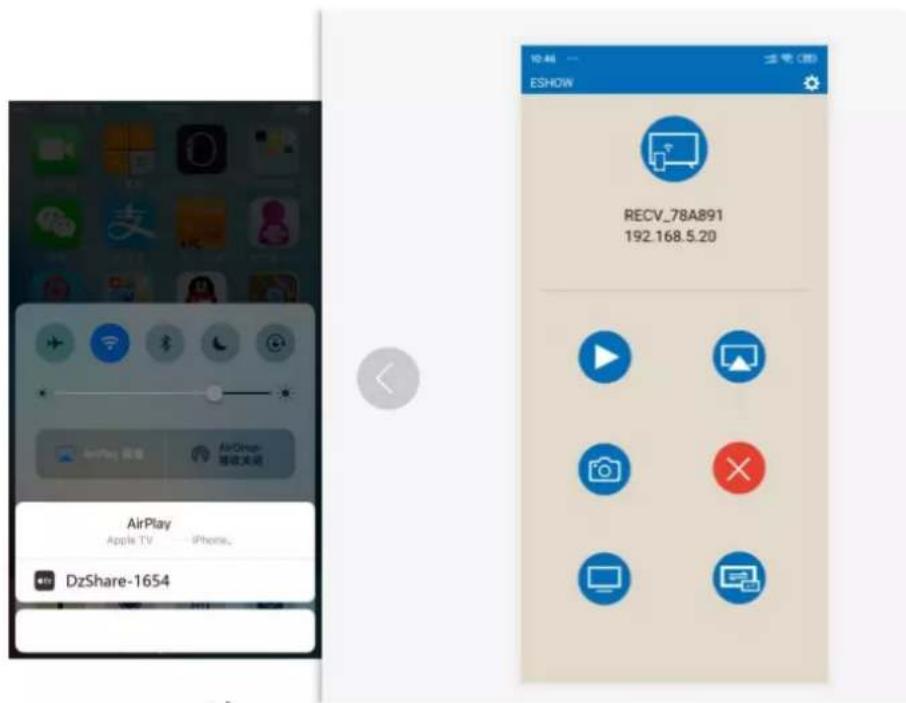
2.4.3 Special instructions for multi-screen interactive interface
DevName : RECV_026B3D HotSpot : Dazzle-2327 Password: Dazzle123456

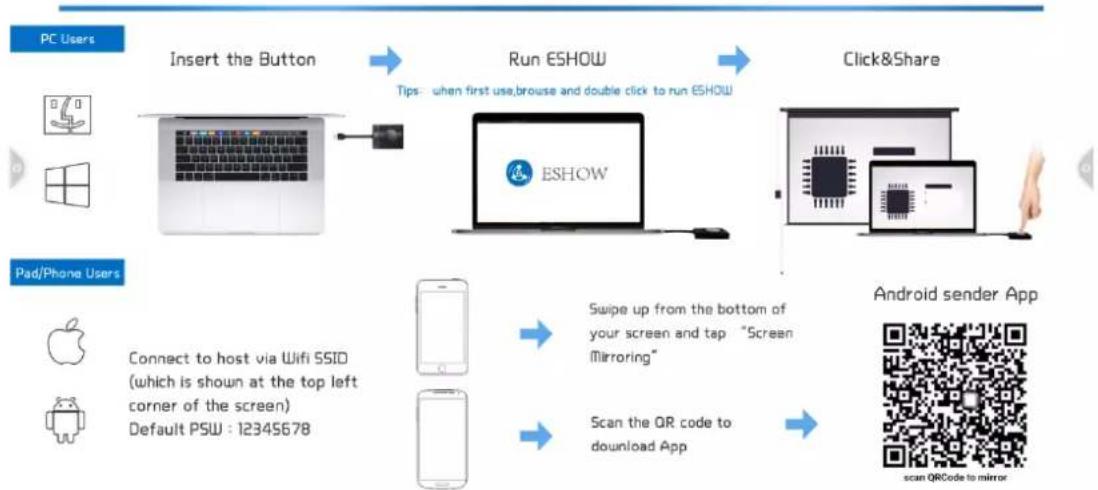
flowchart
graph TD
A["PC Users"] --> B["Insert the Button"]
B --> C["Run ESHOW"]
C --> D["Click&Share"]
D --> E["Android sender App"]
F["Pad/Phone Users"] --> G["Connect to host via Wifi SSID (which is shown at the top left corner of the screen)<br>Default PSW : 12345678"]
G --> H["Smartphone"]
H --> I["Scan the QR code to download App"]
I --> J["QRCode to mirror scan QRCode to mirror"]
C --> K["Tips: when first use, browse and double click to run ESHOW"]
K --> L["ESHOW"]
L --> M["Swipe up from the bottom of your screen and tap "Screen Mirroring""]
A. Device name
Click

icon, user can modify the machine name
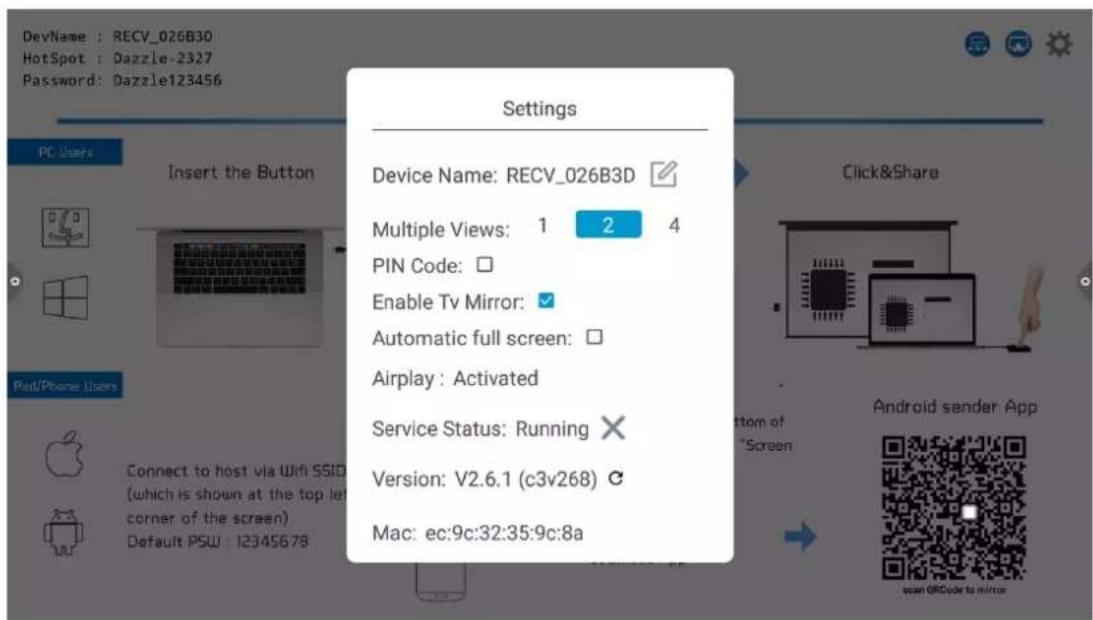
In this interface, you can modify the device name and set the connection password. The connection password only works on Android phones. When the password is turned on, when an Android phone connects to the conference tablet, it needs to enter the connection password to connect to the screen.
Multi-split screen: set the number of split screens
Screen display screen display device name switch: the device name is displayed on the screen display when it is turned on
Airplay visible switch: Airplay visible when turned on.
2.5 More applications
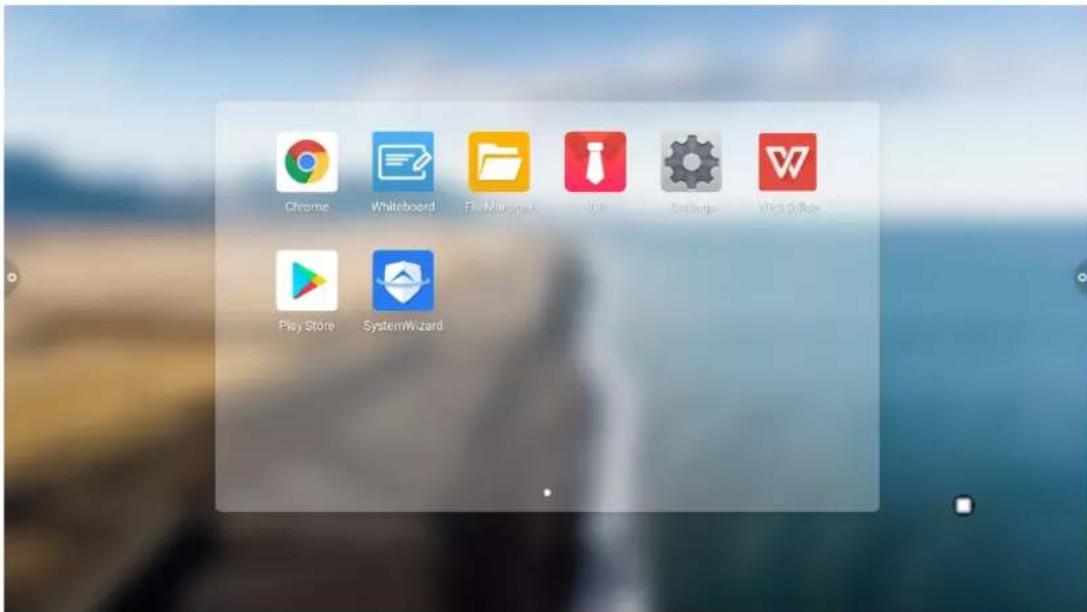
2.5.1 APK application
Click the More Apps icon to enter the More Application interface of the conference system. Users can view or open the APK application installed by themselves in this interface, as shown in the figure.
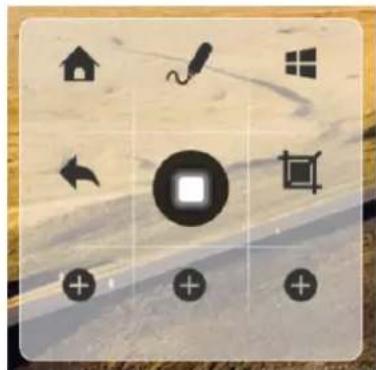
- Floating menu, the icon floating on the desktop can be moved freely and displayed in any interface. Click Open to quickly launch the application inside the menu, or you can customize to add other apps to the floating menu bar.
- Add: Click + the icon and select the app you want to add in the pop-up menu bar.
- Delete: Long press the app icon you want to delete to enter the editable state, click 🙏 to delete the app's shortcut icon.
natural_image
Grid of black icons on a textured beige background, including houses, a pencil, window, and directional arrows (no text or symbols)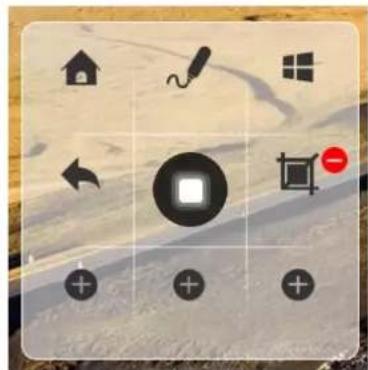
natural_image
Game interface icons including home, pencil, window, square, and plus buttons on a textured background (no readable text or symbols)- Wallpaper
- Display
- Network
- Wired network
- Wireless network
- 2.4 and 5G Hot spot
- Bluetooth
- Intelligence
- System
- II The software description
- Electronic Whiteboard
- Interface display
- More menus
- Common Function Menu
- Brush tool
- Select function
- Click
- Slide clear screen function
- Document management
- Interface introduction
- Classification display
- Extended menu
- Display settings
- Language selection
- Favorites
- About
- Display method
- Icon display
- List display
- Toolbar
- Multiple selection
- Extension tool
- File encryption
- Welcome template
- Interface description
- Functional application
- 1.Text Editor:
- Click
- Signature mode
- Multi-screen interactive
- Application note
- Operating instructions
- Function activation
- Operating description
- Special instructions for multi-screen interactive interface
- More applications
- APK application
Brand : Allsee
Model : PT86H
Category : User interface