
CAB20E - Guide de câblage DIMPLEX - Free user manual and instructions
Find the device manual for free CAB20E DIMPLEX in PDF.


| Product Type | Wiring Guide |
| Model | CAB20E |
| Brand | Dimplex |
| Category | Guide de câblage (Wiring Guide) |
| Format | PDF (1 page) |
| Language | English |
| Content Overview | Step-by-step instructions for constructing a CAT5e UTP patch cable (patch lead) |
| Tools Required | Scissors, crimping tool, RJ45 plugs, cable tester |
| Wire Type | Category 5e UTP (unshielded twisted pair) |
| Color Code | 568B (white/orange, orange, white/green, blue, white/blue, green, white/brown, brown) |
| Steps Included | Strip outer sheath, separate pairs, straighten, flatten, trim, insert into RJ45, crimp, test |
| Safety Tips | Handle scissors carefully; ensure correct color order before crimping |
| Maintenance | Keep crimping tool clean; visually inspect finished cable |
| Common Applications | Ethernet network connections, patch panels, wall outlets |
| Compliance | Follows T568B standard for CAT5e networks |
| Additional Resources | Free manual and instructions available online |
Frequently Asked Questions - CAB20E DIMPLEX
User questions about CAB20E DIMPLEX
0 question about this device. Answer the ones you know or ask your own.
Ask a new question about this device
Download the instructions for your Guide de câblage in PDF format for free! Find your manual CAB20E - DIMPLEX and take your electronic device back in hand. On this page are published all the documents necessary for the use of your device. CAB20E by DIMPLEX.
USER MANUAL CAB20E DIMPLEX
Patch Lead Construction
natural_image
Assorted blue and black wire crimping tools including scissors, plastic cup, and terminal blocks (no text or symbols visible)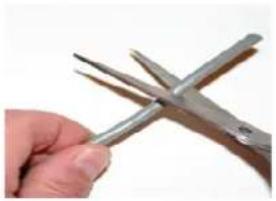
natural_image
Close-up of a hand holding two scissors cutting through metal strips (no text or symbols visible)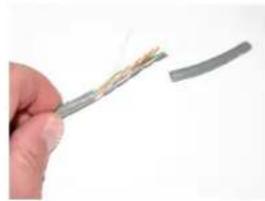
natural_image
Close-up of a hand holding a damaged cable with exposed wires (no text or symbols visible)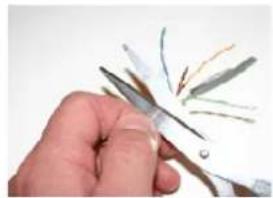
natural_image
Hand holding scissors cutting a plant stem with visible roots and leaves (no text or symbols)- Tools 2. Remove outer sheath 3. Removing the sheath 4. Cut string
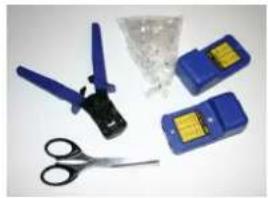
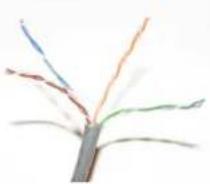
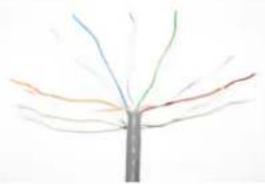
| In addition to category 5e UTP (unshielded twisted pair) cable you will need, scissors, crimping tool, RJ45 plugs and cable testers | Taking care not to cut the inner cables remove a length of insulating sheath | Discard the sheath to reveal the four parts of the twisted cable within | Cut off the little length of string that is inside the sheath |
natural_image
Illustration of a branching structure with multiple colored lines radiating from a central point (no text or symbols)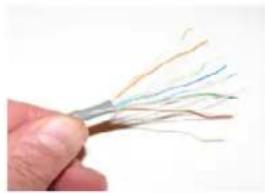
natural_image
Close-up of a hand holding a thin, flexible wire with multiple strands (no text or symbols visible)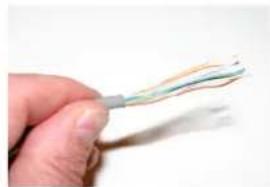
natural_image
Close-up of a hand holding a flexible, multicolored cable or wire against a plain background (no text or symbols visible)- Separate pairs of wires 6. Separate wires 7. Straighten wires 8. Pull wires
| Separate out the four pairs of wires | Separate wires to ease crimping | Straighten wires to aid wire colour identification | Firmly pull the wires between finger and thumb |
natural_image
Close-up of a hand holding a bundle of wires, no visible text or symbols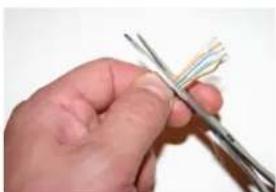
natural_image
Close-up of a hand holding two thin metal tips, no text or symbols visible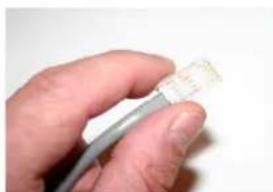
natural_image
Close-up of a hand holding a white USB cable (no text or symbols visible)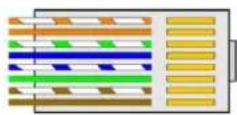
9. Flatten wires
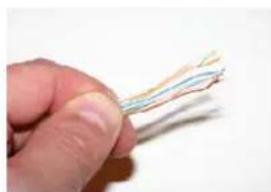
With wires almost parallel, make sure the correct colour order: white/orange, orange, white/green, blue, white/blue, green, white/brown, brown
10. Trim wires
With flat and parallel cable wires in the correct order, trim to leave 12mm protruding from the sheath
11. Fit RJ45 socket
Push wires into the plug so they reach in fully. Ensure enough sheath is inside the plug so it will be physically gripped when crimped
12. Correct colours
Check you have the correct colour order before crimping. This colour order is called 568B and is common for CAT5 cable networks
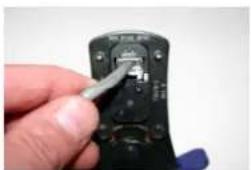
natural_image
Close-up of a hand holding a black electrical switch with a cable inserted (no visible text or symbols)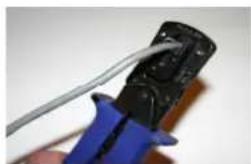
natural_image
Close-up of a hand holding a wire being inserted into a black electrical crimping tool with blue plastic cover (no text or symbols visible)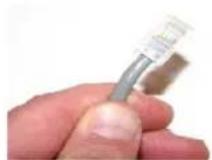
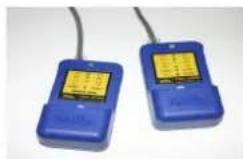
13. Crimping Tool 14. Crimping
| Place the plug into the tool so that the sheath is also trapped | Firmly crimp the plug so all wires and sheath are trapped | Visually inspect to ensure correct colour sequence | Test the finished cable using a suitable cable tester |
15. Finished Plug
16. Test

Brand : DIMPLEX
Model : CAB20E
Category : Guide de câblage