
WMNSINT612W - Washing machine BUSH - Free user manual and instructions
Find the device manual for free WMNSINT612W BUSH in PDF.


| Product Type | Built-in Washing Machine |
| Brand | BUSH |
| Model | WMNSINT612W |
| Color | White |
| Capacity | 6 kg |
| Spin Speed | 1200 rpm |
| Energy Efficiency Class | A++ |
| Display | Digital |
| Door Hinge | Reversible (Left or Right) |
| Installation Type | Built-in (integratable into kitchen furniture) |
| Dimensions (H x W x D) | 850 x 597 x 540 mm |
| Net Weight | Approx. 65 kg |
| Power Supply | 220-240 V ~ 50 Hz |
| Current | 10 A |
| Noise Level (Wash/Spin) | 52 dB / 75 dB |
| Programmes | Cotton, Synthetics, Delicates, Quick Wash, Rinse & Spin, Drum Clean |
| Water Connection | Cold water only |
| Accessories Included | Hinges, Spacer, Counter Magnet, Fixed Position Paper, Self-tapping Screws |
| Control Panel | Rotary dial and buttons |
| Safety Features | Child lock, Overfill protection, Unbalanced load control |
| Warranty | 2 years (check retailer) |
Frequently Asked Questions - WMNSINT612W BUSH
User questions about WMNSINT612W BUSH
0 question about this device. Answer the ones you know or ask your own.
Ask a new question about this device
Download the instructions for your Washing machine in PDF format for free! Find your manual WMNSINT612W - BUSH and take your electronic device back in hand. On this page are published all the documents necessary for the use of your device. WMNSINT612W by BUSH.
USER MANUAL WMNSINT612W BUSH
natural_image
White BUSH washing machine with digital display and control panel, set against a geometric orange patterned background (no text or symbols on the device itself)You'll soon be enjoying your new washing machine.
It all begins here, with your instructions. Don't worry, there's nothing too technical coming up. Just simple, step-by-step guidance to get you up and running quickly. Sound good? Then let's get started.
Help and Guidance
We're here to help you get the most from your washing machine. Should you require any guidance, a simple solution can often be found online at:
www.argos-support.co.uk
If you still require further assistance, call one of our experts on 0345 257 7271.
Built-In Installation
Overview
Before installed the washing machine, please read this Built-In instructions carefully and keep it for future reference. This appliance has been designed to be built into the kitchen furniture. The recess should have the dimensions shown in Fig.
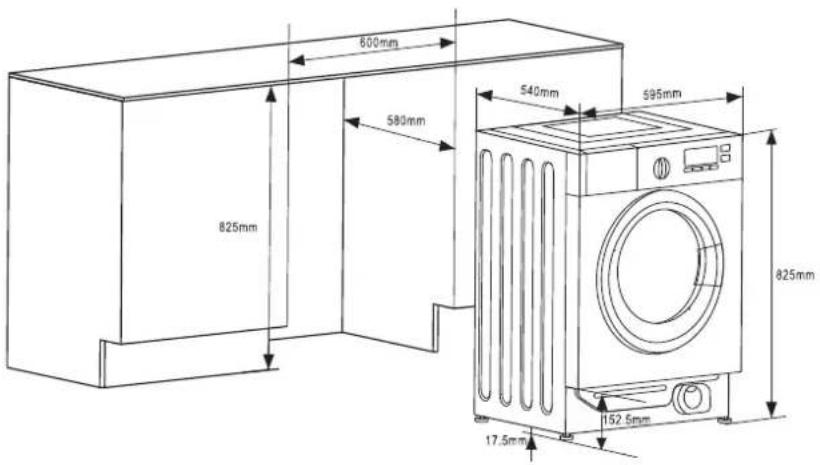
WARNING
When installing the appliance into the kitchen ensure furniture, if possible, the hoses are placed in either of the two recesses on the back of the appliance. This will help to prevent the hoses from becoming kinked or trapped.
Preparation and assembly of the door
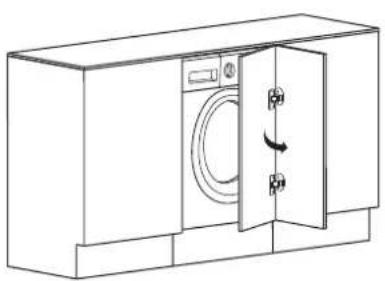
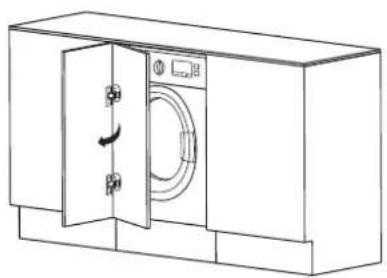
The appliance is originally prearranged for the assembly of a door opening from right to left or from left to right.
natural_image
Line drawing of a front-loading washing machine with door and door lock (no text or symbols)The door is open from left to right
natural_image
Line drawing of a washing machine cabinet with door and door lock (no text or symbols)The door is open from right to left

Built-In Installation
Appendix
①
②
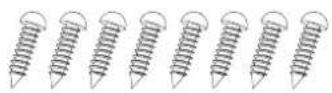
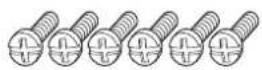
- Self-tapping screws (ST4*12)
- Self-tapping screws (M5*12)
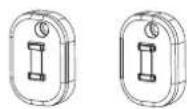
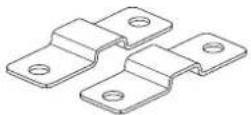
3.Hinges - Counter magnet
5.Spacer
6.Fixed position paper

③
④
⑤
⑥
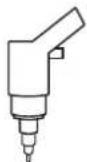
Tools
- Screw Driver
- Automatic Driver
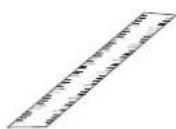
3.Ruler
4.Pencil

①
②
③

④
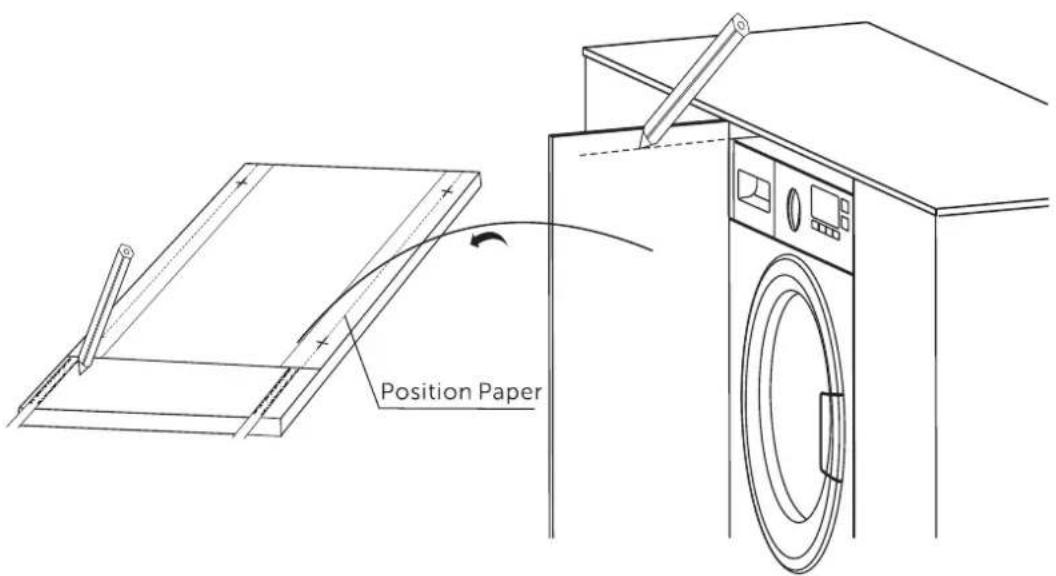
Preparation the Fixed position paper
- Make the mark on the door according to the cupboard and washing machine height.
Built-In Installation
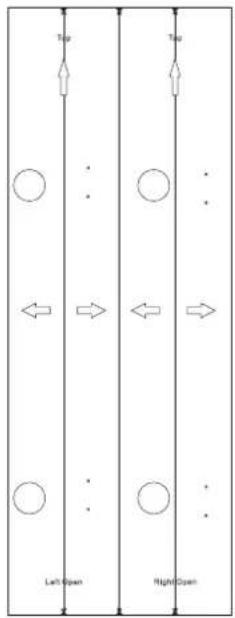
- Fixed position paper on the door.
flowchart
graph TD
    A["Top"] --> B["Left Open"]
    C["Top"] --> D["Right Open"]
    E["..."] --> F["Left Open"]
    G["..."] --> H["Right Open"]
    I["..."] --> J["Left Open"]
    K["..."] --> L["Right Open"]
Shear fixed position paper

Paste on the Door(The door on the right)

Paste on the Door(The door on the left)
Drill hole on the door
- Drill the hole on the door according to the fixed position paper.

natural_image
Technical line drawing of a precision cutting machine tool on a workbench, with two views of the machining process (no text or symbols present)- Installation the hinges and spacer
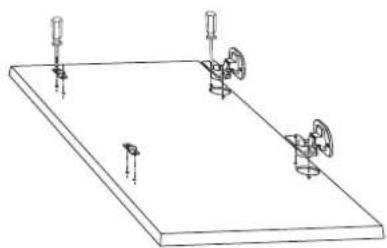
Fix the hinges to the machine by means of the ST4*12 screws. The hinges can be adjusted to compensate for possible uneven thickness of the door.
natural_image
Pure technical line drawing of a mechanical setup with no text, numbers, or symbols
Built-In Installation
Installation the counter magnet
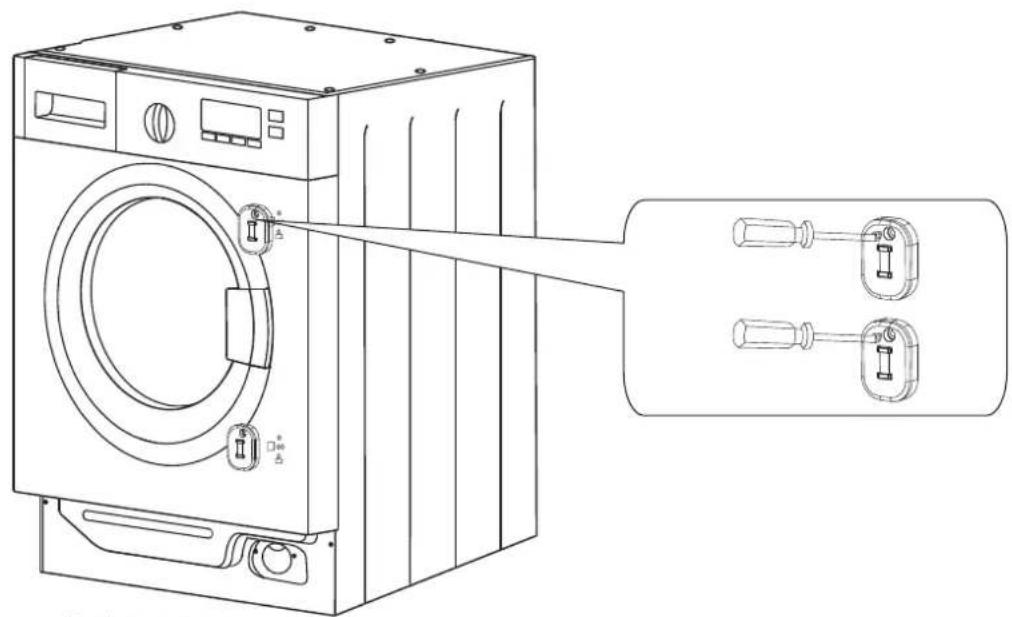
The appliance is prearranged for a magnetic closure of the door. To enable a correct operation of this device, it is necessary to screw the counter-magnet into the inner side of the door.
natural_image
Line drawing of a washing machine with attached electrical switch components (no text or symbols)Product support
Installation the door

natural_image
Line drawing of a washing machine with attached door and base panel, showing internal components and wiring (no text or symbols)BUSH
Brand : BUSH
Model : WMNSINT612W
Category : Washing machine