
John Lewis J1 - Radio PURE - Free user manual and instructions
Find the device manual for free John Lewis J1 PURE in PDF.


| Product Type | Radio |
| Brand | Pure |
| Model | John Lewis J1 |
| Dimensions (H x W x D) | 200 x 130 x 80 mm |
| Weight | 0.8 kg |
| Power Supply | AC 230V, 50Hz or 4x AA batteries (not included) |
| Radio Bands | DAB/DAB+ and FM |
| Preset Stations | 30 (20 DAB, 10 FM) |
| Alarm Clock | Dual alarm with sleep timer and snooze |
| Display | LCD with adjustable brightness |
| Audio Output | Built-in speaker, 3.5 mm headphone jack |
| Controls | Rotary tuning knob, buttons for presets, volume, and functions |
| Features | Auto-scan, manual tuning, alarm, sleep timer, EQ presets |
| Maintenance | Clean with a soft, dry cloth. Do not use liquid cleaners. |
| Safety | Do not expose to moisture or heat sources. Use only supplied adapter. |
| Spare Parts & Repairability | Contact Pure customer service for replacement parts. Not user-serviceable. |
| Warranty | 1 year from purchase (check retailer) |
Frequently Asked Questions - John Lewis J1 PURE
User questions about John Lewis J1 PURE
0 question about this device. Answer the ones you know or ask your own.
Ask a new question about this device
Download the instructions for your Radio in PDF format for free! Find your manual John Lewis J1 - PURE and take your electronic device back in hand. On this page are published all the documents necessary for the use of your device. John Lewis J1 by PURE.
USER MANUAL John Lewis J1 PURE
DAB & FM Clock Radio
Safetyinstructions
Keep the radio away from heat sources.
Do not use the radio near water.
Avoid objects or liquids getting into the radio.
Do not remove screws from or open the radio casing.
Fit the mains adaptor to an easily accessible socket,
located near the radio and ONLY use the mains power adapter supplied.
Contents
Start 2
Quick set up 2
Overview of controls and connectors 3
Symbols on the screen 3
Using the radio ....4
Switching between DAB and FM 4
Changing stations 4
Using textSCAN™ to pause and control scrolling text.... 4
Changing the information shown on screen 5
Storing and selecting presets 5
Setting alarms 6
Setting an alarm – quick guide 6
Setting an alarm - step-by-step guide 6
Waking up 8
Cancelling an alarm 8
Snoozing an alarm 8
Cancelling an alarm that you have snoozed 8
Changing the alarm snooze time 8
Extra features ......9
Set the sleep timer 9
Cancel the sleep timer 9
Intellitext ^® 9
Options 10
Options available in DAB 10
Options available in FM 11
General options 11
Help and specifications ....12
Secondary and inactive stations 12
Troubleshooting 12
Technical Specifications 12
Quick set up

Uncoil the aerial wire and hang it vertically, then connect the mains adapter to the bottom of the unit as shown.
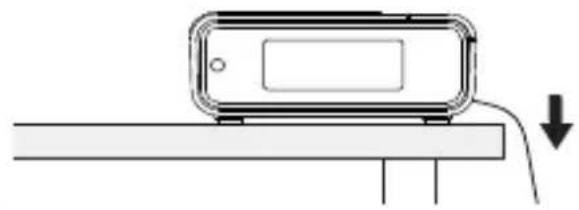
natural_image
Simple line drawing of a device on a surface with a downward arrow indicating motion (no text or symbols)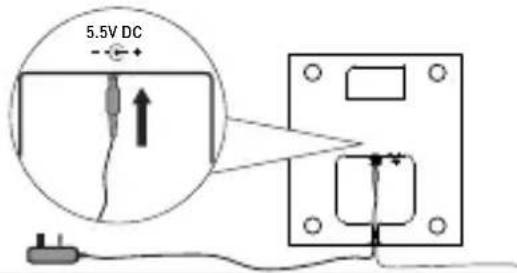

Plug the mains adapter into the mains supply and press the Standby button.
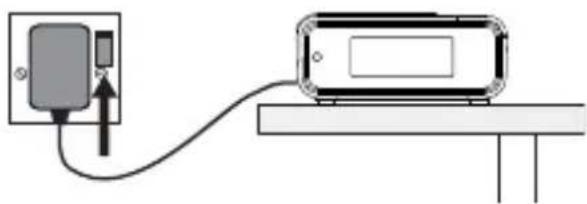
natural_image
Simple line drawing of a device connected to a wall-mounted device (no text or symbols)

Set energy saving mode.
Press the Select button when you see the message 'Enable energy saving?'. Press Select again to switch on energy saving mode.
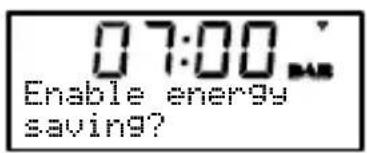
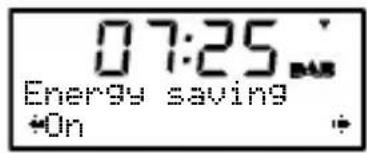
When energy saving mode is switched on, the radio uses less power because it does not collect and store Intellitext messages in standby. It still collects and stores Intellitext messages while the radio is switched on (see page 11).
With energy saving mode switched on, the power consumption of J1 in standby is less than 1 Watt.
For more information: Intellitext > page 9 energy saving mode > page 11

Wait until J1 completes an Autotune for available radio stations (about a minute).
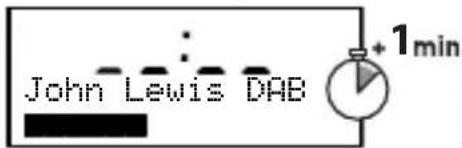
Now tuning...
Overview of controls and connectors
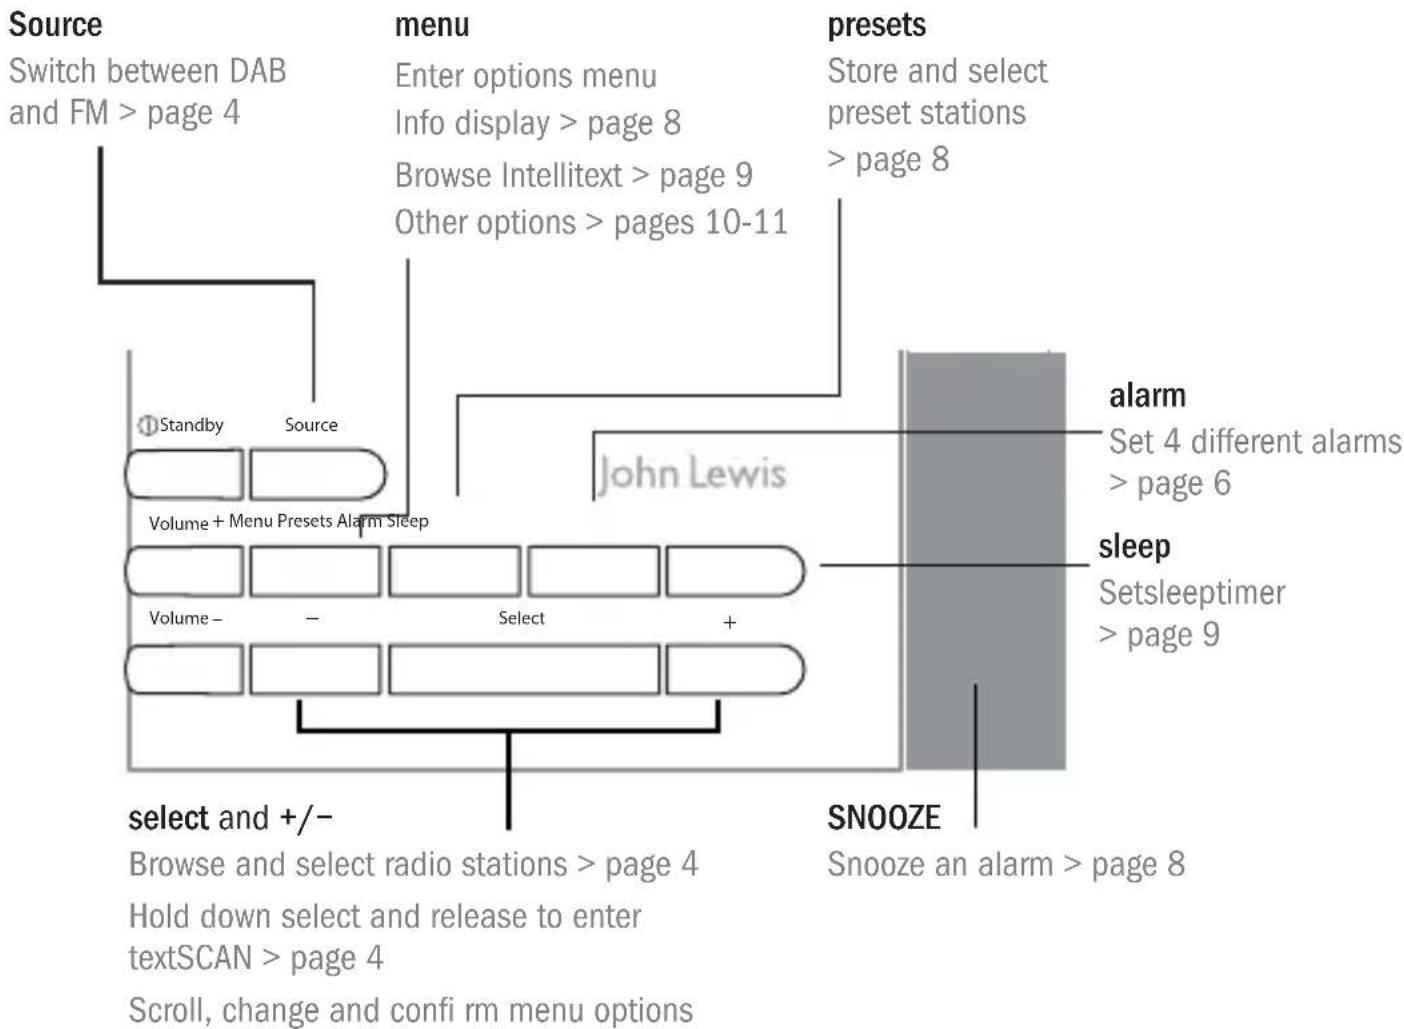
flowchart
graph TD
    A["Source"] --> B["Switch between DAB and FM > page 4"]
    B --> C["Enter options menu Info display > page 8 Browse Intellitext > page 9 Other options > pages 10-11"]
    C --> D["presets"]
    D --> E["Store and select preset stations > page 8"]
    C --> F["select and +/- Browse and select radio stations > page 4 Hold down select and release to enter textSCAN > page 4 Scroll, change and confirm menu options"]
    F --> G["SNOOZE"]
    G --> H["Snooze an alarm > page 8"]
    I["John Lewis"] --> J["Alarm: Set 4 different alarms > page 6"]
    I --> K["Sleep: Setsleeptimer > page 9"]
Side
Headphone socket

3.5mm headphone socket
Underneath

USB input socket (mini B type) for upgrades

Power input socket for supplied 5.5V DC mains adapter
Symbols on the screen
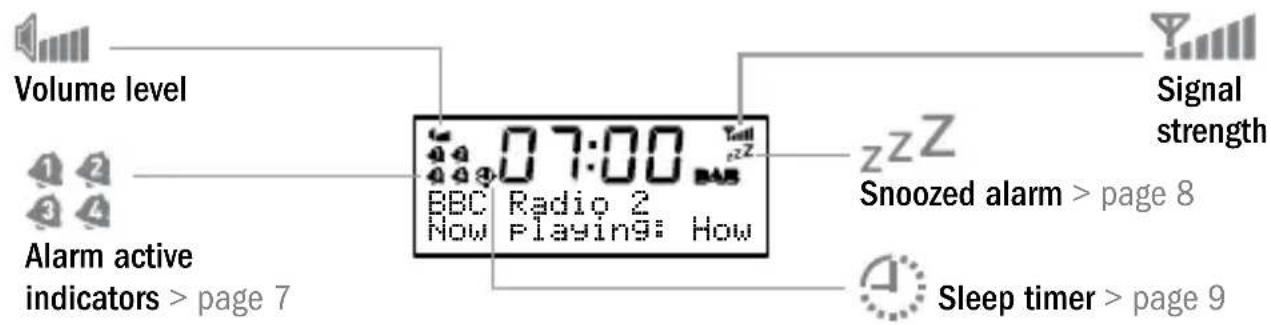
Switching between DAB and FM
Press the Source button to switch between DAB and FM.

Changing stations
When listening to DAB
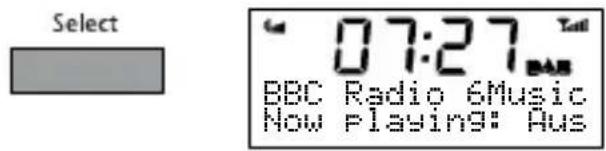
- Press the +/- buttons to browse through the list of available stations.

- Press the Select button to tune.
When listening to FM
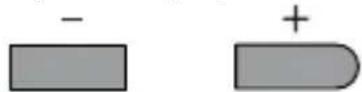
Press +/- to step up or down 0.05 MHz.
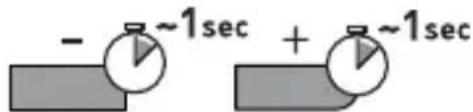
Hold and release +/- to scan to the next station with a strong signal.
Using textSCAN™ to pause and control scrolling text
- When DAB scrolling text is shown hold down Select for 3 seconds to pause the scrolling text.

- Press +/- to move left and right through the scrolling text. To exit textSCAN press Select.

Changing the information shown on screen (menu > Info display)
- In DAB or FM, press the Menu button then press Select to access the 'Info display' options.

- Change the current information display option using +/- to browse and select to choose:
Scrolling text Info broadcast by most DAB stations and FM (RDS) stations.
Date Displays the current date below the station name.
Programme type Content broadcast by the current station, e.g., Pop Music.
Sig. strength Displays a signal strength meter.
Sig. quality Displays DAB signal quality: 85 to 100 Good, 70 to 84 OK, 0 to 69 poor.
Bit Rate Displays DAB signal data rate and a stereo or mono indicator.
Multiplex name Displays the DAB multiplex in which the current station is broadcast.
Multiplex info Displays the channel and frequency of the current Multiplex, e.g., 12B.
Stereo mode (FM) Indicates stereo or mono sound (only available in FM).
Note: to view a signal strength meter for the current station press Select (press again to exit).
Storing and selecting presets
Store up to 10 DAB and 10 FM radio stations for easy access to your favourite stations.
To store a preset
- Tune to the DAB or FM station you want to store.
- Press the Presets button and use +/- to scroll to a preset number between 1 and 10.
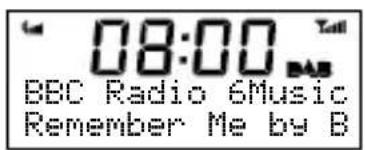
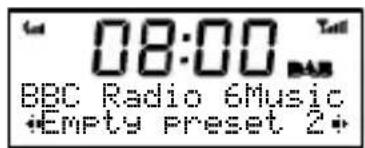
- Press and hold the Presets or Select button for 3 seconds until you see 'Preset saved' message.

To select a preset
When listening to DAB or FM, press Presets to access the DAB or FM preset list. Use +/- to browse to the stored preset number, e.g. Preset 2, and press Select to listen.

Setting alarms
Quick guide > Step-by-step guide > Changing an alarm that you have set
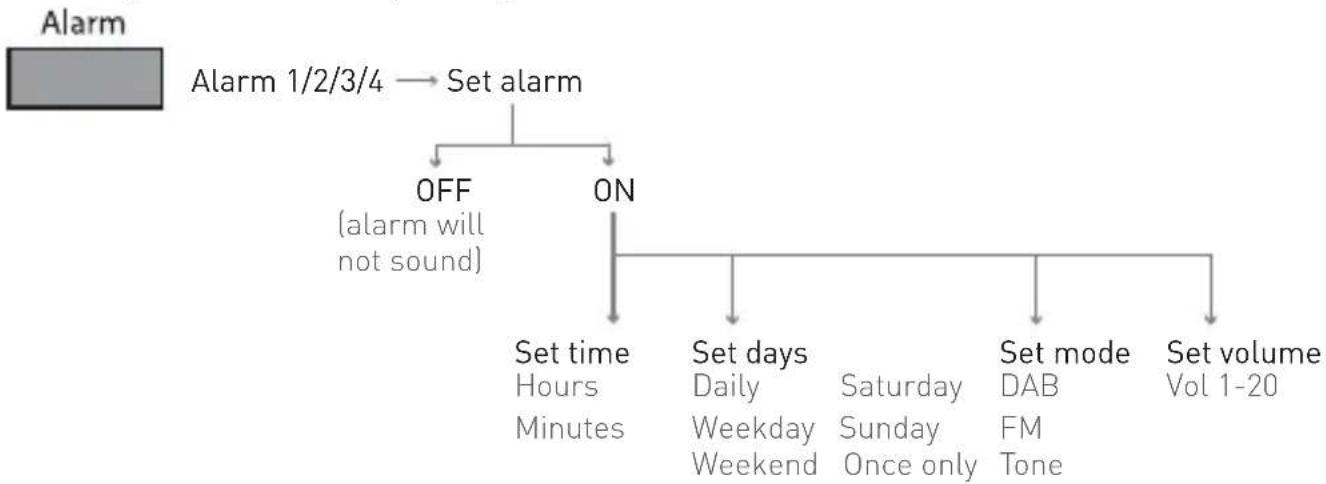
Setting an alarm – quick guide
flowchart
graph TD
    A["Alarm"] --> B["Alarm 1/2/3/4 → Set alarm"]
    B --> C{OFF (alarm will not sound)}
    B --> D{ON}
    D --> E["Set time Hours Minutes"]
    D --> F["Set days Daily Weekday Weekend"]
    D --> G["Set mode DAB FM Tone"]
    D --> H["Set volume Vol 1-20"]
Setting an alarm - step-by-step guide
J1 has four alarms which you can set to sound at different times as either DAB, FM or tone alarms. DAB and FM alarms switch your radio on (if in standby) and tune to the DAB or FM station you last listened to; tone alarms sound an alarm tone.
- Press the Alarm button to access the alarm menu.
- Choose either Alarm 1, 2, 3 or 4 using +/- and Select.

- Select 'Set alarm' and choose 'On' to turn the alarm on.

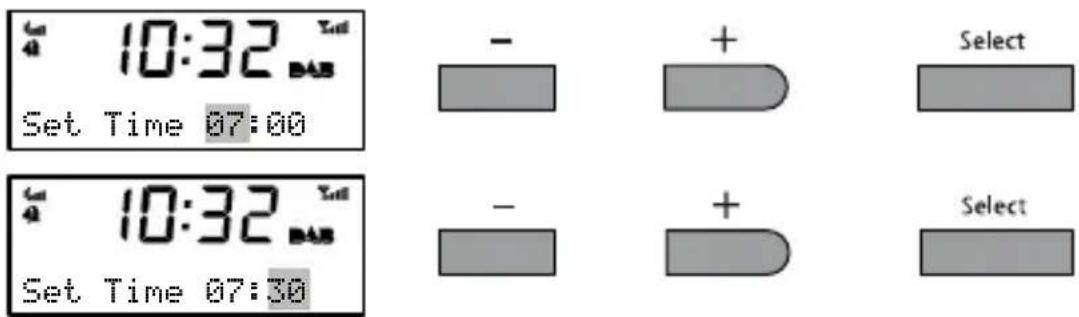
- Select 'Set time' to set the time you want the alarm to sound. Adjust the hours using +/- and press Select to confirm, then adjust the minutes in the same way.
- Select 'Set days'. Choose when you want the alarm to repeat by pressing +/- to choose and Select to confirm. The following options are available:
| Daily | Every | day. |
| Weekday | Monday – Friday, every week. | |
| Weekend | Every | weekend. |
| Saturday | Every | Saturday. |
| Sunday | Every | Sunday |

If you want to set a 'one-off' alarm choose 'Once only'.
Once only The alarm will sound at the time you have selected and not recur.
- Select 'Set Mode' to choose the type of alarm you want: DAB, FM or Tone.

If you select DAB or FM the alarm will tune to the station that was most recently listened to.
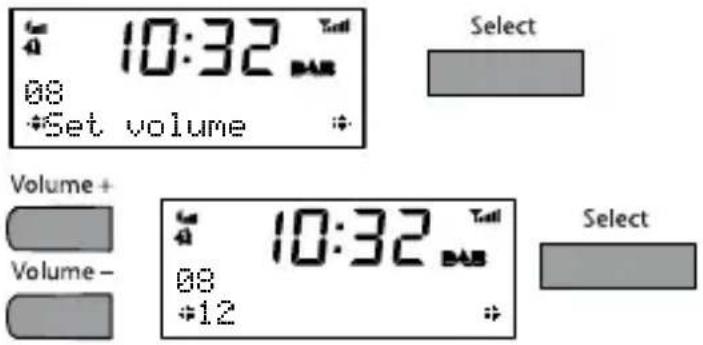
- Finally, set the volume of the alarm from 1 to 20 using the Volume +/- buttons (not applicable for tone alarms).
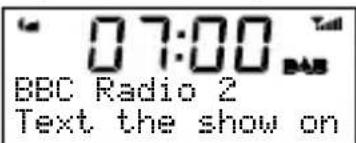
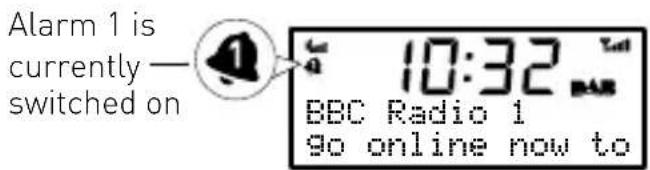
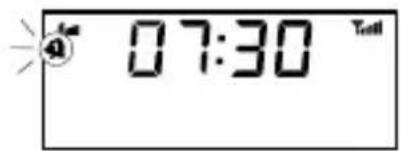
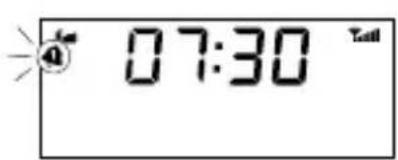
That's it! You can easily see which alarms are currently switched on by looking at the alarm bell icons on the screen, in either active or standby mode. When an alarm is sounding, the alarm clock icon will flash.
For example:
Changing an alarm that you have set
You can change the settings for an alarm by pressing Alarm and adjusting the settings as described above. Remember, you can do this when J1 is switched on or in standby.
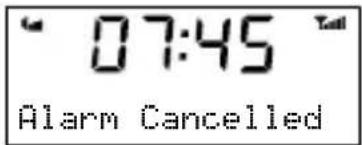
Cancelling an alarm
To cancel a tone alarm
To cancel a radio alarm
① Standby

or
Select

or
Alarm

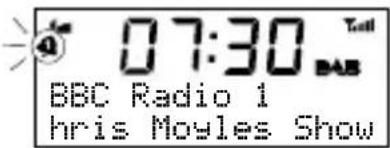
① Standby

(switches the unit into standby)
or
press any button
(except Volume +/-)
Snoozing an alarm
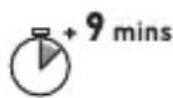
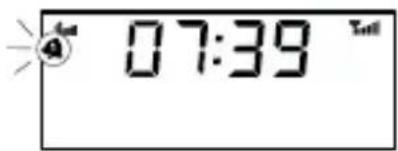
To temporarily silence an alarm press the Snooze bar. The alarm will pause and J1 will return to standby before sounding the alarm again after 9 minutes have elapsed.
Cancelling an alarm that you have snoozed
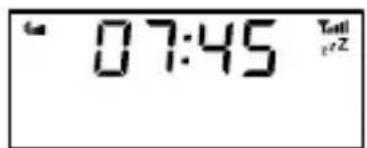
To cancel a snooze countdown and leave the unit in standby, press either the Alarm or Select button, or press the Standby button to turn the radio on and cancel the snooze countdown.
or
Changing the alarm snooze time
(alarm > Snooze time)
Press Alarm and scroll to 'Snooze time'. Use +/- to change between 5 and 60 minutes and press Select to confirm.

Alarm time-out
Note that a sounding alarm will stop after one hour if no buttons are pressed (excluding the volume buttons).
Set the sleep timer
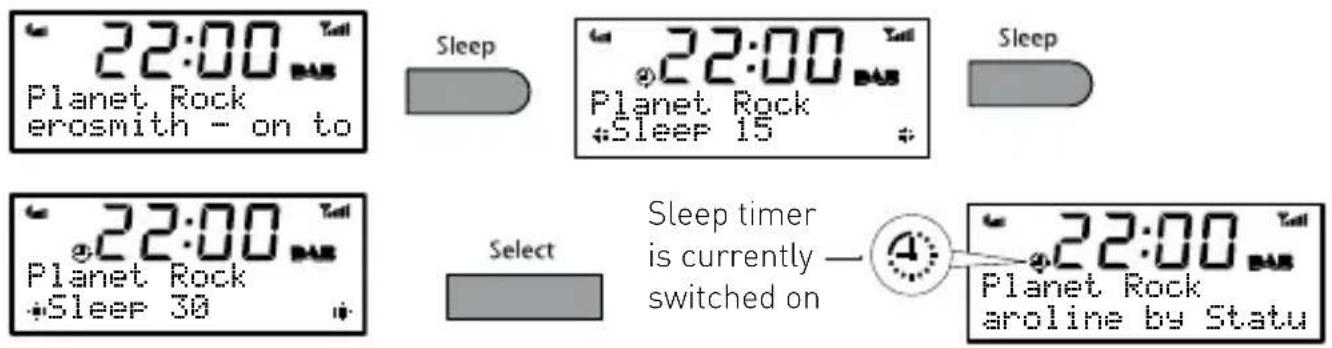
The sleep timer switches your radio into standby after a number of minutes has elapsed. Press the Sleep button and repeat to choose the duration of the sleep timer from 15 to 90 minutes, then press Select to confirm.
Cancel the sleep timer
Press and hold Sleep for three seconds, or press sleep, cycle to 'Sleep Off' and press Select.

Intellitext® (menu > Intellitext)
Intellitext provides on-demand text information such as sports headlines and news from DAB stations. The text is updated by the broadcasters and stored in your radio while you listen to stations. Intellitext is listed by station and split into categories. For example, the broadcaster may send information on Football, Cricket, Headlines, etc.
To view Intellitext data (menu > Intellitext > station name)
- Press Menu and select 'Intellitext' to view a list of stations for which you have Intellitext information. Select a station and use +/- and Select to view Intellitext categories for that station, e.g. talkSPORT > Football > News. The information will scroll across the screen.

You can use textSCAN when viewing the text by pressing and holding Select (page 4). Intellitext is available for stations that broadcast the service, e.g., BBC Radio Five Live and talkSPORT.
Menu

Press Menu to access the following options. Use +/- and Select to adjust options.
Options available in DAB
Intellitext options (menu > Intellitext > Options)
Set timeout
Choose to delete old Intellitext data after 1 week (default) or 1 day.
Clear all
Delete all stored Intellitext data immediately.
DRC value (menu > DRC value)
DRC (Dynamic Range Control) value makes the quieter sounds in a DAB broadcast easier to hear at low volume or in a noisy environment. Check with the broadcasters to find out if they use DRC.
DRC full Applies the DRC level as sent with the broadcast.
DRC half DRC level is set to half that sent with the broadcast.
DRC off Any DRC level broadcast will be ignored.
Station order (menu > Station order)
Alphanumeric Lists all stations in alphanumeric (alphabetical) order.
Active station Lists active stations first on the station list.
Multiplex Lists stations in groups according to their multiplex.
Trim stn. list Removes inactive stations (see page 12).
Autotune (menu > Tuning > Autotune)
Scans all DAB Band III and L-Band frequencies for stations and automatically adds any new stations found to the station list. This may take a few minutes. To stop an Autotune press select.
Options available in FM
FM stereo mode (menu > FM stereo mode)
Choose from Stereo or Mono (default) – mono may improve audio clarity where stereo signals are weak.
General options
Energy saving (menu > Energy saving)
J1 is designed and manufactured to minimise power consumption when the unit is switched on and to use less than 1 Watt in standby. One way this low power consumption is enabled is by not collecting and storing Intellitext messages when the unit is in standby. You can override this option by switching off energy saving mode, but this will increase standby power consumption. Two options are available:
Energy saving On (the default setting)
Intellitext will be collected when you have been tuned for a short while to a station that broadcasts Intellitext. Intellitext data is not collected in standby, reducing power consumption.
Energy saving Off
J1 collects Intellitext data in standby from the station you last viewed Intellitext data, which increases standby power consumption.
Upgrade (menu > Upgrade)
You can upgrade your J1 using a PC connected to the USB port. Upgrades may be issued to provide enhanced functions or improve performance. To upgrade, select Upgrade and follow the instructions provided with the upgrade software. Register your product and include an e-mail address to receive notification of upgrades or visit our website at www.pure.com/support.
Note USB upgrade requires a PC (not Mac) running Windows XP and a suitable USB cable (not included).
Clock (menu > Clock)
Clock set
Manually set the time and date if required. If you have good DAB reception these will automatically be updated from the DAB radio signal.
12/24 Hour set
Choose 12 hour or 24 hour clock display.
Help and specifications
Secondary and inactive stations
(<</>>) Secondary DAB services
Secondary services accompany some stations, providing extra information or alternative content and may only be broadcast at certain times. If a station has secondary services available, the station shows ‘>>’ next to its name in the station list and the secondary service appears next to the station in the list. A secondary service has a ‘<<’ before its name in the station list.
(?) Inactive or unavailable DAB stations
Inactive or unavailable stations are those which appear on the station list but are not currently available. Inactive stations have a ‘?’ before their name on the station list. If you select a station which has this symbol, your radio tries to tune in or returns to the previous station.
Troubleshooting
Display says 'No stations available'
Use Autotune (page 10) to search for stations. Try adjusting your aerial or radio position.
Receiving new DAB stations that have started broadcasting
Use Autotune (page 10) to scan for new stations. Any new stations that you can receive will be added to the station list.
Resetting your radio
Resetting your radio removes all presets and stored stations and resets all options to defaults.
- Press and hold the Menu button for three seconds.
- Press Select to confirm the reset or press no buttons to cancel the reset.
Technical Specifications
DAB Digital radio with full Band III, L-Band and FM reception. ETS 300 401 compliant and capable of decoding all DAB transmission modes 1-4 up to and including 256 kbps. DAB+ supported as standard in certain countries and available as an upgrade in others.
Frequency ranges DAB Band III 174–240 MHz, DAB L-Band 1452-1491 MHz, FM 87.5–108 MHz.
Audio 2.75" full-range speaker. 1.7W RMS amplifier. Active speaker equalization filter.
Input connectors 5.5V DC power adaptor socket (230V supplied). USB connector for upgrades.
Output connectors 3.5mm stereo output for headphones.
LCD Display 16 x 2 characters, plus additional function icons. Auto-dimming backlight.
Mains power 230V AC to 5.5V (1A) DC external power adapter (supplied).
Power consumption Standby: less than 1 Watt. Active: 2 Watts average dependent on use.
Approvals CE marked. Compliant with the EMC and Low Voltage Directives (89/336/EEC and 73/23/EEC).
Aerial Wire aerial attached.
Dimensions (mm) 135 wide x 150 deep x 58 high.
Disposal of Waste Electrical & Electronic Equipment

This symbol on the product or on its packaging indicates that this product should not be treated as household waste. Instead it should be handed over to a suitable collection point for the recycling of electrical and electronic equipment. By ensuring this product is disposed of correctly, you will help prevent potential negative consequences for the environment and human health, which could otherwise be caused by inappropriate waste handling of this product. The recycling of materials will help to conserve natural resources. For more detailed information about recycling of this product, please contact your local council office, your household waste disposal service or the shop where you purchased the product.
Trademarks
textSCAN, Intellitext, Imagination Technologies, and the Imagination Technologies logo are trademarks or registered trademarks of Imagination Technologies Limited. The 'DAB Digital Radio' logo and the stylised 'r' mark ^® and © Digital One Limited. All other product names are trademarks of their respective companies. Version 1. October 2008.
Disclaimer
Imagination Technologies Limited makes no representation or warranties with respect to the content of this document and specifically disclaims any implied warranties of merchantability or fitness for any particular purpose. Further, Imagination Technologies Limited reserves the right to revise this publication and to make changes in it from time to time without obligation of Imagination Technologies Limited to notify any person or organization of such revisions or changes.
Warranty information
Imagination Technologies Ltd. warrants to the end user that this product will be free from defects in materials and workmanship in the course of normal use for a period of two years from the date of purchase. This guarantee covers breakdowns due to manufacturing or design faults; it does not apply in cases such as accidental damage, however caused, wear and tear, negligence, adjustment, modification or repair not authorised by us. Please return your warranty card or visit www.pure.com/register to register your product with us. Should you have a problem with your unit please contact your supplier or contact PURE Support at the address shown on the rear of this manual. If you need to return your product please use the original packaging and include all parts and accessories. We reserve the right to refuse incomplete or badly packaged returns.
- Safetyinstructions
- Contents
- Start 2
- Using the radio ....4
- Setting alarms 6
- Waking up 8
- Extra features ......9
- Options 10
- Help and specifications ....12
- Quick set up
- Overview of controls and connectors
- Side
- Underneath
- Symbols on the screen
- Switching between DAB and FM
- Changing stations
- When listening to DAB
- When listening to FM
- Using textSCAN™ to pause and control scrolling text
- Changing the information shown on screen (menu > Info display)
- Storing and selecting presets
- To store a preset
- To select a preset
- Setting alarms
- Setting an alarm – quick guide
- Setting an alarm - step-by-step guide
- Changing an alarm that you have set
- Cancelling an alarm
- Snoozing an alarm
- Cancelling an alarm that you have snoozed
- Changing the alarm snooze time
- Alarm time-out
- Set the sleep timer
- Cancel the sleep timer
- Intellitext® (menu > Intellitext)
- To view Intellitext data (menu > Intellitext > station name)
- Options available in DAB
- Options available in FM
- General options
- Help and specifications
- Secondary and inactive stations
- Troubleshooting
- Technical Specifications
- Disposal of Waste Electrical & Electronic Equipment
- Trademarks
- Disclaimer
- Warranty information
Brand : PURE
Model : John Lewis J1
Category : Radio