
RWB-100 - Workbench RYOBI - Free user manual and instructions
Find the device manual for free RWB-100 RYOBI in PDF.


| Product Type | Workbench |
| Brand | RYOBI |
| Model | RWB-100 |
| Max Load Capacity | 100 kg (220 lbs) |
| Max Clamping Width | 240 mm |
| Overall Length | 605 mm |
| Overall Width | 625 mm |
| Overall Height | 755 mm |
| Net Weight | 14 kg |
| Material - Work Top | Particle board or MDF (est.) |
| Material - Leg Frame | Steel tube with plastic feet |
| Number of Vise Jaws | 2 sets (4 clamping blocks) |
| Vise Jaw Operation | Two independent handles |
| Leg Lock Feature | Yes, folding legs with locking |
| Non-Slip Feet | Yes, plastic feet with textured base |
| Assembly Required | Yes, included hardware |
| CE Certified | Yes |
| Warranty | 24 months (parts and labor) |
| Intended Use | Light to medium duty workholding |
Frequently Asked Questions - RWB-100 RYOBI
User questions about RWB-100 RYOBI
0 question about this device. Answer the ones you know or ask your own.
Ask a new question about this device
Download the instructions for your Workbench in PDF format for free! Find your manual RWB-100 - RYOBI and take your electronic device back in hand. On this page are published all the documents necessary for the use of your device. RWB-100 by RYOBI.
USER MANUAL RWB-100 RYOBI
natural_image
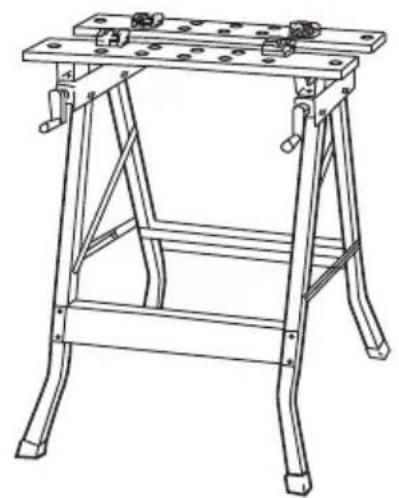
Line drawing of a RYOB1 workbench with mounting hardware and no text or symbols on the structure itselfCE
natural_image
Line drawing of a metal ladder with adjustable legs and a flat top (no text or symbols)1.
8.

2.
9.
3.

10.

4.
11.

5.
12.

6.

13.

7.

THANK YOU FOR BUYING A RYOBI PRODUCT. To ensure your safety and satisfaction, carefully read through this OWNER'S MANUAL before using the product.
SAFETY RULES
- Do not load with more than 100kg. Always lower heavy loads onto the Work Bench gently, so that strain is taken up gradually.
- Do not apply an unbalanced load which could cause the Work Bench to tip.
- Do not use the Work Bench as a stepladder or standing platform.
- Do not store Work Bench outdoors or in damp condition.
- Avoid applying excessive force when clamping in only the lower half of the vise jaws.
- Be sure that legs lock in the open position.
- When using a power tool with the Work Bench, follow the safety rules in the tool's instruction manual.
- Wear safety glasses when using power tools.
- An even pressures of jaws on work place is essential. Tighten both jaw handles uniformly.
COMPONENTS
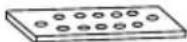
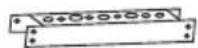
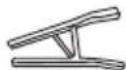
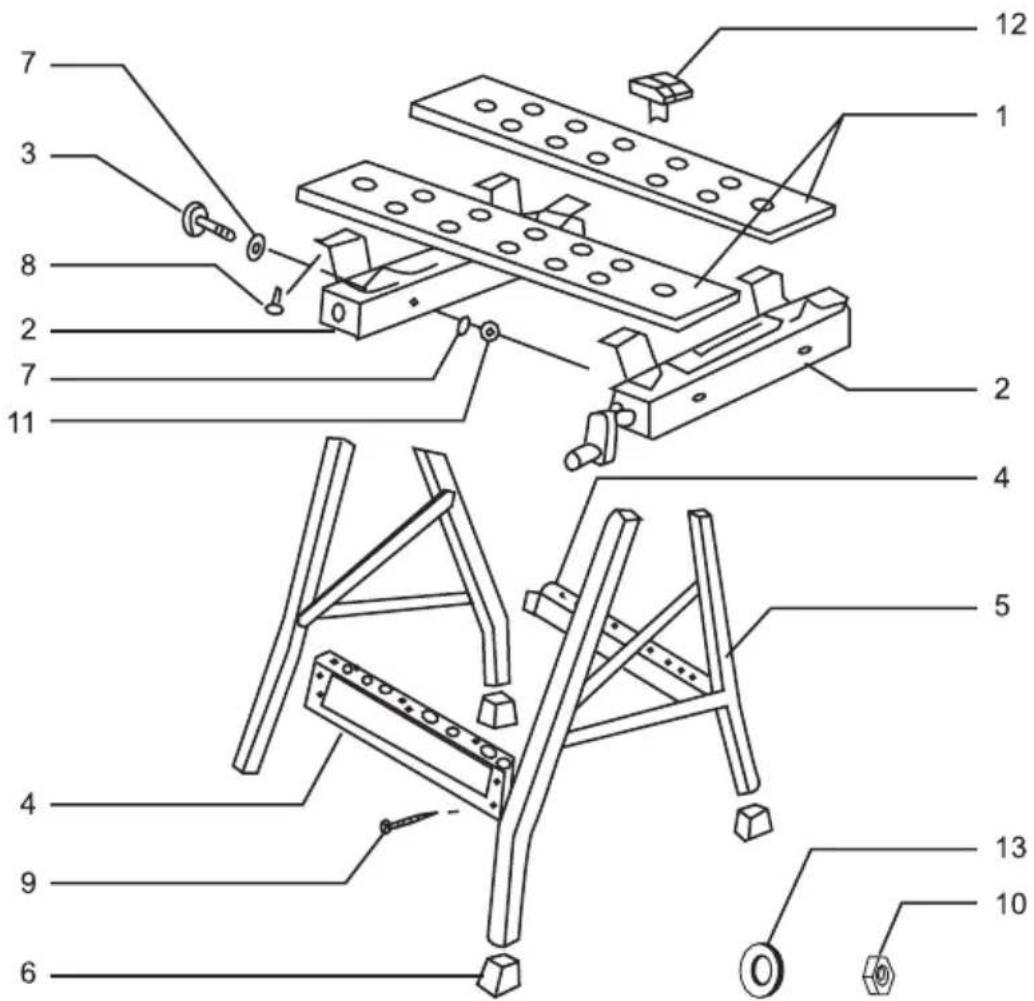
| 1. Work top | 2 pcs |
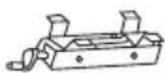
| 2. Slide base | 2 pcs |
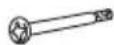
| 3. Bolt | 4 pcs |
| 4. Crossbar | 2 pcs |
| 5. Leg frame | 2 pcs |
| 6. Plastic foot | 4 pcs |
| 7. Washer ( 16x 8 × 1.2mm ) | 8 pcs |
| 8. Wood screw (4.8 x 16mm) | 16 pcs |
| 9. Bolt (M6 x P1.0 x 32.5mm) | 8 pcs |
| 10.Nut (M6 x P1.0) | 8 pcs |
| 11.Nut(M8 x P1.2) | 4 pcs |
| 12.Clamping block | 4 pcs |
| 13.Washer ( 13 × 6 × 1.2mm ) | 8 pcs |
SPECIFICATIONS
| Max load capacity | 100kg |
| Max clamping width | 240mm |
| Bench overall length | 605mm |
| width | 625mm |
| height | 755mm |
| Net weight | 14kg |
ASSEMBLY (Fig. 1)
- Use bolts (9) washers (13) and nuts (10) to connect crossbars (4) and leg frames (5).
- Use woodscrews (8) to connect slide bases (2) and work tops (1).
- Fit leg frames (5) into slide bases (2), line up holes in slide base with holes in leg frame. Insert bolts (3) and washers (7) from outside of the base, attach washers (7) and nuts (11) from inside, then use screwdriver and spanner to tighten the screws.
- Attach plastic feet (6) to the legs (5). Each foot must be attached with longest side at outer corner which is indicated by arrow inside.
- Select suitable holes on the work -tops to fix clamping blocks (12).
WARNING!
- Do not use as a ladder unsafe to stand on.
- Load capacity max 100kgs/220lbs.
NOTE:
When assembling, ensure the plastic feet are correctly assembled to the legs, and securely tighten all bolts and screws.
MAINTENANCE TIP
- If binding of the vise jaws occurs, cleaning of slider and vise screw may be required.
- Periodically check the tightness of all assembly screws.
RYOBI POWER EQUIPMENT
WARRANTY
Subject to the warranty conditions below, this RYOBI tool (hereinafter called "the Product"), is warranted by Ryobi (herein called "the Company") to be free from defects in material or workmanship for a period of 24 months from the date of original purchase covering both parts and labour. Under the terms of this warranty, the repair or replacement of any part shall be the opinion of the Company or its authorised agent. Should service become necessary during the warranty period, the owner should contact the authorised Ryobi retailer from whom the product was purchased, or the nearest Company branch office. In order to obtain warranty service, the owner must include the Sales Docket and Warranty Certificate to confirm date of purchase. This Product is sold by the dealer or agent as principal and the dealer has no authority from the Company to give any additional warranty or guarantee on the Company's behalf except as herein contained or herein referred to.
Warranty Conditions
This warranty only applies provided that the Product has been used in accordance with the manufacturer's recommendations under normal use and reasonable care (in the opinion of the Company) and such warranty does not cover consumable components, damage, malfunction or failure resulting from misuse, neglect, abuse, or used for a purpose for which it was not designed, or is not suited and no repairs, alterations or modifications have been attempted by other than an Authorised Service Agent. This guarantee will not apply if the tool is damaged by accident or if repairs arise from normal wear and tear.
Accessories such as bits, blades, sanding discs, cutting lines, etc., are excluded from this guarantee. Normal consumable parts, such as carbon brushes, bearings, chucks, cord assembly's, spark plugs, recoil pulleys and bump head assembly's are specifically excluded from this guarantee.
The Company accepts no additional liability pursuant to this warranty for the costs of traveling or transportation of the Product or parts to and from the sevice dealer or agent - which costs are not included in the warranty.
Nothing herein shall have the effect of excluding, restricting or modifying any conditions, warranty, right or liability imposed, to the extent only that such exclusion, restriction or modification would render any term herein void.
RYOBI®
STEVENS & CO (Pty) Ltd
604, 16th Street, Randjespark
Midrand, South Africa
P O Box 4059
HALFWAY HOUSE
1685, South Africa
Tel: +27 (11) 357-9600
Fax: +27 (11) 805-5541
email: stevens@ryobi.co.za
THIS WARRANTY FORM
SHOULD BE RETAINED BY THE CUSTOMER AT ALL TIMES.
For your record and to assist in establishing date of purchase (necessary for in-warranty service), please keep your purchase docket and this form, completed with the following particulars.
PURCHASED FROM:
ADDRESS OF DEALER:
DATE:...... MODEL NO...... SERIAL NO......
Present this form with your Purchase Docket when Warranty Service is required.
- THANK YOU FOR BUYING A RYOBI PRODUCT. To ensure your safety and satisfaction, carefully read through this OWNER'S MANUAL before using the product.
- SAFETY RULES
- ASSEMBLY (Fig. 1)
- WARNING!
- NOTE:
- MAINTENANCE TIP
- RYOBI POWER EQUIPMENT
- WARRANTY
- Warranty Conditions
- THIS WARRANTY FORM
- SHOULD BE RETAINED BY THE CUSTOMER AT ALL TIMES.
Brand : RYOBI
Model : RWB-100
Category : Workbench