
CA-R-FOR.014 - Interface électronique automobile PIONEER - Free user manual and instructions
Find the device manual for free CA-R-FOR.014 PIONEER in PDF.


| Product Name | Pioneer CA-R-FOR.014 / Connects2 CTSFO017.2 Ford Steering Wheel Control Interface |
| Product Type | Steering Wheel Control Interface |
| Compatible Vehicles | Ford vehicles with CAN-Bus, e.g., Focus 2015+ |
| Power Supply | 12V DC (Permanent 12V, Ignition 12V, Ground) |
| Main Functions | Connect aftermarket head unit, retain steering wheel controls, chime retention, park brake, reverse gear, speed pulse |
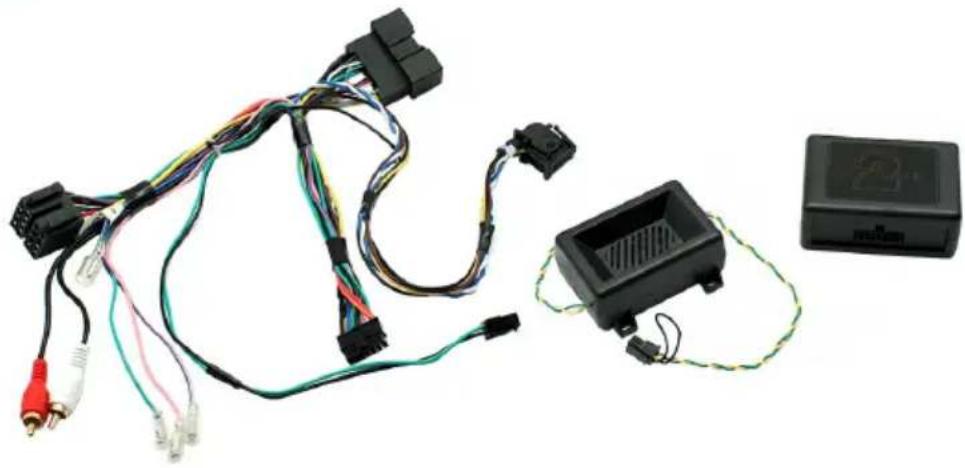
| Package Contents | Interface, Harness, Instruction manual |
| Connectivity | CAN-Bus, 12-way molex, 14-way molex, ISO connectors |
| Vehicle Settings | Clock settings, time/date adjustment via steering wheel controls |
| Installation | Requires technical knowledge; plug and play; USB updateable |
| Maintenance | No specific maintenance required; keep dry and away from heat |
| Safety Precautions | Read manual before installation; use correct tools; disconnect battery if necessary |
| Technical Support | Visit support.connects2.com or YouTube channel for guides |
Frequently Asked Questions - CA-R-FOR.014 PIONEER
User questions about CA-R-FOR.014 PIONEER
0 question about this device. Answer the ones you know or ask your own.
Ask a new question about this device
Download the instructions for your Interface électronique automobile in PDF format for free! Find your manual CA-R-FOR.014 - PIONEER and take your electronic device back in hand. On this page are published all the documents necessary for the use of your device. CA-R-FOR.014 by PIONEER.
USER MANUAL CA-R-FOR.014 PIONEER
...connecting to the aftermarket
CTSFO017.2
Ford Steering Wheel Control Interface

Plug and Play
USB Updateable

Works with CAN-Bus

Park Brake

Reverse Gear

Ignition

Vehicle Settings
Retention

Speed Pulse
natural_image
Three electronic components laid out: a multi-colored cable, a black plastic enclosure with a vent, and a black rectangular device (no visible text or symbols)INSTRUCTION MANUAL
CTSFO017.2
Ford steering wheel control interface for Ford vehicles with CAN-Bus.
Product Contents
- Interface
- Harness
- Instruction
Application
Focus 2015>

Prior to installation
Read the manual prior to installation. Technical knowledge is necessary for installation. The place of installation must be free of moisture and away from heat sources. Please ensure you use the correct tools to avoid damage to the vehicle or product.
Connects2 can not be held responsible for the installation of this product.
Technical Support
Connects2 want to provide a fast and suitable resolution should you encounter any technical issues. With this in mind, when contacting Connects2, try to provide as much Information as possible. This will speed up the process and help us to help you.
Please use our dedicated online technical support centre: support.connects2.com

Subscribe to our YouTube Channel for installation guides and tips... www.youtube.com/connects2
-
Remove and disconnect the original head unit.
-
Connect the 12 way molex connector of the head unit patch lead (supplied separately) to the interface.
-
Connect the opposite end of head unit patch lead to the head unit steering wheel control input on the back of the aftermarket head unit. This may be a 3.5mm jack plug or a wire input depending upon the head unit brand being fitted. Please see the head unit installation manual for further information on where to connect.
Important Note: This step must be completed before connecting power to the interface. Failure to so do may result in no steering wheel control function.

natural_image
Interior view of an electronic device showing internal components and wiring, with a green label reading 'PRK SW' visible (no readable text beyond label)-
Connect the 14 way molex connector, the car display connector (from the vehicle) and the chime retention box to the interface.
-
Connect the car display connector (from the interface) to the vehicle and the Aux In to the back of the head unit
-
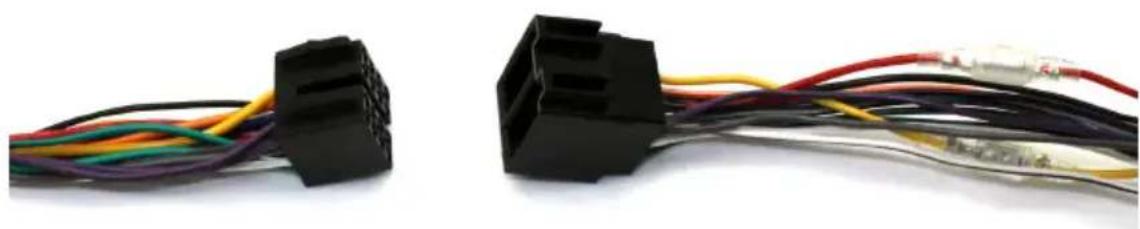
Connect the male power/speaker ISO harness to the female power/speaker ISO harness from the aftermarket head unit.
natural_image
Two black electrical connectors with various colored wires, shown against a white background (no text or symbols visible)For aftermarket head units which do not have an ISO connector the interface uses the following wiring colours:
| Wire Colour Function | |
| Yellow Permanent 12V | |
| Black Ground | |
| Red 12V Ignition | |
| Orange Illumination | |
| Blue Antenna Remote | |
| Pink Speed Pulse | |
| Green Park Brake | |
| Purple Reverse | |
| Wire Colour Function | |
| Purple Right Rear Speaker + | |
| Purple/Black Righ Rear Speaker - | |
| Green Left Rear Speaker + | |
| Green/Black Left Rear Speaker - | |
| Grey Right Front Speaker + | |
| Grey/Black | Right Front Speaker - |
| White | Left Front Speaker + |
| White/Black | Left Front Speaker - |
- Connect the female vehicle specific connector to the male vehicle connector. Test head unit for correct operation.
STEERING WHEEL CONTROL FUNCTIONS

To Change Time & Date
Single press Mute to switch display on. Press & Hold Mute for 2 seconds to enable menu mode. Press Volume +/Volume - to select 'Clock settings' and press Mute to confirm. Use Volume +/Volume - to adjust the time and select the next option with Track +/Track -. Press Mute to confirm. To set the date, repeat as above after selecting 'Set date'. Once time/date have been set, press Mute once to confirm settings. NB. The menu option will time out after 15-20 seconds.
Brand : PIONEER
Model : CA-R-FOR.014
Category : Interface électronique automobile