
FHA-TV-WALL-MOUNT - Wall mount StarTech.com - Free user manual and instructions
Find the device manual for free FHA-TV-WALL-MOUNT StarTech.com in PDF.


| Product Type | Fixed TV Wall Mount |
| Brand | StarTech.com |
| Model | FHA-TV-WALL-MOUNT |
| Material | Heavy-duty steel |
| Color | Black |
| Weight Capacity | Up to 50 kg (110 lbs) |
| VESA Compatibility | 100x100mm to 400x400mm |
| Panel Thickness Support | VESA patterns only |
| Mount Type | Wall-mounted fixed |
| Max TV Size | Up to 65 inches |
| Installation Type | DIY with included hardware |
| Wall Compatibility | Wood stud, concrete, brick |
| Hardware Included | Mount bracket, lag bolts, spacers, screws |
| Leveling | Fixed, no tilt or swivel |
| Security | Safety lock included |
| Maintenance | Wipe with dry cloth; avoid moisture |
| Spare Parts Availability | Contact StarTech.com support |
| Warranty | Lifetime warranty |
| Weight (mount only) | Approx. 2.5 kg |
| Dimensions (bracket) | 450mm x 250mm x 25mm |
Frequently Asked Questions - FHA-TV-WALL-MOUNT StarTech.com
User questions about FHA-TV-WALL-MOUNT StarTech.com
0 question about this device. Answer the ones you know or ask your own.
Ask a new question about this device
Download the instructions for your Wall mount in PDF format for free! Find your manual FHA-TV-WALL-MOUNT - StarTech.com and take your electronic device back in hand. On this page are published all the documents necessary for the use of your device. FHA-TV-WALL-MOUNT by StarTech.com.
USER MANUAL FHA-TV-WALL-MOUNT StarTech.com
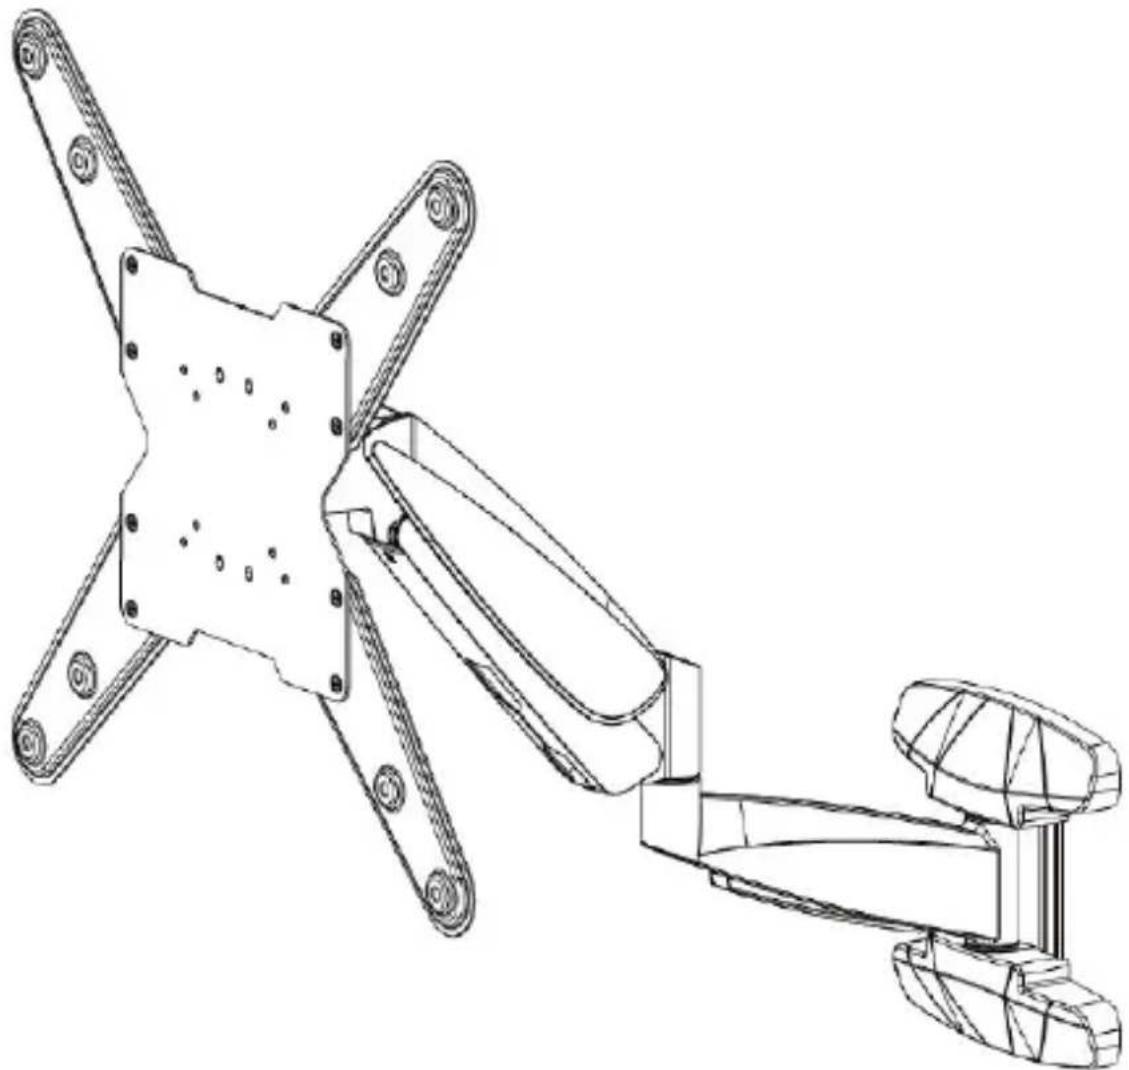
Adjustable TV Wall Mount up to 55 in and 66 lb - VESA Compatible
natural_image
Technical line drawing of a mechanical device with four articulated arms and mounting holes (no text or symbols)*Actual product may vary from photos
User Manual
SKU: FHA-TV-WALL-MOUNT
For the latest information and specifications visit
www.StarTech.com/FHA-TV-WALL-MOUNT
Compliance Statements
Use of Trademarks, Registered Trademarks, and other Protected Names and Symbols
This manual may make reference to trademarks, registered trademarks, and other protected names and/or symbols of third-party companies not related in any way to StarTech.com. Where they occur these references are for illustrative purposes only and do not represent an endorsement of a product or service by StarTech.com, or an endorsement of the product(s) to which this manual applies by the third-party company in question. Regardless of any direct acknowledgement elsewhere in the body of this document, StarTech.com hereby acknowledges that all trademarks, registered trademarks, service marks, and other protected names and/or symbols contained in this manual and related documents are the property of their respective holders.
PHILLIPS® is a registered trademark of Phillips Screw Company in the United States or other countries.
Safety Statements
Safety Measures
- Product installation and/or mounting should be completed by a certified professional as per the local safety and building code guidelines.
Mesures de sécurité
- Assemble this product according to the instructions.
- Read the entire manual and ensure the instructions are fully understood before assembling and/or using this product.
- Do not exceed the weight capacity of this product. Overloading this product might result in injury or property damage.
• Weight capacity of the mount: 17.6 to 66 lb. (8 to 30 kg). - Do not allow children to climb on this product, or use this product without proper supervision.
- This product is intended for indoor use only and should not be used outdoors.
- Do not over-tighten the screws. If any resistance is encountered, stop tightening.
- Assembling this product is a two-person task. Do not attempt to assemble this product and install equipment without assistance.
- Before adding equipment to this product, ensure the product has been properly assembled, and that the product can support the weight of the added equipment.
- Make sure all of the equipment has been properly secured before adjusting this product.
- Stored Energy Hazard! This product contains a spring mechanism which can cause the assembly and/or mounted equipment to move forcibly, and quickly, upwards. Always exercise caution when handling, or in close proximity to, the spring arm(s). Do not remove the mounted equipment unless the spring arm is moved to the highest position or (if possible) the spring force is adequately lowered to remove any danger posed. Failure to do so may result in property damage and/or serious personal injury.
- Pinch hazard! Keep your fingers clear from moving components.
Varningsmeddelanden
To view manuals, videos, drivers, downloads, technical drawings, and more visit www.startech.com/support
To view manuals, videos, drivers, downloads, technical drawings, and more visit www.startech.com/support
To view manuals, videos, drivers, downloads, technical drawings, and more visit www.startech.com/support
To view manuals, videos, drivers, downloads, technical drawings, and more visit www.startech.com/support
To view manuals, videos, drivers, downloads, technical drawings, and more visit www.startech.com/support
To view manuals, videos, drivers, downloads, technical drawings, and more visit www.startech.com/support
Safety Statements......ii
Warning Statements......iii
Product Diagram ....1
Product Dimensions 2
Side View 2
Product Information....3
Requirements 3
Package Contents ....4
Installation 6
Remove the VESA Plate from the Arm Assembly....6
Mounting the Wall Mount....7
Install the Decorative Covers 7
Configure the VESA Plate to the TV Mounting Pattern....7
Mount a TV with a Flush Mounting Surface 8
Mount a TV with a Recessed Mounting Surface 10
Attach a TV to the Arm Assembly....13
Operation 14
Height Adjustment Tension of the Arm Assembly....14
Cable Management 15
Adjust the Tilt Tension of the TV 15
Warranty Information....16
Limitation of Liability 16
Product Diagram
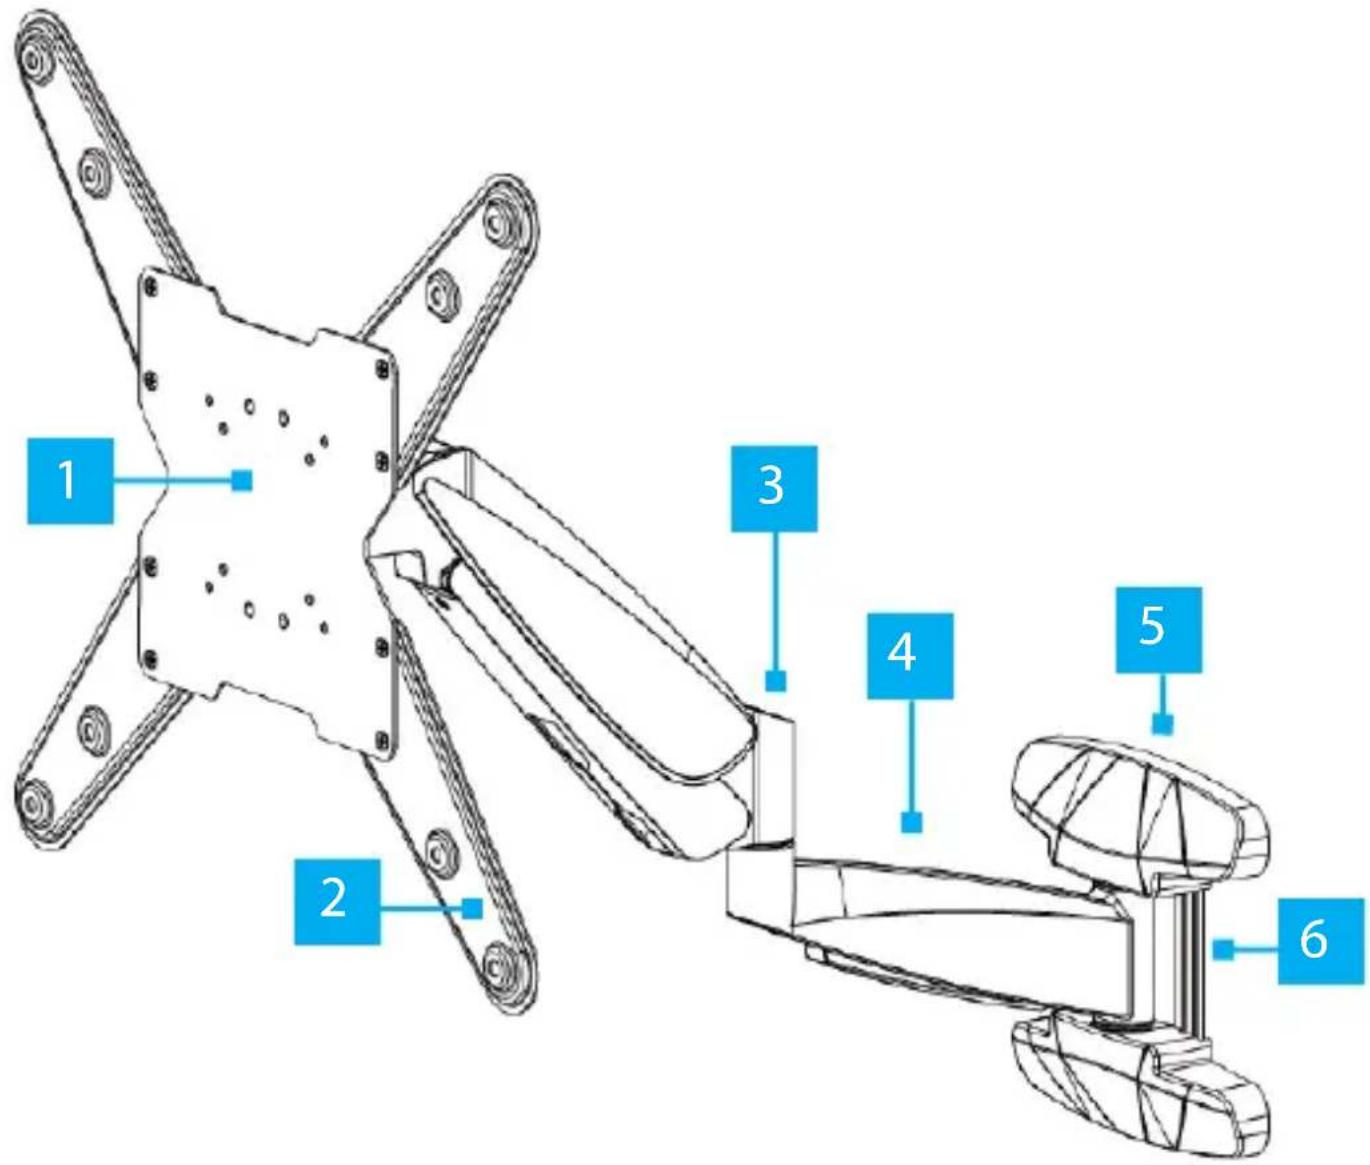
| 1 | VESA Plate | 4 | Arm Assembly |
| 2 | VESA Extension Plates | 5 | Decorative Covers |
| 3 | Height Adjustment Tension Screw | 6 | Wall Mount |
To view manuals, videos, drivers, downloads, technical drawings, and more visit www.startech.com/support
Product Dimensions
Side View
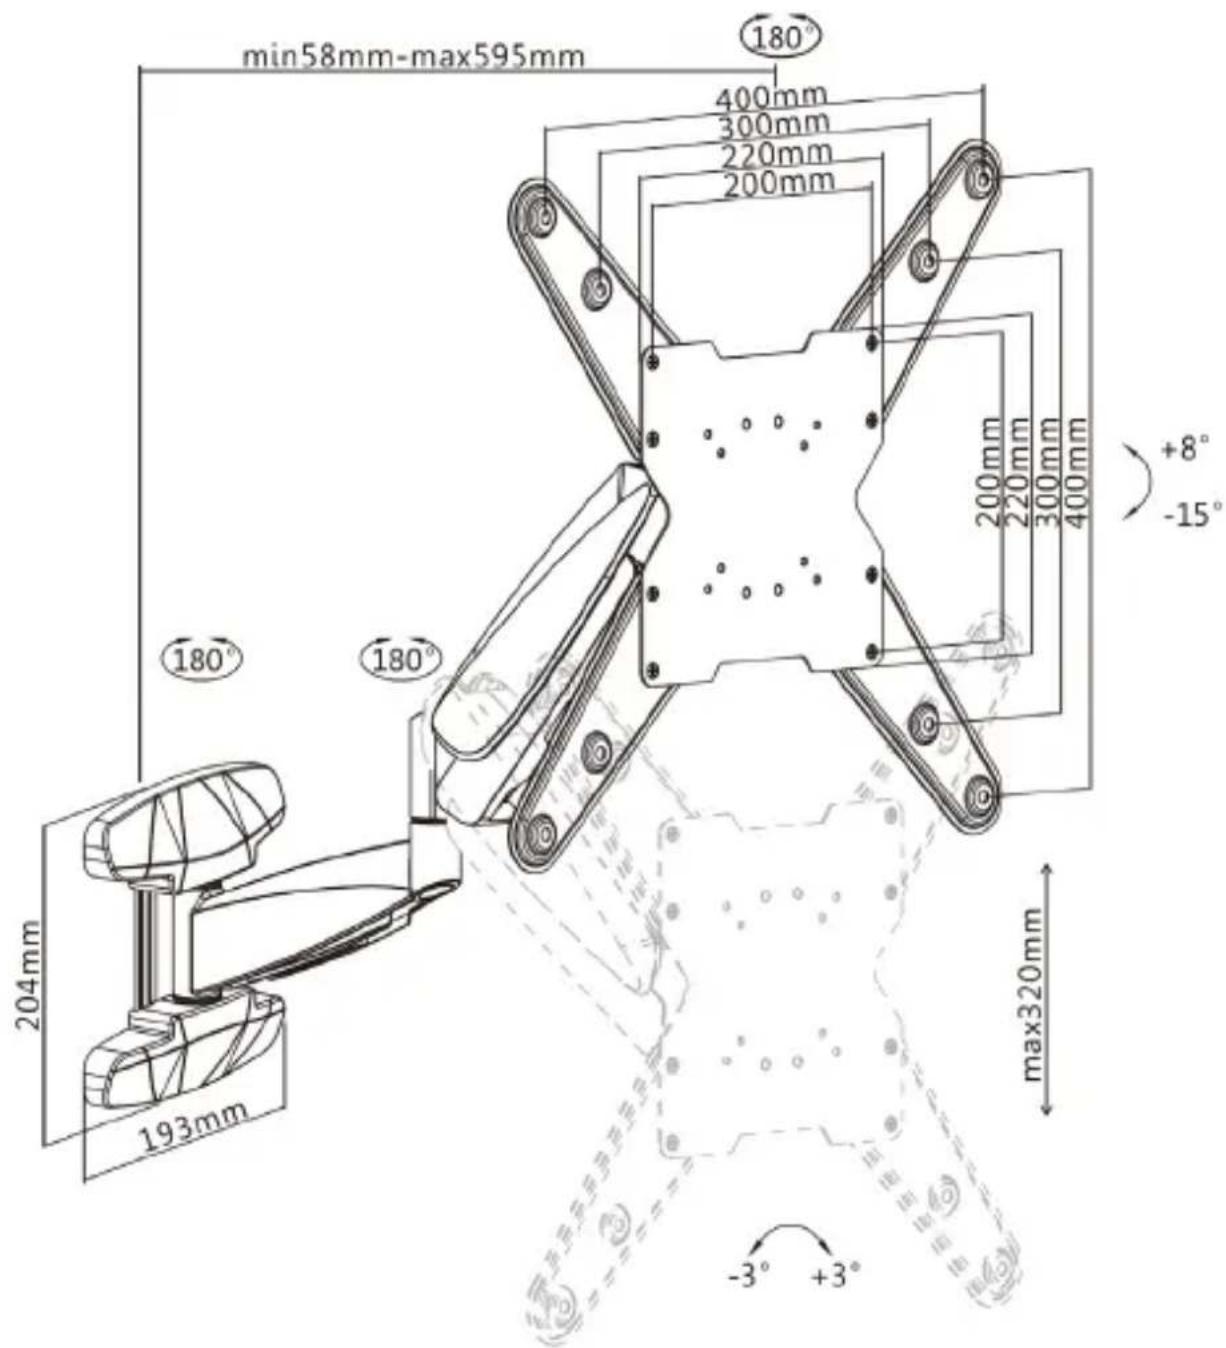
To view manuals, videos, drivers, downloads, technical drawings, and more visit www.startech.com/support
Product Information
Requirements
For the latest product information, technical specifications, manuals, and Declarations of Conformance, please visit:
www.StarTech.com/FHA-TV-WALL-MOUNT
TV
• Compatible VESA Mounting Hole Pattern
• VESA Plate: 75 x 75,100 x 100, 200 x 100, and 200 x 200
• VESA Plate with VESA Extension Plates: 300 x 300, 400 x 200, and 400 x 400.
Tools
• Phillips Head Screwdriver
Package Contents
 Arm AssemblyQty: 1 Arm AssemblyQty: 1 | 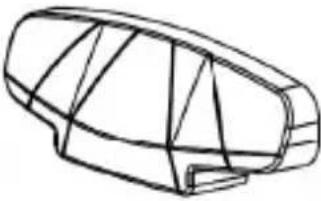 Decorative CoversQty: 2 Decorative CoversQty: 2 | 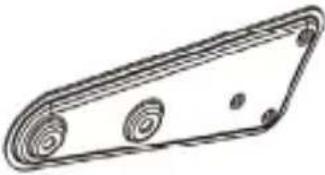 VESA Extension Plates, LeftQty: 2 VESA Extension Plates, LeftQty: 2 | 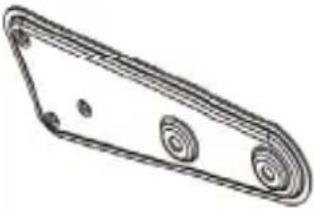 VESA Extension Plates, RightQty: 2 VESA Extension Plates, RightQty: 2 |
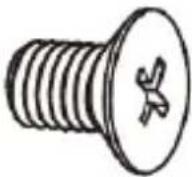 VESA Extension Plates ScrewsQty: 8 VESA Extension Plates ScrewsQty: 8 | 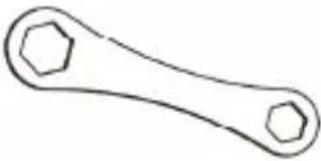 WrenchQty: 1 WrenchQty: 1 | 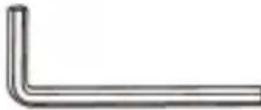 4 mm Hex KeyQty: 1 4 mm Hex KeyQty: 1 | 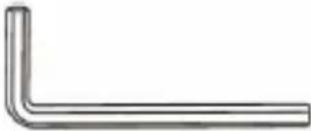 6 mm Hex KeyQty: 1 6 mm Hex KeyQty: 1 |
 Bubble LevelQty: 1 Bubble LevelQty: 1 | 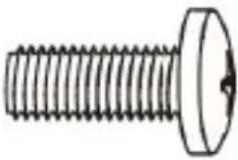 M5 x 14 ScrewsQty: 4 M5 x 14 ScrewsQty: 4 | 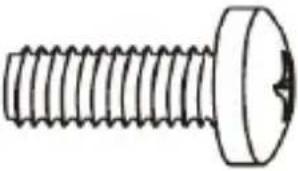 M6 x 14 ScrewsQty: 4 M6 x 14 ScrewsQty: 4 | 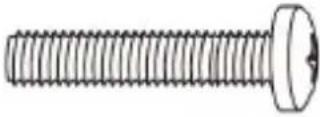 M6 x 30 ScrewsQty: 4 M6 x 30 ScrewsQty: 4 |
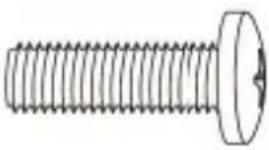 M8 x 30 ScrewsQty: 4 M8 x 30 ScrewsQty: 4 | 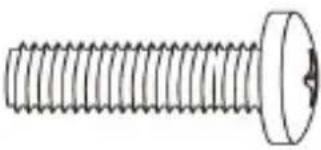 M8 x 50 ScrewsQty: 4 M8 x 50 ScrewsQty: 4 | 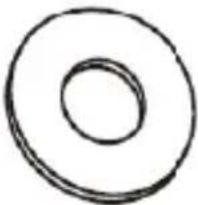 Display Washers, SmallQty: 4 Display Washers, SmallQty: 4 | 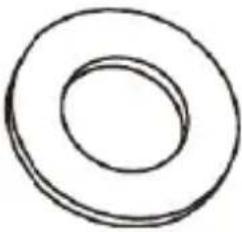 Display Washers, LargeQty: 4 Display Washers, LargeQty: 4 |
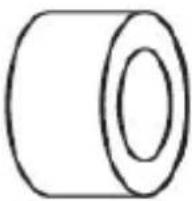 Short SpacersQty: 8 Short SpacersQty: 8 | 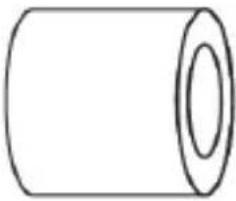 Tall SpacersQty: 8 Tall SpacersQty: 8 | 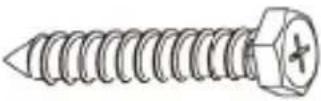 Wall Mounting ScrewsQty: 5 Wall Mounting ScrewsQty: 5 | 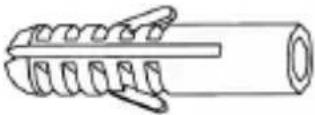 Concrete AnchorsQty: 5 Concrete AnchorsQty: 5 |
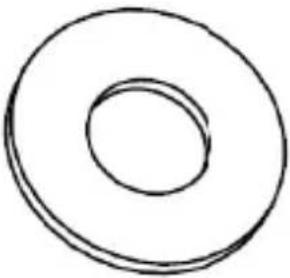 Wall Mounting WashersQty: 5 Wall Mounting WashersQty: 5 |  User ManualQty: 1 User ManualQty: 1 | ||
Installation
Remove the VESA Plate from the Arm Assembly
- Partially loosen the Top Nuts, located on the back of the VESA Plate, using the Wrench. The Top Nuts indicate the Up position of the VESA Plate.
- Remove the Bottom Nuts, located on the back of the VESA Plate, using the Wrench. Set aside the Bottom Nuts as they will be used in a later step.
- Slide out the bottom and lift upwards to remove the VESA Plate from the Arm Assembly. (Figure 1)
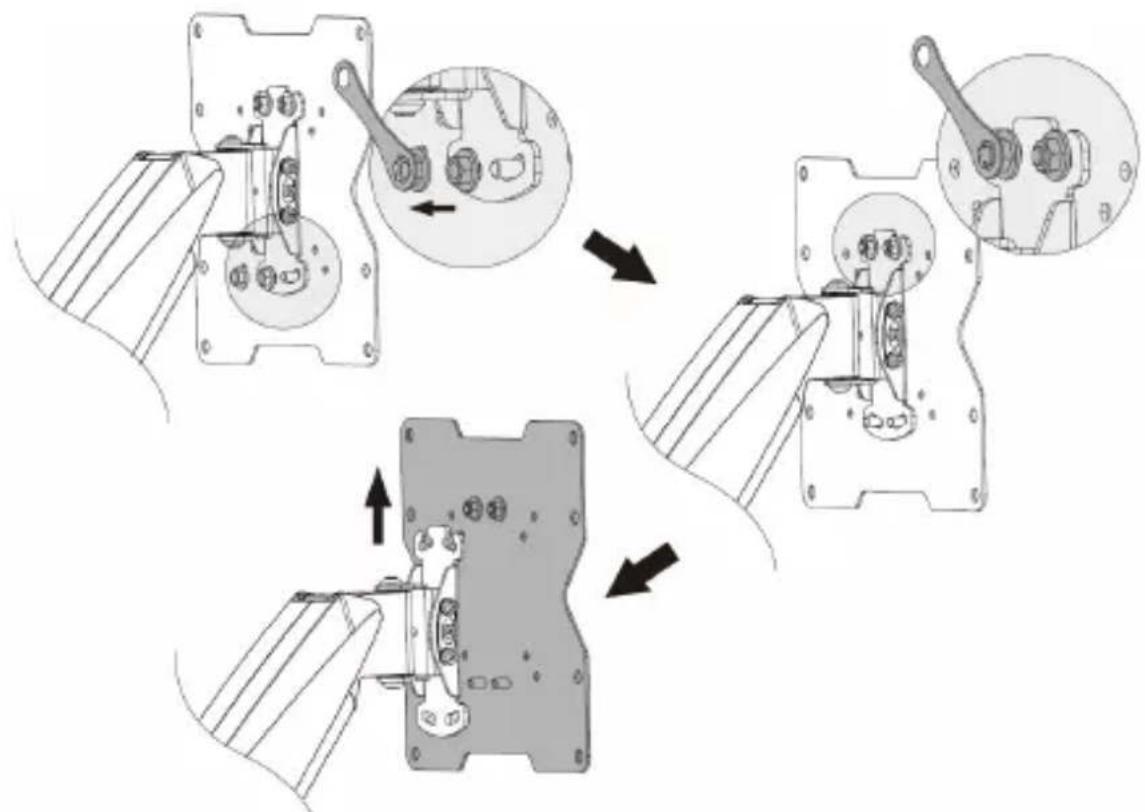
Figure 1
To view manuals, videos, drivers, downloads, technical drawings, and more visit www.startech.com/support
Mounting the Wall Mount
Fasten the Wall Mount to a Wood Stud or Concrete Wall
Warning! The TV wall mount is designed to be installed on a wood stud, solid concrete, or cinder block wall. The wall structure should be capable of supporting at least four times the weight of the mounted equipment.
The mounting hardware included with this product may not be adequate for installation on certain wall structures.
Contact a construction professional to install the wall mount. Failure to do so may result in personal injury and/or equipment damage.
Install the Decorative Covers
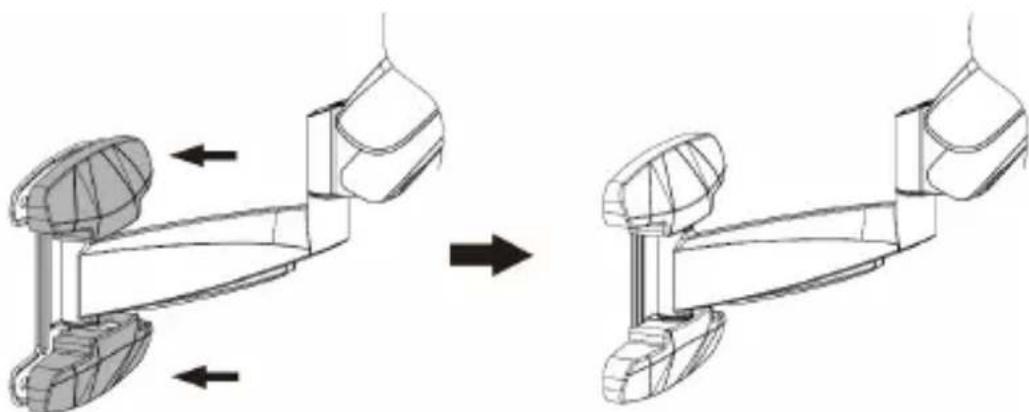
- Gently Push-in the Decorative Covers onto the Wall Mount. (Figure 2)
natural_image
Diagram showing two mechanical assembly states with arrows indicating motion direction (no text or symbols)Figure 2
Configure the VESA Plate to the TV Mounting Pattern
If the two mounting holes on the VESA Plate are not compatible with the mounting holes on the TV or display, use the VESA Extension Plates to create a compatible mounting hole configuration.
To view manuals, videos, drivers, downloads, technical drawings, and more visit www.startech.com/support
- Fasten the VESA Extension Plates, Left and Right, to the VESA Plate with the VESA Extension Plates Screws (x 8), using a Phillips Head Screwdriver. (Figure 3)
The VESA Extension Plates can be configured to various TV VESA mounting patterns, such as 300x300, 400x400, etc.
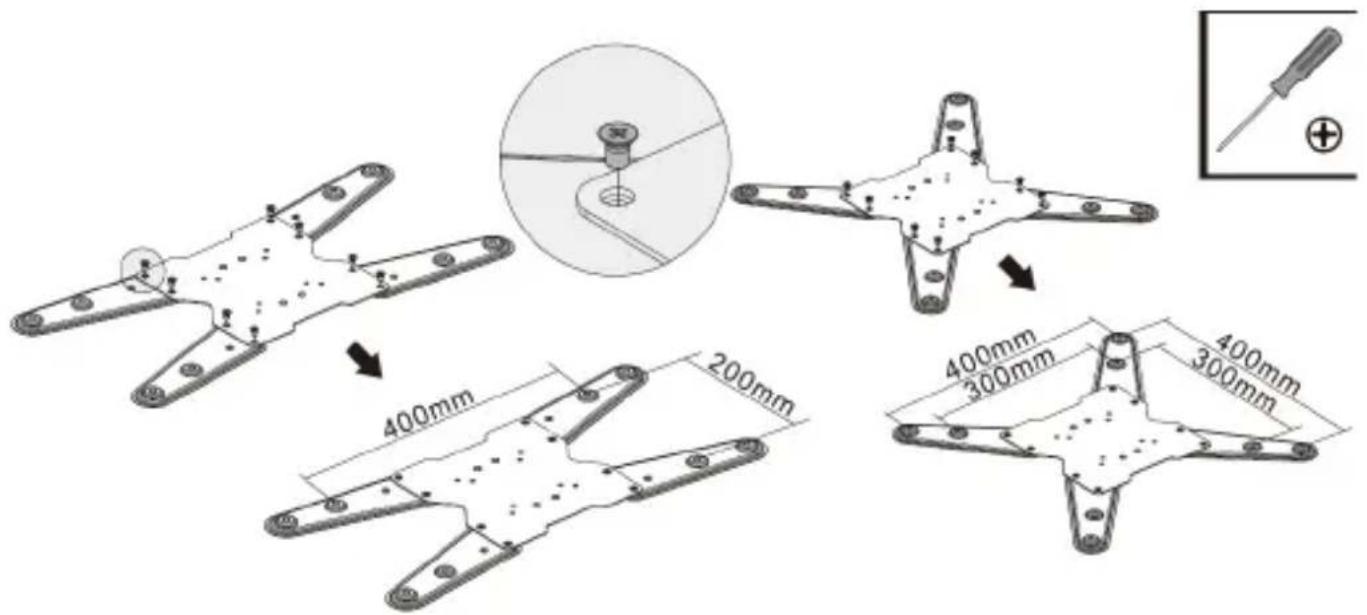
Figure 3
Mount a TV with a Flush Mounting Surface
To accommodate different TV designs, FHA-TV-WALL-MOUNT comes with five sets of screws of various lengths and diameters, two sizes of washers, and two sizes of spacers.
- To select the combination of mounting hardware needed to use to attach the VESA Plate or VESA Extension Plates to the TV, complete the following:
• Determine the depth of the mounting holes on the TV.
- Determine the diameter of the mounting holes on the TV.
Note: If using a TV with a flush mounting surface, you don't
To view manuals, videos, drivers, downloads, technical drawings, and more visit www.startech.com/support
need to use any of the provided spacers.
- Align the VESA Plate or the VESA Extension Plates with the mounting holes on the back of the TV.
- Place the appropriately sized Display Washers (x 4) over the VESA Plate or the VESA Extension Plates.
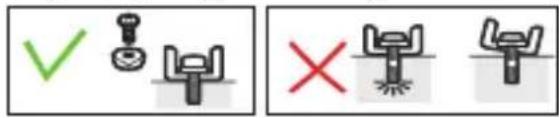
- Insert the appropriately sized M-Type Screws (x 4) through the Display Washers, the VESA Plate or VESA Extension Plates, and into the VESA Mounting Holes, located in the back of the TV. (Figure 4)
- Tighten the appropriately sized M-Type Screws, using a Phillips Head Screwdriver.
Warning! Do not overtighten the screws. If you encounter resistance while tightening the screws, stop tightening.
M5 x 14 Screw
M6 x 14 Screw
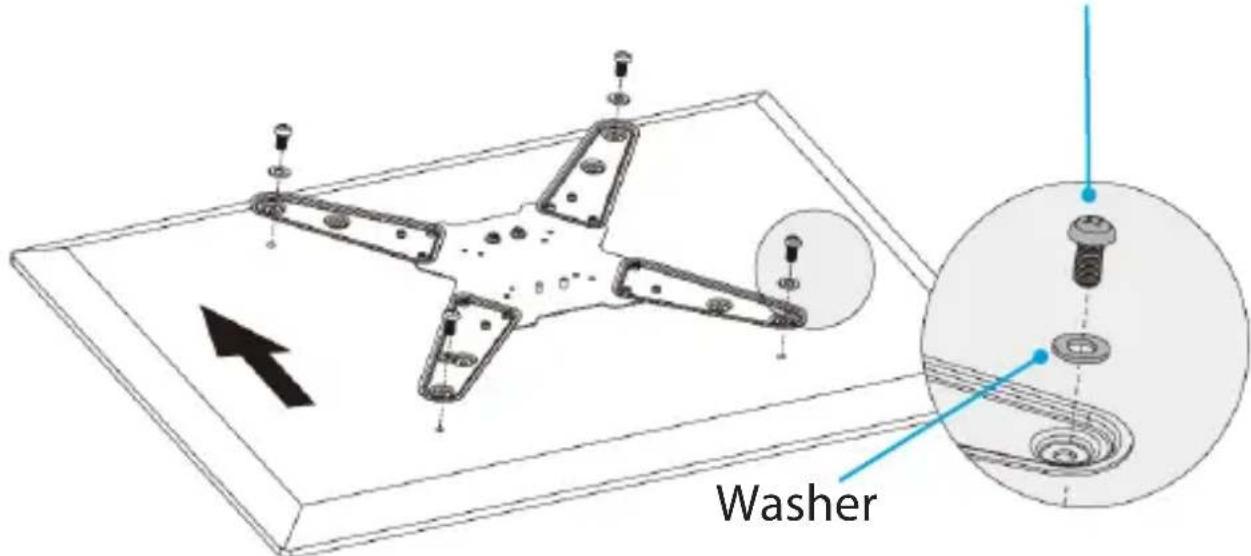
Figure 4
To view manuals, videos, drivers, downloads, technical drawings, and more visit www.startech.com/support
Mount a TV with a Recessed Mounting Surface
To accommodate different TV designs, the FHA-TV-WALL-MOUNT includes five sets of screws of various lengths and diameters, two sizes of washers, and two sizes of spacers.
-
Bridge the gap between the VESA Plate or VESA Extension Plates and the VESA Mounting Holes, located on the back of the TV. Select appropriately sized M-Type Screws (x 4) and pair them with an adequate combination of Spacers. Refer to the bullets and Figures 5 and 6.
-
Determine the Depth of the mounting holes on the TV.
- Determine the Diameter of the mounting holes on the TV.
• Refer to the images below to see the possible hardware combinations of Screws and Spacers.
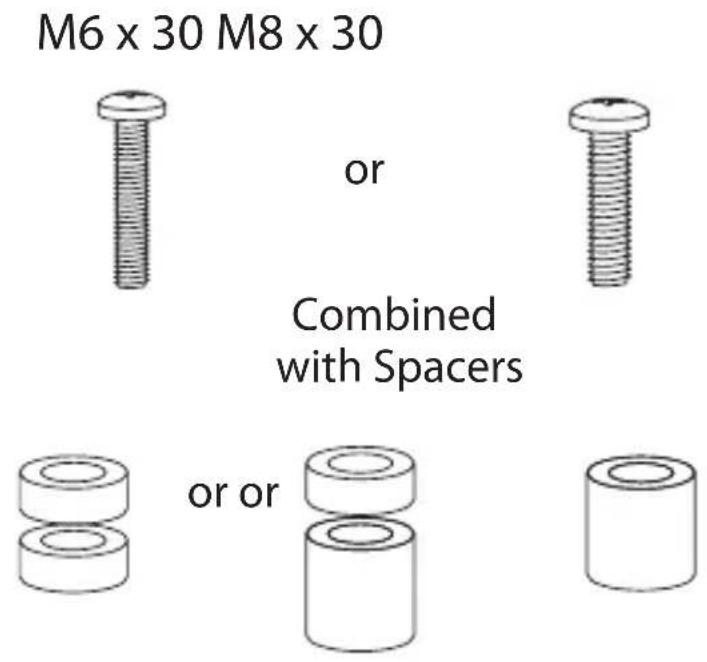
Figure 5
To view manuals, videos, drivers, downloads, technical drawings, and more visit www.startech.com/support
M8 x 50
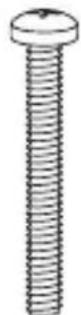
Combined with Spacers
Figure 6
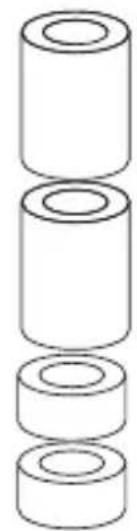
natural_image
Three vertically stacked cylindrical objects with no text or symbolsor
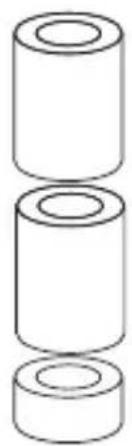
natural_image
Three vertically stacked cylindrical objects with no text or symbolsor
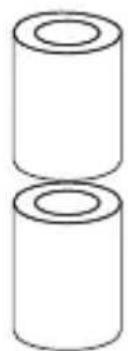
natural_image
Two identical cylindrical shapes stacked vertically (no text or symbols)-
Align the VESA Plate or the VESA Extension Plates with the mounting holes on the back of the TV.
-
Place the Display Washers, Large over the VESA Plate or the VESA Plate Extensions.
-
Insert the M6 x 30 Screws (x 4), M8 x 30 Screws (x4), or M8 x 50 Screws (x 4) through the Washers, Large the VESA Plate or VESA Extension Plates, the Spacers, and into the VESA Mounting Holes, located in the back of the TV. (Figure 7)
-
Tighten the appropriately sized M-Type Screws, using a Phillips Head Screwdriver.
Warning! Do not overtighten the screws. If you encounter resistance while you're tightening the screws, stop tightening. Failure to do so could result in damage to the TV.
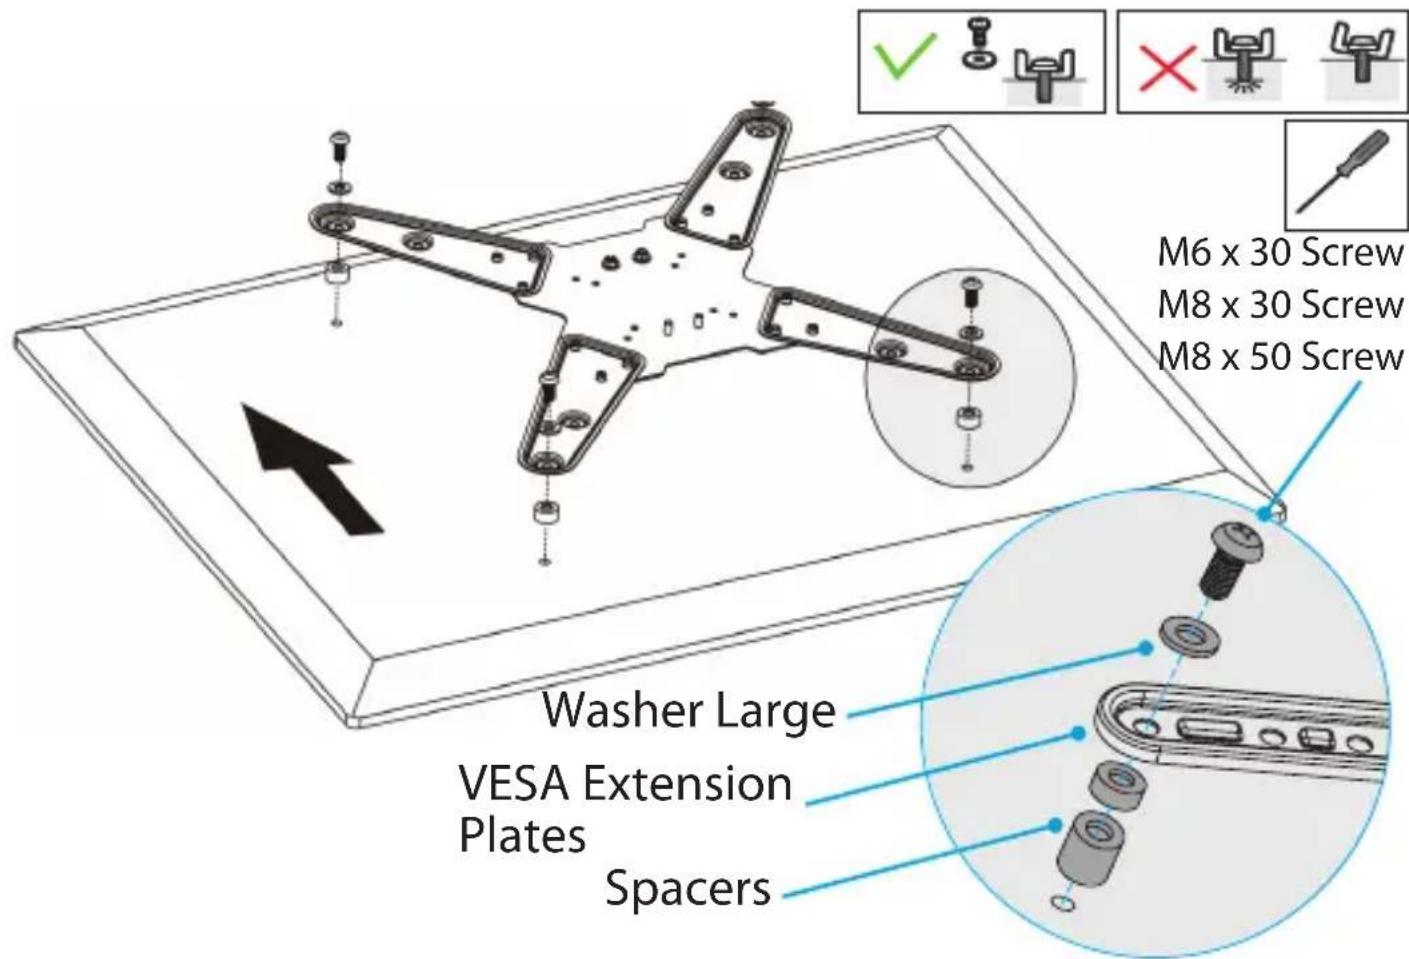
Figure 7
To view manuals, videos, drivers, downloads, technical drawings, and more visit www.startech.com/support
Attach a TV to the Arm Assembly
Warning! Ensure that the weight of the TV does not exceed the weight capacity of this product. Exceeding the weight capacity may result in personal injury and/or damage to the product, the attached equipment, and/or the mounting surface. This product can support the following weight: Up to 66 lbs (30 kg).
Attaching the TV is a two-person Job. Do not attempt to complete this task by yourself.
Continue to support the weight of the TV until the nuts (x 4) have been installed and adequately tightened.
- Locate the Top Threaded Studs at the back of the VESA Plate.
- Slide the partially loosened Top Nuts, located on the back of the VESA Plate Assembly, down into the Slots, located on the end of the Arm Assembly. (Figure 8)
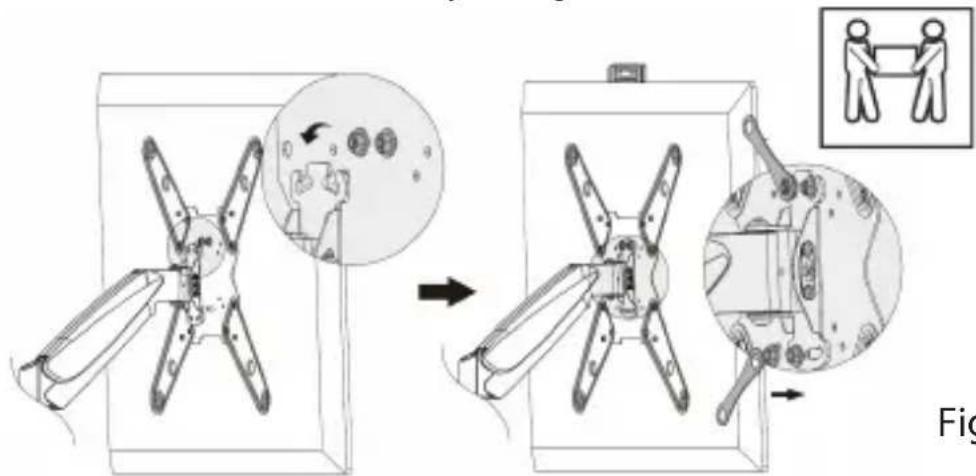
Figure 8
-
Insert the Two Nuts, from Step 1 of Installation - Release the VESA Plate from the Arm Assembly, located on the back of the VESA Plate Assembly.
-
Use the provided Wrench to tighten all the Nuts (x 4).
To view manuals, videos, drivers, downloads, technical drawings, and more visit www.startech.com/support
Operation
Height Adjustment Tension of the Arm Assembly
- Position the Arm Assembly Horizontally before adjusting. Locate the Height Tension Adjustment Screw, located on the Arm Assembly.
- Using the 6 mm Hex Key rotate the Height Tension Screw Clockwise to Increase the Tension for Heavier/Larger TVs, and rotate Counterclockwise to Decrease the Tension for Smaller/Lighter TVs. (Figure 9)
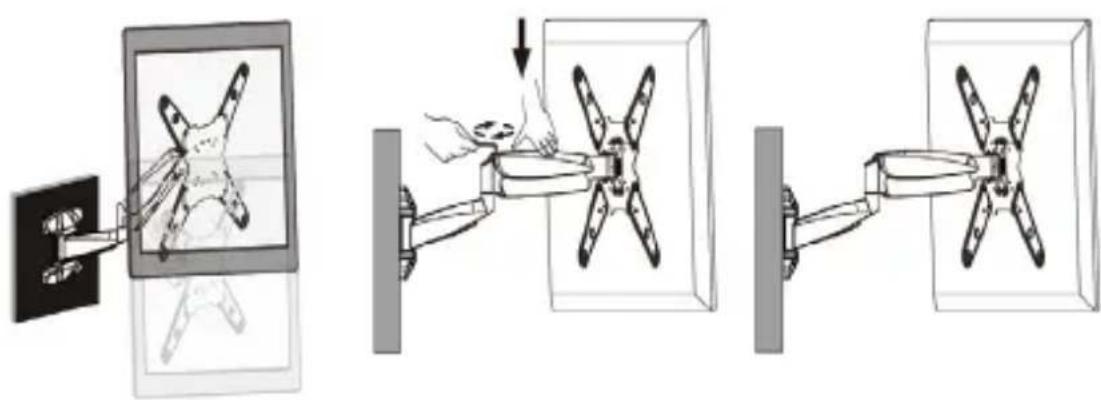
Figure 9
To view manuals, videos, drivers, downloads, technical drawings, and more visit www.startech.com/support
Cable management
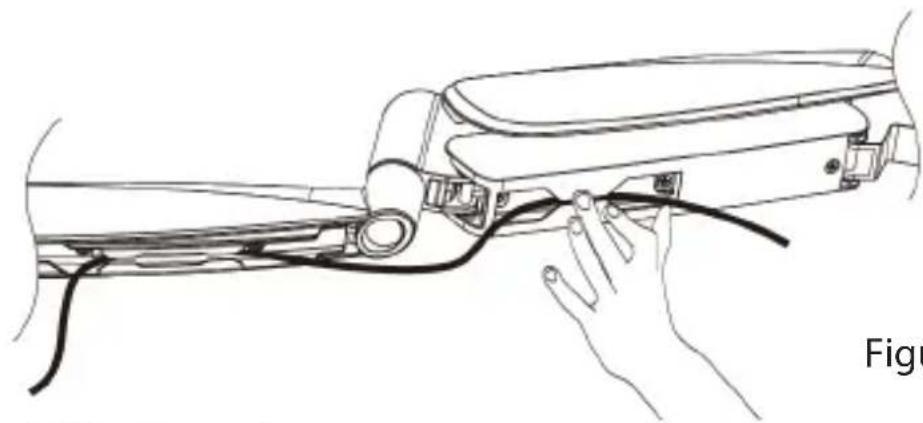
- Route the TV Cables through the Cable Management Attachments, located under the Arm Assembly, and to the Power/AV Sources. (Figure 10)
natural_image
Line drawing of a robotic arm with hands connecting wires to a device (no text or symbols)Figure 10
Adjust the Tilt Tension
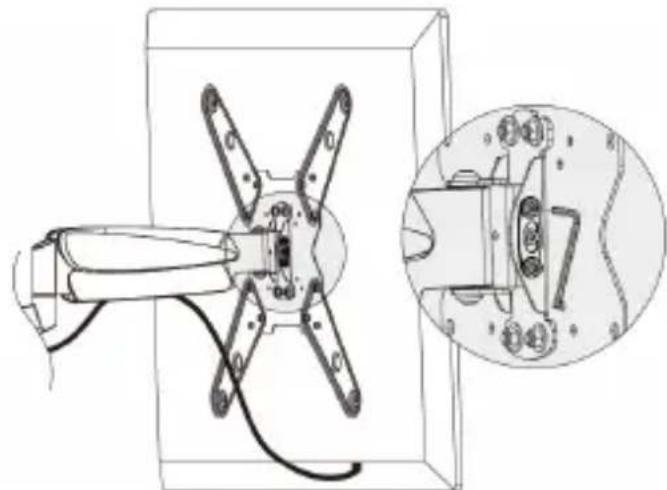
- Locate the adjustment Bolts, on the back of the VESA Plate. (Figure 11)
natural_image
Technical line drawing of a mechanical component with cross-shaped blades and internal wiring, shown in two views (no text or symbols)Figure 11
- Use the provided 4 mm Hex Key. Rotate Clockwise to Increase the Tension, and rotate Counterclockwise to Decrease the Tension.
To set the TV at a fixed angle, tilt the TV to the desired angle and fully tighten the Tilt Tension Adjustment Screws, using the 4 mm Hex Key.
To view manuals, videos, drivers, downloads, technical drawings, and more visit www.startech.com/support
Warranty Information
This product is backed by a two-year warranty.
For further information on product warranty terms and conditions, please refer to www.startech.com/warranty.
Limitation of Liability
In no event shall the liability of StarTech.com Ltd. and StarTech.com USA LLP (or their officers, directors, employees or agents) for any damages (whether direct or indirect, special, punitive, incidental, consequential, or otherwise), loss of profits, loss of business, or any pecuniary loss, arising out of or related to the use of the product exceed the actual price paid for the product.
Some states do not allow the exclusion or limitation of incidental or consequential damages. If such laws apply, the limitations or exclusions contained in this statement may not apply to you.
Hard-to-find made easy. At StarTech.com, that isn't a slogan. It's a promise.
StarTech.com is your one-stop source for every connectivity part you need. From the latest technology to legacy products — and all the parts that bridge the old and new — we can help you find the parts that connect your solutions.
We make it easy to locate the parts, and we quickly deliver them wherever they need to go. Just talk to one of our tech advisors or visit our website. You'll be connected to the products you need in no time.
Visit www.startech.com for complete information on all StarTech.com products and to access exclusive resources and time-saving tools.
StarTech.com is an ISO 9001 Registered manufacturer of connectivity and technology parts. StarTech.com was founded in 1985 and has operations in the United States, Canada, the United Kingdom and Taiwan servicing a worldwide market.
Reviews
Share your experiences using StarTech.com products, including product applications and setup, what you love about the products, and areas for improvement.
StarTech.com Ltd.
45 Artisans
Crescent
London, Ontario
N5V 5E9
Canada
StarTech.com LLP
4490 South
Hamilton Road
Groveport, Ohio
43125
U.S.A.
StarTech.com Ltd.
Unit B, Pinnacle 15
Gowerton Road
Brackmills,
Northampton
NN4 7BW
United Kingdom
StarTech.com Ltd.
Siriusdreef 17-27
2132 WT
Hoofddorp
The Netherlands
FR: fr.startech.com
DE: de.startech.com
ES: es.startech.com
NL: nl.startech.com
IT: it.startech.com
JP: jp.startech.com
- Adjustable TV Wall Mount up to 55 in and 66 lb - VESA Compatible
- User Manual
- Compliance Statements
- Use of Trademarks, Registered Trademarks, and other Protected Names and Symbols
- Safety Statements
- Safety Measures
- Mesures de sécurité
- Varningsmeddelanden
- Product Diagram
- Product Dimensions
- Side View
- Product Information
- Requirements
- TV
- Tools
- Installation
- Remove the VESA Plate from the Arm Assembly
- Mounting the Wall Mount
- Fasten the Wall Mount to a Wood Stud or Concrete Wall
- Install the Decorative Covers
- Configure the VESA Plate to the TV Mounting Pattern
- Mount a TV with a Flush Mounting Surface
- Mount a TV with a Recessed Mounting Surface
- Attach a TV to the Arm Assembly
- Operation
- Height Adjustment Tension of the Arm Assembly
- Cable management
- Adjust the Tilt Tension
- Warranty Information
- Limitation of Liability
- Hard-to-find made easy. At StarTech.com, that isn't a slogan. It's a promise.
- Reviews
- StarTech.com Ltd.
- StarTech.com LLP
Brand : StarTech.com
Model : FHA-TV-WALL-MOUNT
Category : Wall mount