NS-01 - Wi-Fi repeater Netcomm - Free user manual and instructions
Find the device manual for free NS-01 Netcomm in PDF.


| Product Type | Wi-Fi Repeater (CloudMesh Satellite) |
| Brand | Netcomm |
| Model | NS-01 |
| Dimensions (approx) | 100 x 70 x 40 mm |
| Weight (approx) | 150 g |
| Power Supply | USB-C 5V/2A adapter (included) |
| Wireless Standard | 802.11a/b/g/n/ac |
| Frequency Band | Dual-band 2.4 GHz and 5 GHz |
| Maximum Coverage | Up to 2000 sq ft |
| Security | WPA2/WPA3 |
| Pairing Method | WPS button |
| LED Indicators | Power and Signal Strength (White/Blue/Red) |
| Control App | CloudMesh App (iOS and Android) |
| Operating Temperature | 0°C to 40°C |
| Humidity | Non-condensing |
| Indoor Use Only | Yes |
| User Serviceable Parts | None |
| Cleaning | Wipe with dry cloth; no harsh chemicals |
| Package Contents | NS-01, Ethernet cable, USB-C adapter, Quick Start Guide |
| Certification | CE, FCC |
Frequently Asked Questions - NS-01 Netcomm
User questions about NS-01 Netcomm
0 question about this device. Answer the ones you know or ask your own.
Ask a new question about this device
Download the instructions for your Wi-Fi repeater in PDF format for free! Find your manual NS-01 - Netcomm and take your electronic device back in hand. On this page are published all the documents necessary for the use of your device. NS-01 by Netcomm.
USER MANUAL NS-01 Netcomm
natural_image
White cloud computing device with 'CLOUD MESH' branding and a circular logo on the lid (no additional text or symbols visible)
NetComm

CLOUD MESH
CloudMesh Satellite
WHAT'S IN THE BOX
natural_image
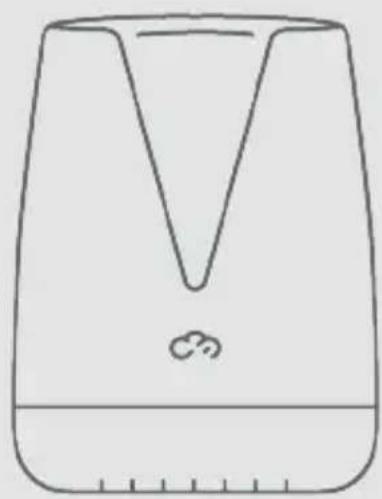
Simple line drawing of a device with a V-shaped notch and a small cloud icon at the base (no text or symbols)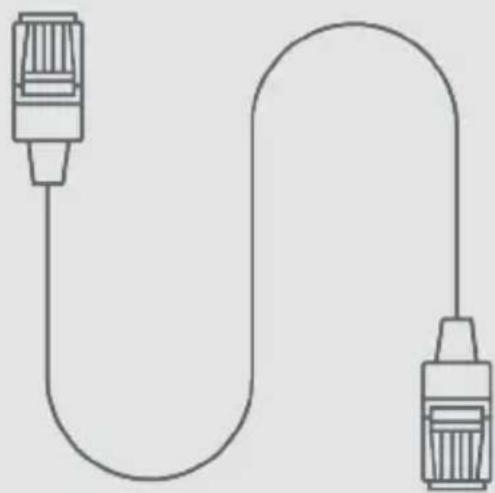
natural_image
Simple line drawing of two connected connectors (no text or symbols)CloudMesh Satellite
1 x Ethernet Cable1 x NS-01
natural_image
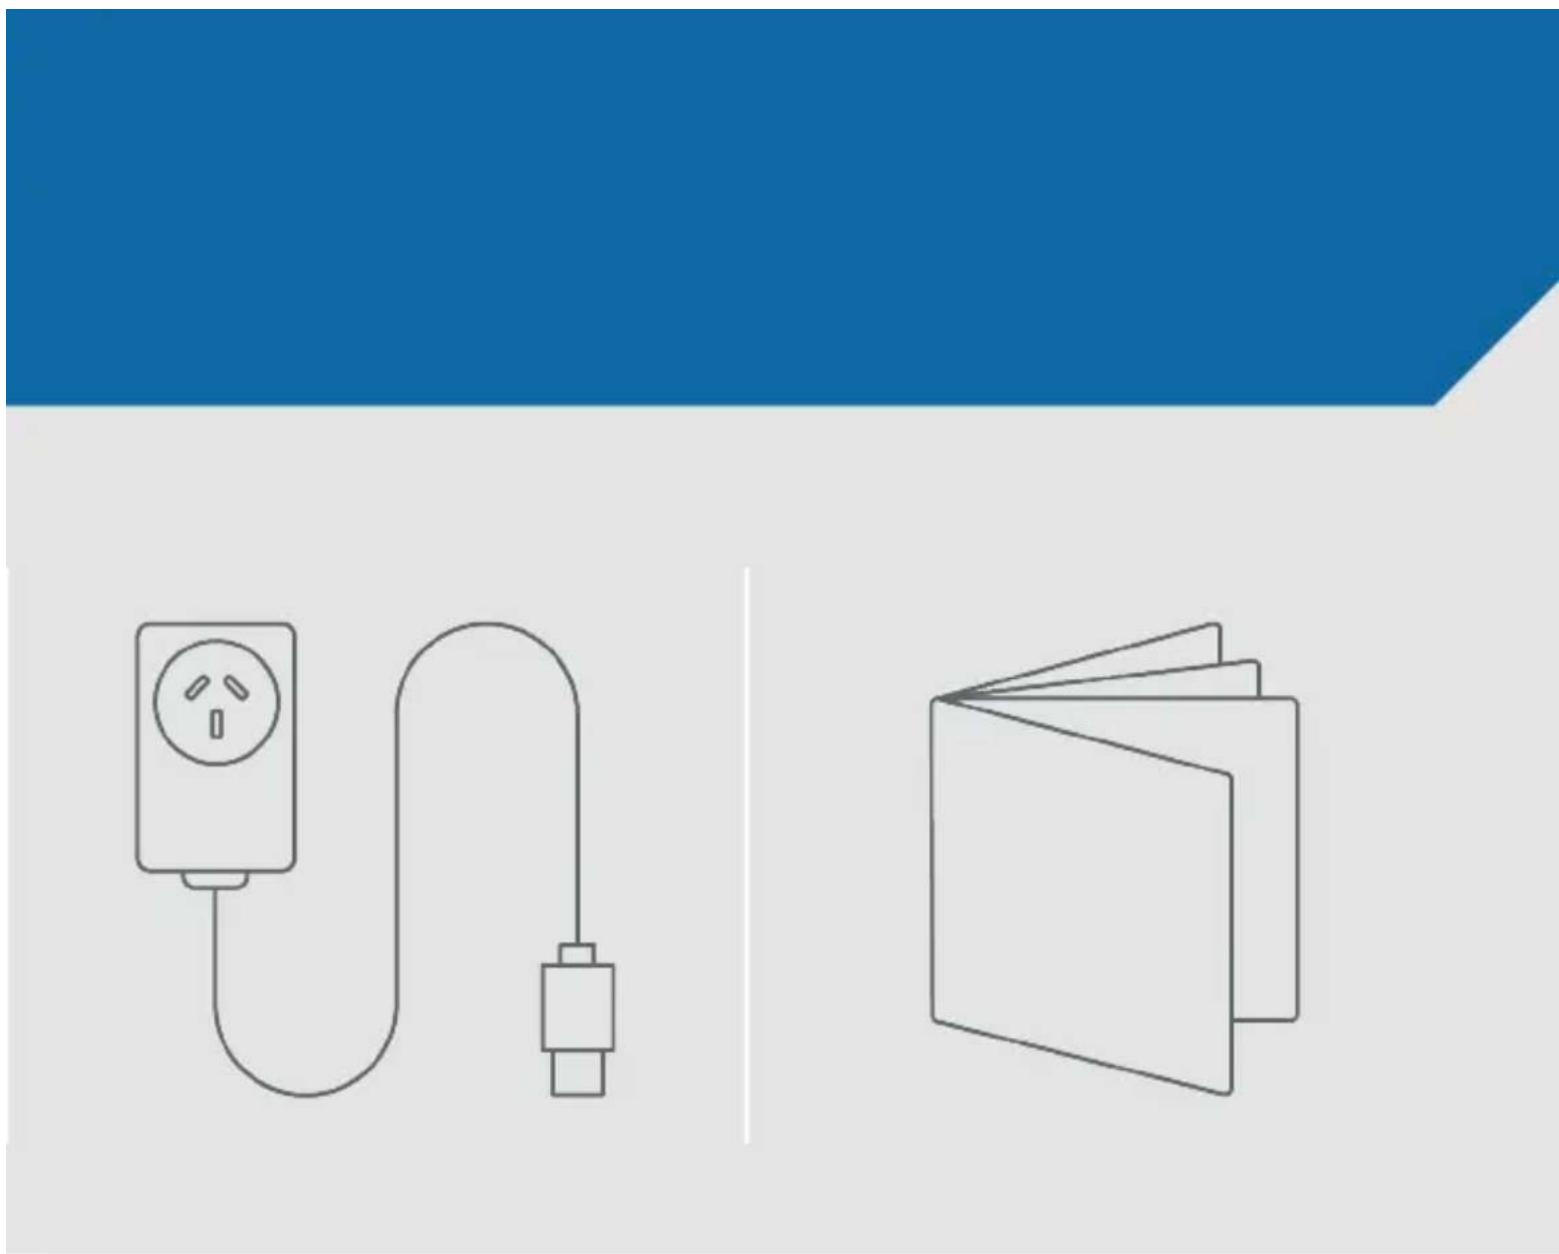
Illustration of a power outlet connected to a cable and a wallet, both without any text or symbols.1 x USB-C Power Adapter 1 x Quick Start Guide
WHAT
YOU WILL NEED
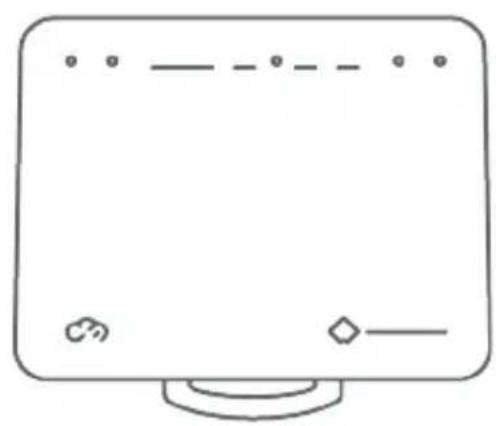
natural_image
Simple line drawing of a computer monitor with no text or symbolsCloudMesh-enabled gateway connected to internet
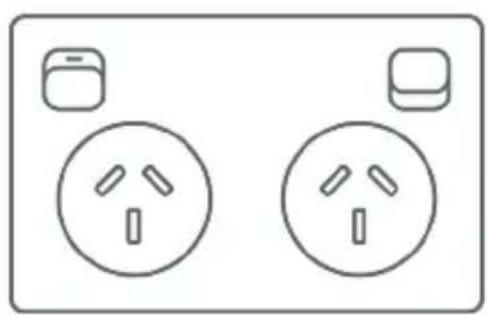
natural_image
Simple line drawing of two electrical outlets with three slots, no text or symbols presentA power point near to where you want to place the CloudMesh Satellite
SAFETY INFORMATION
PLEASE READ BEFORE USE
natural_image
Simple line drawing of a house with a Wi-Fi symbol inside, no text or labels present.LOCATION
This device is designed for indoor use only. Place the device in a central location to the area you want to cover for the best WiFi performance.
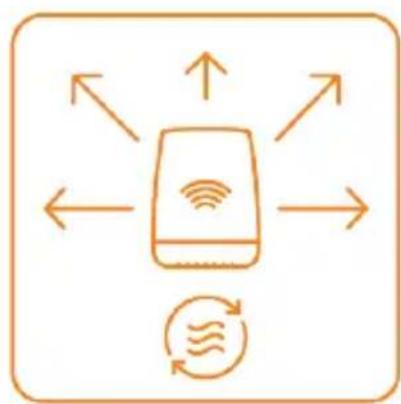
flowchart
graph TD
    A["Central Device"] --> B["Data Flow"]
    A --> C["Data Flow"]
    A --> D["Data Flow"]
    A --> E["Data Flow"]
    A --> F["Data Flow"]
    A --> G["Data Flow"]
    A --> H["Data Flow"]
    A --> I["Data Flow"]
    A --> J["Data Flow"]
    A --> K["Data Flow"]
    A --> L["Data Flow"]
    A --> M["Data Flow"]
    A --> N["Data Flow"]
    A --> O["Data Flow"]
    A --> P["Data Flow"]
    A --> Q["Data Flow"]
    A --> R["Data Flow"]
    A --> S["Data Flow"]
    A --> T["Data Flow"]
    A --> U["Data Flow"]
    A --> V["Data Flow"]
    A --> W["Data Flow"]
    A --> X["Data Flow"]
    A --> Y["Data Flow"]
    A --> Z["Data Flow"]
    A --> AA["Data Flow"]
    A --> AB["Data Flow"]
    A --> AC["Data Flow"]
    A --> AD["Data Flow"]
    A --> AE["Data Flow"]
    A --> AF["Data Flow"]
    A --> AG["Data Flow"]
    A --> AH["Data Flow"]
    A --> AI["Data Flow"]
    A --> AJ["Data Flow"]
    A --> AK["Data Flow"]
    A --> AL["Data Flow"]
    A --> AM["Data Flow"]
    A --> AN["Data Flow"]
    A --> AO["Data Flow"]
    A --> AP["Data Flow"]
    A --> AQ["Data Flow"]
    A --> AR["Data Flow"]
    A --> AS["Data Flow"]
    A --> AT["Data Flow"]
    A --> AU["Data Flow"]
    A --> AV["Data Flow"]
    A --> AW["Data Flow"]
    A --> AX["Data Flow"]
    A --> AY["Data Flow"]
    A --> AZ["Data Flow"]
    A --> BA["Data Flow"]
AIRFLOW
Do not restrict airflow around the device.
The device is air cooled and may overheat where airflow has been restricted.
Always allow a minimum of 5cm clearance around all sides and the top of the device.
Do not cover, do not put in an enclosed space, do not put under or behind large items of furniture.
Your device may become warm during normal use.
natural_image
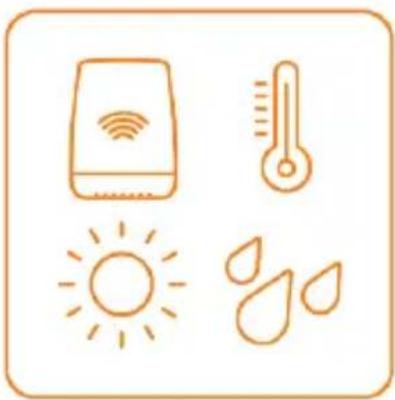
Illustration of four weather icons: Wi-Fi, thermometer, sun, and droplet (no text or symbols)ENVIRONMENT
Do not place this device in direct sunlight or any hot areas. The safe operating temperature range of this device is between 0° and 40°C.
Do not allow this device to come in contact with any liquid or moisture. Do not place this device in any wet or humid areas such as kitchens, bathrooms or laundries.
natural_image
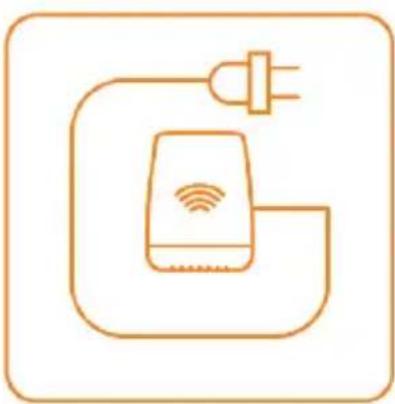
Simple line icon of a wireless device with an antenna and network symbols, enclosed in a rounded square frame (no text or labels)POWER SUPPLY
Use only the power supply unit that came with the device. You should immediately stop using the power supply unit if the cable or power supply unit is damaged.
natural_image
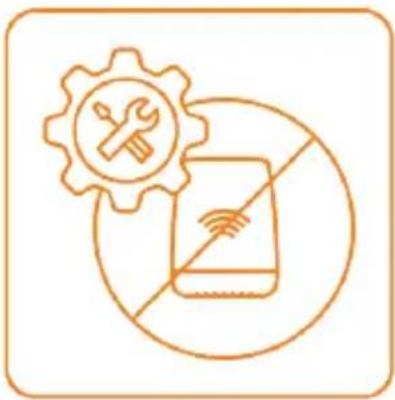
Icon depicting a smartphone with wireless signal and tools, enclosed in a circle (no text or symbols)SERVICE
There are no user-serviceable components in the device.
Do not attempt to disassemble, repair, or modify the device.
natural_image
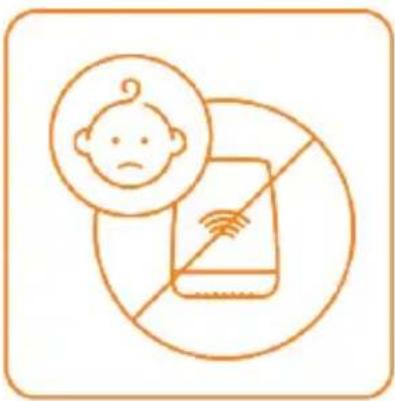
Simple line drawing of a baby with a sad face and a crossed-out smartphone symbol (no text or labels)SMALL CHILDREN
Do not leave your device and its accessories within the reach of small children or allow them to play with it. Your device contains small parts with sharp edges that may cause an injury or which could become detached and create a choking hazard.
natural_image
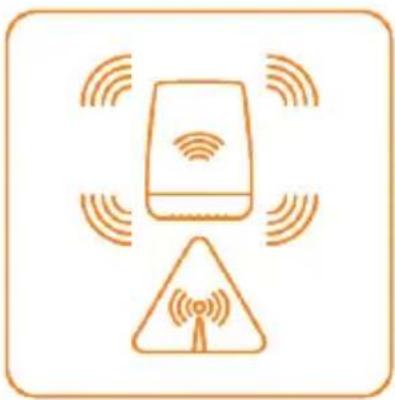
Illustration of a wireless device with signal waves and a warning triangle (no text or symbols)RF EXPOSURE
The device contains a transmitter and a receiver. When it is on, it receives and transmits RF energy. The device conforms with the radio frequency (RF) exposure limits adopted by the Australian Communications and Media Authority Radiocommunications (Electromagnetic Radiation - Human Exposure) Standard 2014, when used at a distance of not less than 20 cm from the body.
natural_image
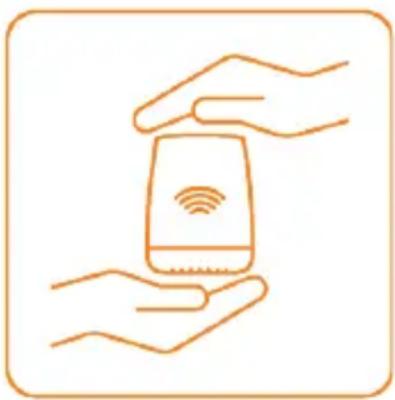
Line drawing of two hands exchanging a credit card with a Wi-Fi symbol (no text or numbers present)PRODUCT HANDLING
- Always treat your device and its accessories with care and keep it in a clean and dust-free place.
- Do not expose your device or its accessories to open flames.
- Do not drop, throw or try to bend your device or its accessories.
- Do not use harsh chemicals, cleaning solvents, or aerosols to clean the device or its accessories.
- Do not paint your device or its accessories.
- Please check local regulations for disposal of electronic products.
- Arrange power and Ethernet cables in a manner such that they are not likely to be stepped on or have items placed on them.

natural_image
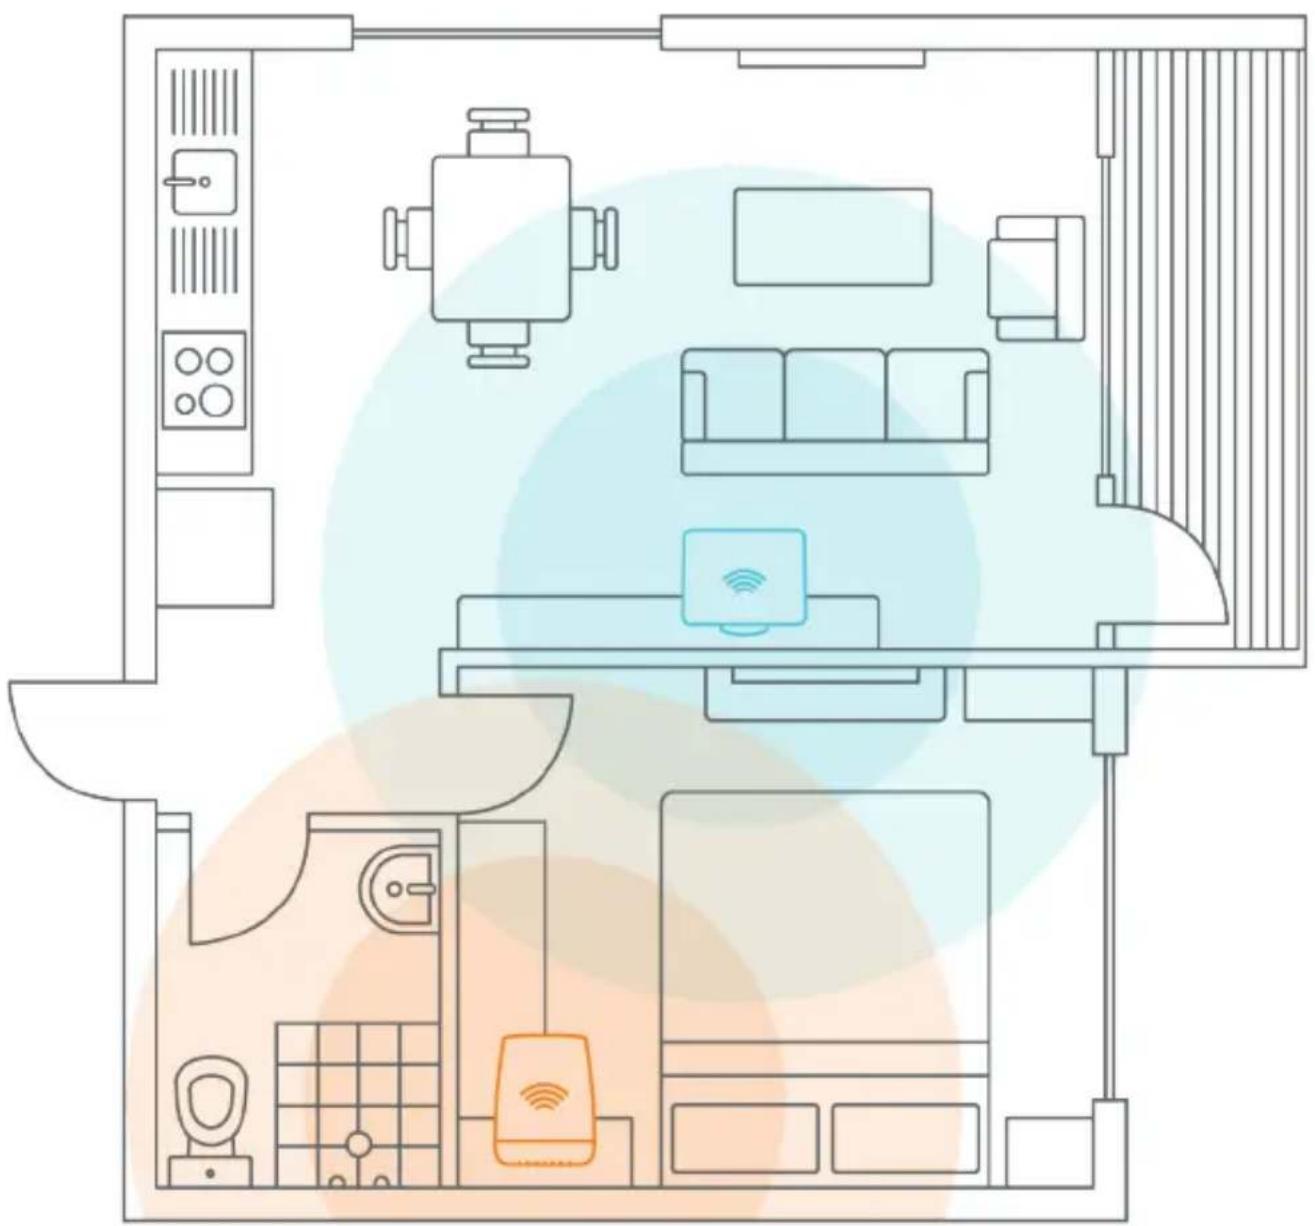
Floor plan diagram of a smart home with living room, furniture, and connectivity icons (no text labels)Before you begin, ensure your CloudMesh Gateway is connected to the Internet.
1
Connect the Power adapter to the CloudMesh Satellite
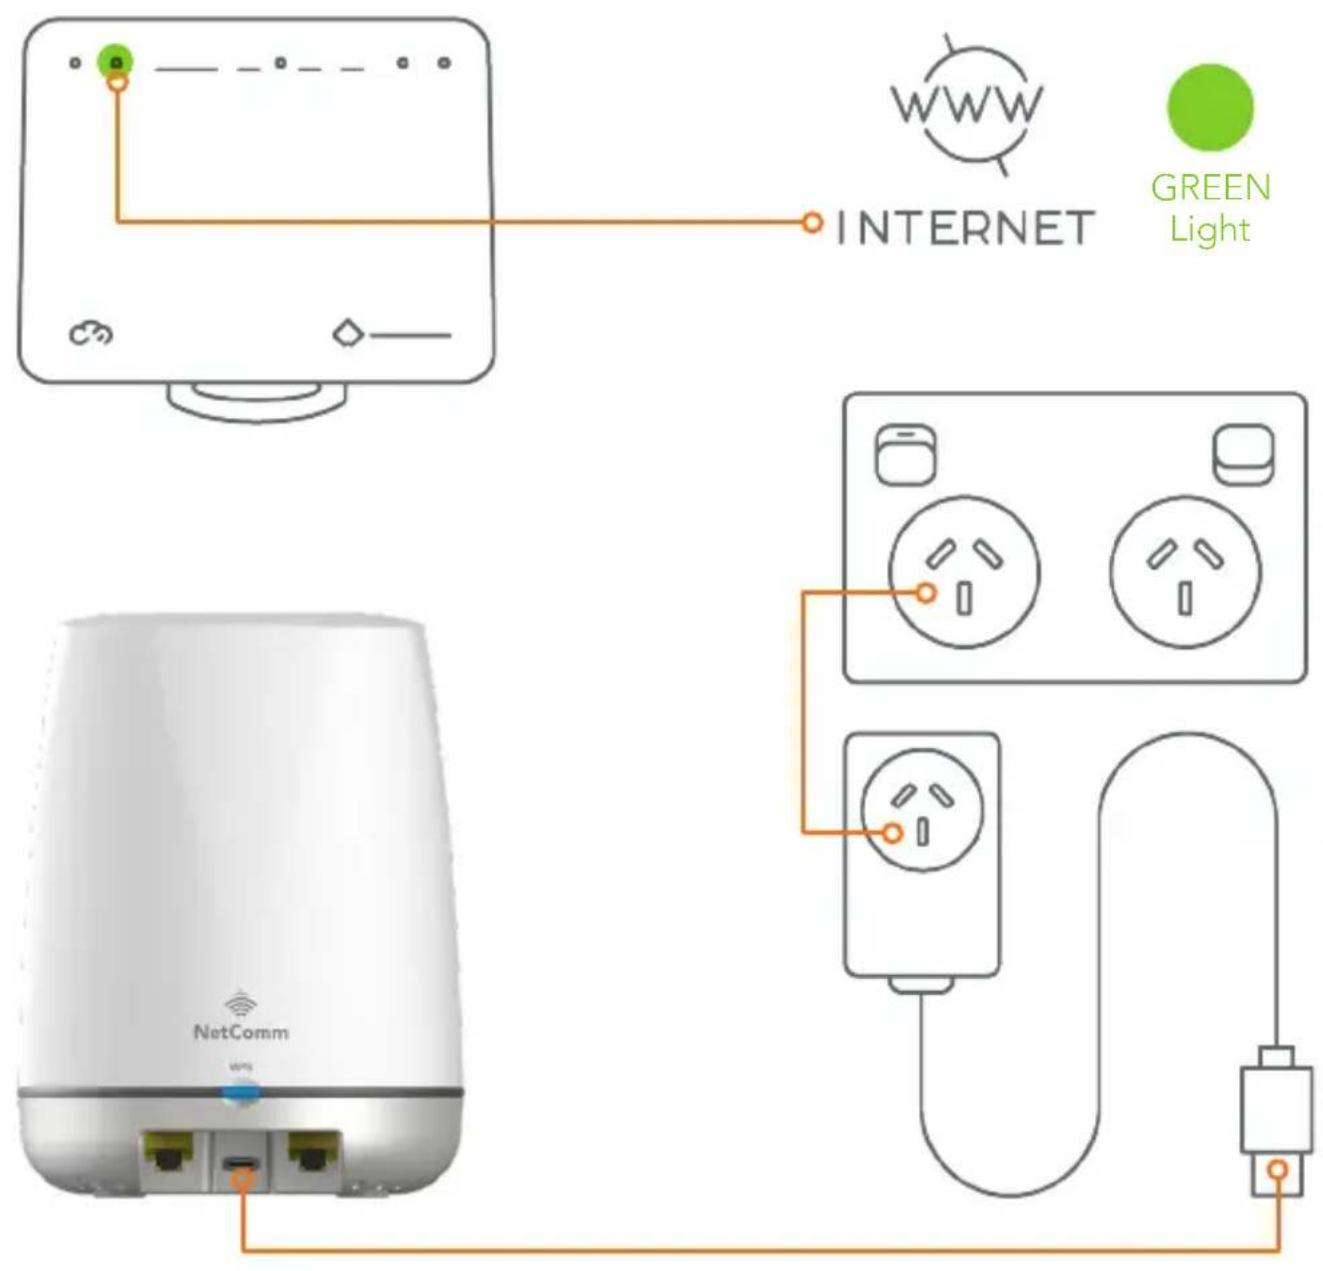
Wait five minutes for the CloudMesh Satellite to initialise and then check the light status. A solid white or blue light means the satellite has been paired with the Gateway and is ready to use.
2
A solid red light means that the Satellite needs to be moved closer to the Gateway. If after five minutes, the light is still flashing blue, follow the instructions on the page 18.
Your CloudMesh Satellite light follows this sequence when first turned on:
 |  1 Red flashing Powering up 1 Red flashing Powering up | |
 |  2 Purple solid Powering up 2 Purple solid Powering up | |
 |  3 Blue flashing 3 Blue flashing | Ready for pairing/not connected to mesh network |
When connected to the CloudMesh Gateway, the light shows the signal strength as follows:
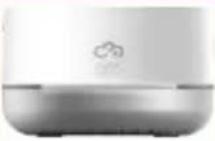 |  White solid Good signal White solid Good signal | |
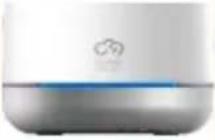 |  Blue solid Medium signal Blue solid Medium signal | |
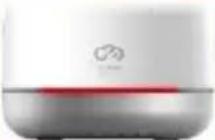 |  Red solid Poor signal Red solid Poor signal |
If the CloudMesh Satellite light is still flashing blue after five minutes, you will need to pair it with the CloudMesh Gateway.
3
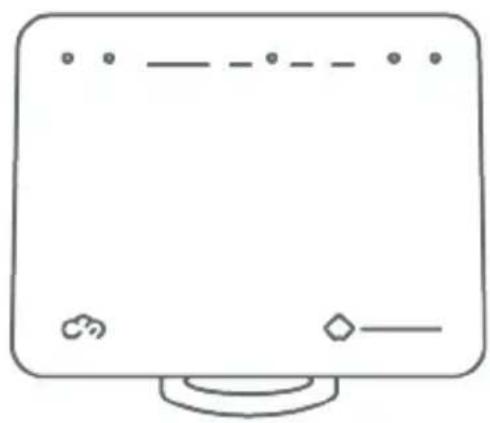
Place the CloudMesh Satellite next to your CloudMesh Gateway.
Wait for both devices to power on. Ensure that the CloudMesh Gateway is connected to the Internet.
natural_image
Line drawing of a V-shaped electronic device with a small circular icon at the bottom (no text or symbols)
natural_image
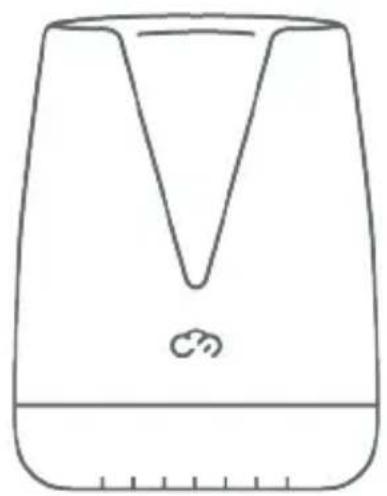
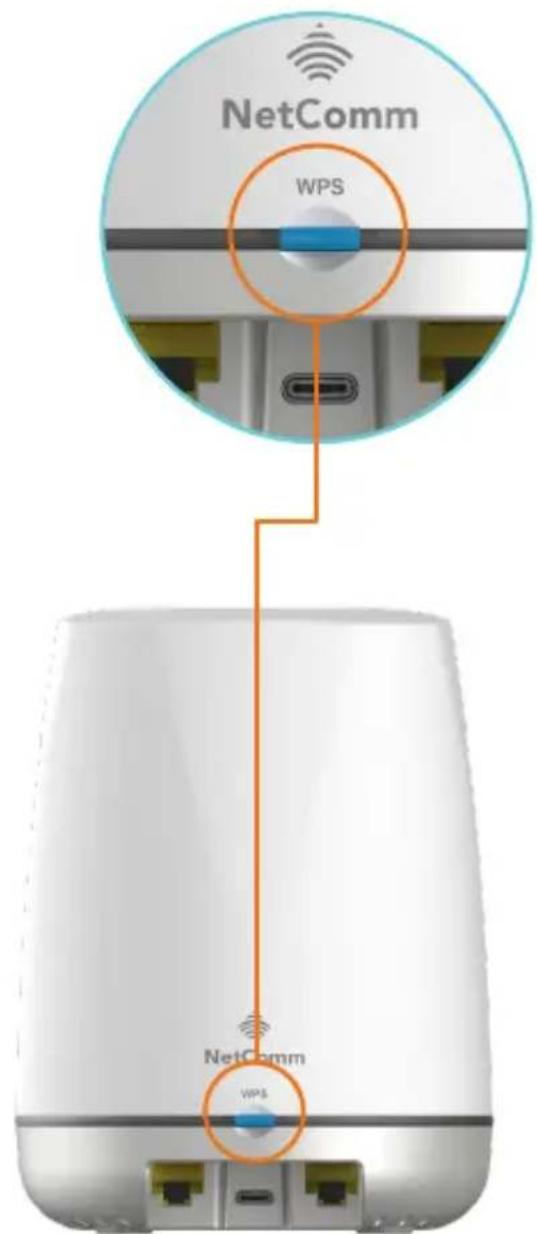
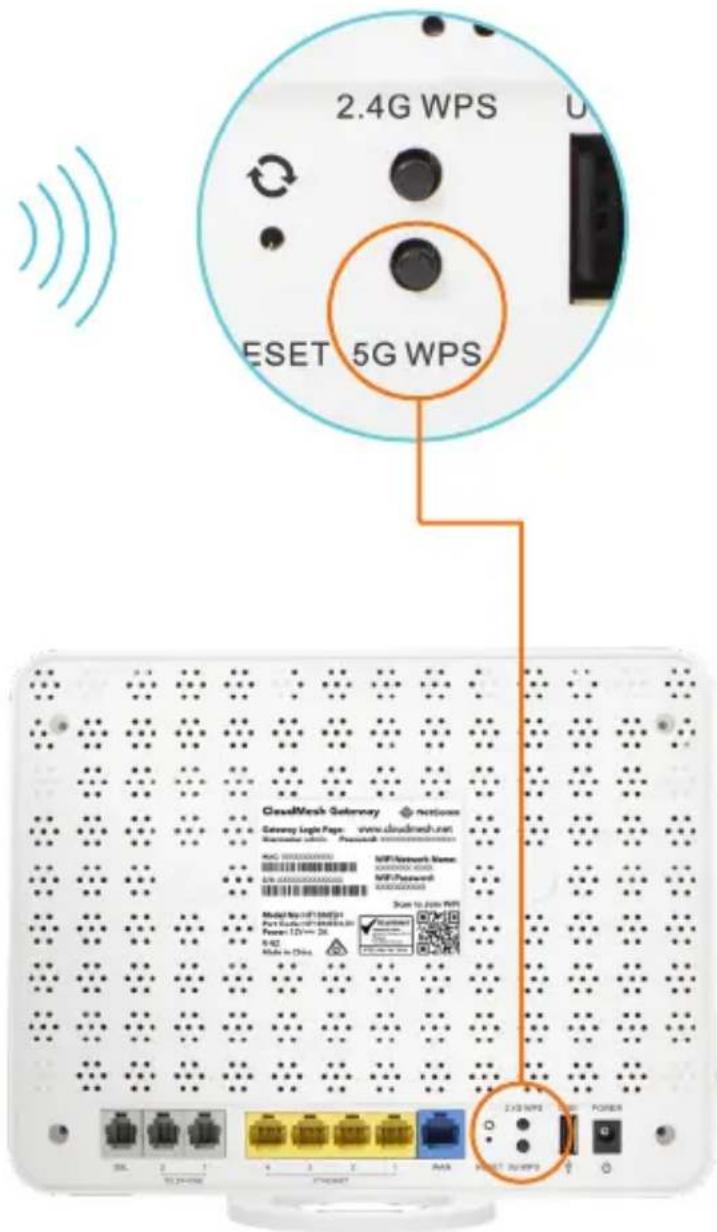
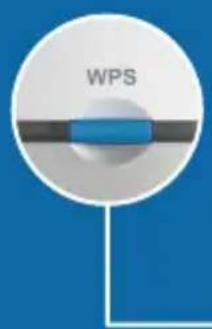
Simple line drawing of a computer monitor with no text or symbolsPress and release the WPS button on the Satellite, then press and release the 5G WPS button on the Gateway within two minutes.
4
The pairing process can take up to five minutes.
When the Satellite has paired, refer to the light status tables on page 17.
natural_image
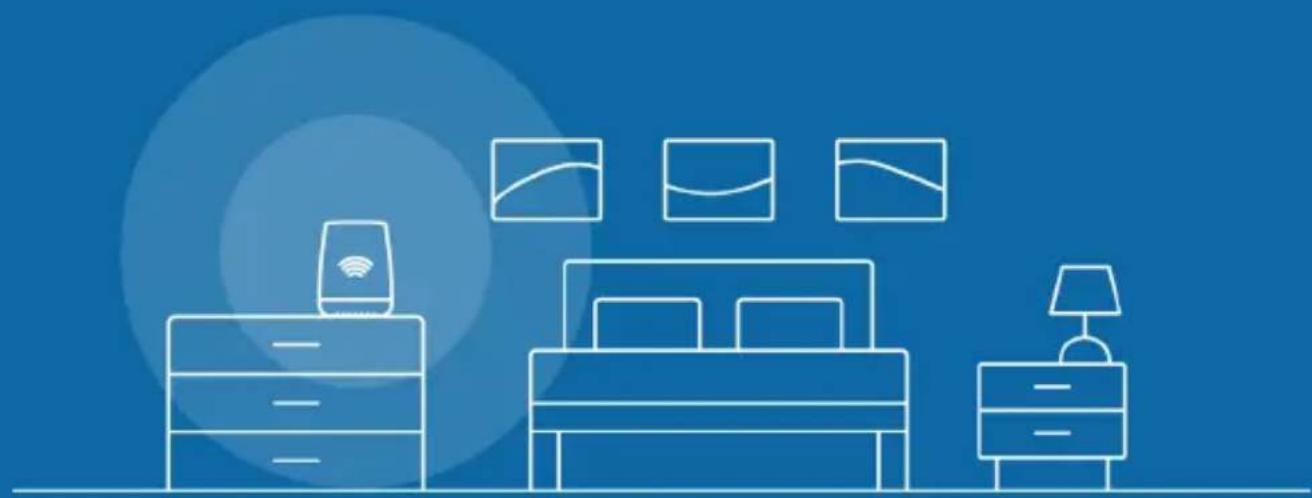
Line art illustration of a bedroom with a smart home, bed, and nightstands (no text or symbols)TO TURN OFF LED LIGHTS
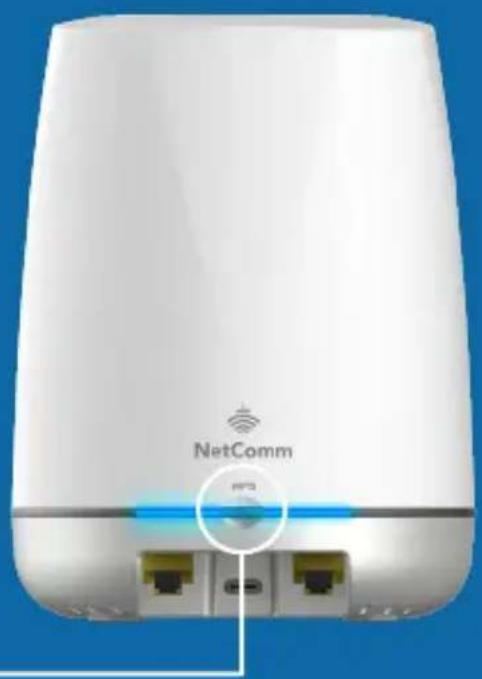
To control the Satellite's LED lights, press and hold the WPS button for five seconds to switch the light's display ON or OFF.
natural_image
Front view of a white NetComm network device with ports and a blue indicator light (no readable text or symbols beyond branding)
DOWNLOAD THE CLOUDMESH APP
Finding the best place for your CloudMesh Satellite is easy using the CloudMesh App.
- Satellite placement assistance
- WiFi Analytics
- WiFi client monitoring

Get it on the App Store or Google Play.
NetComm

casa systems
NetComm Wireless Limited was acquired by Casa Systems, Inc. Casa Systems, the future of NetComm
AU
ANZ HEAD OFFICE SYDNEY
Casa Systems Inc.
18-20 Orion Road, Lane Cove
NSW 2066, Sydney
Australia | +61 2 9424 2070
www.netcomm.com
US
CORPORATE HEADQUARTERS ANDOVER
Casa Systems Inc.
100 Old River Road,
Andover, MA 01810
USA | +1 978 688 6706
www.casa-systems.com
Brand : Netcomm
Model : NS-01
Category : Wi-Fi repeater