
CSV-3242HDA - Computer accessory CLUB3D - Free user manual and instructions
Find the device manual for free CSV-3242HDA CLUB3D in PDF.


| Product Type | Ultra Smart Docking Station |
| Brand | CLUB3D |
| Model | CSV-3242HDA |
| Material | Aluminum |
| Dimensions (L x W x H) | 372 x 49 x 24 mm |
| Weight | Approx. 250 g |
| Host Connection | USB 3.0 (backward compatible with USB 2.0) |
| USB 3.0 Downstream Ports | 5 |
| Video Outputs | HDMI, DVI, VGA (dual monitor support) |
| Maximum Resolution | 1920 x 1080 (1080p) |
| Ethernet | Gigabit Ethernet port |
| Memory Card Reader | Yes (SD/MMC compatible) |
| Audio Input | 3.5mm microphone jack |
| Audio Output | 3.5mm audio jack |
| Power Supply | USB bus-powered (no external adapter required) |
| Supported Operating Systems | Windows 10/8.1/8/7 (32/64-bit), Mac OS X 10.6 – 10.10 |
| Minimum System Requirements | 1 GB RAM, free USB port, CD-ROM or internet for driver download |
| Driver Installation | Included CD or download from DisplayLink website |
| Display Modes | Extend, Mirror, Main Monitor, Off |
| Cleaning | Wipe with a soft, dry cloth; do not use liquids or abrasive cleaners |
| Safety Precautions | Do not expose to water or extreme temperatures; use only with compatible USB ports |
| Spare Parts Availability | Not provided; device is not user-serviceable |
Frequently Asked Questions - CSV-3242HDA CLUB3D
User questions about CSV-3242HDA CLUB3D
0 question about this device. Answer the ones you know or ask your own.
Ask a new question about this device
Download the instructions for your Computer accessory in PDF format for free! Find your manual CSV-3242HDA - CLUB3D and take your electronic device back in hand. On this page are published all the documents necessary for the use of your device. CSV-3242HDA by CLUB3D.
USER MANUAL CSV-3242HDA CLUB3D
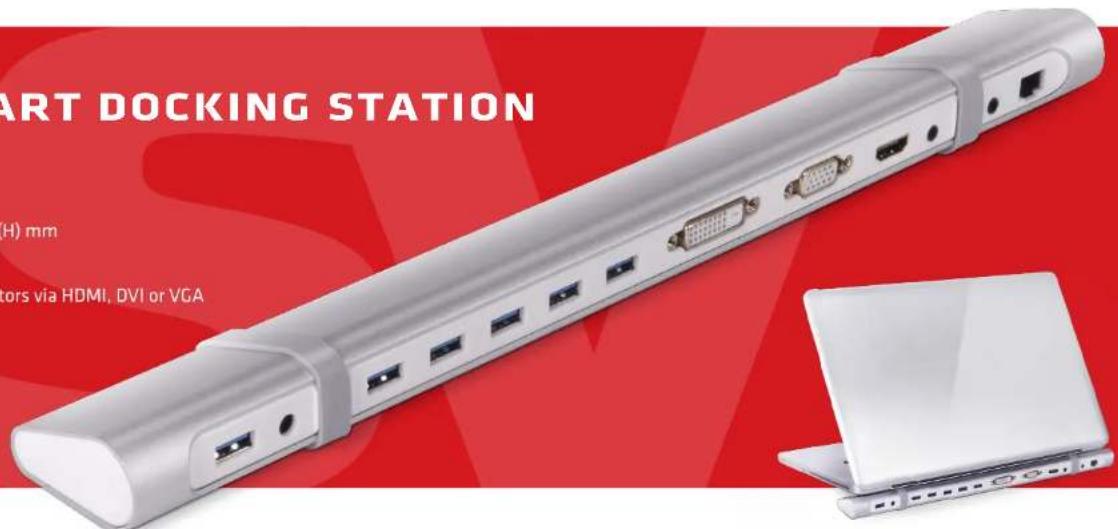
ULTRA SMART DOCKING STATION
FOR YOUR LAPTOP
Aluminium Bar Design
Slim size 372(L) × 49(W) × 24(H) mm
USB 3.0 downstream port x 5
Supports Dual External monitors via HDMI, DVI or VGA
Memory Card reader
Supports Gigabit Ethernet
sensevision

CONNECT AND DO MORE
www.club-3d.com
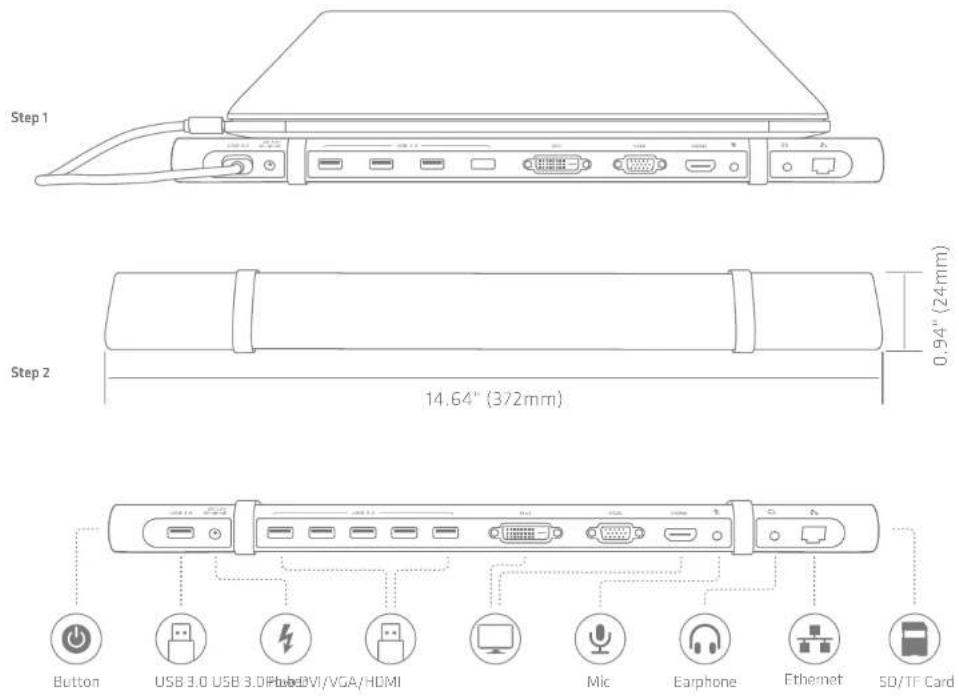
Hardware Installation
System Requirements
DisplayLink software can be used on most PCs, from Laptops and Ultrabooks to Desktops. The driver will run on processors ranging from Intel Atom basic single Core CPUs, and of course the latest Dual, Quad Core AMD and Intel Core i3/i5/i7 CPUs. The performance of the software is dependent upon the processing power available, as well as the operating system in use. More capable systems will provide better performance.
DisplayLink software is available for PCs running one of the following Windows operating systems:
Windows 10;
Windows 8.1 (32-bit or 64-bit)
Windows 8 (32-bit or 64-bit);
Windows 7 (32-bit or 64-bit)
Mac OSX operation systems: Mac OS X 10.6, 10.7, 10.8, 10.9, 10.10 Mac OSX support can be found at http://www.displaylink.com/mac
*RAM: 1GB or higher
*At least one free USB 3.0/2.0 port
*Access to a CD-ROM drive or
*Network access for software downloads
Driver Installation and Operation Guide
1. Insert the driver CD into your CD-ROM drive

Drivers for Windows and Mac OS are available on the included SenseVision driver CD, or visit www.displaylink.com and download the latest driver directly.
Note: If you have v3.x, R4.1 or R4.2 DisplayLink software installed you must uninstall it, using the Windows Add/Remove Programs feature, before installing this release. Devices will continue working after this release is installed.
2. Windows Driver installation
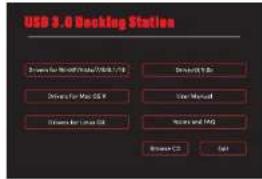
- After you insert the CD, the installation interface would automatically pop-up as below. If not, you could install the driver manually by double clicking on setup, exe or click from Autorun setup cover page.
-
Choose the right driver for your operating system Take Windows 8.1 system for example, click
-
Following the on-screen instructions
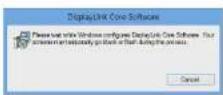


Note: The screen may flash or go black during the install.
- Reboot your computer after driver installation
Operation Guide
- Click the DisplayLink icon on the taskbar. The menu appears as shown below.
- Select an option from the menu, using the following table for the option available.
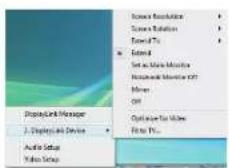
| Screen Resolution | Displays a list of available resolutions. |
| Note: Not available in mirror mode, as it is defined as the resolution of the main monitor. | |
| Screen Resolution | Normally/ Rotated Left / Rotated Right/ Upside-Down |
| Extend To | Right / Left / Above / Below |
| Extend | Extend by your Windows desktop onto this display. |
| Set as Main Monitor | Sets this screen as the main display. |
| Notebook Monitor Off | Switches off the display of the notebook and makes the DisplayLink display the main display.Note: This option will only appear when 1 DisplayLink USB screen is connected. It will also only appear on Laptop computers. |
| Mirror | Copies what is on the main display and reproduces it on this display.Note: The resolution of this display and the primary must be the same in mirror mode. This may be lower than the preferred resolution of the display. |
| Off | Switches off this display. |
| Fit to TV | It the Windows desktop does not completely appear on the TV.This option can be used to adjust the size of the Windows desktop.• This option will only appear when 1 DisplayLink USB screen is connected• This option will only work in extend mode. Selecting the option in mirror mode will extend the displays. |
Ethernet Driver Verification
Once the driver installation for USB Universal Docking Station is finished, you can go to Device Manager to verify if your Ethernet Adapter is properly installed.
Double click Network Adapters, USB Ethernet should be displayed.

Audio Verification Go to Device Manager- USB Audio

3. MacISO
USB Display Driver Installation
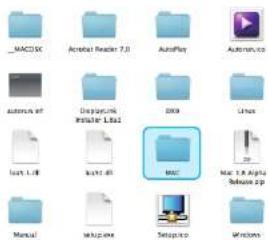
- Double clicking on setup.exe

install
3. Installation
The latest version of this software can also be obtained from www.displaylink.com/mac

Operation Guide
- To configure the settings for each of your USB attached displays, select Displays from the System Preferences menu. This will open a Display Preferences window on each of your attached displays allowing you to configure each display as required.

www.club-3d.com
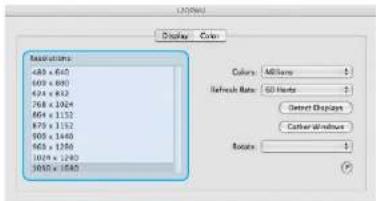
2. Setting the Display Resolutions
To change the display's resolution, select an available resolution from the Display Preferences window of the display you wish to change.
Resolution
Options
3. Setting the Display to Mirror mode
When in Mirror mode, additional displays will display what is being shown on the primary display. Checking the Mirror Display on the Arrangement pane enables this feature.

- Setting the Display to Extend
To extend connected displays, make sure that the Mirror Display on the Arrangement pane is unchecked.

Ethernet Driver Operation Guide For Mac OSX
Reboot your PC after driver installation. Plug the USB 3.0 Docking Station onto the USB port of your PC, then connect your network cable to the ethernet port of the docking station.
Go to system Preferences->Network->USB 3.0 Dual Display.
Green bullet means successful installation and function works normally.

www.club-3d.com
Audio Setup

Microphone Setup

Brand : CLUB3D
Model : CSV-3242HDA
Category : Computer accessory