
DVR-HD500D - Dash cam GENIUS - Free user manual and instructions
Find the device manual for free DVR-HD500D GENIUS in PDF.


| Product Type | Dash Cam |
| Brand | Genius |
| Model | DVR-HD500D |
| Display | LCD Screen |
| Storage | MicroSD card (min 1GB Class 4) |
| Power Source | Car cigarette lighter adapter (12V) and USB |
| Connectivity | USB, AV-in, HDMI (HD port) |
| Audio | Built-in microphone and speaker (horn) |
| Night Vision | Yes (Night Mode) |
| Camera Switching | Yes, front and rear views via Up/Down buttons |
| Mounting | Suction cup bracket for windshield |
| Rear Camera | Included with AV cable |
| Recording Modes | Recording, Photo, Playback |
| Emergency Save | Yes, one-button save |
| Reset | Yes, reset button |
| Auto Recording | Automatic start when power is connected |
| System Requirements | Pentium 4 2.6GHz, Windows XP/7, 1GB RAM, 200MB free disk space, USB port |
| File Transfer | USB mass storage mode |
Frequently Asked Questions - DVR-HD500D GENIUS
User questions about DVR-HD500D GENIUS
0 question about this device. Answer the ones you know or ask your own.
Ask a new question about this device
Download the instructions for your Dash cam in PDF format for free! Find your manual DVR-HD500D - GENIUS and take your electronic device back in hand. On this page are published all the documents necessary for the use of your device. DVR-HD500D by GENIUS.
USER MANUAL DVR-HD500D GENIUS
DVR-HD500D Car Recorder Main Function
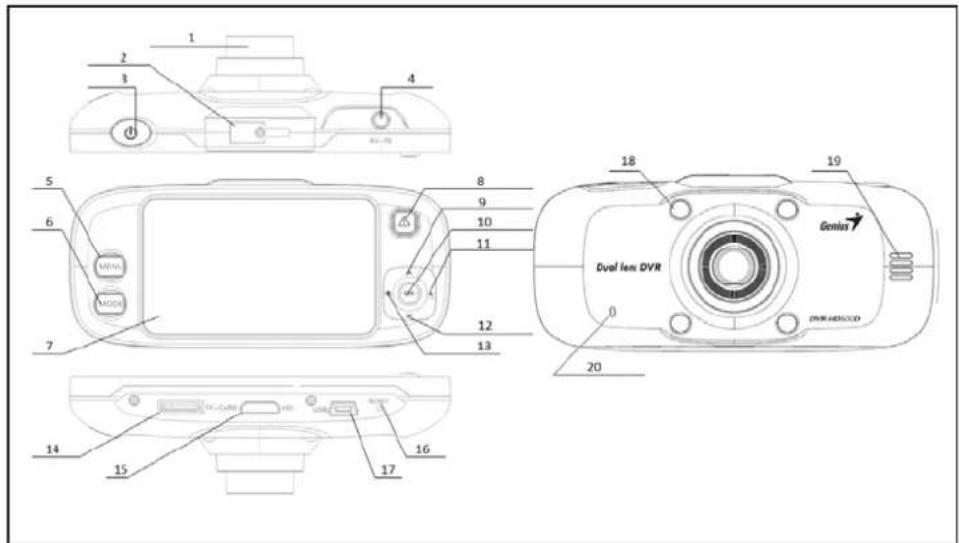
| 1 | Lens | 6 | Mode | 11 | Right/Night Mode | 16 | Reset |
| 2 | Tenon joint | 7 | Panel | 12 | Down/Switch camera view | 17 | USB |
| 3 | Power | 8 | Emergency Save | 13 | Left/Day Mode | 18 | USB |
| 4 | AV in | 9 | Up/Switch camera view | 14 | Micro SD | 19 | Horn |
| 5 | Menu | 10 | OK/Photograph | 15 | HD | 20 | Microphone |
Button Functions for Camera View:
Press Up and Down buttons to change the front or rear camera view on the LCD display.
Down Button: Use this button to alternate between the front and rear camera view on the LCD display.
-
Full front camera view.
-
Full rear camera view.
Up Button: Press in sequence up to four times to show front and rear camera views on the LCD display.
- Full front camera view.
- Front camera view (main) and rear camera view (inset).
- Rear camera view (main) and front camera view (inset).
- Full rear camera view.
System Requirements
To download photos and videos to your PC, you need the following minimum configuration:
- Pentium 4 Processor (or above), 2.6GHz, with Windows XP or 7 Service Pack 2
• 1GB RAM or Higher.200MB free disk space
• Available USB Interface - Recommended screen resolution 1024 X 768 pixels or higher
Using the Car Recorder
Installing Micro SD card
- Insert the MicroSD card to the SD slot.

Notes:
- The Car Recorder does not include internal memory so you need to format the SD card after you have inserted it into the SD slot the first time.
- Min. requirement of MicroSD card must be 1GB Class 4 above.
How to install Car Bracket
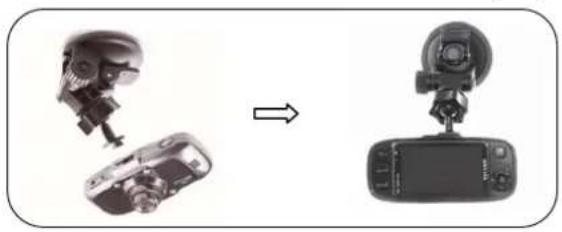
- Connect the car recorder to the camera bracket by slightly twisting the tenon to the right.
natural_image
Two grayscale images showing a robot head and a camera with an arrow indicating transformation (no text or symbols)- Focus the lens to the front, then attach the bracket suction to the windshield.
- Secure the bracket suction firmly and adjust the angle view to record.
natural_image
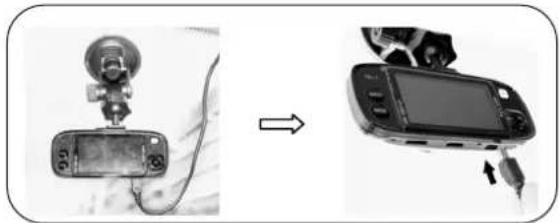
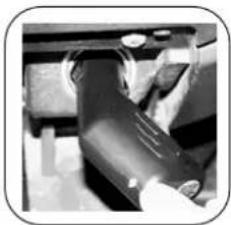
Two electronic devices with attached cables, one showing a sensor device and the other displaying a screen (no visible text or symbols)- Connect the car recorder adaptor to the cigarette lighter and connect the other end to the USB connector on the car recorder.
natural_image
Close-up of a mechanical component with no visible text or symbolsInstalling the rear camera
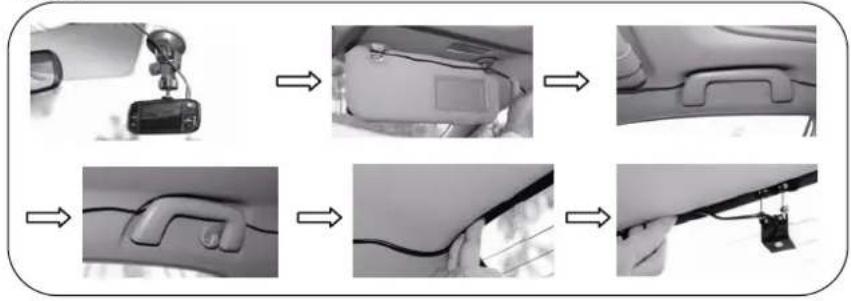
- After you have installed the HD-500D DVR and mounting bracket on the front windshield, you can plug the AV cable into the connector.
- We suggest you run the AV signal cable from the sun visor along the ceiling to the rear window.
- Remove the sticker from the rear view camera and place it on the rear window near the bottom in the center.
flowchart
graph TD
    A["Sensor on car"] --> B["Car interior with cable"]
    B --> C["Car body with handle"]
    C --> D["Wheel assembly with cable"]
    D --> E["Wheel assembly with cable"]
    E --> F["Wheel assembly with cable"]

Notes:
Make sure the sticker on the rear window does not interfere with or blur the rear camera view.
Menu Set Up
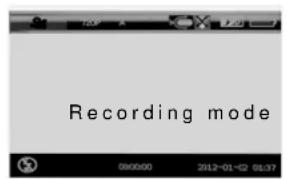
- After you have connected the car recorder adaptor to the cigarette lighter, and your MicroSD has been formatted correctly, the car recorder will start to record automatically.
- If it records successfully, the blue LED light glow continuously and this icon will appear in the upper left corner of the screen.
- Press OK button to stop recording (in Recording mode, some buttons can't be used).
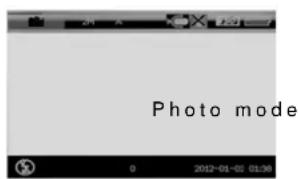
- Press mode button to enter Photo mode. Then the Photo mode 📄 icon will appear in the upper left corner of the LCD monitor. (DVR-HD500D includes three modes, Recording, Photo, and Playback.)
- Press OK button to take photos.
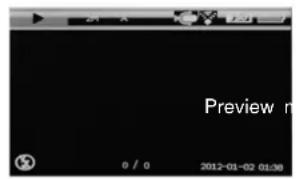
- Press Mode button again to enter Playback mode. Then the playback icon will appear in the upper left of the LCD monitor.
You can press OK to play photos or video files.
In Playback mode:
a. Press OK for play and pause function.
b. Push OK, then Up button to browse the previous file.
c. Push OK, the Down button to look at the next file.

Notes:
- If you want to use the car recorder outside of the car, just detach it from the suction bracket, and hold it with two hands aiming at the target when recording or taking photos.
- Do not remove the MicroSD card when using the car recorder (the files will be lost).
MENU
- Press MENU button to switch to setup mode.
- Push OK button, then LEFT/RIGHT/UP/DOWN buttons for different function settings, then press OK to confirm it. In Setup mode, you can choose Resolution, Recording Time, Recording Mode, and System Setting for further function settings.
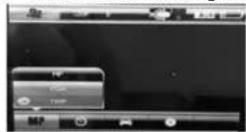
Mega Pixel: Choose Resolution
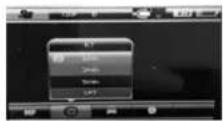
Recording Time: Choose Recording Interval Time
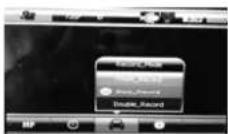
Recording Mode: Choose Camera for Recording
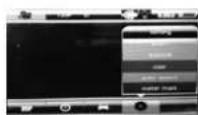
Setting: for System setting

Note:
We recommend you back up your files in the MicroSD card in advance as the car recorder will record automatically.
Download files
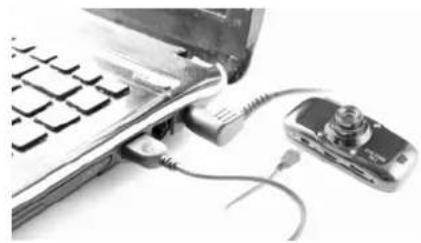
Connect the car recorder to the PC by using the USB cable and select USB Disk, then download the videos or photos from the MicroSD card.
natural_image
Close-up of a laptop keyboard connected to a digital camera via cable (no visible text or symbols)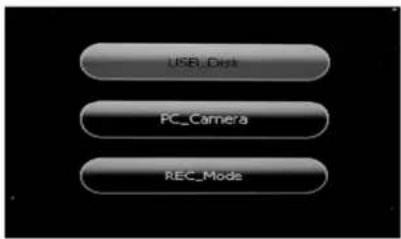
Brand : GENIUS
Model : DVR-HD500D
Category : Dash cam