
DVR-HD565 - Dash cam GENIUS - Free user manual and instructions
Find the device manual for free DVR-HD565 GENIUS in PDF.


| Brand | Genius |
| Model | DVR-HD565 |
| Product Type | Dash Cam |
| Power Supply | 12V DC (cigarette lighter adapter) |
| Battery | Rechargeable lithium battery |
| Memory Card | Micro SD, Class 6 or higher (minimum 4GB) |
| Recording Mode | Automatic start when car starts |
| Display | LCD screen |
| Mounting | Suction cup bracket with T-buckle |
| Connectivity | USB 2.0 for file transfer |
| Loop Recording | Yes (can be disabled via menu) |
| SOS Function | Yes (locks current file to prevent overwrite) |
| Video Recording | Yes, with elapse time display |
| Photo Capture | Yes, in camera mode |
| Playback Mode | For videos and photos |
| Menu Navigation | Up/Down buttons for selection, Mode/Menu to confirm |
| IR Indicator | Flashes during recording |
| Minimum PC Requirements | Pentium 4 2.6GHz, 1GB RAM, 200MB free disk, USB port, CD-ROM, 1024x768 screen |
| Compatible OS | Windows XP, 7, 8 |
| Lens Cleaning | Use a soft, dry cloth |
Frequently Asked Questions - DVR-HD565 GENIUS
User questions about DVR-HD565 GENIUS
0 question about this device. Answer the ones you know or ask your own.
Ask a new question about this device
Download the instructions for your Dash cam in PDF format for free! Find your manual DVR-HD565 - GENIUS and take your electronic device back in hand. On this page are published all the documents necessary for the use of your device. DVR-HD565 by GENIUS.
USER MANUAL DVR-HD565 GENIUS
To download photos and videos to your PC, you need the following minimum configuration:
● Pentium 4 Processor (or above), 2.6GHz, with Windows XP, 7 Service Pack 2 and 8.
● 1GB RAM or higher. 200MB free disk space
● Available USB Interface
- CD-ROM
- Recommended screen resolution 1024 X 768 pixels or higher
GETTING STARTED
Installing the battery
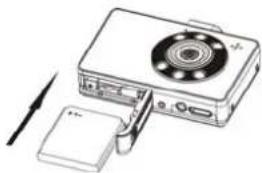
- Slide the battery door at the bottom of the DVR camcorder to open it.
- Insert the Lithium battery with the right polarity facing up.
- Close the battery door.
| Full battery, LED light indicator will disappear | |
| Medium battery | |
| Low battery | |
natural_image
Illustration of a digital camera with a screen and attached device (no text or symbols)Insert a SD memory Card
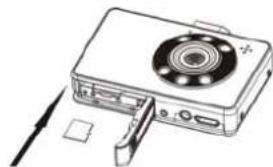
- The Micro SD card slot is located in the battery compartment.
- Insert the Micro SD memory card in the correct position.
- Press the memory card until you hear a "Click" sound.
natural_image
Line drawing of a handheld electronic device with a circular button and screwdriver (no text or symbols)
NOTE
- If you are not using the DVR, we recommend you remove the battery when not in use.
- There is no internal memory; you need to insert a SD card before you use it.
- For the SD card, you need to use 4GB Class 6 or higher.
Mounting bracket
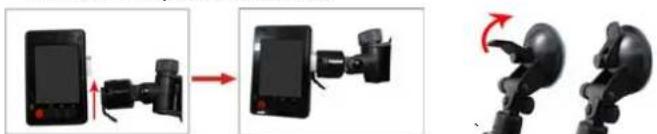
Insert the mounting bracket into T buckle slot on the DVR, and attach the bracket suction cup to the windshield in the location you want it to be.
- Insert the mounting bracket T buckle into the DVR (pg. 1 #5). Then close the suction cup clip to connect it firmly to the windshield.
natural_image
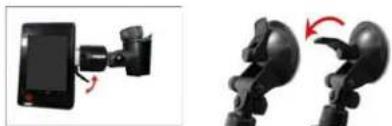
Three-panel image showing a device being connected to a device via a camera, with no visible text or symbols.- To remove the mounting bracket T buckle from the windshield, open the suction cup clip as shown below.
natural_image
Two black mechanical components with red arrows indicating rotation, shown from different angles (no text or symbols visible)How to install the DVR
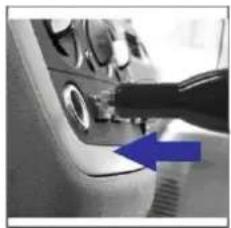
Connect one end of the cable to the cigarette lighter and the other end to the DVR.
natural_image
Close-up of a car's side panel with a blue arrow pointing to the handle (no visible text or symbols)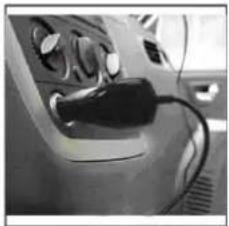
natural_image
Close-up of a car's front panel showing electrical plug and wiring (no visible text or symbols)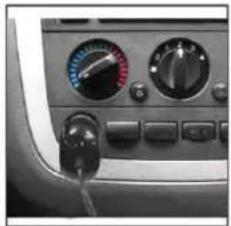
natural_image
Close-up of a car dashboard with analog gauges and control buttons (no visible text or symbols)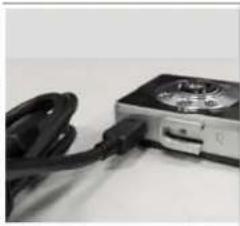
natural_image
Close-up of a black cable inserted into a CD-ROM drive (no visible text or symbols)Starting the DVR
- After the DVR is connected to the cigarette lighter, it will start to record automatically in video mode when the car starts.
- The elapse time will appear on the top right of the LCD screen and the icon will flash on the LCD screen, the IR indicator on the right will flash.
- Press the Power/SOS for two seconds to stop the recording.
- Press Menu/Mode button switch to the ▶ / playback function and use the Up/Down button to preview the videos you record.
How to use record / take photos
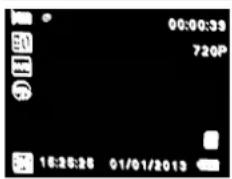
Video Mode
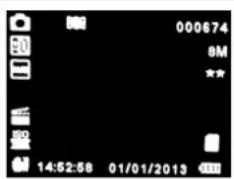
Camera Mode
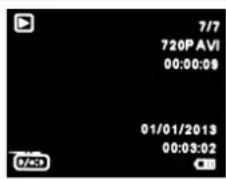
Playback Mode for Videos
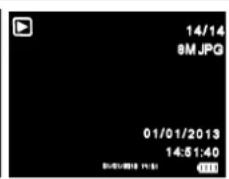
Playback Mode for Photos
- Press the Mode/ Menu button to enter the video, camera, playback mode.
- Press the Power/SOS button to take videos or photos.
- Press the Power/SOS button for two seconds to stop the recording.
- Press Mode/Menu Button for playback mode to review the photos and videos you have captured and recorded.
- Press the Up/Down button to select the photo/video files.
- In video mode, you can press the Power/SOS button to turn on the SOS function as it will keep the file from being overwritten. This function is primarily used in emergency situations.

NOTE
- For outside use, hold the DVR with both hands and position a subject in the center of the frame to focus on.
- You should also turn off the loop recording using the mode function to keep file videos from being overwritten.
Menu button
- Press Mode / Menu button to select Video /camera/ playback mode.
- Press Mode /Menu button for three seconds to enter function menu, press Mode / Menu button again for three seconds to enter the setup menu.
- Press Down/Up button to select the function and press the Mode/menu button to confirm and to exit.
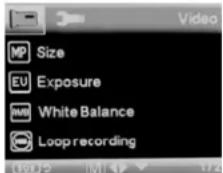
Video Mode Function Menu
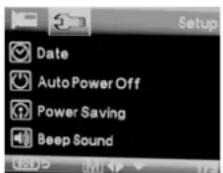
Video Mode Setup Menu
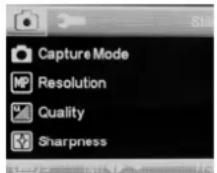
Camera Mode Function Menu
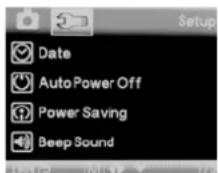
Camera Mode Setup Menu
Download files
Connect the DVR to a computer with a USB when the DVR is on and you can download files from the SD card.
Brand : GENIUS
Model : DVR-HD565
Category : Dash cam