MVC306 - Broom MISTRAL - Free user manual and instructions
Find the device manual for free MVC306 MISTRAL in PDF.


| Product Type | Broom |
| Brand | Mistral |
| Model | MVC306 |
| Handle Material | Wood |
| Bristle Material | Synthetic (Polypropylene) |
| Bristle Type | Split tip for fine dust pickup |
| Handle Length | 120 cm |
| Overall Length | 135 cm |
| Bristle Width | 30 cm |
| Weight | 0.5 kg |
| Color | Mixed (Black and colored stripes) |
| Usage | Indoor and outdoor |
| Recommended Surface | Smooth floors, tiles, wood, concrete |
| Assembly Required | No, ready to use |
| Care Instructions | Clean bristles with mild soap and water; hang to dry |
| Storage Recommendations | Hang or stand upright in a dry place |
| Country of Origin | China |
| Warranty | 1 year limited |
| Bristle Length | Approx. 5 cm |
| Eco-Friendly | Recyclable materials used |
Frequently Asked Questions - MVC306 MISTRAL
User questions about MVC306 MISTRAL
0 question about this device. Answer the ones you know or ask your own.
Ask a new question about this device
Download the instructions for your Broom in PDF format for free! Find your manual MVC306 - MISTRAL and take your electronic device back in hand. On this page are published all the documents necessary for the use of your device. MVC306 by MISTRAL.
USER MANUAL MVC306 MISTRAL
natural_image
Black and silver vacuum cleaner with extended handle and black body (no visible text or symbols)Instruction Manual
Model: MVC306
Important Safeguards
When using electrical appliances, in order to reduce the risk of fire, electric shock and/or injury, these basic safety precautions should always be followed:
For Your Safety
Read all instructions carefully, even if you are familiar with the appliance.
- This appliance is not intended for use by persons (including children) with reduced physical, sensory and mental capabilities, or lack of experience and knowledge, unless they have been given supervision or instruction concerning use of the appliance by a person responsible for their safety.
- Children should be supervised to ensure that they do not play with the appliance.
- This appliance is for household use only. Do not use this appliance for anything other than its intended use. Do not use in moving vehicles or boats. Do not use outdoors. Misuse may cause injury.
- Do not allow this appliance to be used as a toy. Close attention is necessary when used nearby children.
- Use only as described in this manual and only use manufacturer's recommended attachments.
- Do not use with damaged cord or plug.
- Do not handle charger or appliance with wet hands.
- Do not put any object into openings. Do not use with any opening blocked. Keep free of dust, lint, hair and anything that may reduce airflow.
- Keep hair, loose clothing, fingers and all parts of body away from openings and moving parts.
-
Do not vacuum the following objects: toxic substances, flammable and explosive dangerous material, corrosive material and burning ash, matches, cigarette and combustible liquids, such as gasoline.
-
Do not use the appliance to vacuum any dust harmful to health.
- Do not use without container and filter in place. Clean container and filter after picking up any perishable food items.
- Use only Handheld Vacuum Cleaner accessory, filter and charger.
- Do not vacuum water, liquids or other sharp objects like nails or drawing pins as they may damage the appliance.
- Do not pick up any objects which are smoking or burning, such as matches, cigarettes or hot ashes.
- Do not unplug the charger by pulling on the cord.
- Never carry the charger by the cord or to disconnect from an outlet; instead, grasp the charger and pull to disconnect. Do not pull cord around sharp edges or corners.
- Do not immerse the appliance, charger and cord in water or any other liquid.
- Always switch the appliance off when charging.
- Do not attempt to use the charger with any other product.
- The use of an extension cord is not recommended. Only plug the charger into a standard electrical outlet (230V or 240V outlet).
- Do not operate with a damaged charger and cord, or after the appliance has malfunctioned or been damaged in any manner.
Warning
Use only the charger supplied with this appliance to recharge this appliance.
If the power cord is damaged, the power cord must be replaced by the manufacturer, its service agent or similarly qualified persons in order to avoid a hazard.
The Product uses a Lithium-ion Battery. Take care when removing an old Battery from the Main Body of the Stick Vacuum.
Ensure that old, used Batteries are disposed of in the correct manner. These should not be put in the domestic waste. Contact your local authority for indication of a suitable method of disposal or to locate your nearest collection point.
This product has not been designed for any uses other than those specified in this booklet.
Save These Instructions
Features of Your Stick Vacuum
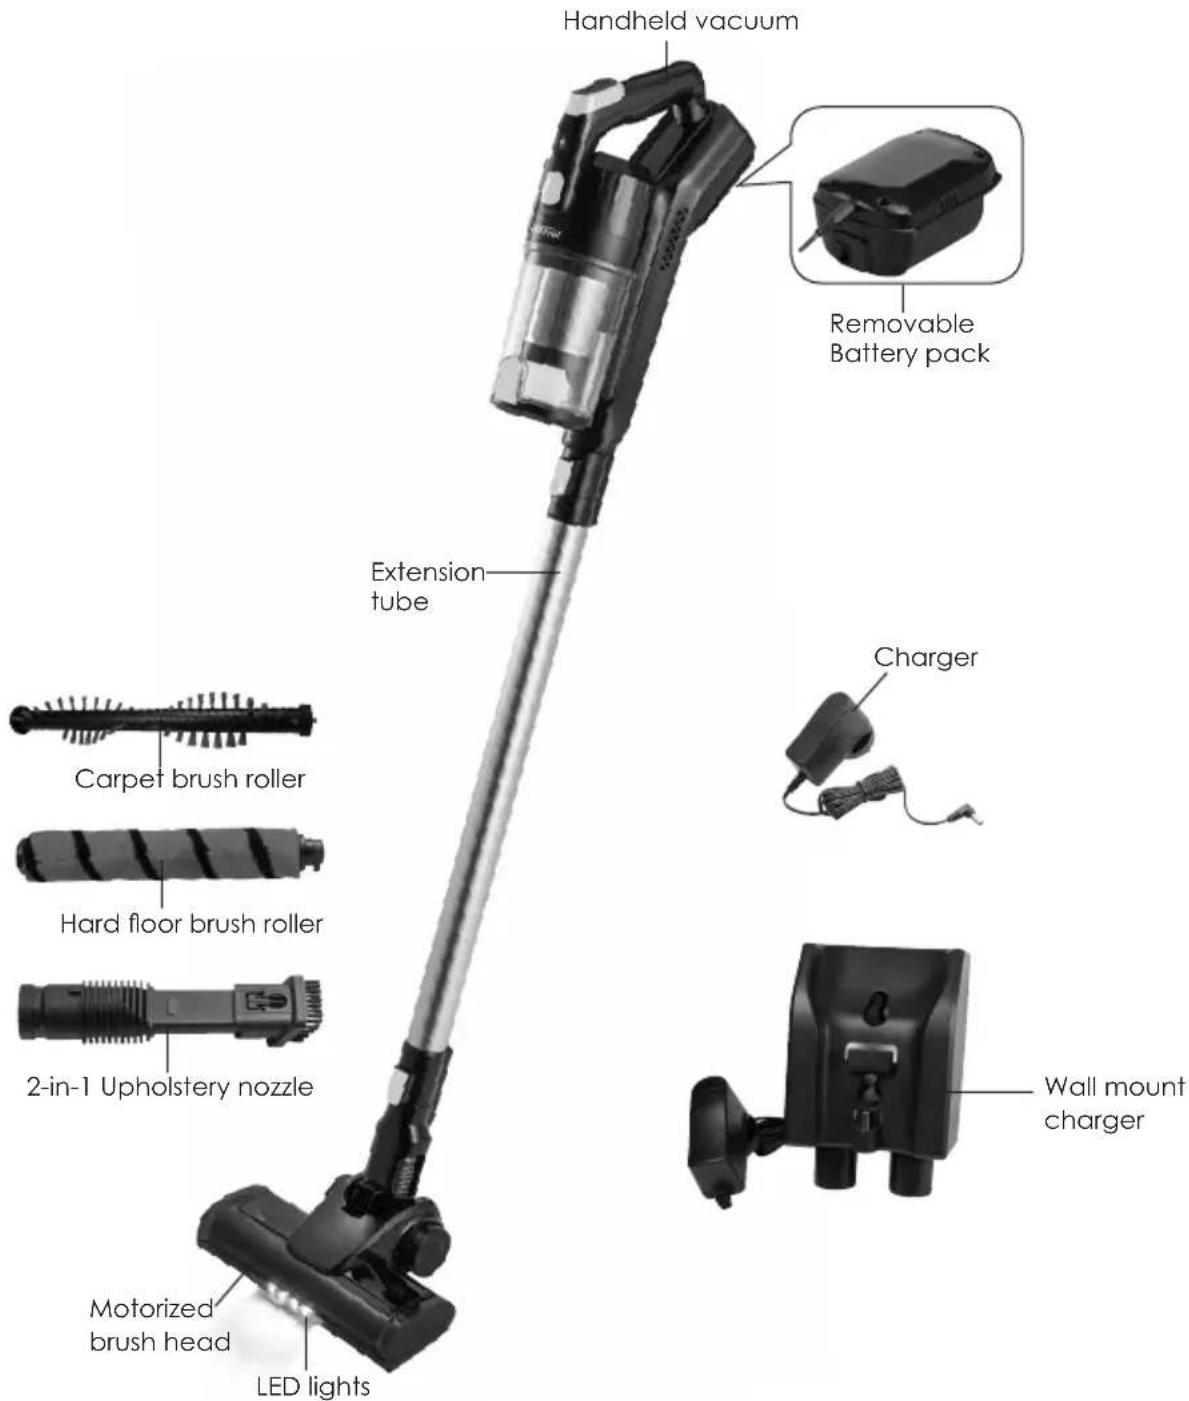
Part list
| Main unit Battery pack Extension tube | Motorized brush head | 2-in-1 upholstery nozzle | |
| 1 1 1 1 1 | |||
| Charger Carpet brush roller | Hard floor brush roller | Wall mount charger | |
| 1 1 1 1 |
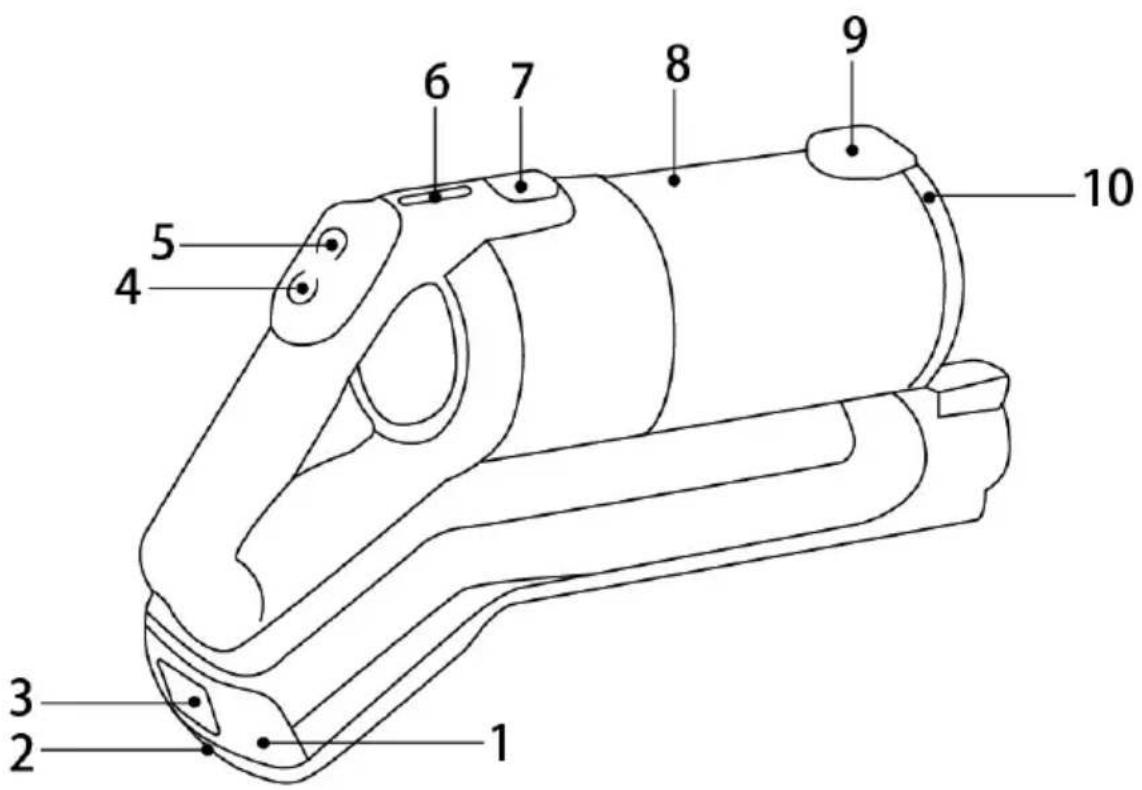
Main unit
- Battery
- Charging Socket
- Battery Locker
- ON/OFF Button
- Speed Control Button
- Power Indicator Light
- Dust Cup Release Button
- Dust Cup
- Filter Cover Button
- Filter Cover
Accessories
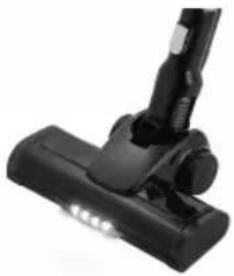
Motorized brush
natural_image
Close-up of a black vacuum cleaner with visible screw and lever (no text or symbols)There are two brush rollers
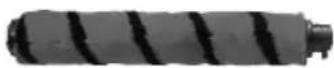
Roller for hard floor
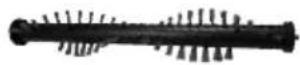
Roller for carpet floor
How to replace the rollers:
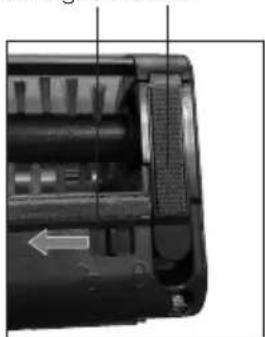
- There is a locking tab on the brush head, push it to Unlock position, the cover will pop out.
Locking tab Cover
natural_image
Close-up of a mechanical device interior showing internal components and a directional arrow (no text or symbols)Push the locking tab leftward to unlock
natural_image
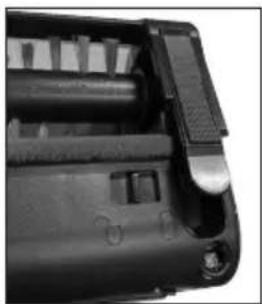
Interior view of a device casing showing internal components and a metallic clip (no text or symbols visible)The cover pops up
natural_image
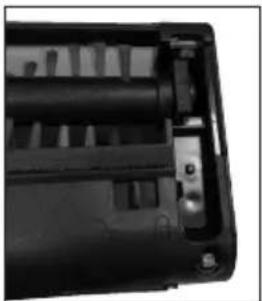
Close-up of a black electronic device casing with internal components and mounting holes (no visible text or symbols)Remove the cover
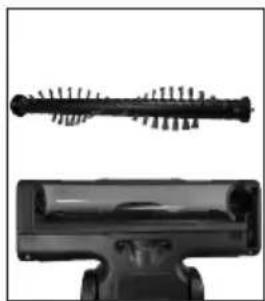
natural_image
Two black-and-white product photos: one with a cylindrical brush and spines, the other with a rectangular holder (no text or symbols visible)Remove the roller
- Angle the geared end of the roller into brush holder cavity and align with gear of the brush holder, push the opposite end of the roller downwards into the locker cavity, place the cover back and push downwards until it clicks in position to lock it.
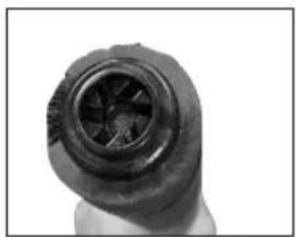
natural_image
Close-up of a mechanical component with a circular opening and internal gear-like structure (no visible text or symbols)Geared end of roller
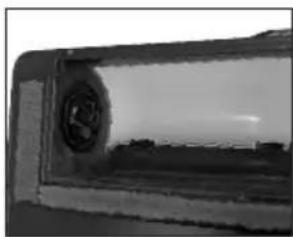
natural_image
Black and white photo of a vehicle's window with a circular emblem, showing a cityscape at dusk (no visible text or symbols)Gear on the brush head
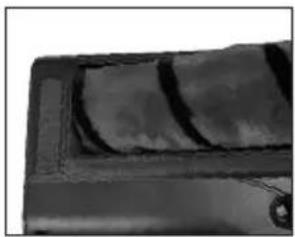
natural_image
Close-up of a dark, textured object with two curved bands on a rectangular surface (no visible text or symbols)Align the gear on the brush to the gear on the roller head
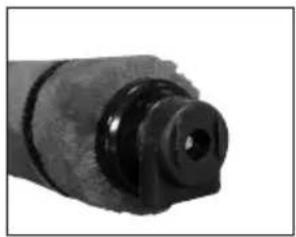
natural_image
Close-up of a mechanical component with a cylindrical shaft and flange (no visible text or symbols)Other end of roller
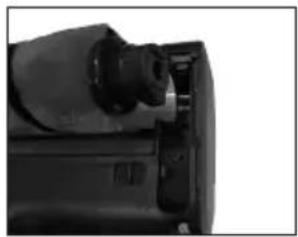
natural_image
Close-up of a black electronic device with a metallic connector and internal components (no visible text or symbols)Slide it into the slot on the roller holder
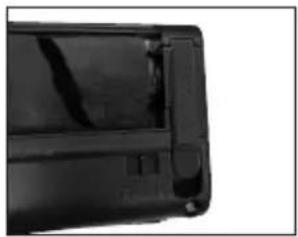
natural_image
Close-up of a black electronic device casing with visible internal components (no text or symbols)Place the cover back, push it downward to lock
Getting to Know Your Stick Vacuum
Congratulations on the purchase of your new Stick Vacuum.
Before using this product for the first time. It is extremely important that you read and follow the instructions in this use and care booklet, even if you feel you are familiar with this type of appliance.
Your attention is drawn particularly to the section dealing with IMPORTANT SAFEGUARDS. Find a safe and convenient place to keep this booklet handy for future reference.
This appliance has been designed to operate from a standard domestic power outlet. It is not intended for industrial or commercial use.
Before First Use
- Carefully unpack appliance and remove all packaging materials.
- Please retain all packaging until you have checked and count all the parts and the content against the parts list.
- Charge the battery for 5 hours until fully charged.
How to Assemble
Assemble the battery pack
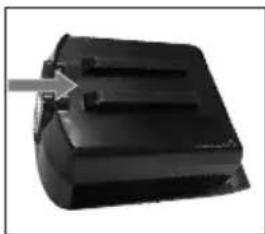
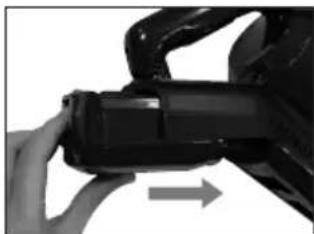
Align the slots of the battery pack to its holder on the Vacuum motor head, slide it forward, push it firmly until your hear it click to indicate it is locked into position.
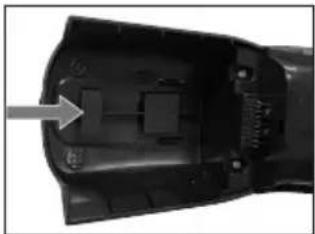
natural_image
Close-up of a black electronic device casing with a gray arrow pointing to a component (no visible text or symbols)Holder for battery pack
natural_image
Black rectangular object with a gray arrow pointing to its top surface (no visible text or symbols)Slots of battery pack
natural_image
Close-up of a hand holding a black mechanical component with an arrow indicating motion (no visible text or symbols)Slide-in the battery pack Push the battery pack to lock in position
natural_image
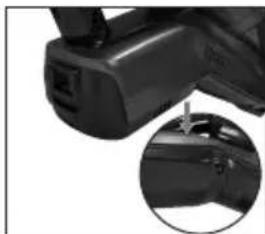
Close-up of a black mechanical component with an inset close-up showing a small circular detail (no text or symbols visible)To remove the battery pack, slide locking tab downwards and slide/pull battery out to remove it.
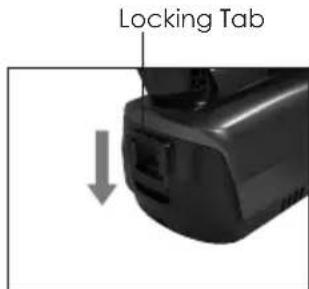
Push battery locking tab into the direction (as shown in photo above) to unlock and slide battery out to remove
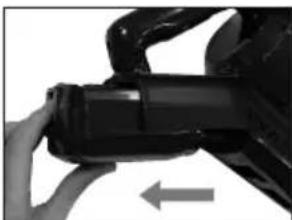
natural_image
Close-up of a mechanical component with a directional arrow indicating movement (no visible text or symbols)Slide battery pack out to remove
How to assemble each part together
There is a rib on one part, a slot on another part, align the rib to the slot, insert them together firmly until you hear click and is secured in position.
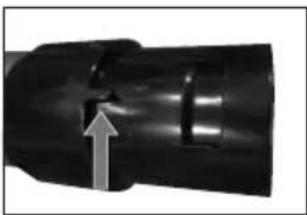
natural_image
Close-up of a black cylindrical object with an arrow pointing upward, no visible text or symbolsRib on one part
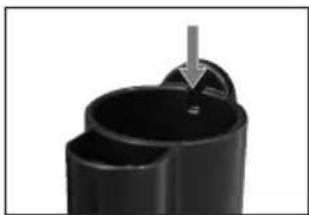
natural_image
Close-up of a black cylindrical object with a gray arrow pointing to a small hole (no text or symbols visible)Slot on other part
How to separate each part
The female (Slotted) connectors have a lock release button.
Press this button down whilst holding the part and pull with other hand on the mating part to separate.
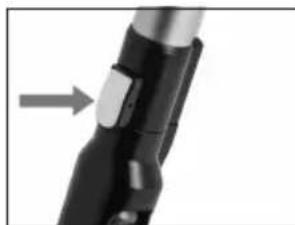
natural_image
Close-up of a black mechanical device with an arrow pointing to a button (no visible text or symbols)Release button on one part
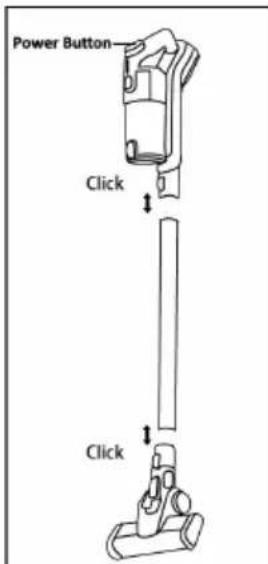
Assemble handheld vacuum with extension tube and motorized brush
Can be used to clean carpets and hard floors. Tips: Please always turn off hand vacuum before attaching to parts.
1. How to assemble extension tube to the vacuum motor head
Align the rib of the connector on the extension tube with the slot of the connector on vacuum motor head, push in until you hear it click in position and it is secured.
2. How to assemble the motorized brush to the extension tube
Insert connector on the extension tube to the connector on the motorized brush, by aligning rib with slot, push in until your hear click and brush head is secured.
To remove brush head, press the release button on the connector of the extension tube to unlock, with other hand, pull brush head to remove.
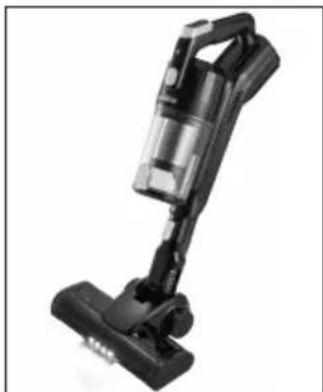
3. How to assemble vacuum motor head directly to the motorized brush head
This combination without the extension tube allows you get easier access to surfaces where use with extension tube is impractical, staircases, chairs etc.
Remove the extension tube from both vacuum motor head and the motorized brush head, by pressing the release buttons of the connectors and pulling extension tube out.
You can now connect brush head directly to the vacuum motor head until it clicks into position to secure.
natural_image
Black and white photo of a vacuum cleaner (no text or symbols visible)Assemble vacuum motor head with 2-in-1 upholstery nozzle
-
The 2-in-1 upholstery nozzle accessory can be used with or without the extension tube to get into more difficult to reach places and connects/disconnects to extension tube or vacuum motor head direct in the same way as the motorized brush.
-
The 2 in 1 nozzle itself can be adapted as a brush style or micro vacuum head to suit your needs.
Simply press the release buttons with thumb and fore finger to unlock and slide the brush section forward over the micro vacuum head and lock in position.
To reverse simple press release buttons and slide it back.
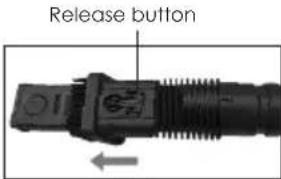
Press release button and slide brush head forward
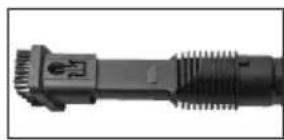
natural_image
Close-up of a mechanical component with threaded end and connector (no visible text or symbols)Pull as far forward until it locks over the micro head
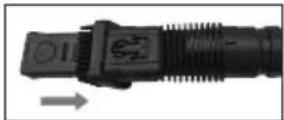
Press the release button to unlock and slide back
How to use
After you are familiar with the assembly of this appliance and the use of the various accessories and their functions, you can now put this appliance to use.
With the battery pack fully charged and the desired accessory selected and attached, press the ON/OFF Button on the vacuum motor head to start the appliance. The power indicator light illuminates.
Press the Speed Control Button to select either Low or High speed. At Low speed the operating time is approximately 45 Minutes, at High speed 20 minutes.
When power indicator light starts flashing, switch the appliance OFF, it is time to recharge the battery.
Warning: Never use this appliance to vacuum up liquids or water, it may damage this machine.
How to Charge
Tips: Please charge the product around 5 hours until fully charged before first use.
- Before charging, ensure to only use the charging adapter that was supplied with the vacuum cleaner.
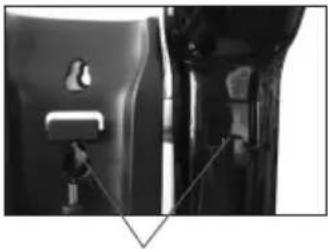
- Position the vacuum head onto the wall mount charger.
When it is charging, the LED charge indicator light continuously flashes until it is fully charged, it then illuminates without flashing.
- When using the vacuum cleaner and battery is nearly drained, the vacuum LED indicator light will start flashing, prompting the user to place the vacuum back into the wall mount charging cradle to recharge.
natural_image
Close-up of a car door panel with a handle and connector, showing mechanical components (no text or symbols visible)Align the vacuum head with the contact point in the wall mounted charging cradle.
natural_image
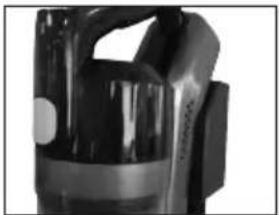
Close-up of a black and silver handheld device with handle and control panel (no visible text or symbols)Push the vacuum head inwards to secure to the charging cradle.
- The battery pack can also be removed from the vacuum head and be charged with just the charging adapter directly, away from the charging cradle, this will require the charging adapter to be separated from the charging cradle.
When charging in this manner the LED indicator light illuminates Red and changes to Green when fully charged.
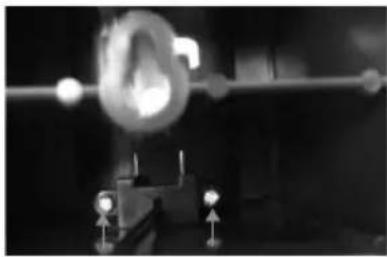
How to separate the charging adapter from the wall mount cradle.
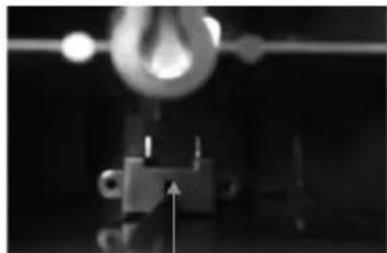
natural_image
Close-up of a glowing metallic object with a circular element and two small protrusions, possibly a tool or component (no visible text or symbols)Remove the two screws
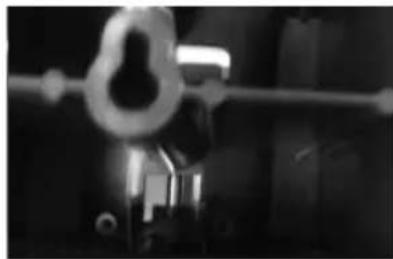
natural_image
Close-up of a mechanical component with a circular head and directional arrow (no visible text or symbols)Remove this cover
natural_image
Close-up of a mechanical component with a central hole and metallic shaft (no visible text or symbols)Take out the charging plug to remove it.
Place the adapter into a standard domestic power outlet, insert the charging plug into the battery pack's charging socket, the indicator light will keep flashing red during charging.
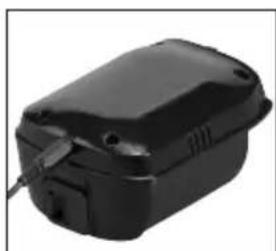
natural_image
Black rectangular electronic device with a small cable and mounting holes (no visible text or symbols)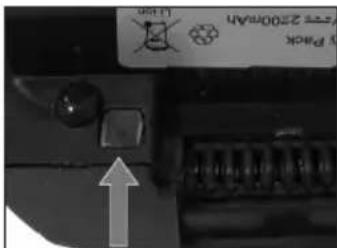
Indicator light
After fully charged, the indicator light will illuminate green. Remove the charging plug from the battery pack, and unplug the adapter from the power outlet.
Care and Maintenance
Main Unit, Floor Brush or Turbo Brush Head
Use a damp cloth to wipe of any dirt deposits from the external brush head enclosure if need arises.
Do not use abrasive cleaning agents (scouring agents, diluting agents) because they can damage the synthetic surface of the device.
Warning: Don't let water enter into the motorized brush head as there are electrical terminations contained within and may irreparably damage.
Clean dust cup and filter
In order to achieve the best performance, empty the dust cup and clean filter screen after each use.
- Turn off the vacuum cleaner.
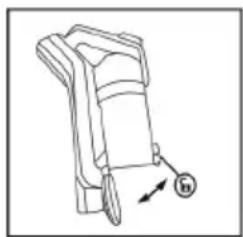
- Hold dust cup release button and take the dust cup out from vacuum cleaner.
- Push lever to release bottom lid and debris will empty.
- Take out the stainless steel filter screen and clean it with water.
- Take white fabric filter and black foam filter out and clean them with water monthly.
- Reassemble once completely dry.
natural_image
Line drawing of a mechanical device with a circular component and directional arrow (no text or symbols)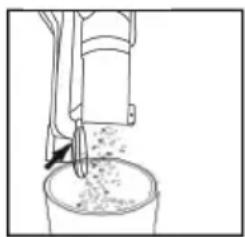
natural_image
Line drawing of a mechanical device pouring granular material into a container (no text or symbols)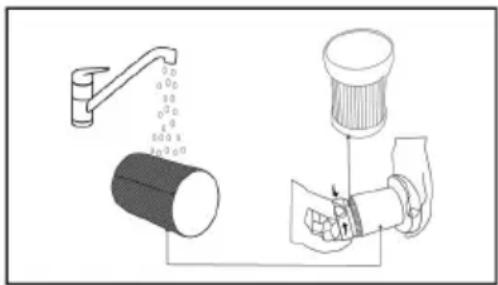
Clean brush roller
- Place motorized brush head upside down.
- Push the Lock button to unlock position to take out the brush roller.
- Use fingers and stiff brush to remove hair or debris.
- Clean brush roller separately with water if needed.
Warning: Depending on use, over time the roller may have excessive hair or debris attached that need to be removed more regularly in order for the appliance to work efficiently, so check regularly and clean.
Specification
Rating Voltage: 22.2V
Working time 20-45mins
Noise <=75db
Suction 10Kpa
Battery Adapter: input 100-240V 50/60Hz 0.5A
Battery Adapter: output DC 26.5V 0.5A
Battery type: Lithium battery
Battery capacity 22.2V 2200mAh
Charging time: Approx. 5 Hours
Note: As a result of continual improvements, the design and specifications of the product within may differ slightly to the unit illustrated from the packaging.
Disposal
If the device is to be disposed of, it is best to remove the battery. Used batteries should not be disposed of with household waste; it should always be taken to the recycling center of the local authority. If you are unable to disassemble the product yourself, the local authorities recycling center will dispose of the product for you in an environmentally sound manner. In the event of product failure or damage, all inspections and repairs must be performed by a qualified electrician or technician.
Troubleshooting
| Problem Solution | |
| Vacum will not work | 1. The vaccum may have run out of battery power, make sure it is fully charged.2. Push charger securely into electrical outlet, try another outlet or check circuit breaker. |
| Vacuum will not pick up dust or suction power is weak | 1. Empty dust cup and clean or change filters.2. Make sure cleaner is fully powered, charge battery.3. Remove clogs that restrict the airflow. |
| The power button does not work while charging | It is normal when the vacuum is in charging mode, the power button will be locked for power off protection. |

Gerard Sourcing & Manufacturing
GSM International Ltd.
GSM International Ltd has a policy of continual improvement throughout the product range.
As such the unit contained within may differ slightly from the unit illustrated on the pack.
MADE IN CHINA for GSM International Ltd.
Mistral is a registered trademark of GSM International Ltd.
- Instruction Manual
- Important Safeguards
- For Your Safety
- Warning
- Use only the charger supplied with this appliance to recharge this appliance.
- Save These Instructions
- Features of Your Stick Vacuum
- Main unit
- Accessories
- Motorized brush
- How to replace the rollers:
- Getting to Know Your Stick Vacuum
- Before First Use
- How to Assemble
- Assemble the battery pack
- How to assemble each part together
- How to separate each part
- Assemble handheld vacuum with extension tube and motorized brush
- How to assemble extension tube to the vacuum motor head
- How to assemble the motorized brush to the extension tube
- How to assemble vacuum motor head directly to the motorized brush head
- Assemble vacuum motor head with 2-in-1 upholstery nozzle
- How to use
- How to Charge
- Care and Maintenance
- Main Unit, Floor Brush or Turbo Brush Head
- Clean dust cup and filter
- Clean brush roller
- Specification
- Disposal
- GSM International Ltd.
Brand : MISTRAL
Model : MVC306
Category : Broom