
TL10KG - Washing machine Euromaid - Free user manual and instructions
Find the device manual for free TL10KG Euromaid in PDF.


| Product Type | Top-Load Washing Machine |
| Brand | Euromaid |
| Model | TL10KG |
| Rated Washing Capacity | 10.0 kg |
| Rated Spin Capacity | 10.0 kg |
| Power Supply | 240 V ~ 50 Hz |
| Motor Power Input | 680 W |
| Overall Dimensions (W x D x H) | 686 x 718 x 1023 mm |
| Net Weight | 65 kg |
| Water Pressure Range | 0.03 – 0.8 MPa |
| Washing Mode | Agitate |
| Drain Mode | Upper drain |
| Spin Mode | Centrifugal spin |
| Number of Wash Programmes | 16 (Trousers/Pants, Coats, Shirt, Towels, Sportswear, Depigment, Quilt, Quick, Extra Heavy Duty, Heavy Duty, Normal, Jeans, Underwear, Baby Cloth, Synthetic, Silk) |
| Water Level Options | 9 levels (1–9) |
| Energy Efficiency Test Program | Activate by pressing Power, then hold Water Level button for 5+ seconds until 'pants' flashes, then press Start/Pause |
| Safety Features | Lid safety interlock (machine stops if lid opened during spin), Auto power-off after 10 min idle |
| Included Accessories | Water inlet hose, drain hose, hoop for drain hose |
Frequently Asked Questions - TL10KG Euromaid
User questions about TL10KG Euromaid
0 question about this device. Answer the ones you know or ask your own.
Ask a new question about this device
Download the instructions for your Washing machine in PDF format for free! Find your manual TL10KG - Euromaid and take your electronic device back in hand. On this page are published all the documents necessary for the use of your device. TL10KG by Euromaid.
USER MANUAL TL10KG Euromaid
Before using your washing machine, please read this manual carefully and keep it for future reference.
Washing Machine
OWNER'S MANUAL
TL10KG
Read This Manual
Inside you will find many helpful hints on how to use and maintain your washing machine properly. Just a little preventative care on your part can save you a great deal of time and money over the life of your washing machine. You'll find many answers to common problems in the chart of troubleshooting tips. If you review the chart of Troubleshooting Tips first, you may not need to call for service.
Contents
Safety and precautions.... 2
Installation 5
Preparation before washing....7
Parts identification 8
The operation panel....9
Quick start.... 11
The washing process.... 12
Special features.... 13
programme guide.... 14
Cleaning and Maintenance 15
trouble shooting....16
Technical specifications.... 18
The energy efficiency testing program:
- press down the power on button;
- press down the water level button for more than 5 seconds; till the 'pants' starts to flash;
- press the start/pause button to run the test.
Safety and precautions
Observe the following items in order to prevent from injuring yourself, others and the damage of property:

Warning
This indicates serious injury or death to human being may be caused.

Caution
This will remind you that injury to people and damage to property may occur.
Please observe following contents of graphics.

This graphic represents [cause attention], and detailed cautions will be displayed inside the graphic.

This graphic represents [operation prohibited], and detailed prohibitive items will be displayed inside the graphic.

This graphic represents [forcible execution], and detailed forcible execution items will be displayed inside the graphic.
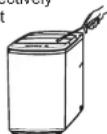
Please do not disassemble and assemble respectively the machine without authorization.

No dismantling
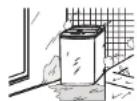
Please do not install the machine in excessive wet or rainy areas to avoid electric shocking, catching fire, faults and distortion accidents.

No excessive wet areas
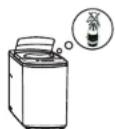
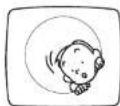
Please do not insert your hand and take out clothes inside the wash bowl before it is fully stopped.

No touching
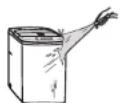
Please do not directly rinse the machine with water when cleaning.

No rinsing

Warning
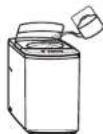
Please do not let children climb onto the machine or peer into it during the spin cycle as an injury may occur.

Prohibited
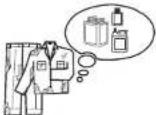
It is prohibited to wash the clothes that have come into contact with kerosene, gasoline, alcohol and other flammable materials.

Prohibited
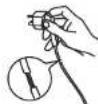
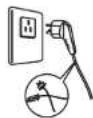
Please do not use the machine if there is damage to the power cord or plug to avoid electric shocks, short circuit of chance of a fire.

Prohibited
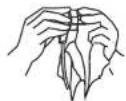
Regularly clean the power plug to remove dust and dirt to avoid contact failure.

Please pull out plug from the socket if the machine is not in use. Never pull the plug out by the power lead, only by the plug.

Pull out the plug
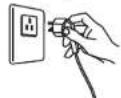
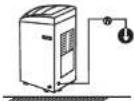
Ensure machine is only plugged into a power point that is earthed correctly to avoid possible accidents or injury.
( earthing )

Earthing
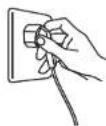
Please insert the power plug tightly.

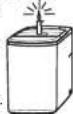
Do not place burning candles, mosquito-repellent incense, cigarette and other flammable items on the washer. No other heating sources such as an electric stove, air heating fan etc. should be
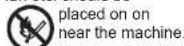
Smoke and fire prohibited
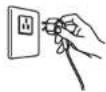
Please use correct power source.

Please do not pull out or insert the plug with wet hands to avoid electric shocking.

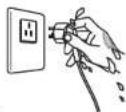
Wet hands are prohibited

Caution
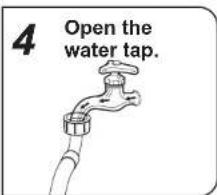
Please ensure that the water inlet hose is connected and the tap is opened before washing
clothes.

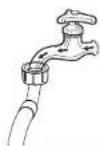
The water temperature shall not exceed 50°C when washing with warm water.

Prohibited
Damage to the power cord or plug should only be replaced by a qualified person.

Prohibited
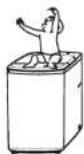
It is strictly prohibited to place and sit children or lay weights on the washer.

Prohibited
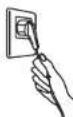
Please do not pull the electric cord when pulling out the plug.

Please do not wash down jacket, raincoat, fishing coat and similar clothes in the washer.

Prohibited
Installation Installation
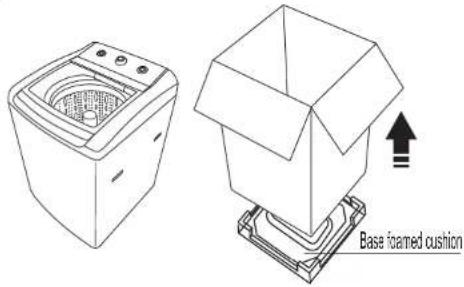
Remove from the packaging
- Remove package and take out the bottom board of the cabinet from the foam cushion.
- Open the lid of the washer to take out accessories.
- Operation or washing on the foamed cushion is strictly forbidden.
Installation of the drain hose if not fitted
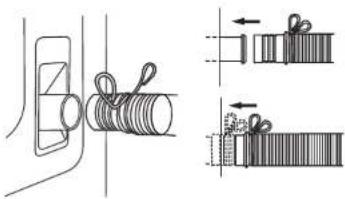
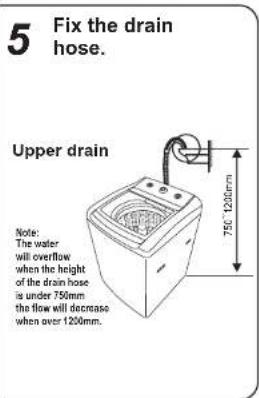
· Completely slide the drain hose over the sewer.
- Fix it with the hoop.
( As shown in the figure )
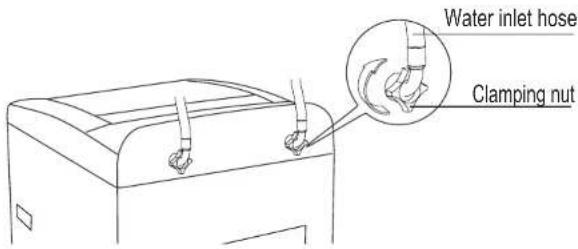
Installation of the water inlet hose
Fasten one end of the inlet hose to the tap (there is a rubber sealing washer inside)
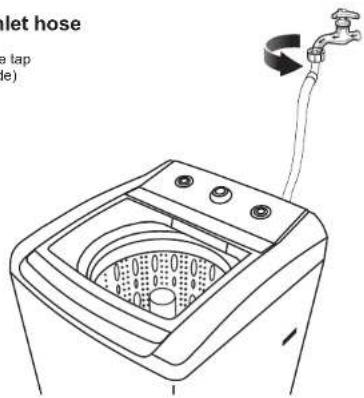
Tightly screw the other end of the inlet hose on the water inlet valve. (with rubber sealing ring inside).
Note: When tightening the clamping nut, evenly apply the force and do not twist the valve in case breaking the valve joint.
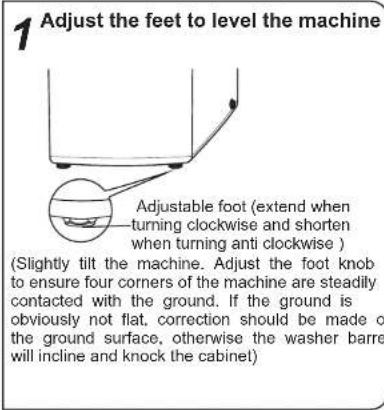
Preparation before washing Parts identification
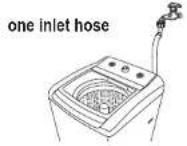
2 Install the water inlet hose.
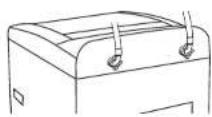
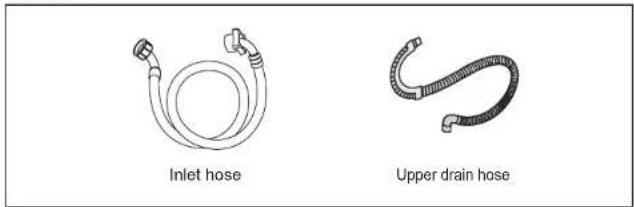
two inlet hoses
6 Put in clothes and suitable amount of washing powder.
NOTICE
!
Before washing, please do take out coins, keys and other hard objects, and close the zip to prevent clothes and barrel from damage.
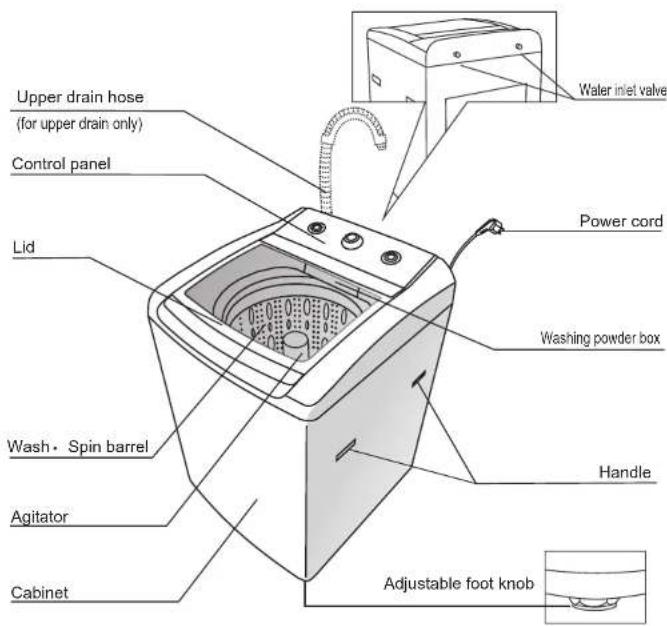
Notice: If the power line damaged, please call maintenance or serviceman of other similar dept. to change.
Accessories
The operation panel
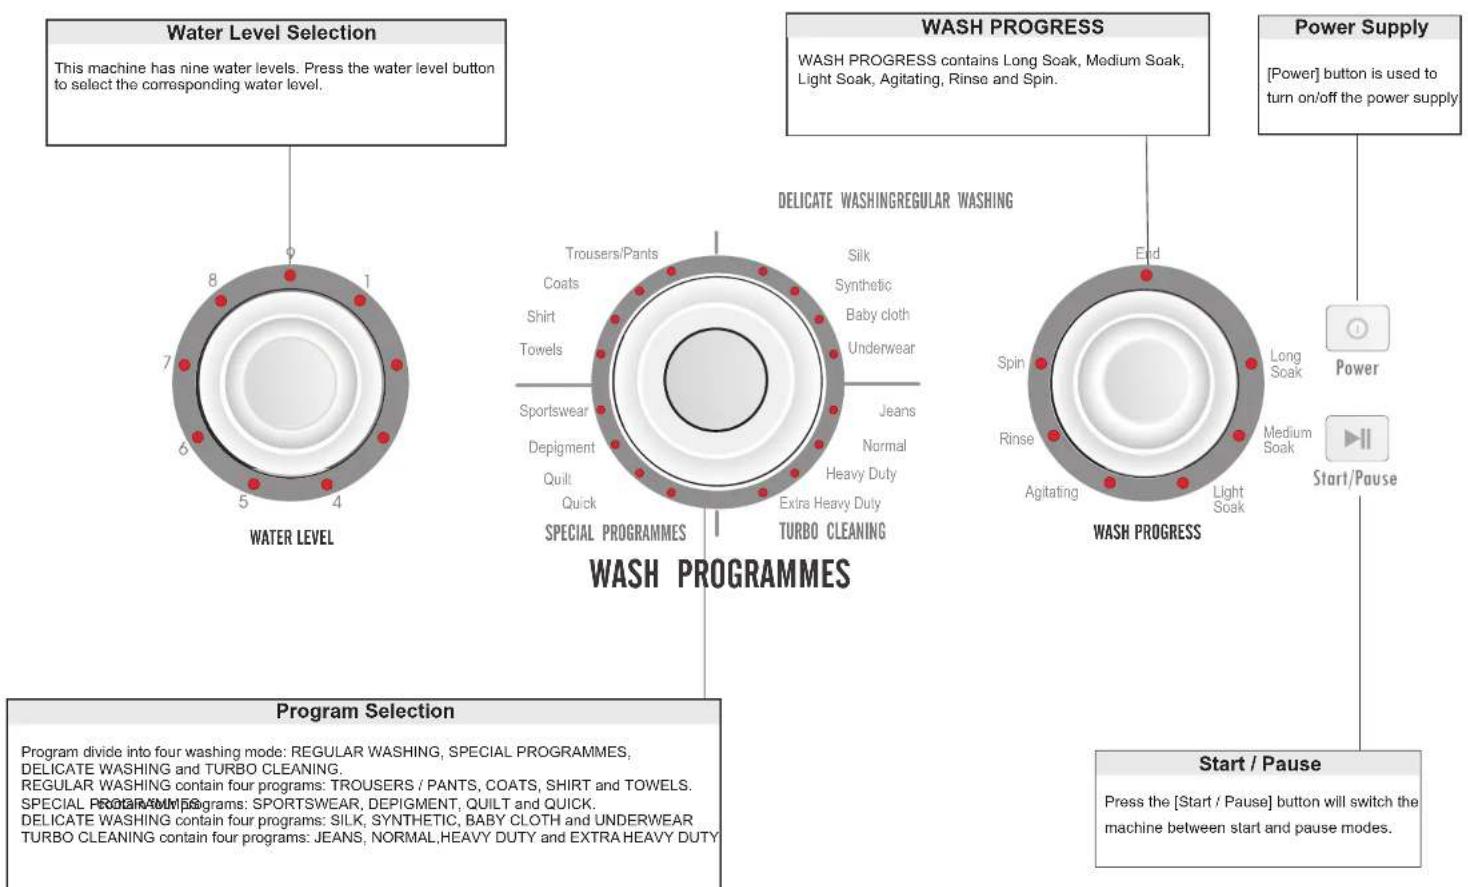
flowchart
graph TD
    A["Water Level Selection"] --> B["WATER LEVEL"]
    B --> C["WASH PROGRAMMES"]
    C --> D["WASH PROGRESS"]
    D --> E["Power Supply"]
    E --> F["Start/Pause"]
    F --> G["Program Selection"]
    G --> H["Start / Pause"]
    H --> I["Press the [Start / Pause"] button will switch the machine between start and pause modes.]
Quick start
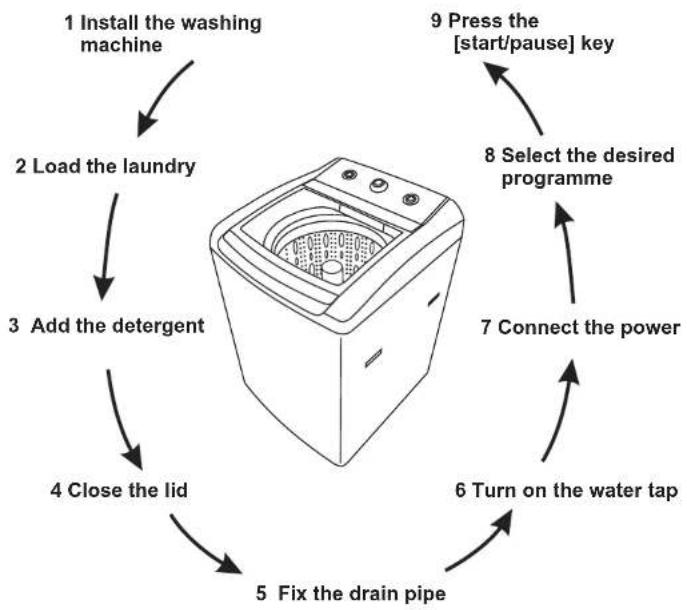
flowchart
graph TD
    A["1 Install the washing machine"] --> B["2 Load the laundry"]
    B --> C["3 Add the detergent"]
    C --> D["4 Close the lid"]
    D --> E["5 Fix the drain pipe"]
    E --> F["6 Turn on the water tap"]
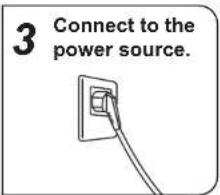
    F --> G["7 Connect the power"]
    G --> H["8 Select the desired programme"]
    H --> I["9 Press the [start/pause"] key]
Programme selection
1 Press the [POWER] button.
2 Select the programme, then select the water level or other attached functions.
3 Press the [start/pause] key.
When the programme has finished
- When the machine stops, the buzzer will buzz continuously for 6 times and the power will be automatically cut off.
- Turn off the water tap.
● Pull out the power plug for safety.
The washing progress
press the Wash Progress button to choose the proper washing progress:
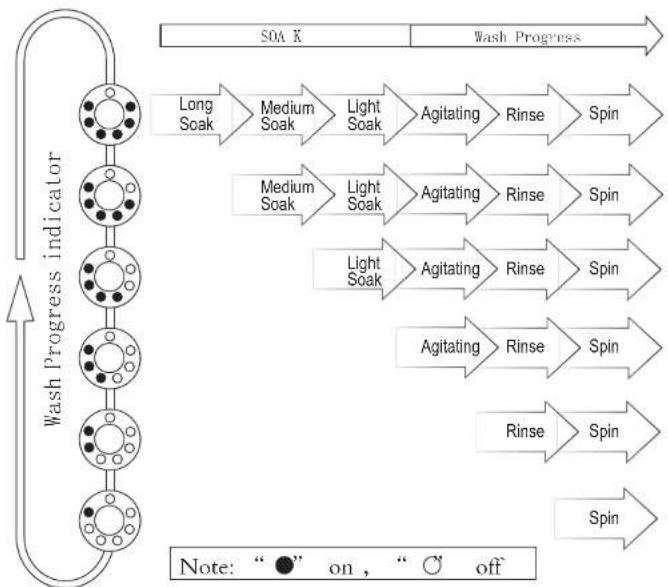
flowchart
graph LR
    A["Long Soak"] --> B["Medium Soak"]
    B --> C["Light Soak"]
    C --> D["Agitating"]
    D --> E["Rinse"]
    E --> F["Spin"]
    G["Medium Soak"] --> H["Light Soak"]
    H --> I["Agitating"]
    I --> J["Rinse"]
    J --> K["Spin"]
    L["Light Soak"] --> M["Agitating"]
    M --> N["Rinse"]
    N --> O["Spin"]
    P["Agitating"] --> Q["Rinse"]
    Q --> R["Spin"]
    S["Rinse"] --> T["Spin"]
    U["Spin"] --> V["Spin"]
NOTICE
! Close the lid before star the machine, otherwise, it will stop automatically during spin process and alarm.
! The machine will not work when the filled water does not reach the defined lever.
! After turn on the [Power], if the [Start / Pause] button is not pressed, the power will be automatically cut off after 10 minutes.
Special features
TROUSERS / PANTS
This program is used to wash trousers and pants.
COATS
This program is used to wash coats.
SHIRT
This program is used to wash shirts, in shorter period and gently.
TOWELS
This program is used to wash towels.
SPORTSWEARS
This program is used to wash sportwear with little soaking.
DEPIGMENT
Wash with cold water only to prevent depigment.
QUILT
To wash quilt or thick cloths, the low water level is disabled, the flow strength is enforced, the dynamic soakage is added, and the washing time is extended.
QUICK
To wash light dirty cloths with only one rinsing cycle.
EXTRA HEAVY DUTY
Similar to 'quilt', wash with strong flow, dynamic soakage, and extended washing time.
HEAVY DUTY
To wash heavy dirty cloths with three rinsing cycles.
NORMAL
To wash cloths contaminated by heavy oil, with short soakage and extended washing time.
JEANS
Similar to 'standard', with 2 rinsing, and short soakages.
UNDERWEAR
The high water level and hot water are disabled; wash gently in shorter period and more cycles (default as 2).
BABY CLOTH
The high water level and hot water are disabled; similar to 'standard' washing with 3 rinsing cycles.
SYNTHETIC
To wash synthetic fibers, the high water level and hot water are disabled.
SILK
The silk is washed gently with 2 rinsing; the high water level and hot water are disabled.
P uide rogramme g
| Program | water level | default water level | long soak (MIN) | medium soak (MIN) | light soak (MIN) | agitating | rinse (TIMES) | |
| REGULAR WASHING | trousers/pants | 1-9 | 9 | 18 | 2 | |||
| coats | 8 | 15 | ||||||
| shirt | 6 | 12 | ||||||
| towels | 7 | 15 | ||||||
| DELICATE WASHING | silk | 1-6 | 4 | 9 | ||||
| synthetic | 5 | 12 | ||||||
| baby cloth | 4 | 10 | 3 | |||||
| underwear | 3 | 8 | 2 | |||||
| TURBO CLEANING | jeans | 1-9 | 6 | 10 | 15 | |||
| normal | 7 | 10 18 | ||||||
| heavy duty | 6 | 10 10 | 20 | 3 | ||||
| SPECIAL PROGRAMMES | extra heavy duty | 8 10 | 10 10 20 | 2 | ||||
| sportswear | 6 | 10 18 | ||||||
| depigment | 7 | 12 | ||||||
| quilt | 4-9 | 8 | 10 | 10 | 15 | |||
| quick | 1-6 | 4 | 9 | 1 |
Cleaning and Maintenance
NOTICE

- Make sure that the power plug is disconnected before the cleaning and maintenance.
- Please keep the machine clean and perform correct
maintenance to prolong its service life of washer.
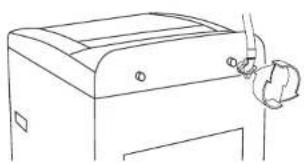
Cleaning the water inlet hose joint
Unscrew and remove the water inlet hose joint from the washer and clean the screen of the inlet valve with brush.
natural_image
Line drawing of a printer with a hand holding a paper airplane (no text or symbols)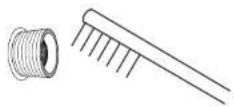
trouble shooting
If the machine does not work normally, or alarms, please check as the following list. If the problem persists, please contact local service office or the sales service department of our company. The customer should not dismantle the machine without permission.
List of faults and inspection
| Faults | Inspection Items |
| No water flows in | · If the power is off or the fuse is burned out.· If the water supply is cut off or the water pressure is too low.· If the inlet hose is properly connected and the water tap is opened.· If the screen of the inlet valve is blocked by dirt.· If the inlet valve works. (when the inlet valve is switched on, a slight sound will be heard)· If the [Start / Pause]button is pressed after the power switch is pressed. |
| No washing | · If the power is off or the fuse is burned out.· If the power supply voltage is too low.· If the water reaches to the required water level. (The machine will not work before reaching the required water level)· If it is set to "Delay" washing mode. (It will only start upon the reservation time) |
| Abnormal draining | · If the water drain hose is placed too high.· If the end of water drain hose is blocked.· If the internal rubber ring of the drain valve is blocked by dirt. |
| Abnormal spin | · If the lid is closed.· If clothing piled up at one side of the barrel or the clothing put in is beyond the rated capacity.· If the machine is placed unsteadily . (The ground is not flat).· If the motor belt is loose. |
Note: During the de spin process, if cloth are piled at one side of the barrel, it will stop because of unbalance. The user of the machine will detect this and try to correct it by adding water. If the unbalance situation can not be solved after three try, the use will be asked to replace the clothes manually.
Trouble shooting
The following is a list of the fault indications and the alarms:
| Display | Causes | Solutions | |
 | Alarm if water fi ling or making up last over 1 hour. | Check the water tap is opened or not. | Remark: press [Start/ ] Pause once to unlock the lid; press it again to stop the alarm and resume the operation.Ple ase c all our s ervic e to repair it, if it fails to get back to the operational state. |
 | Alarm for draining time out. | Check if the drain hose is placed correctly. | |
 | Alarm for unbalance during spin. | Please keep the clothes balance. | |
 | Alarm for communications problem. | Repair | |
 | Alarm for water level sensor problem. | Repair | |
 | Alarm for door lock problem. | Repair | Remark: double press [Start/Pause] to stop the alarm from the locker and resume the normal state. |
Technical specifications
| Rated power supply | 240V~ 50Hz |
| Input power of motor | 680W |
| Rated washing capacity | 10.0kg |
| Rated spin capacity | 10.0kg |
| Overall dimensions | 686 X718 ✗023 |
| Application water pressure | 0.03MPa~0.8MPa |
| Weight of the whole machine | 65kg |
| Washing mode | Agitate |
| Draining mode | Upper drain |
| Spin mode | Centrifugal spin |
Note: 'Normal, water level 8' is for a normally soiled cotton load.
- Washing Machine
- OWNER'S MANUAL
- Read This Manual
- Contents
- The energy efficiency testing program:
- Safety and precautions
- Warning
- Caution
- Installation Installation
- Remove from the packaging
- Installation of the drain hose if not fitted
- Installation of the water inlet hose
- Preparation before washing Parts identification
- Programme selection
- When the programme has finished
- The washing progress
- Special features
- TROUSERS / PANTS
- COATS
- SHIRT
- TOWELS
- SPORTSWEARS
- DEPIGMENT
- QUILT
- QUICK
- EXTRA HEAVY DUTY
- HEAVY DUTY
- NORMAL
- JEANS
- UNDERWEAR
- BABY CLOTH
- SYNTHETIC
- SILK
- Cleaning and Maintenance
- NOTICE
- Cleaning the water inlet hose joint
- trouble shooting
- Technical specifications
Brand : Euromaid
Model : TL10KG
Category : Washing machine