
ST-1200 - Iron Smartek - Free user manual and instructions
Find the device manual for free ST-1200 Smartek in PDF.


| Product Type | Steam Iron |
| Brand | Smartek |
| Model | ST-1200 |
| Power Consumption | 1200W |
| Voltage | 120V |
| Frequency | 60Hz |
| Current | 10A |
| Net Weight | 2 lb (0.9 kg) |
| Soleplate Material | Teflon coating |
| Water Tank Capacity | Approx. 250 ml (fill to MAX line) |
| Water Tank Type | Transparent |
| Cord Type | Retractable into reel |
| Cord Length | Approx. 7 ft (2.1 m) |
| Temperature Settings | 3 levels (Low, Medium, High) indicated by dots |
| Steam Control | Variable steam knob (0 to max) |
| Spray Function | Yes, pump mist button |
| Burst of Steam | Yes, power steam button |
| Dry Ironing | Yes, select MIN temperature |
| Self-Cleaning Function | Yes, recommended monthly |
| Safety Features | Overheat protection (built-in thermostat) |
| Warranty | 1 Year Limited |
| Color | White and green |
| Suitable Fabrics | Nylon, silk, wool, cotton, linen, synthetics |
| Included Accessories | User manual |
Frequently Asked Questions - ST-1200 Smartek
User questions about ST-1200 Smartek
0 question about this device. Answer the ones you know or ask your own.
Ask a new question about this device
Download the instructions for your Iron in PDF format for free! Find your manual ST-1200 - Smartek and take your electronic device back in hand. On this page are published all the documents necessary for the use of your device. ST-1200 by Smartek.
USER MANUAL ST-1200 Smartek
natural_image
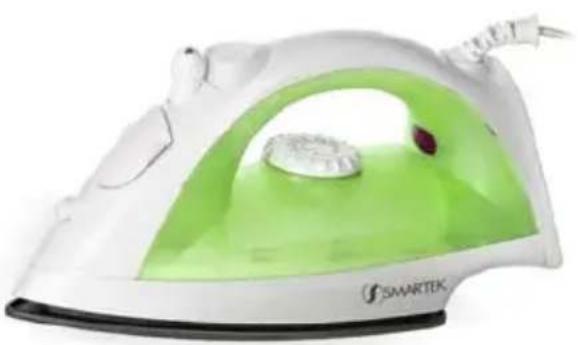
White and green air iron with a silver plate, no visible text or symbols on the device itself.Steam Iron Operating Instructions
Model No. ST-1200
Safety Information
PRECAUTIONS 2
IMPORTANT SAFETY INSTRUCTIONS----2-4
Operation
COMPONENTS IDENTIFICATION ----5
HELPFUL IRONING TIPS 6
HOW TO FILL----7
HOW TO USE AS A STEAM IRON----7
HOW TO USE AS A DRY IRON----8
HOW TO USE THE SPRAY FEATURE AND BURST OF STEAM ----8
Maintenance
HOW TO CARE FOR YOUR IRON----9-10
General Information
FABRIC IRONING CHART 11
SPECIFICATIONS----12
READ ALL INSTRUCTIONS CAREFULLY BEFORE USING THE IRON
SAFE USE OF THE IRON
Your safety and the safety of others are very important
We have provided important safety messages in this manual. Always read and obey all safety messages.

This is the safety alert symbol. It is used to alert you to potential hazards that can kill or injure you and others. The safety messages will follow the safety alert
symbol and either the word "WARNING" or "CAUTION".
These words mean
You can be seriously injured if you don't follow instructions.

WARNING
You can be exposed to a potentially hazardous
situation which, if not avoided, may result in minor or moderate injury.

CAUTION
The safety messages will tell you what the potential
hazard is, how to reduce the chance of injury, and what can happen if the instructions are not followed.
Thank You for purchasing a Smartek Iron
IMPORTANT SAFETY INSTRUCTIONS
Your iron is an appliance to be used only for ironing fabrics on an ironing board.

WARNING
To reduce the risk of burns, electric shock, fire, or injury to persons, when
using your iron, basic safety precautions should always be followed, including the following:
READ ALL INSTRUCTIONS BEFORE USING THE IRON
- Use the iron only for its intended purpose, for ironing fabrics on board.
- To protect against burns or injury to persons, do not iron or steam fabrics while being worn on the body.
- The iron should always be turned "OFF" before plugging or unplugging from outlet. Never yank cord to disconnect from outlet, instead, grasp plug and pull to disconnect.
- Do not allow cord to touch hot surface. Allow the iron to cool completely before storing.
Retract cord into cord reel unit when storing - Always disconnect iron from electrical outlet when filling or emptying water and when not in use.
- To avoid risk of electric shock, do not operate iron with a damaged cord or if the iron has been dropped or damaged. Do not disassemble the iron. Incorrect reassembly can cause a risk of electric shock when the iron is used. For repair, take it to a qualified serviceman.
- Close supervision is necessary for this appliance being used by or near children. Do not leave iron unattended while connected or on an ironing board.
- Burns can occur from touching hot metal parts, hot water, or steam. Hot water may leak from the iron. Use caution when filling or turning the steam iron upside down.
- To protect against burns or injury to persons, do not direct steam toward the body when ironing.
- The iron must be used and rested on a stable surface. When placing the iron on its stand, ensure that the surface on which the stand is placed is stable.

WARNING
To reduce the risk of electric shock or fire
- Do not operate another high wattage appliance on the same circuit, to avoid a circuit overload
- If any extension cord is absolutely necessary, use a cord rated a minimum of 10 amperes
- Cord rated for less amperage may overheat, and should not be used. Care should be taken to arrange the cord so that it can not be accidentally pulled or tripped

CAUTION
To reduce risk of personal injury and damage to your iron
-
Never use steam iron cleaning products in the iron, as they may damage working parts of the iron.
-
Do not use the water additives or substitute water such as linen or scented water in the steam iron. They can stain fabrics
COMPONENTS IDENTIFICATION
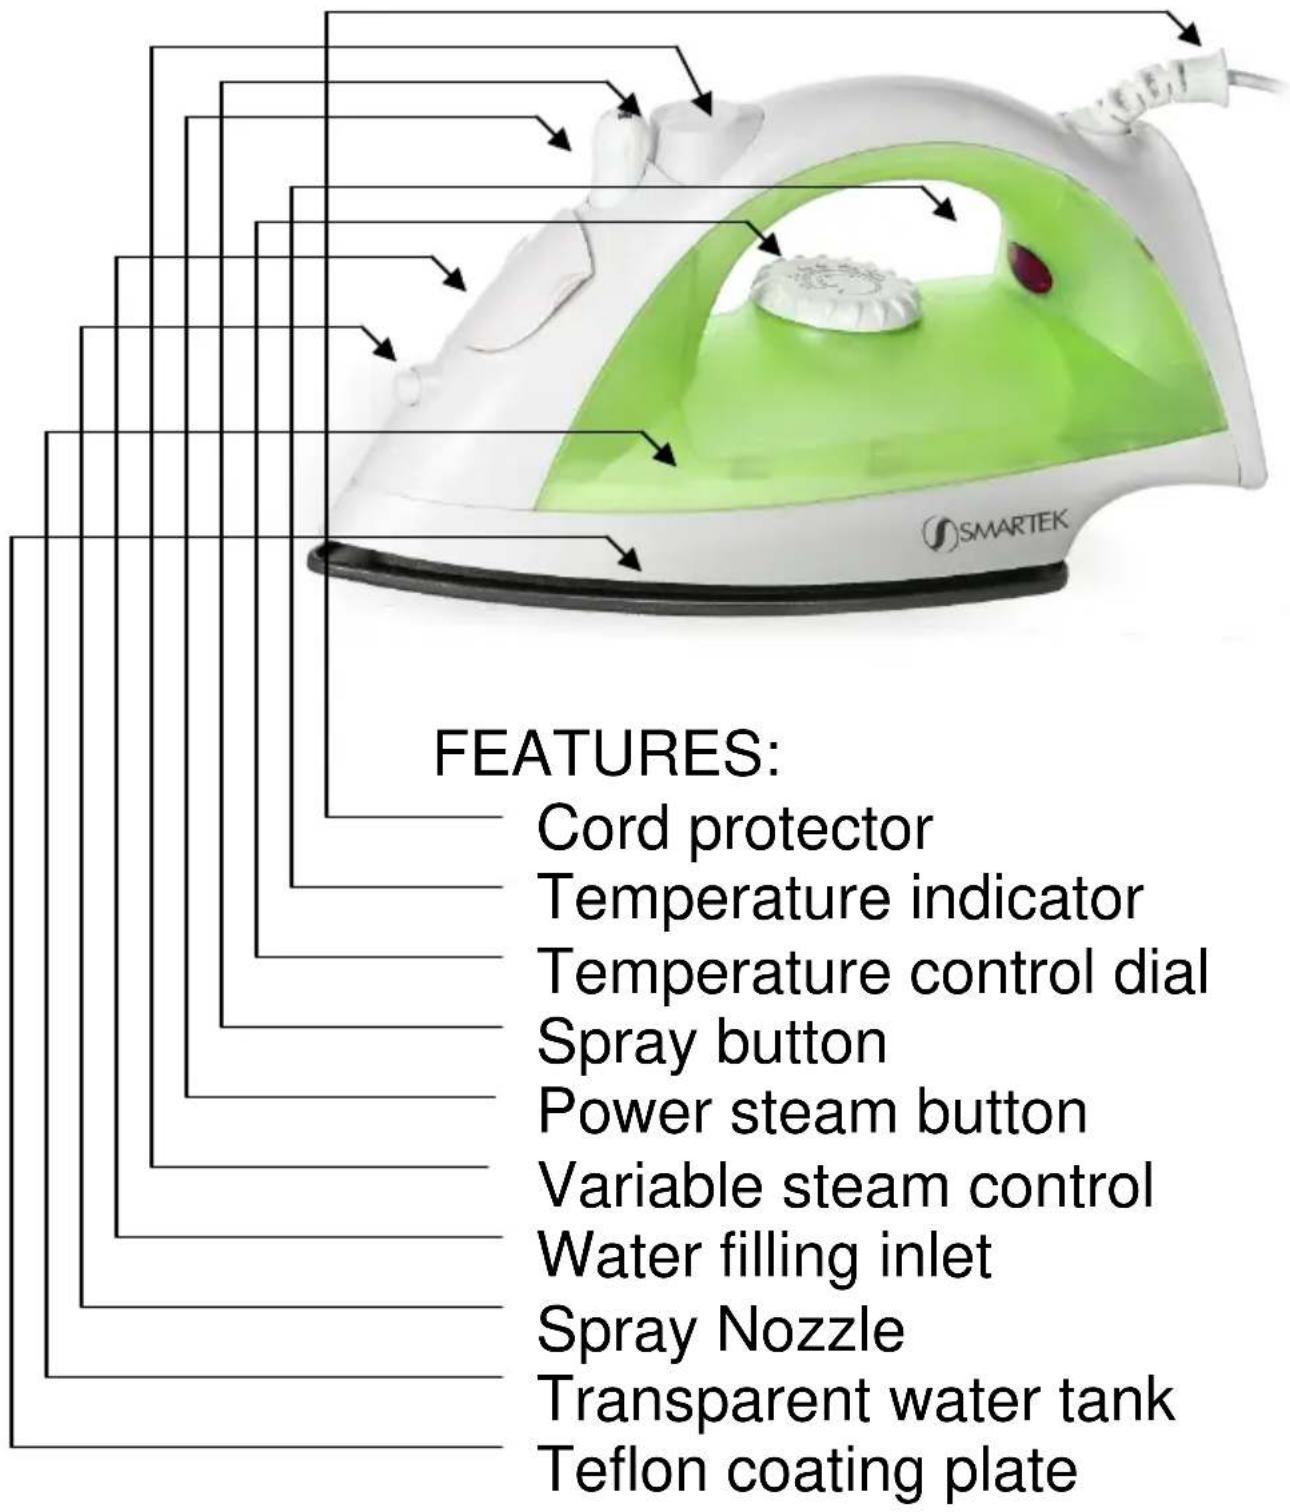
READ THIS INSTRUCTION BOOK THOROUGHLY BEFORE USING YOUR SMARTEK IRON TO BECOME FAMILIAR WITH THE IRON FEATURES.
HELPFUL IRONING TIPS
The Temperature Selector Dial of the Smartek iron has dots. The dots are symbols for 3 temperature ranges:
- Low Temperature
• Medium Temperature
... High Temperature
Some fabrics are labeled with these dots as a guide for selecting the proper ironing temperature setting.
As a guide to the Fabric Care Symbols, the following symbols are printed for your information.
Fabric Care Symbols
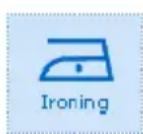

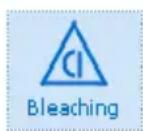


A symbol crossed out indicates that the article of clothing must not be subjected to the particular treatment.
EXAMPLE :( DO NOT IRON)

Before ironing, sort the garments according to the different heat settings required, iron fabrics that require a lower temperature first.
Do not touch plastic buttons with a hot iron because they may melt.
Be careful around zippers and similar items to prevent the soleplate from scratching
HOW TO FILL WITH WATER
Make sure the iron is turned off and the AC Power Cord is unplugged from the electrical outlet.
- Set the Variable steam knob to the '0' position before filling the iron with water.
- Open the Water Fill Opening and fill the Tank up to the "MAX" Line on the tank.
- The water level can be observed through the transparent part of the tank, when iron placed vertically. When the water level becomes low, refill the tank, following the procedure described in steps 1 to 3 above.
- Pour out the remaining water after use.
NOTE:
Most tap water can be used in this iron. Do not use water additives or substitute water such as linen or scented water in the steam iron, they can stain fabrics or damage the iron. Do not fill the water more than the “MAX” position.
HOW TO USE AS A STEAM IRON
Fill the iron as described in "HOW TO FILL WITH WATER".
- Position the iron vertically and turn the Temperature Control Dial to the steam position.
- Plug the AC Cord into the electrical outlet.
- Set the Temperature Control Dial to the steam position. Steam Ironing is only possible when at higher temperature settings indicated with 'MAX' mark; otherwise the water will leak from the soleplate.
- Preheat the iron until the indicator light goes out. The light will turn off when the indicated setting reaches the correct temperature.
- Turn the Variable Steam Control Knob to the required setting for different types of fabric.
Now steam ironing can begin.
HOW TO USE THE SPRAY
Before using the spray feature, check the fabric label for ironing instructions because some fabrics may be spotted or stained with moisture.
The spray feature is particularly helpful for removing stubborn wrinkles and where extra dampening is needed.
The spray may be used with steam or dry ironing.
Simply pump the Spray Mist Button when spray is desired.
HOW TO USE AS A DRY IRON
- Position the iron vertically.
- Plug in the iron.
- Set the Temperature Control Dial to "MIN" position Refer to the Fabric Ironing Chart in this manual on page # 10.
- Preheat the iron until the indicator light goes out.
Now dry ironing can begin.
HOW TO USE THE BURST OF STEAM
The burst of steam feature provides additional steam for removing stubborn wrinkles. It may be used with steam or dry ironing.
- Press the Power Steam button to release the surge of steam. Pressing the button several times may be necessary to prime the surge system. Wait a few seconds for the steam to penetrate the fabric before pressing the button again for more steam.
NOTE:
For optimum steam quality, do not apply more than three successive shots after the indicator light goes off.
AFTER EACH USE
- Turn the iron off and unplug.
- Empty the iron immediately after using. Do not store the iron with water in it.
- Wait until the iron has cooled before storing it, and always set it on the Heel Rest to protect the soleplate from scratches, corrosion or stains.
- After letting iron cool completely, store the iron vertically in a safe place.
Please see Important Safety Instructions.
OUTSIDE SURFACE OF THE IRON
After unplugging and cooling the iron, simply wipe off with a damp cloth and if necessary, use a mild detergent.
NEVER USE ANY HARSH CLEANERS.
SOLEPLATE
Starch and other residue may be easily removed from the Soleplate with a damp cloth.
To avoid scratching the finishing, never use a metallic pad to clean the Soleplate, and never place the iron on a rough surface. If synthetics are ironed at too high temperature not only is the fabric usually ruined, but the iron Soleplate is often covered with the melted remains of the synthetic fabric.
The best way to remove synthetic residue from the Soleplate is to heat the iron and to iron over an old cotton rag.

CAUTION
Never Use steam
iron cleaners in the iron, since they may damage the working parts of the iron.
MAINTENANCE: SELF CLEANING
IMPORTANT: Your iron will give the best ironing results and last longest if you apply the Self Cleaning once a month.
- Fill the water tank up to half with water.
- Position the iron on its rear heel.
- Select the temperature control dial to 'MAX'.
- Plug in the iron.
- Allow the iron to heat up until the indicator light first goes out.
- Unplug the iron from the electrical outlet.
- Keep the iron horizontally over the sink.
- Set the variable steam knob at maximum position.
Boiling water and steam will now emit from the holes in the soleplate.
9 Move the iron forwards and backwards while this happens; go on letting steam and water escape until the water tank is virtually empty.
-
Turn the variable steam knob to '0' position.
-
Plug in the iron.
-
Set the temperature dial to the 'MAX' position, let the iron heat up again, the remainder of the water inside the steam chamber will now vaporize and leave the iron through the soleplate.
During this process of dry steaming it is advised to use it over an old piece of cloth.
FABRIC IRONING CHART
- Check fabric for specific ironing instructions, always follow manufacturer's instructions.
- Iron blended fabrics at setting for lower-temperature fiber or for the highest -percentage fibers
- Use caution, some synthetics may melt at high temperature.
| Temperature Selector Setting | Fabric | Ironing | Recommend |
| LOW● | *Nylon*Acrylic,*Suede,*Metallic,*Perm. Press*Rayon's,*Polyester | Dry iron on wrong side, or use a press cloth on top of fabric. Don't sprinkle water directly on fabric to avoid spots.To iron suede, cover ironing board with brown paper and use it as a press cloth. | |
| MEDIUM●● | *Silk, Wool, Velvet | Steam ironing is suggested. Never iron completely dry. To iron velvet, steam iron holding the iron slightly above the fabric. | |
| HIGH●●● | *Cotton, Linen | Steam Ironing is suggested.Sprinkle water on the fabric, depending on its thickness. Iron dark fabrics on wrong side to avoid unwanted sheen. | |
1 YEAR LIMITED WARRANTY
All Smartek Products have a warrantee for 1 year from provable date of purchase against defects in material and workmanship.
During this period such defects will be repaired, or the product will be replaced without charge.
This warranty does not cover damage caused by misuse, negligence or improper installation. Warranty is also invalid in any case that the product is taken apart or serviced by an unauthorized service station.
Send your package postage prepaid with a copy of your proof of purchase. You will also need to enclose a letter explaining the nature of your difficulty in detail. Please allow 2-4 weeks for return shipping.
SPECIFICATIONS:
| Power Source 120V, | 60 Hz |
| Power Consumption | 10 A, 1200W |
| Net Weight 2 lb |

SMARTEK
USA INC
Distributed By
Smartek USA Inc.
Brooklyn, NY 11206
www.smartekusa.com

- Steam Iron Operating Instructions
- Safety Information
- Operation
- Maintenance
- General Information
- SAFE USE OF THE IRON
- WARNING
- CAUTION
- Thank You for purchasing a Smartek Iron
- IMPORTANT SAFETY INSTRUCTIONS
- READ ALL INSTRUCTIONS BEFORE USING THE IRON
- COMPONENTS IDENTIFICATION
- READ THIS INSTRUCTION BOOK THOROUGHLY BEFORE USING YOUR SMARTEK IRON TO BECOME FAMILIAR WITH THE IRON FEATURES.
- HELPFUL IRONING TIPS
- Fabric Care Symbols
- HOW TO FILL WITH WATER
- NOTE:
- HOW TO USE AS A STEAM IRON
- HOW TO USE THE SPRAY
- HOW TO USE AS A DRY IRON
- HOW TO USE THE BURST OF STEAM
- AFTER EACH USE
- OUTSIDE SURFACE OF THE IRON
- SOLEPLATE
- MAINTENANCE: SELF CLEANING
- FABRIC IRONING CHART
- YEAR LIMITED WARRANTY
- SPECIFICATIONS:
- SMARTEK
Brand : Smartek
Model : ST-1200
Category : Iron