
EF1500VRBMC - Water dispenser Elkay - Free user manual and instructions
Find the device manual for free EF1500VRBMC Elkay in PDF.


| Product Type | Water Dispenser |
| Brand | Elkay |
| Model | EF1500VRBMC |
| Indoor Use Only | Yes |
| Filter Type | WaterSentry VII Lead Reduction Filter (Part #51299C) |
| Filter Capacity | 1,500 gallons or 1 year, whichever first |
| Power Source | 2 AA batteries (for filter monitor) |
| Flow Meter | Yes, with audible and visual alerts |
| Backlight | Blue, turns on with water flow, off after 10 seconds |
| Display | LCD for remaining capacity |
| Battery Life | Approximately 1 year |
| Mounting | Vertical wall mount |
| Installation Tools Required | Safety glasses, gloves, level, pencil, mounting screws/anchors |
| Included Accessories | Pinned Torx bit, 2 AA batteries, pinned Torx screw, 3.5 ft poly tubing |
| Water Connection | Poly tubing, inlet/outlet |
| Flushing Requirement | 1 gallon after filter installation |
| Safety | Disconnect power before filter installation |
| Service | Authorized service personnel only |
| Replacement Filter Contact | 1.800.834.4816 |
| Manufacturer | Elkay Manufacturing Company, Oak Brook, IL |
Frequently Asked Questions - EF1500VRBMC Elkay
User questions about EF1500VRBMC Elkay
0 question about this device. Answer the ones you know or ask your own.
Ask a new question about this device
Download the instructions for your Water dispenser in PDF format for free! Find your manual EF1500VRBMC - Elkay and take your electronic device back in hand. On this page are published all the documents necessary for the use of your device. EF1500VRBMC by Elkay.
USER MANUAL EF1500VRBMC Elkay
IMPORTANT NOTE – To avoid danger of an electric shock hazard, disconnect power to your unit before installing the filter.
IMPORTANT
THIS IS AN INDOOR APPLICATION ONLY. ALL SERVICE TO BE PERFORMED BY AN AUTHORIZED SERVICE PERSON.
TOOLS REQUIRED
BUT NOT PROVIDED:
- SAFETY GLASSES
- GLOVES
- LEVEL
- PENCIL
- MOUNTING SCREWS, ANCHORS, FASTENERS
INSTALLATION STEPS
- Before starting your installation, verify that you have the following included pieces.
a. 1 Pinned Torx Bit
b. 2 AA Batteries
c. 1 Pinned Torx Screw
d. 3.5 Feet of Poly Tubing
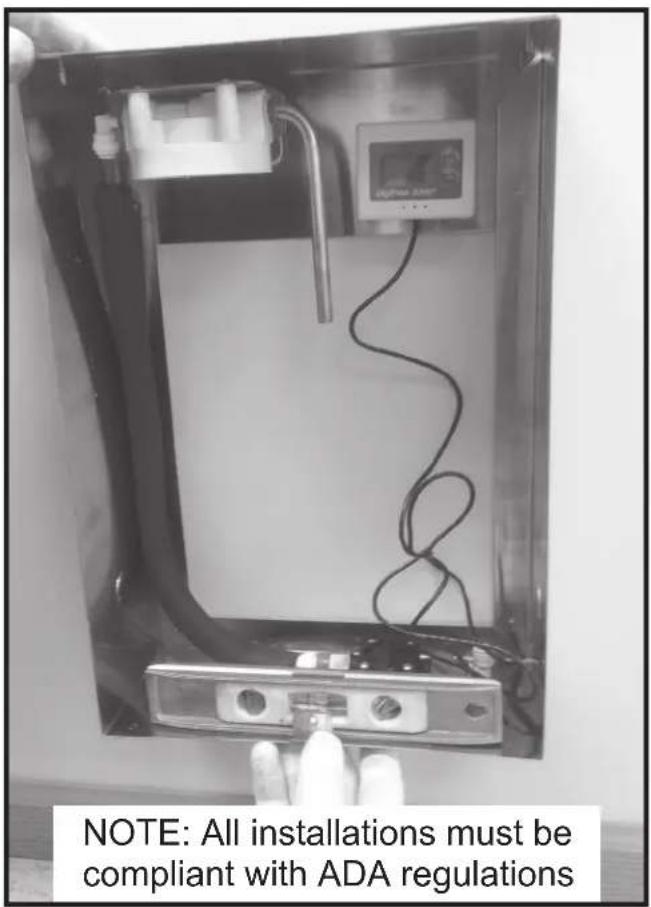
- Find a location to mount your new filter box near the water dispenser to which it is being connected. For accurate monitoring, the filter box should be mounted vertically as shown (Fig. 2, page 2).
- Shut off the water and electricity to the water dispenser.
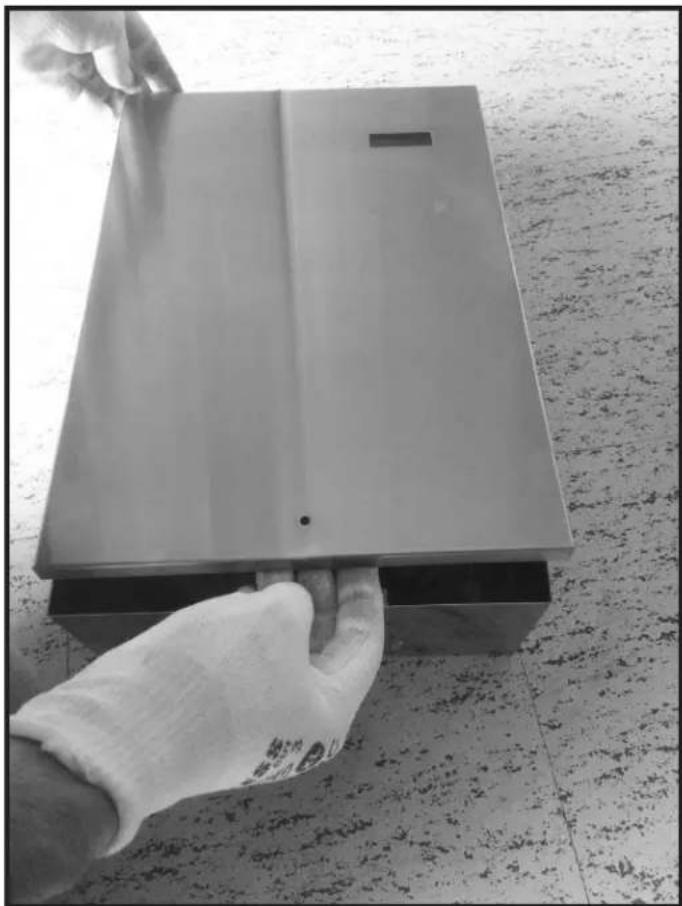
- Lift the cover at the bottom and slide upwards toward the top.
natural_image
Hand holding a rectangular metal object on a tiled floor, no visible text or symbolsFig. 1
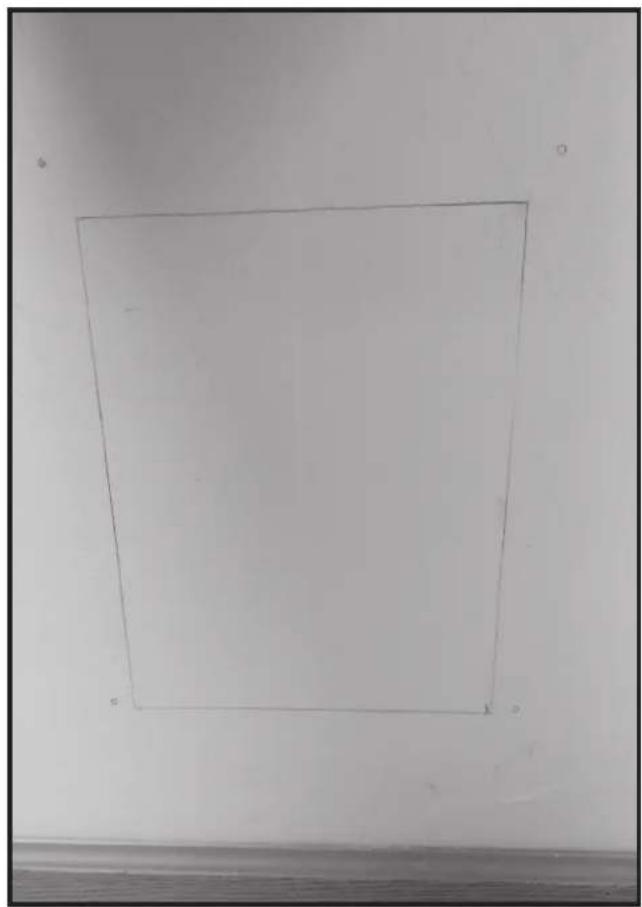
- Take the filter box and place on the wall in the desired location. Be sure that the box is positioned vertically on the wall as shown. The arrow on the water monitor valve should always be pointing UP (Fig. 4). Make sure the filter box is level, take a pencil and mark around the inside opening and the mounting locations. If the water will not be coming thru the wall into the back of the filter box, knock-outs have been provided to allow the water lines to run thru the sides or bottom. NOTE: If running the water lines thru the knockouts, use the appropriate protection (not provided) to keep the lines from getting cut.
natural_image
Simple line drawing of a square frame on a plain wall, no text or symbols presentFig. 2 Fig. 3

natural_image
Close-up of industrial machinery components with no visible text or symbolsFig. 4
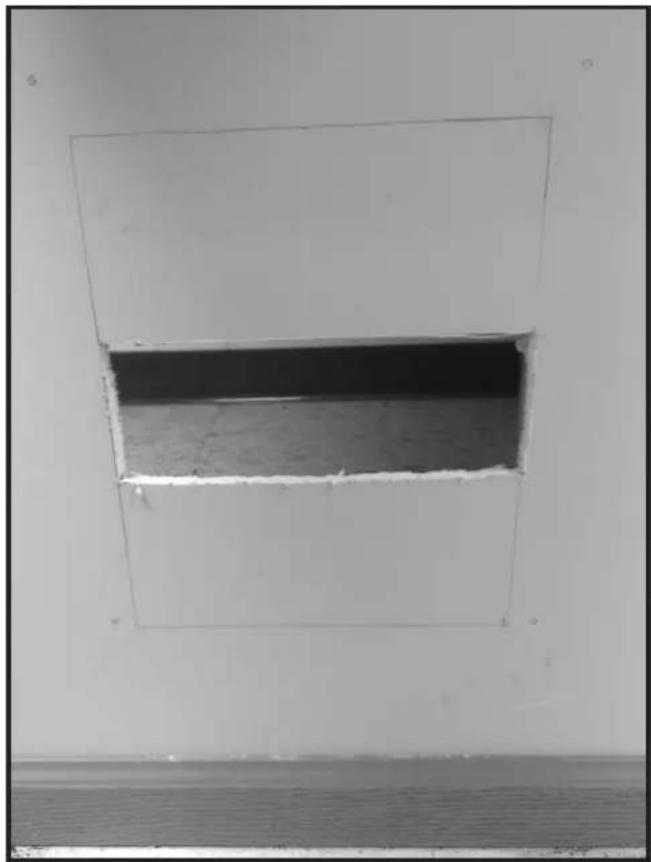
- Cut a hole in the wall anywhere inside the marked location to allow room for the water lines to come into the back of the box.
- Remove any protective covering from the outside of the filter box.
natural_image
Interior view of a wall with a rectangular opening showing a dark horizontal seam, no text or symbols visible.Fig. 5

natural_image
Hand in gloves holding a power supply device inside an electrical enclosure (no visible text or symbols)Fig. 6
-
Using the appropriate fasteners (Not Supplied), mount the box to the wall.
-
Disconnect the water inlet from the water dispenser and connect to the inlet copper tube on the filter head.

Fig. 7

natural_image
Close-up of hands installing or adjusting a component inside a container (no visible text or symbols)Fig. 8
-
Connect the poly tubing from inlet of the water dispenser to the outlet fitting on the flow meter
-
Remove the red cap from the filter and install on the filter head turning clockwise.

natural_image
Person in white gloves adjusting a white cylindrical device with a red curved arrow, next to an electronic control panel (no visible text or symbols)Fig. 9
- Remove the filter monitor from the back of the box and insert the supplied batteries. Once installed, the monitor will light up. The monitor can now be put back on the back of the box. Make sure it is positioned so that it can be viewed thru the window in the front cover once it is installed.

Fig. 10
-
Turn on the water and check for leaks. Repair as needed
-
Run approximately 1 gallon of water thru the fixture. This flushing procedure purges air and fine carbon particles from the filter. After 1 gallon of water has been purged carefully inspect all water connections for leaks
-
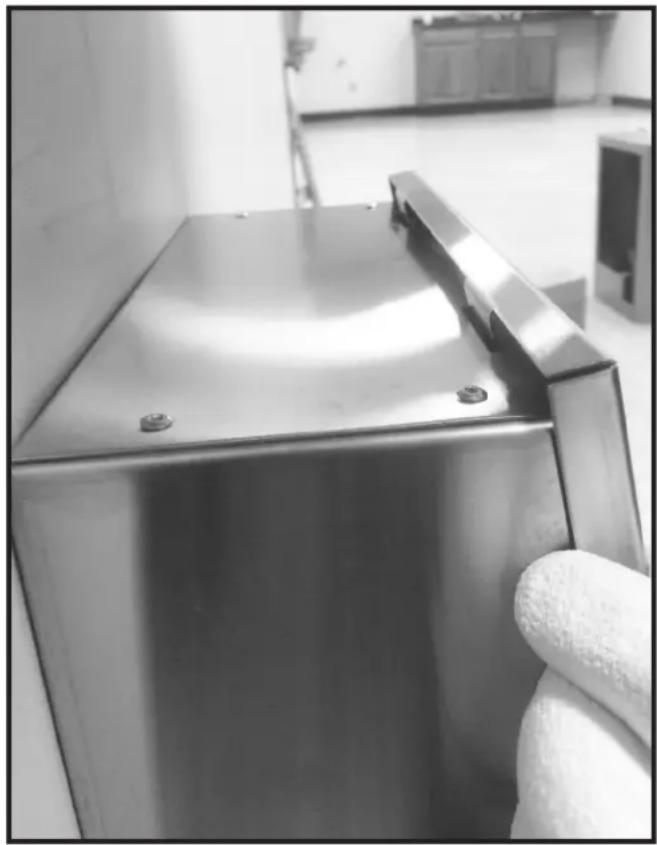
After peeling the protective covering from the front cover, hook the tabs on the top into the slots on the top of the box. Slide the cover down and install the supplied screw. Once done keep the bit as it will be needed for replacing the filter.
natural_image
Close-up of a stainless steel kitchen appliance with a cloth partially visible, no text or symbols present.Fig. 11 Fig. 12

natural_image
Metal panel with a red circle highlighting a small hole, placed on a wooden base (no text or symbols visible)OPERATING INSTRUCTIONS FOR THE FILTER MONITOR
- The filter monitor backlight automatically turns on when there is water flowing through it. The blue backlight will turn off after approximately 10 seconds but will display the remaining capacity the entire time water is flowing. To conserve battery life, the display will automatically turn off in 10 seconds when there is no water flowing. The power of the two batteries could last for approximately one year.
- The flow meter will generate an audible alert and the digits on the LCD will blink red when the remaining capacity reaches zero.
- To reset, press the reset button for four seconds. The "RESET" on the LCD blinks twice and the remaining capacity is reset to the original programming value.
- When the battery power is low the monitor generates an audible alert and the empty battery symbol on the upper right corner blinks. The alert status will be released when the batteries are replaced with new one. NOTE: the data of the last status will be memorized when powered off.
NOTICE
To receive maximum benefit from your ELKAY WaterSentry change according to the following guidelines.
® filters, note the installation dates below and
ELKAY Part No. 51299C WaterSentry
® VII -- Lead Reduction Filter
Change every 1,500 gallons, or once a year -- whichever occurs first.
-- KEEP THIS SHEET IN A HANDY LOCATION --
| DATE INSTALLED | MODEL (TYPE OF FILTER) | SERVICE PERSON | DATE INSTALLED | MODEL (TYPE OF FILTER) | SERVICE PERSON |
FOR REPLACEMENT FILTER, PLEASE CALL 1.800.834.4816
ELKAY MANUFACTURING COMPANY • 2222 CAMDEN COURT • OAK BROOK, IL 60523 • 630.574.8484
www.Elkay.com
Brand : Elkay
Model : EF1500VRBMC
Category : Water dispenser