
Miza 49 Flex - Office Zaor - Free user manual and instructions
Find the device manual for free Miza 49 Flex Zaor in PDF.


| Product Type | Office Desk / Studio Desk |
| Brand | Zaor |
| Model | Miza 49 Flex |
| Category | Desk |
| Material | High-quality engineered wood with melamine finish |
| Width | Approximately 1250 mm (49 inches) |
| Depth | Approximately 800 mm |
| Height | Adjustable via leveling legs; range 20 mm to 120 mm |
| Weight | Approximately 35 kg |
| Assembly Required | Yes, with included hardware and instructions |
| Recommended Use | Studio and office environments, suitable for music production and audio equipment |
| Height Adjustment Range | 6 positions: 20, 40, 60, 80, 100, 120 mm |
| Included Hardware | System bolts, safety screws, cone-shaped screws, various screw types (Rs, Rb, K, F, I, S2) |
| Color | Not specified, likely black or white (standard Zaor finish) |
| Surface Finish | Melamine laminate for durability and easy cleaning |
| Warranty | Standard manufacturer warranty (contact Zaor support) |
| Customer Support | Email: sales@zaorstudiofurniture.com, Web: www.zaorstudiofurniture.com |
| Compatibility | Designed for use with studio monitors, keyboards, and computer setups |
| Maintenance | Clean with a soft, dry cloth; avoid harsh chemicals |
| Safety Warning | Do not exceed maximum load (not specified); ensure proper assembly on level floor |
Frequently Asked Questions - Miza 49 Flex Zaor
User questions about Miza 49 Flex Zaor
0 question about this device. Answer the ones you know or ask your own.
Ask a new question about this device
Download the instructions for your Office in PDF format for free! Find your manual Miza 49 Flex - Zaor and take your electronic device back in hand. On this page are published all the documents necessary for the use of your device. Miza 49 Flex by Zaor.
USER MANUAL Miza 49 Flex Zaor
natural_image
Technical line drawing of a mechanical device with internal components and mounting brackets (no text or symbols)Miza 49 Flex
Assembly Manual
ZAOR Studio Furniture SRL | Email: sales@zaorstudiofurniture.com | Web: www.zaorstudiofurniture.com
Assembly Manual
Unpack the parts carefully and set up so that you can see the part numbers clearly. In the big box you should find a small cardboard box with all the screws and bolts for assembly.

Here you have an exploded view of the whole desk and how it is supposed to come together. We use high quality furniture assembly components from renowned EU manufacturers. Please, never use force. These parts should come together easily, in case of doubt check the manual again or contact support.
Assembly Manual
Thanks for choosing a piece of furniture from Zaor. Before you can enjoy the use of it you need to build it. We tried to put all the explanations necessary for a safe build, when in doubt please get in touch or check out our Youtube channel where we are putting more and more assembly videos to help you with this important task. Enjoy!
General technique for putting together Zaor desks
| The assembly of your desk uses special kits.Here's how to use them1) On the piece with the threaded insert(s), put in the system bolt(s) and tighten making sure to align the hole in the system bolt at a 90° angle. | Please note that the system bolt may have a little slack in this position, which is fine!2) Ensure that the hole in the bolt aligns with the opening in the other piece to be able to put in the safety screw. | 3) In each hole in the second piece, put in a cone shaped safety screw and tighten with a cross screw driver - without forcing.The 2 parts will now be safely attached. |
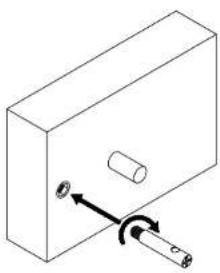 | 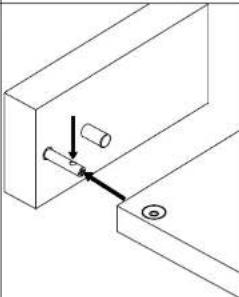 |  |
Assembly Manual
STEP 1


natural_image
Isometric technical drawing of a mechanical part with labeled section B and dimension lines (no text or symbols beyond label)Assembly Manual
STEP 2

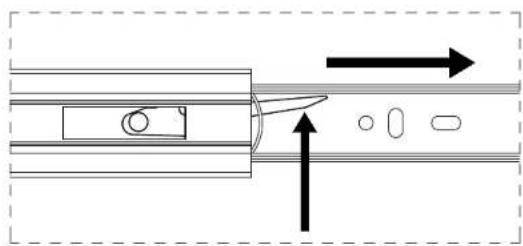
natural_image
Pure technical diagram showing a mechanical component with directional arrows, no text or symbols presentZaor
UPGRADE.YOUR.SPACE.
Zaor
UPGRADE YOUR SPACE
Assembly Manual
STEP 3


natural_image
Pure mechanical diagram showing a pipe with internal components and directional arrows, no text or symbols present.Assembly Manual
STEP 4
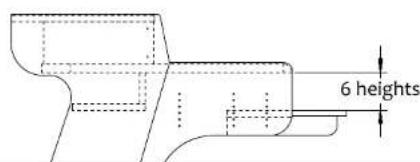
Choose Height
1st 20 mm
2nd 40 mm
3rd 60 mm
4th 80mm
5th 100 mm
6th 120 mm


Slider 1

TYPE I

Type S2
Zaor
UPGRADE.YOUR.SPACE.
Zaor
UPGRADE YOUR SPACE
Assembly Manual

Assembly Manual

ZAOR Studio Furniture SRL | Email sales@zacristudiofurniture.com | Web: www.zaorstudiofurniture.com
ZAOR Studio Furniture SRL | Email: sales@zaorstudiofurniture.com | Web: www.zaorstudiofurniture.com
Zaor
UPGRADE YOUR SPACE
Zaor
_UPGRADE_YOUR.SPACE.
Assembly Manual
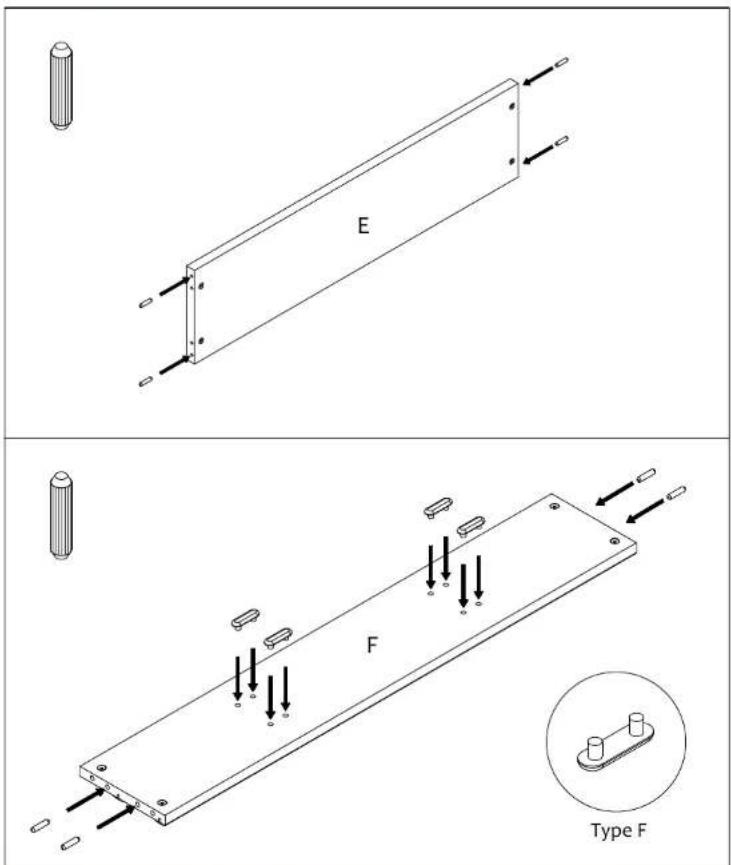
Assembly Manual
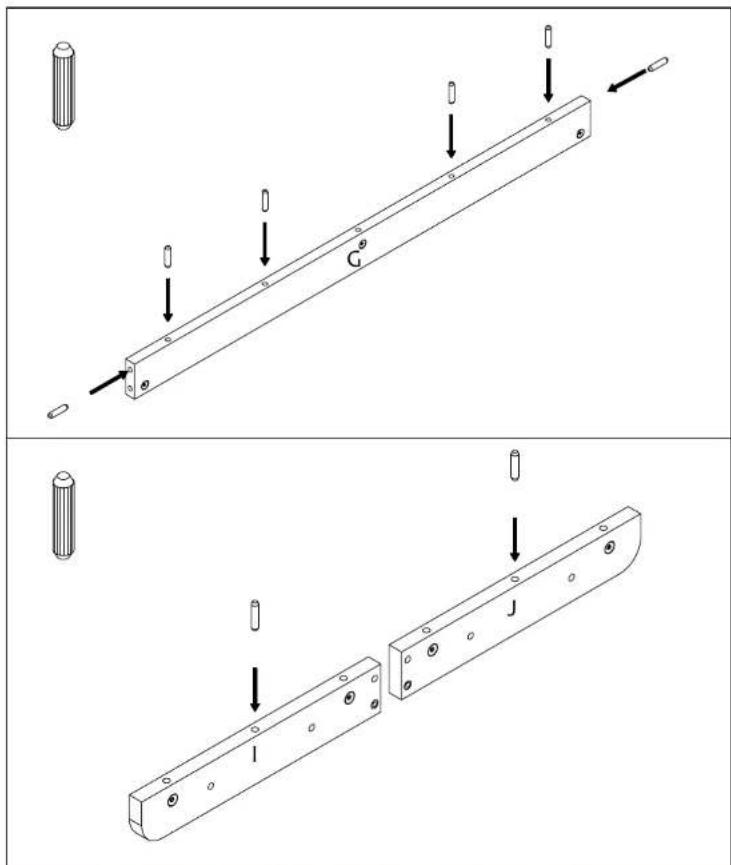
ZAOR Studio Furniture SRL | Email sales@zaorstudiofurniture.com | Web: www.zaorstudiofurniture.com
ZACH Studio Furniture SRL | Email: sales@zaorstudiofurniture.com | Weix www.zaprstudiofurniture.com
Zaor
UPGRADE.YOUR.SPACE.
Zaor
_UPGRADE_YOUR SPACE
Assembly Manual
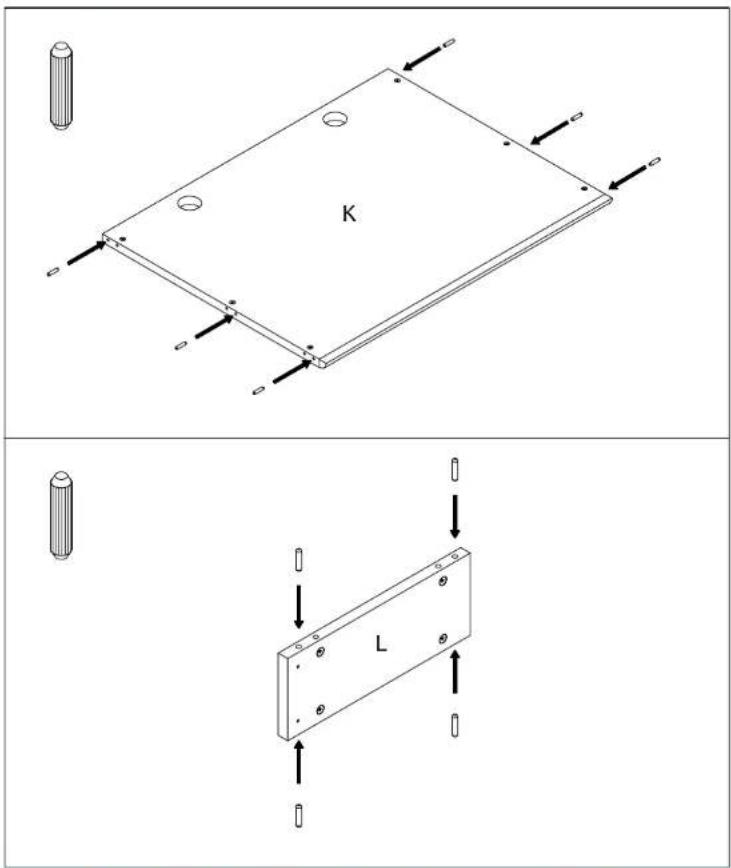
Assembly Manual

natural_image
Technical line drawing of a rectangular plate with labeled dimension M and two side supports (no text or symbols beyond the label)Assembly Manual

Assembly Manual

Zaor
UPGRADE YOUR SPACE
Zaor
_UPGRADE_YOUR.SPACE.
Assembly Manual
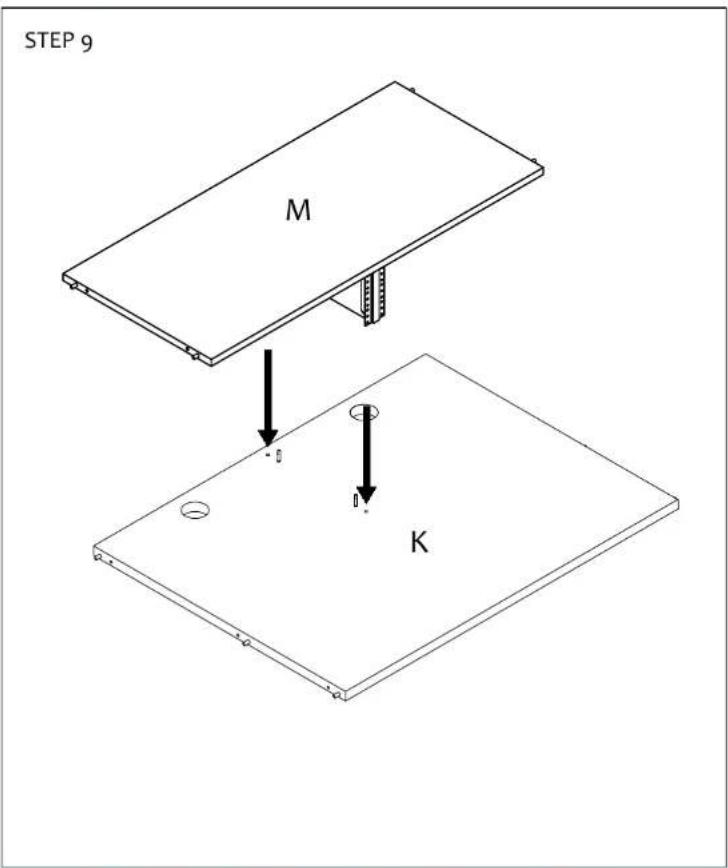
Assembly Manual
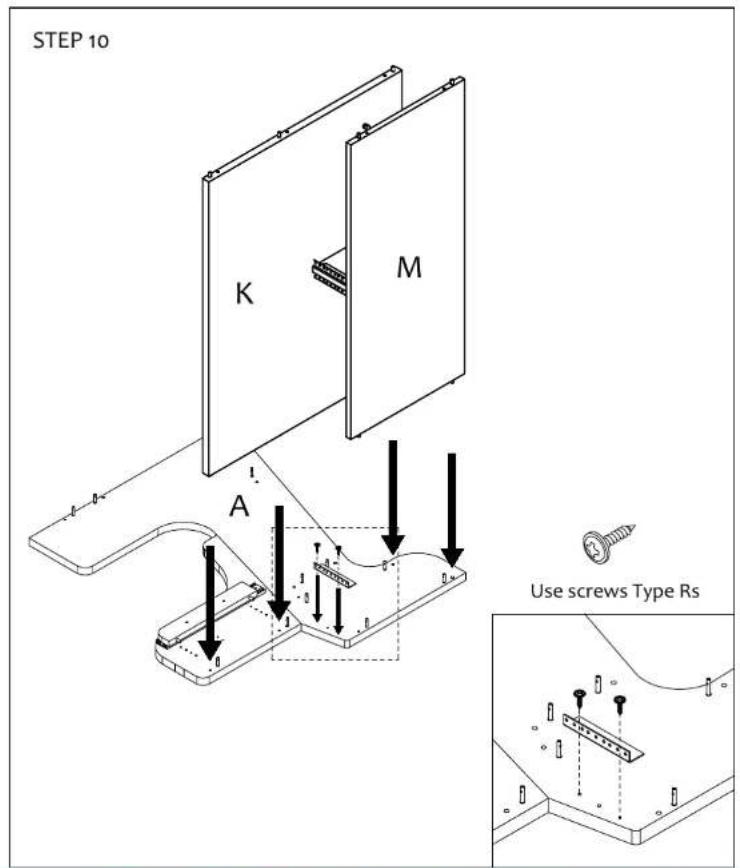
Assembly Manual
STEP 11

Assembly Manual
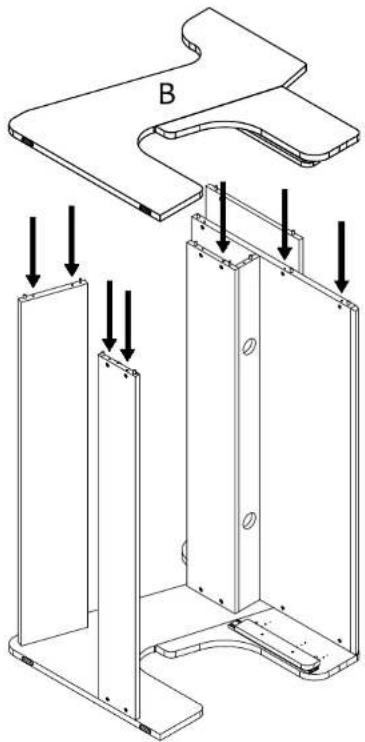
STEP 12

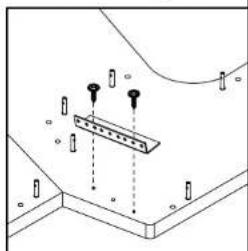
Use screws Type Rs
natural_image
Technical line drawing of a mechanical assembly with mounting holes and structural supports (no text or symbols)Zaor
UPGRADE YOUR SPACE
Zaor
_UPGRADE_YOUR.SPACE.
Assembly Manual
STEP 13
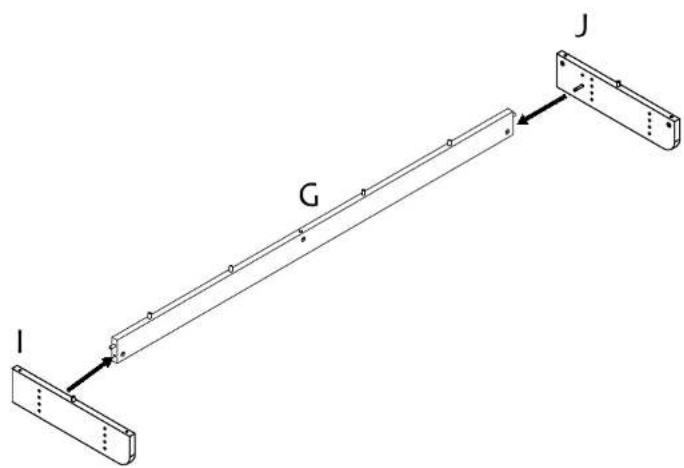
Assembly Manual
STEP 14
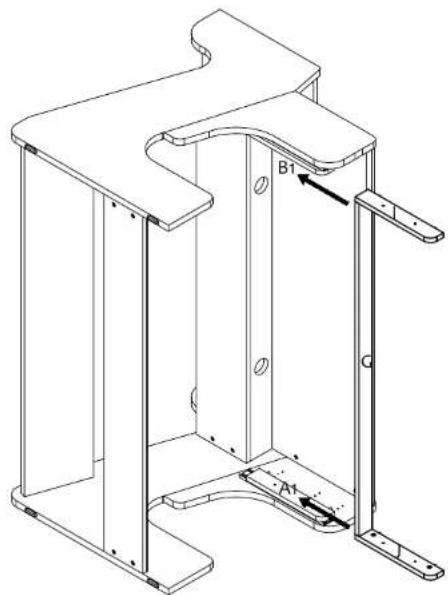

Use screws Type K

natural_image
Technical line drawing of a mechanical assembly with two vertical rods and a base plate (no text or symbols)Assembly Manual

natural_image
Technical line drawing of a mechanical device with no visible text or symbolsAssembly Manual
PACKING LIST:


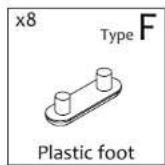

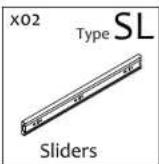
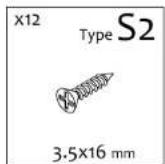
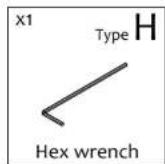

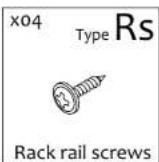
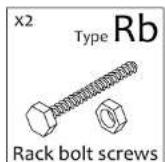

TOOLS:
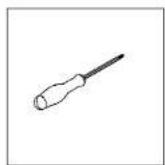



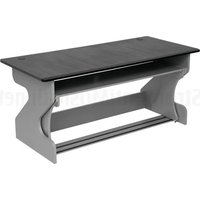
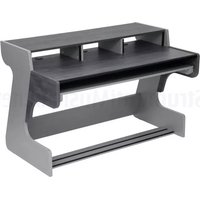
Brand : Zaor
Model : Miza 49 Flex
Category : Office