
BA8085 - Pain Meter COSTWAY - Free user manual and instructions
Find the device manual for free BA8085 COSTWAY in PDF.


| Product Type | Portable Steam Sauna Spa |
| Brand | Costway |
| Model | BA8085 |
| Timer Range | 15 to 90 minutes (9 levels) |
| Temperature Levels | 9 adjustable grades (recommended 6-8) |
| Remote Control | Yes, included |
| Fogging Function | Yes (smoother steam) |
| Automatic Shut-off | Yes (when water runs out) |
| Water Capacity | Approx. 1 liter (lasts about 1 hour) |
| Power Source | Electric (plug-in) |
| Included Accessories | Cover, steamer, steam tubes (2), chair, foot massager, mat, medicine box |
| Material | Fabric cover, plastic steamer |
| Safety Features | Overheat protection, automatic power-off, keep away from children |
| Cleaning | Wipe with damp cloth after cooling; do not immerse |
| Assembly | Required (frame assembly included) |
| Usage | Personal relaxation. Not for medical use. |
Frequently Asked Questions - BA8085 COSTWAY
User questions about BA8085 COSTWAY
0 question about this device. Answer the ones you know or ask your own.
Ask a new question about this device
Download the instructions for your Pain Meter in PDF format for free! Find your manual BA8085 - COSTWAY and take your electronic device back in hand. On this page are published all the documents necessary for the use of your device. BA8085 by COSTWAY.
USER MANUAL BA8085 COSTWAY
natural_image
Abstract geometric pattern with overlapping gray shapes and a white arrow (no text or symbols)Portable Steam Sauna Spa
BA8085
USA office: Fontana
GBR office: Ipswich
AUS office: Truganina
If you're having difficulty, our friendly customer team is always here to help.

USA:cs.us@ocetway.com AUS:cs.au@ocslway.com GBR:cs.uk@ocetway.com
THIS INSTRUCTION BOOKLET CONTAINS IMPORTANT SAFETY INFORMATION. PLEASE READ AND KEEP FOR FUTURE REFERENCE.

Before You Start
⚠️ Please read all instructions carefully.
⚠️ Retain instructions for future reference.
Separate and count all parts and hardware.
Read through each step carefully and follow the proper order.
We recommend that, where possible, all items are assembled near to the area in which they will be placed in use, to avoid moving the product unnecessarily once assembled.
△ Always place the product on a flat, steady and stable surface.
⚠️ Keep all small parts and packaging materials for this product away from babies and children as they potentially pose a serious choking hazard.
OPERATION MANUAL
- Zip up the cover and add water to the steamer until the water reaches to the M water line. This amount of water could last about
1 hour. If you like, you can add some herb of flowers in the medicine box. Remember to use a gauze bag to wrap them in advance. - Connect the steamer to the sauna room with shorter steamer hose (please keep the air in good condition).
- Make sure the lid is closed on the steamer and the steamer is connected to the power. Connect the power plug(please attention the Voltage show on the nameplate, match it), then turn on the power button "ON/OFF".
- Press the buttons on the steamer or use the remote to turn it on and adjust the time to 90 minutes and temperature to P9. Let it preheat for about 10-15 minutes first. When the steam is ready in the tent, we will start the sauna.
- Before you get into the cover, adjust the temperature back to P6 first since P6 is suitable for most people. You can increase the temperature if you think it is not hot enough.
-
To set the timer, press the 'TIMER' button. There are 9 grades for time from 15 minutes to 90 minutes. The recommended time is 20-30 minutes (press the up button for 15-80 minutes. For 90 minutes, the user has to press the button down).
-
For the temperature set, press the 'TEMP' button. There are 9 adjustable temperature grades. The recommended temperature is 6-8 grades depending on their comfort level (press the top button for grades 1-8. For grade 9, users need to push the button down).
- There is a 'FOGGING' button. When pressed, the water vapor becomes smoother and more pleasing to the skin.
Note:
- Sauna room is not medical equipment, which can not be used for medical use.
- If you feel uncomfortable, dizzy or tired, please stop using it.
- Herbal medicine is only for sauna bath, and can not be taken orally.
Part List
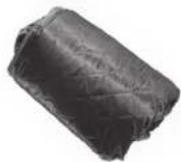
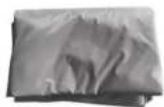
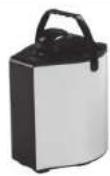
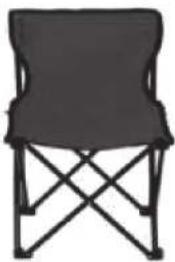
Cover × 1 Mat × 1 Steamer × 1
Steam Tube × 2
natural_image
Black folding chair with X-shaped legs and a flat top (no text or symbols visible)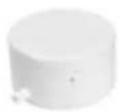
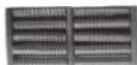
Wooden Foot
Massage × 1 Chair × 1 Steam Box × 1
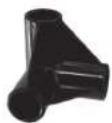
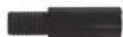

A × 8 B × 4 C × 4
Safety Instructions
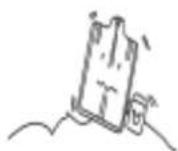
Please keep the product in balance when using it. To prevent fire hazard, do not place the steamer near flammable materials.

Pregnant women and people having high blood pressure and heart disease should not use this product. Please wait at least 30 minutes after eating before using this product. Do not use this product in time of great hunger for your safety.
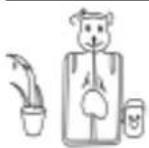
Don't put animals or plants into the sauna room.
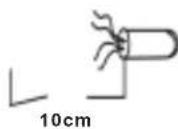
When using the product, stay at least 10 cm away from the steam outlet. Don't touch the steam outlet with bare hand.
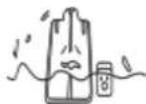
Do not use the product in humid environment or immerse it into water.
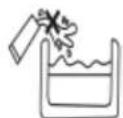
The water filled in the steamer should not reach over the max water line in case of malfunction.
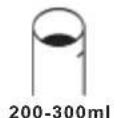
User should drink 200-300 ml water or tea before using the product. Please prepare a towel for wiping sweat. Take a break after a certain period of using. Don't use the product consecutively over 20 minutes in one time.
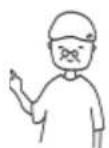
The elders should be accompanied by their families when using the product.
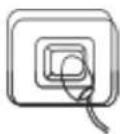
The steamer will power off automatically when the water inside dries up. It will restart 20 minutes later. If it doesn't restart, please contact after-sales service center. Never turn on the steamer without water added.
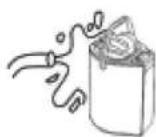
Don't forget to disconnect the power after use and wipe it clean with a damp cloth after 15 minutes of cooling down. Don't clean the product with water directly.
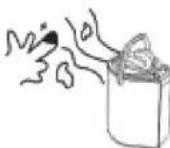
The sauna room and steamer must be placed on a flat surface. Do not open the lid immediately if the steamer is working. Disconnect the power and let it thoroughly cool down first.
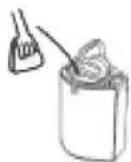
Always keep the product clean and in good condition as it would make its service life longer.
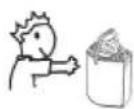
Please keep this product out of reach of children.
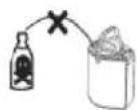
Flammable, toxic, corrosive or other harmful liquids must not be put into the steamer as it might cause bodily injures or property damage.
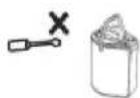
The steamer should be only used with the sauna room. It should not be used for other heating purposes. Don't repair or modify the product by yourself.
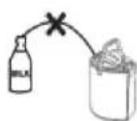
Milk should not be put into the steamer. If you want to use herb or flowers, remember to use a gauze bag to wrap them in advance.
Installation Instructions
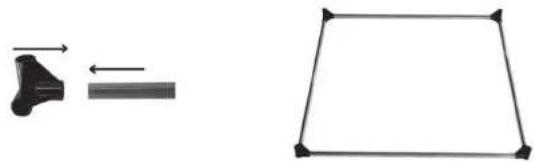
1 Connect A joints and steel poles as shown in Fig 1. Then connect 4pcs A joints and 4pcs steel poles as shown in Fig 2.
natural_image
Simple geometric shapes: a black arrow pointing left and a gray rectangle with arrows pointing right, next to a tilted square (no text or symbols)Fig.2Fig.1
2 Twist 4pcs B joints and C joints tightly as shown in Fig 3. Connect with the steel poles as shown in Fig 4, then install combined poles with bottom frame.
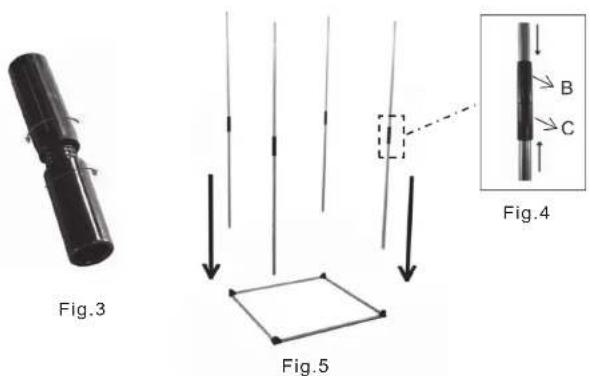
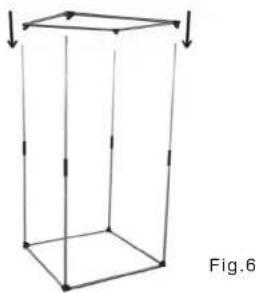
3 Connect 4pcs A joints and 4pcs steel poles as shown in step 1, then install them as shown in Fig 6.
natural_image
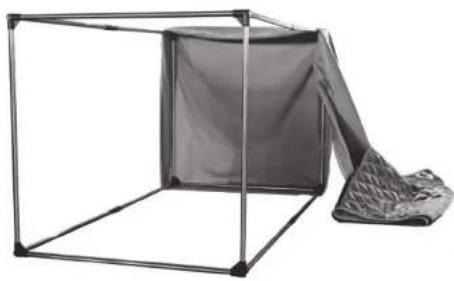
Simple line drawing of a 3D rectangular prism with vertical and horizontal lines, no text or symbols present.4 Pull down the frame, then install the bottom of cover to frame as shown in Fig 7.
natural_image
Black cube with a gray rectangular block and a textured gray surface extending from its side (no text or symbols visible)Fig.7
5
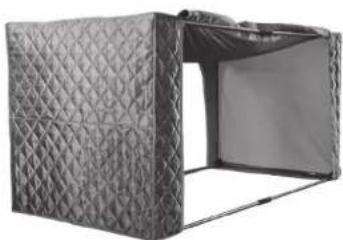
Install the upper of cover to frame as shown in Fig 8.
natural_image
Exterior view of a modern office building (no signage)Fig.8
6
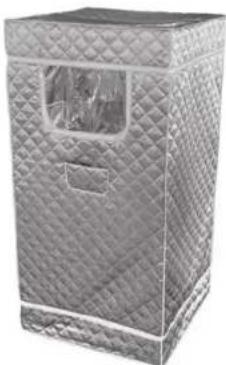
Made the product stand, zip up the main zipper, the final look is shown in Fig 9.
natural_image
Exterior view of a woven textile box with diamond stitching (no text or symbols visible)Fig.9
HOW TO GET STARTED
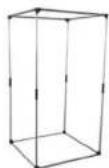
- Open the package, read carefully the instruction about assembling sauna.
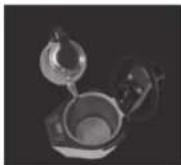
- Open steamer lid, pour clean water into the steamer.
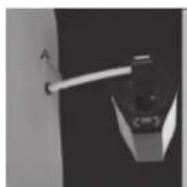
- Bring out steam tube (print A) and connect steamer outlet into sauna.
natural_image
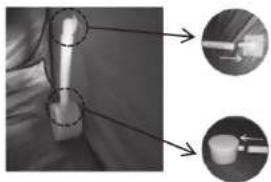
Close-up of a mechanical component with two circular insets showing close-ups of a cylindrical part (no visible text or symbols)- Bring out steam tube (print B) and connect sauna outlet with medicine box.
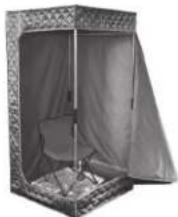
- Put chair, mat into inside of sauna room as shown.
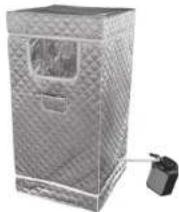
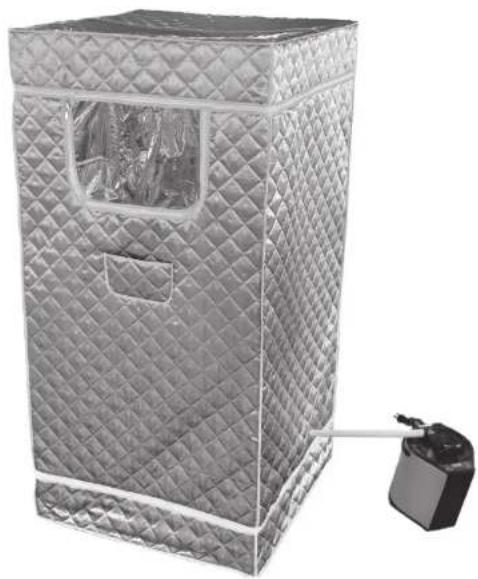
- After finished assembling, you need to wait for 10-15 minutes when the steam fills.
natural_image
Exterior view of a diamond-shaped storage unit with a small water dispenser attached (no text or symbols visible)
Return / Damage Claim Instructions
⚠️ DO NOT discard the box / original packaging.
In case a return is required, the item must be returned in original box. Without this your return will not be accepted.
⚠️ Take a photo of the box markings.
A photo of the markings (text) on the side of the box is required in case a part is needed for replacement. This helps our staff identify your product number to ensure you receive the correct parts.
⚠️ Take a photo of the damaged part (if applicable).
A photo of the damage is always required to file a claim and get your replacement or refund processed quickly. Please make sure you have the box even if it is damaged.
⚠️ Send us an email with the images requested.
Email us directly from marketplace where your item was purchased with the attached images and a description of your claim.
Brand : COSTWAY
Model : BA8085
Category : Pain Meter