
62453 - Bureau de travail WilTec - Free user manual and instructions
Find the device manual for free 62453 WilTec in PDF.


| Product Type | Office Desk |
| Brand | WilTec |
| Model | 62453 |
| Dimensions (L x W x H) | 120 cm x 60 cm x 75 cm |
| Weight | 15 kg |
| Material | Engineered wood with steel frame |
| Color | Black / Silver |
| Load Capacity | 50 kg |
| Assembly Required | Yes |
| Recommended Use | Home office, study, workstation |
| Features | Spacious desktop, sturdy construction, easy assembly |
| Cleaning Instructions | Wipe with a damp cloth; avoid harsh chemicals |
| Safety Note | Ensure stability; do not overload |
| Spare Parts Availability | Contact manufacturer for replacement parts |
| Manual Language | English (PDF download available) |
Frequently Asked Questions - 62453 WilTec
User questions about 62453 WilTec
0 question about this device. Answer the ones you know or ask your own.
Ask a new question about this device
Download the instructions for your Bureau de travail in PDF format for free! Find your manual 62453 - WilTec and take your electronic device back in hand. On this page are published all the documents necessary for the use of your device. 62453 by WilTec.
USER MANUAL 62453 WilTec
natural_image
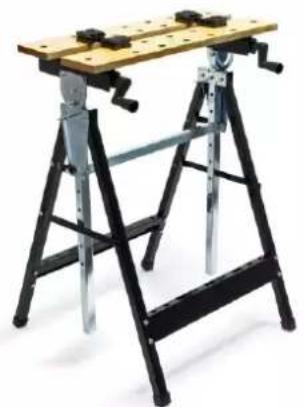
Two metal ladder workbenches with wooden worktable and adjustable clamps (no text or symbols visible)Illustration similar, may vary depending on model
Read and follow the operating instructions and safety information before using for the first time.
Technical changes reserved!
Due to further developments, illustrations, functioning steps, and technical data can differ insignificantly.
Updating the documentation
If you have suggestions for improvement or have found any irregularities, please contact us.
The information contained in this document may alter at any time without previous notice. It is prohibited to copy or spread any parts of this document in any way without prior written allowance. All rights reserved.
The WilTec Wildanger Technik GmbH cannot be held accountable for any possible mistakes in this operating manual, nor in the diagrams and figures shown.
Even though, the WilTec Wildanger Technik GmbH has undergone biggest possible efforts to ensure that the operating manual is complete, faultless, and up to date, mistakes cannot be entirely avoided.
If you should find a mistake or wish to make a suggestion for improvement, we look forward to hearing from you.
Send an e-mail to:
service@wiltec.info
or use our contact form:
https://www.wiltec.de/contacts/
The most recent version of this manual in various languages can be found in our online shop via:
https://www.wiltec.de/docsearch
Our postal address is:
To return orders for exchange, repair, or other purposes, please use the following address. Attention! To allow for a smooth execution of your complaint or return, it is important to contact our customer service team before returning the goods.
Returns Department
Thank you for purchasing this quality product. To minimise the risk of injury we urge that our clients take some basic safety precautions when using this device. Please read the operation instructions carefully and make sure you have understood its content.
Keep these operation instructions safe.
Important safety instructions
Carefully read the instructions and keep them in a safe place so that you can refer to them at any time.
- When assembling the workbench, make sure that the plastic feet are correctly attached to the frame.
• Make sure that all bolts and screws attached to the bench are securely tightened before each use.
- If the workbench is collapsed while in storage, the hexagon bolts may need to be loosened before collapsing. Note: Make sure that the hexagon screws are tightened again before each use.
- Always keep your work area tidy and well lit. Untidy and too dark work areas increase the risk of accidents.
• Do not leave tools or other materials on the workbench when not in use.
- Never use the workbench as a stepladder.
- Never stand, sit, or kneel on the workbench assembled.
• Never exceed the maximum load capacity of the workbench of 100 kg (220 lbs).
- Always place heavy loads gently on the work surface so that the load can be absorbed gradually.
Workbench assembly instructions
r^st step: mounting the worktop
-
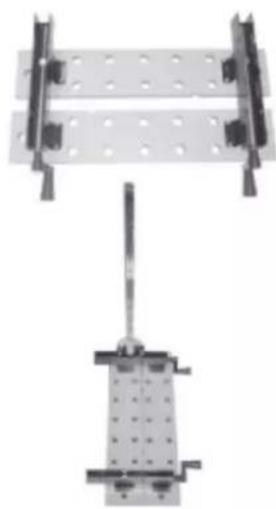
Connect the bars and worktops with inward-facing notches using wood screws.
-
Connect the movable feet to the rails with bolts (M8×14), nuts (M8×P1.2), and washers (16×8×1.2).
natural_image
Mechanical assembly diagram showing a suspended platform with mounting brackets and a central rod (no text or symbols)2^nd step: mounting the base frame and crossbars
-
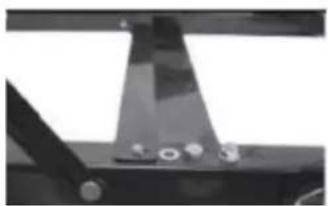
Connect the crossbars and the base frame using bolts (M6×P1×35), washers (13×6×1.2), and nuts (M6×P1).
-
Connect the horizontal bar to the base using screws (M5×12), washers (5×0.8), and nuts (M6×P1).
natural_image
Close-up of a mechanical component with mounting holes and a triangular support (no visible text or symbols)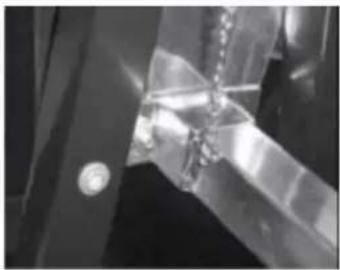
natural_image
Close-up of a metallic mechanical component with reflective surfaces and a small circular detail (no visible text or symbols)
natural_image
Close-up of a transparent container with two small white objects on its side (no visible text or symbols)3^rd step: attaching the base frame to the worktop
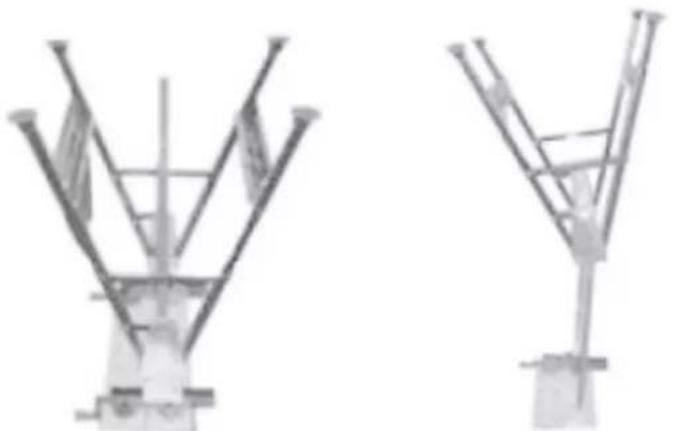
- Unfold the feet of the base frame so that the frame can stand up by itself. Then close and lock the locking latches attached to the base frame. Make sure that the latches are secure.
- Place the pre-assembled worktop with bars and movable feet on the floor so that the movable feet are vertical or at a 90° angle.
- Turn the pre-assembled base frame with crossbars and horizontal rods over so that the frame feet point upwards. Then slide the frame onto the movable feet.
- Secure the worktop to the base with U-shaped studs.
natural_image
Two identical mechanical or structural diagrams with vertical supports and beams, no visible text or symbols.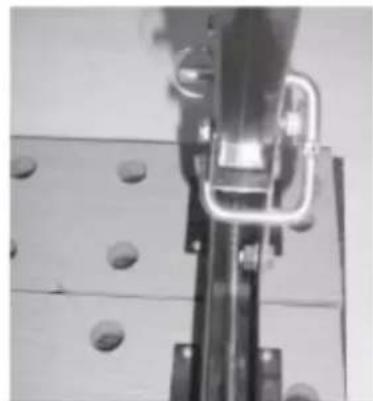
natural_image
Close-up of a mechanical assembly with metal components and bolts (no visible text or symbols)4^th step: attaching the plastic feet to the base frame
- Turn the assembled workbench over and place it on the floor.
- The longest edge of each plastic foot must be attached to the outside corner.
natural_image
Silhouette of a cylindrical object with a flared top and stem (no text or symbols visible)5^th step: workpieces/tools
Choose suitable holes on the worktop for attaching workpieces or tools.
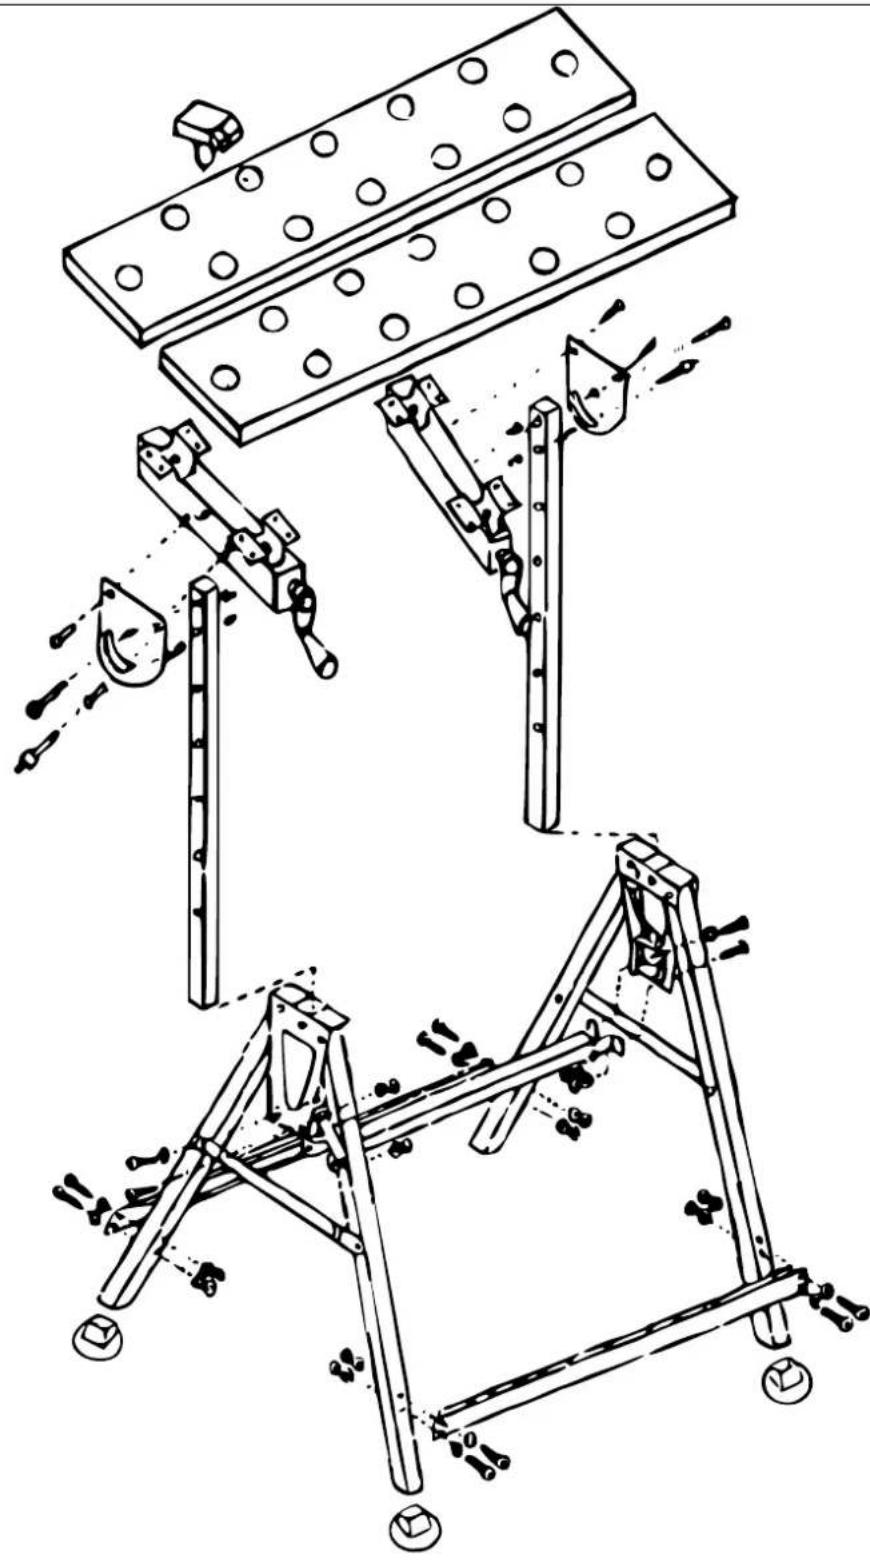
Parts list and exploded view
| Figure | Name | Quantity |
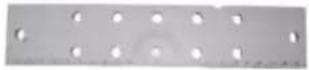 | Worktop | 2 |
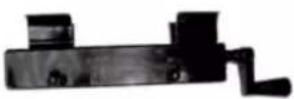 | Slide rail base | 2 |
 | Movable feet | 2 |
 | Horizontal bar | 1 |
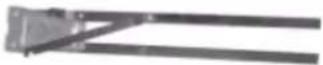 | Base frame | 2 |
 | Crossbars | 2 |
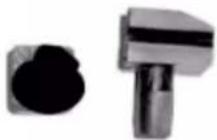 | Plastic feetWedges | 44 |
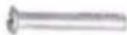     | Bolt M6×P1×35 mmBolt M5×12 mmBolt M8×14 mmBolt M5×12Wood screw | 824216 |
  [BCGG] [BCGG]   | Washer 16×8×1.2Washer 13×6×1.2Washer 5×0.8Nut M8×P1.2Nut M6×P1Nut M5×P1 | 8166484 |
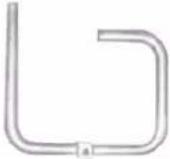 | U-shaped stud | 2 |
natural_image
Technical line drawing of a mechanical assembly with multiple supports and components (no text or symbols)Important notice:
The reprint or reproduction, even of excerpts, and any commercial use, even in part, of this instruction manual require the written permission of WilTec Wildanger Technik GmbH.
https://www.XPOtool.com Item 62453 Page 6
The Tool Experts
11 2022-1
Brand : WilTec
Model : 62453
Category : Bureau de travail