
Cup Holder XL - Accessory Emmaljunga - Free user manual and instructions
Find the device manual for free Cup Holder XL Emmaljunga in PDF.


| Product Type | Cup Holder Accessory |
| Brand Compatibility | Emmaljunga Strollers |
| Dimensions (approx.) | 10 x 8 x 8 cm |
| Weight | 110 g |
| Material | Plastic (PP) |
| Installation | Clip-on, no tools required |
| Maximum Cup Diameter | 8 cm |
| Capacity | Holds standard cups, bottles, and sippy cups |
| Adjustable | Yes, tilt and rotate for easy access |
| Cleaning | Hand wash with mild soap, dry before use |
| Safety | No sharp edges; secure attachment prevents spills while walking |
| Replacement Parts | Contact Emmaljunga customer service for clips or brackets |
| Repairability | Non-repairable; replace if damaged |
| Color | Black (standard) |
Frequently Asked Questions - Cup Holder XL Emmaljunga
User questions about Cup Holder XL Emmaljunga
0 question about this device. Answer the ones you know or ask your own.
Ask a new question about this device
Download the instructions for your Accessory in PDF format for free! Find your manual Cup Holder XL - Emmaljunga and take your electronic device back in hand. On this page are published all the documents necessary for the use of your device. Cup Holder XL by Emmaljunga.
USER MANUAL Cup Holder XL Emmaljunga
natural_image
3D rendered black and blue plastic cup with cutouts, no visible text or symbolsInstruction manual NXT90, NXT60, NXT90B, NXT TWIN
EN: IMPORTANT INFORMATION- READ THESE INSTRUCTIONS CAREFULLY BEFORE USE AND KEEP THEM FOR FUTURE REFERENCE. YOUR CHILD'S SAFETY MAY BE AFFECTED IF YOU DO NOT FOLLOW THESE INSTRUCTIONS. Always read the instructions for use in conjunction with the manual for the relevant Pram. This product complies with EN 1888-2:2018. Sales or marketing of the product outside the EU, EFTA countries is not allowed. Please visit www.emmaljunga.com for the latest version of this manual before using the product.
natural_image
3D model of a black mask with a circular component and arrow indicating assembly (no text or symbols)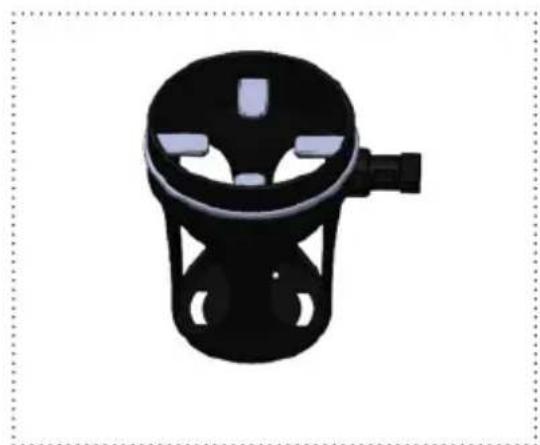
natural_image
Black plastic mechanical component with cutouts and a handle (no text or symbols visible)②
natural_image
Illustration of a two-wheeled baby stroller with metal frame and wheels (no text or symbols)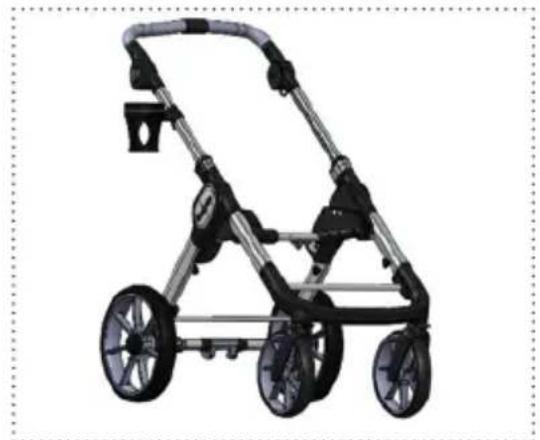
natural_image
Model of a baby stroller with four wheels and metal frame (no text or symbols visible)3
natural_image
3D CAD model of a mechanical assembly with a cylindrical component and mounting bracket (no text or symbols visible)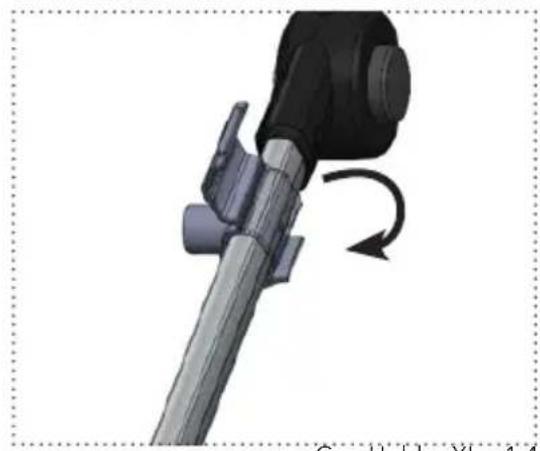
natural_image
Mechanical component with a rotating arrow indicating rotation (no text or symbols visible)4
Cup Holder XL v 1.4
4
natural_image
3D CAD model of a mechanical assembly with no visible text or symbols4.2
natural_image
Close-up of a mechanical tool with a curved arrow indicating rotation or adjustment (no text or symbols visible)5
natural_image
3D rendered mechanical component with black and metallic parts, no visible text or symbolsSE
Bäste kund,
we hope you will be satisfied with this product. The rubber ring consists of luminous material that is charged by sunlight or ordinary light and then it will glow in the dark.
WARNING!
• Maximum load 0.5 kg.
- Do not place hot liquids in the cup holder.
- All items that are hung on the pram eg. handlebar / seat unit back rest or the sides of the pram affects its stability.
- Never install the cup holder with liquids in it.
- Never leave your child unattended.
- Do not let your child play with this product.
- If you need to identify this product there is a sticker showing model name and serial number placed on the product.
1) Installation of the rubber ring
- 1 Attach the rubber ring onto the cup holder. Insert one of the four rubber pieces into the slot on the side of the cupholder
- 2 WARNING! Never let children handle the rubber ring, cup holder or fixings.
2) Position
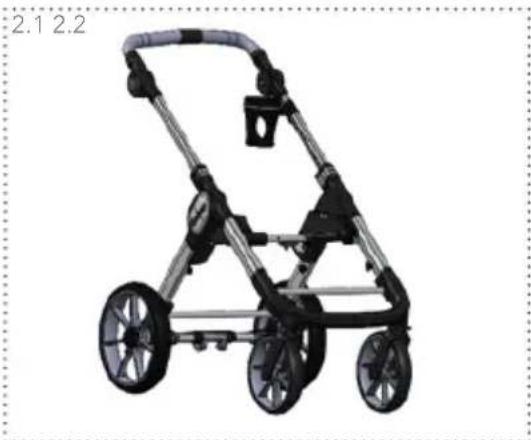
- 1 The cup holder can be placed on the LEFT inside the chassis (when standing behind the prams handlebar).
- 2 The cup holder can be placed on the RIGHT outside the chassis (when standing behind the prams handlebar). Attach the cup holder on the side of the pram that is best for you and your child.
3) Installation on the Left side
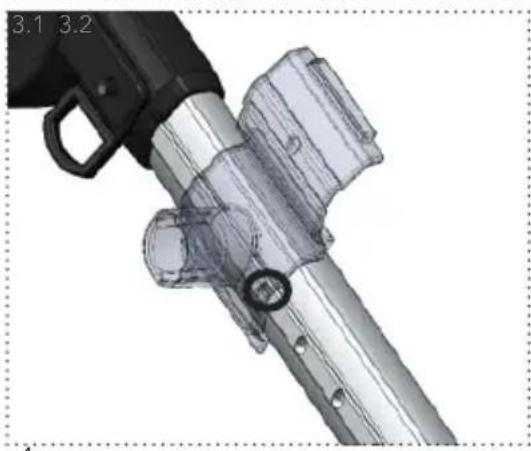
3.1 Place the bracket on the handlebar on 8
the left side seen from standing behind the handlebars and ensure that the bulge of the bracket engages in an indentation
3.2 Close the bracket round the chassis and click both sides into place.
4) Installation on the right side
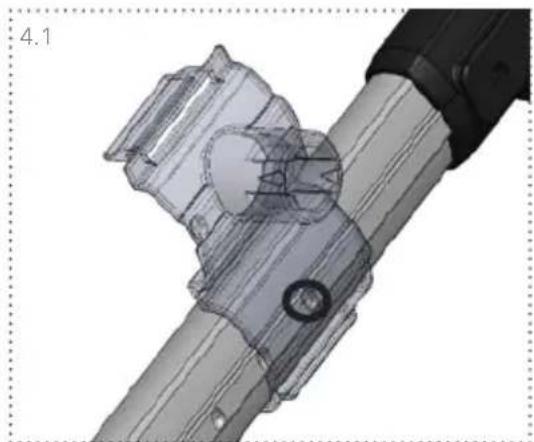
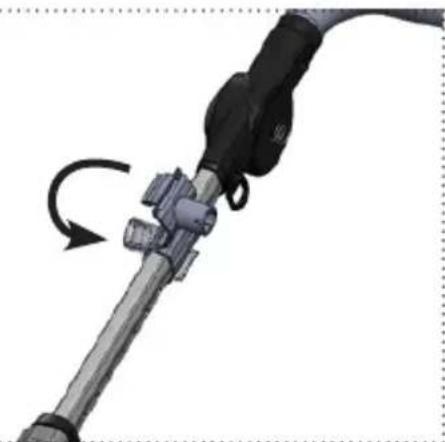
4.1 Place the bracket on the handlebar on the Right side seen from standing behind the handlebars and ensure that the bulge of the bracket engages in an indentation on the handlebars.
4.2 Close the bracket round the chassis and click both sides into place.
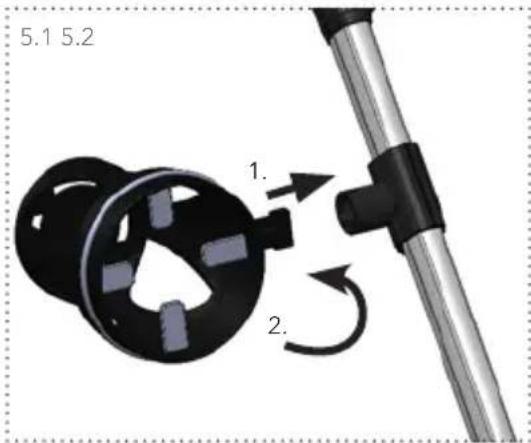
5) Attaching the Cup holder.
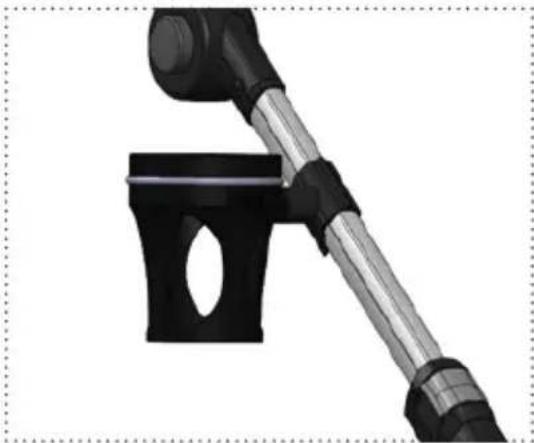
5.1 Insert the cup holder in the bracket so that the two marks on the bracket and cup Holder are parallel.
5.2 Fixed and ready to go.
IMPORTANT INFORMATION- READ THESE INSTRUCTIONS CAREFULLY BEFORE USE AND KEEP THEM FOR FUTURE REFERENCE. YOUR CHILD'S SAFETY MAY BE AFFECTED IF YOU DO NOT FOLLOW THESE INSTRUCTIONS. Always read the instructions for use in conjunction with the manual for the relevant Pram. This product complies with EN 1888-2:2018. Sales or marketing of the product outside the EU, EFTA countries is not allowed. Please visit www.emmaljunga.com for the latest version of this manual before using the product.
Cup Holder XL v 1.4
DK
Kære kunde,
natural_image
Aerial view of a large industrial complex surrounded by autumn-colored trees and residential houses (no visible text or signage)Made in Emmaljunga / Sweden
© 2021 Emmaljunga Barnvagnsfabrik AB
Brand : Emmaljunga
Model : Cup Holder XL
Category : Accessory