
CTU 45 - Service Pliers Extron - Free user manual and instructions
Find the device manual for free CTU 45 Extron in PDF.


| Product Type | Crimping Tool (Pince de service) |
| Brand | Extron |
| Model | CTU 45 |
| Intended Use | Crimping connectors for Extron AV systems |
| Die Compatibility | Accepts interchangeable dies for various connector types |
| Die Replacement | Remove two screws, slide old dies out, slide new dies in, replace screws |
| Dimensions (Approx.) | 20 cm x 5 cm x 2 cm |
| Weight (Approx.) | 300 g |
| Material | Hardened steel with ergonomic handles |
| Operation | Manual hand force |
| Maintenance | Keep clean and lightly lubricate moving parts |
| Cleaning | Wipe with dry or slightly damp cloth; avoid solvents |
| Storage | Store in dry place, away from dust and moisture |
| Safety | Keep out of reach of children; use only Extron dies |
| Spare Parts Available | Replacement dies for CTU 45 |
| Repairability | User-replaceable dies; tool not serviceable internally |
| Warranty | Standard Extron warranty (check product documentation) |
| Certifications | CE, RoHS (typical) |
| Country of Origin | USA (Extron headquarters) or China (manufacturing) |
Frequently Asked Questions - CTU 45 Extron
User questions about CTU 45 Extron
0 question about this device. Answer the ones you know or ask your own.
Ask a new question about this device
Download the instructions for your Service Pliers in PDF format for free! Find your manual CTU 45 - Extron and take your electronic device back in hand. On this page are published all the documents necessary for the use of your device. CTU 45 by Extron.
USER MANUAL CTU 45 Extron
Extron Universal Crimp Tool dies can be easily installed or replaced into an Extron crimp tool as shown in the instructions below.
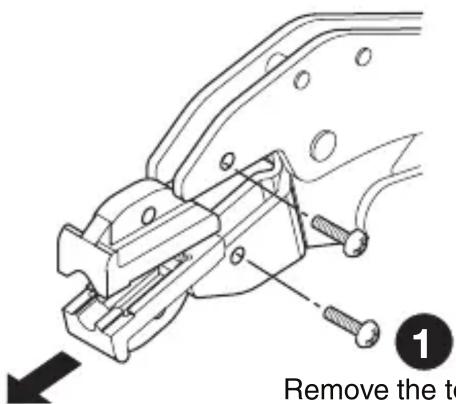
Removing the Dies
2
Remove the top and bottom screws that hold the dies in the crimp tool.
Slide the top and bottom dies out of the crimp tool.
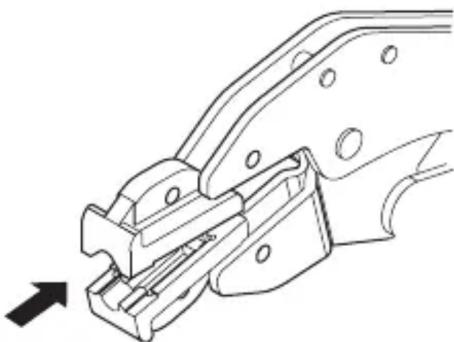
Installing Replacement Dies
natural_image
Technical line drawing of a mechanical clamp or bracket assembly (no text or symbols)1 Slide the replacement dies into the crimp tool.
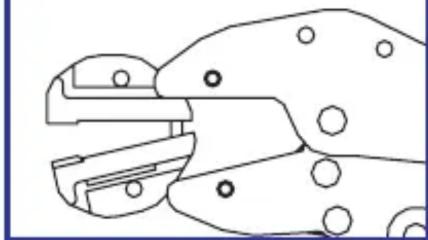
NOTE: Keep the dies together while inserting them into the crimp tool.
natural_image
Line drawing of a crimping tool with no text or symbols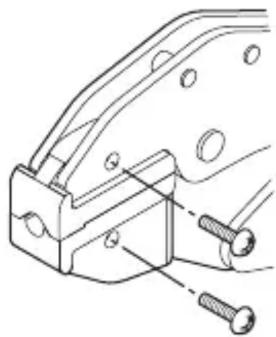
natural_image
Technical line drawing of a mechanical clamp or bracket assembly with screws and bolts (no text or symbols)2 Carefully close the crimp tool to hold the dies in place.
3 Replace the top and bottom screws to secure dies in place.
68-2658-01
Rev. A
06 14
Brand : Extron
Model : CTU 45
Category : Service Pliers