
Tapo S500D - Home Automation TP-LINK - Free user manual and instructions
Find the device manual for free Tapo S500D TP-LINK in PDF.

| Product Type | Smart Dimmer Switch |
| Dimensions | 4.5 x 4.5 x 1.5 inches (114 x 114 x 38 mm) |
| Weight | 100 g (3.5 oz) |
| Power Input | 100-240V AC, 50/60 Hz |
| Maximum Load | 300W (incandescent), 150W (LED) |
| Wireless Connectivity | Wi-Fi 2.4 GHz, IEEE 802.11 b/g/n |
| App Control | TP-Link Tapo app (iOS & Android) |
| Voice Control | Amazon Alexa, Google Assistant |
| Scheduling | Timer and countdown schedules |
| Dimming Range | 1% to 100% (compatible bulbs) |
| Operating Temperature | 0°C to 40°C (32°F to 104°F) |
| Housing Material | Polycarbonate and ABS plastic |
| Installation | Wall box mounting (standard US size) |
| Care and Cleaning | Wipe with a dry, soft cloth; do not use liquids or sprays |
| Safety Certifications | UL, FCC, RoHS |
| Spare Parts and Repairability | No user-serviceable parts; contact TP-Link support for issues |
| Warranty | 2-year limited warranty |
| Compatible Bulb Types | Incandescent, dimmable LED, dimmable CFL, halogen |
| Minimum Load | 5W for dimmable LEDs, 40W for incandescent |
| Smart Features | Remote on/off, dimming, scenes, away mode |
Frequently Asked Questions - Tapo S500D TP-LINK
User questions about Tapo S500D TP-LINK
0 question about this device. Answer the ones you know or ask your own.
Ask a new question about this device
Download the instructions for your Home Automation in PDF format for free! Find your manual Tapo S500D - TP-LINK and take your electronic device back in hand. On this page are published all the documents necessary for the use of your device. Tapo S500D by TP-LINK.
USER MANUAL Tapo S500D TP-LINK
natural_image
Simple white rectangular device with a circular button on top, placed on a plain white background (no text or symbols)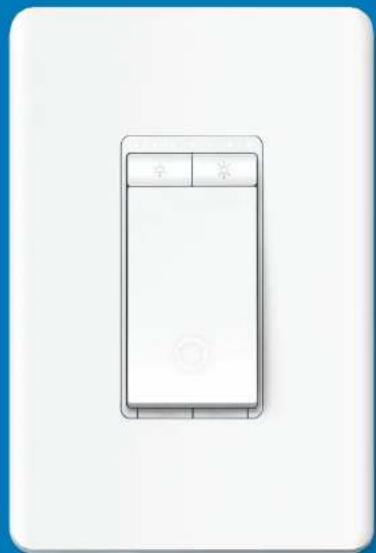
natural_image
Simple line drawing of a mobile phone device with two buttons and a blank screen (no text or symbols)User Guide
Smart Wi-Fi Light Switch
Contents
About This Guide....1
Set Up Your Switch 2
Main Device Controls 3
Manage Device Settings 6
Smart Actions....10
Me Page 13
About This Guide
This guide provides a brief introduction to the Smart Switch and regulatory information.
Please note that features available in Tapo may vary by model and software version. Tapo availability may also vary by region. All images, steps, and descriptions in this guide are only examples and may not reflect your actual Tapo experience.
Conventions
In this guide, the following convention is used:
| Convention | Description |
| Blue | Key information appears in blue, including management page text such as menus, items, buttons and so on. |
| Underline | Hyperlinks are in blue and underlined. You can click to redirect to a website. |
| ■Note: Ignoring this type of note might result in a malfunction or damage to the device. | |
More Info
- Specifications can be found on the product page at https://www.tapo.com.
• Our Technical Support and troubleshooting information can be found at https://www.tapo.com/support/.
Set Up Your Switch
Follow the steps below to set up your switch.
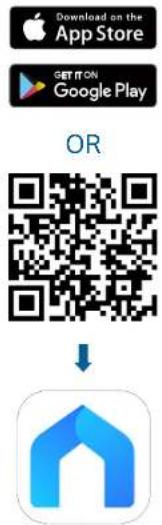
Step 1. Download Tapo App
Get the Tapo app from the App Store or Google Play, or by scanning the QR code below.
Step 2. Log In
Open the app, and log in with your TP-Link ID. If you don't have an account, create one first.

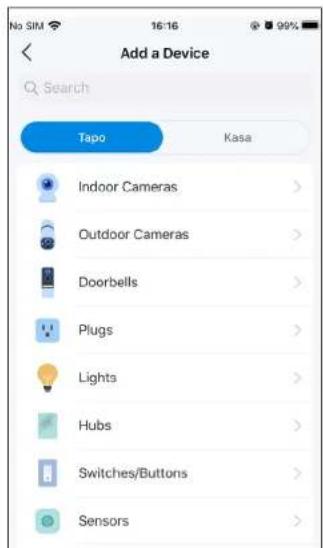
Step 3. Add Your Switch
Tap the button in the app and select your switch. Then follow app instructions to set up your switch.
Main Device Controls
After you successfully set up your Smart Switch, you will see the home page of the Tapo app. Here you can view and manage all devices that you've added to Tapo. Tap your smart switch to control and manage it.
Home Page
Turn on/off your device on the Home page.

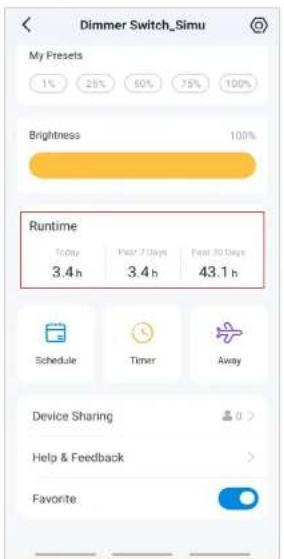
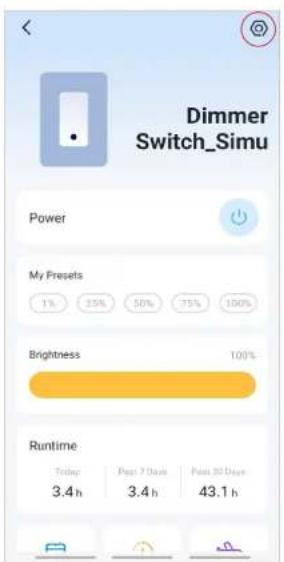
Status Page
Turn on/off your device, or set schedules, timer, Away Mode or check runtime on the Status page. If your Smart Switch is a dimmer switch, you can also change light brightness and check preset brightness.
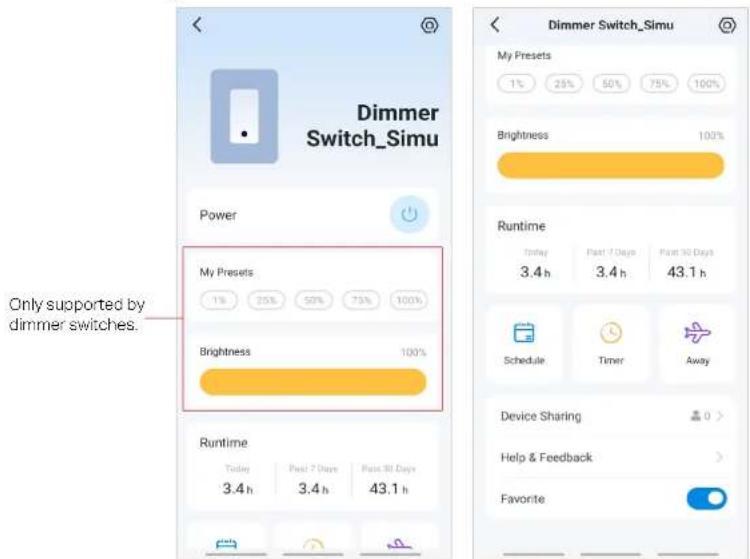
Check Runtime
Keep track of how long your Smart Switch has been working today, for the past 7 days, or for the past 30 days.
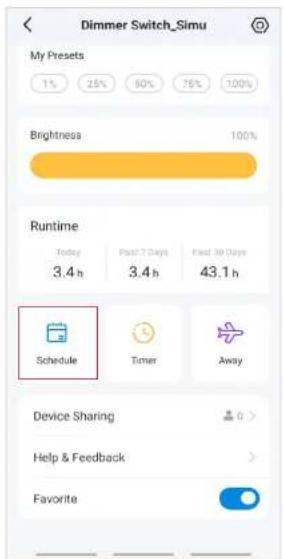
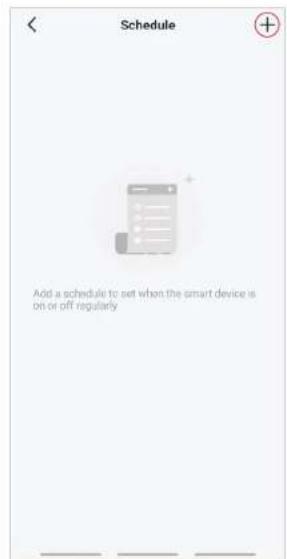
Set Schedules
Automatically turn on/off the light at set times according to your daily routine.
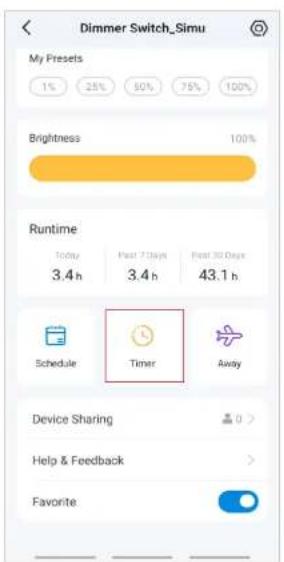
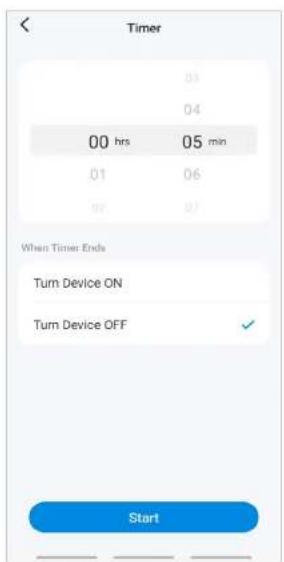
Set a Timer
Automatically turn on/off after the time ends.
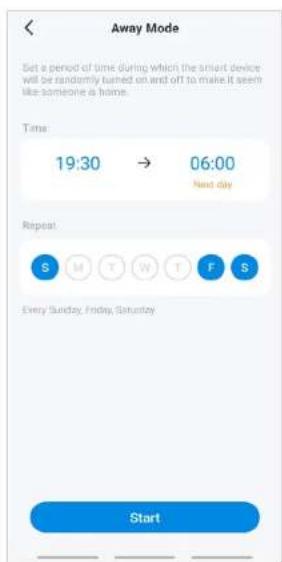
Set Away Mode
Turn on/off the light automatically at random intervals while you are away to make the appearance that someone is at home.

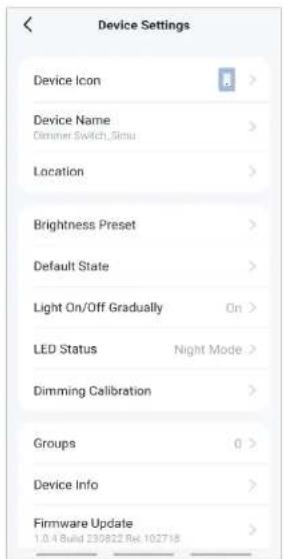
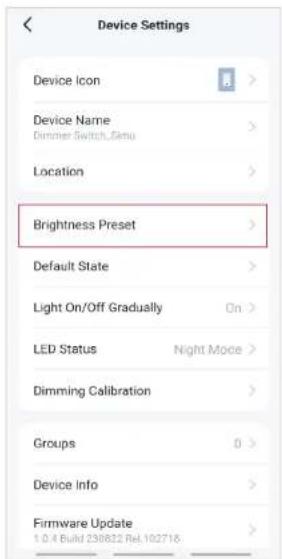
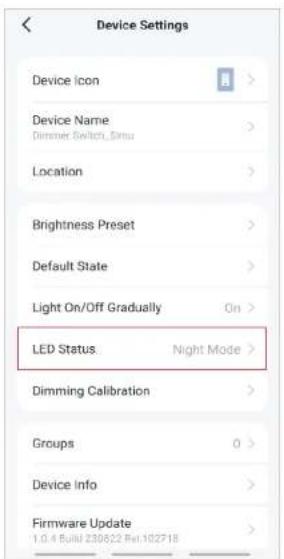
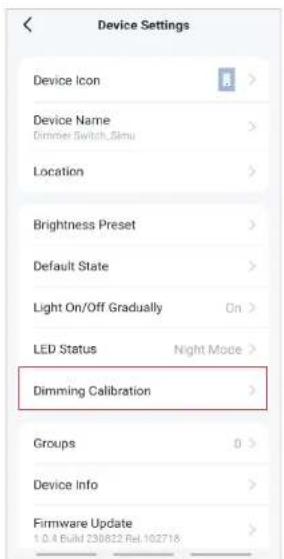
Manage Device Settings
You can change the name and icon of your Smart Switch and check its device info.
Tap 📍 on the Status Page to enter the Device Settings page.
- Set light brightness presets.
(*Only supported by dimmer switches.)
Set preset brightness levels so you can switch to the desired brightness with just one tap. The presets will appear on the Status page of the light.
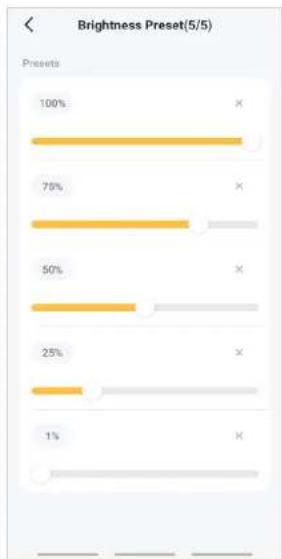
bar
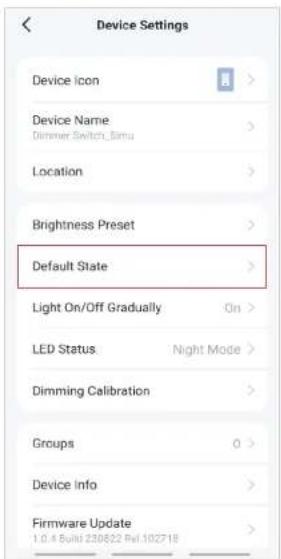
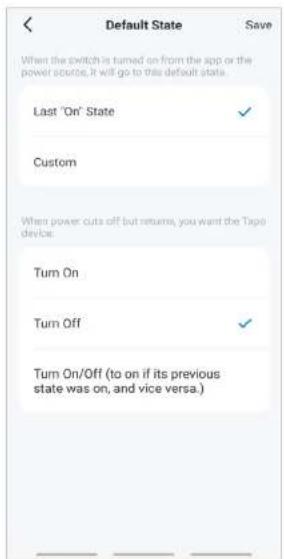
Brightness Preset(5/5) | Presets | Percentage (%) | | :--- | :--- | | 100% | 100 | | 75% | 75 | | 50% | 50 | | 25% | 25 | | 1% | 1 |2. Set default state.
Set the default state your Smart Switch will turn to when it is turned on from the app or the power source.
*The default state options may vary for different models.
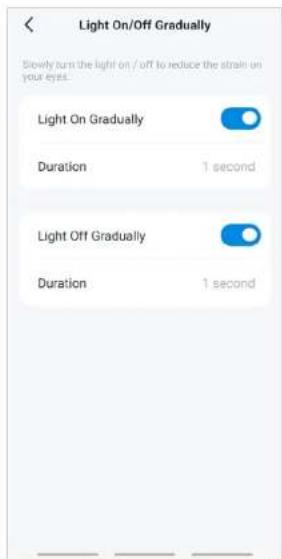
3. Set light to turn on/off gradually. (\*Only supported by dimmer switches.)
Set the duration for the light to turn on or off gradually.
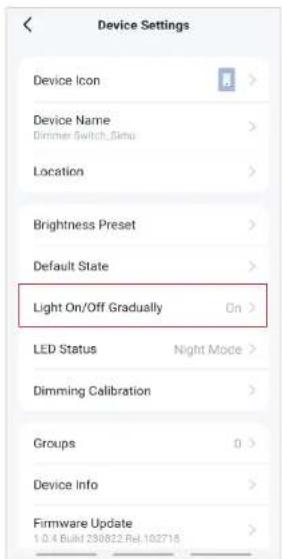
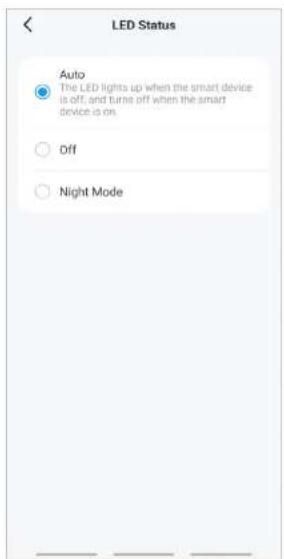
- Control your device LED.
Set when the LED is on or off.
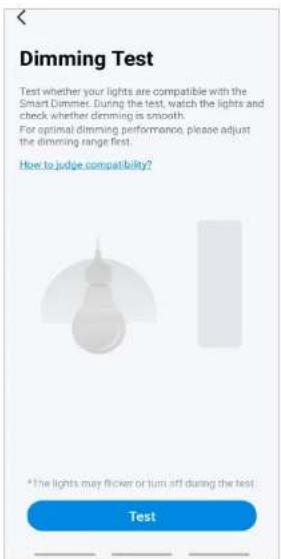
- Calibrate your device.
(*Only supported by dimmer switches.)
Calibrate your device to dim your light smoothly.
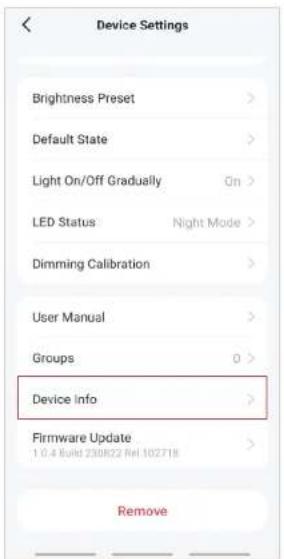
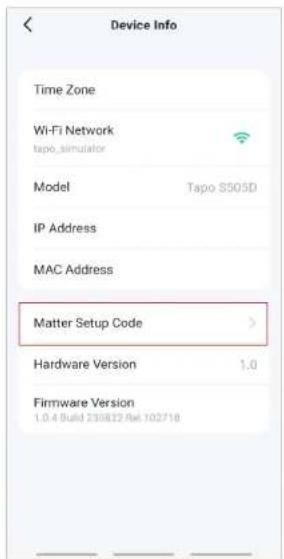
6. Check device info.
If your device supports Matter, you can find the Matter setup code here to add it the first Matter ecosystem.
Smart Actions
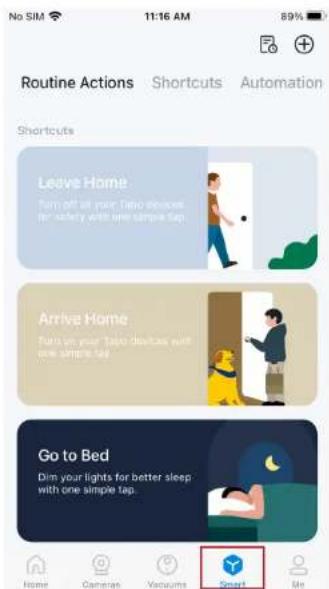
Smart Actions automate repetitive tasks, allowing you to blaze through tedium with utmost ease. Set everything up once and never have to worry about it again. With Smart Actions, giving your home that level of intelligence is a snap. Shortcut lets you perform an action with a simple tap. Automation allows you to automate tasks to be performed at a set time. e.g. Turn on the lights when your camera detects motion.
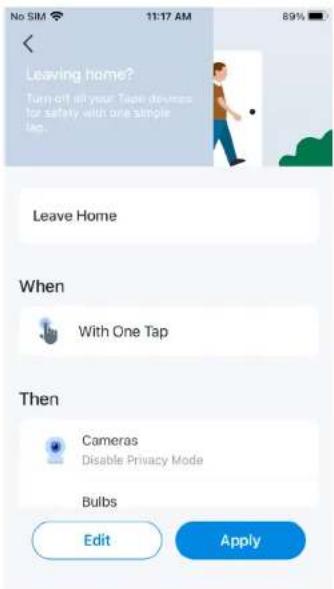
Option 1: Edit based on the routine actions
-
Open the Tapo app, tap Smart on the
-
Under Routine Actions, tap an action. Tap Edit to change the settings as needed and tap Apply
bottom to enter the smart actions page, bottom to enter active changes page.
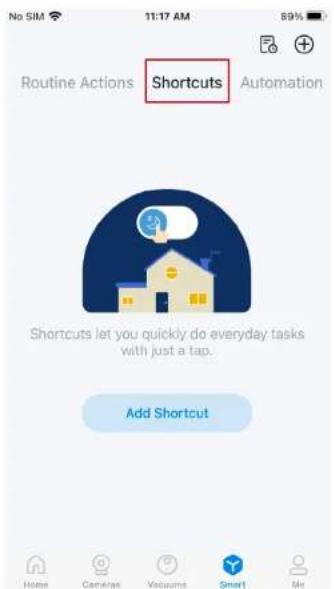
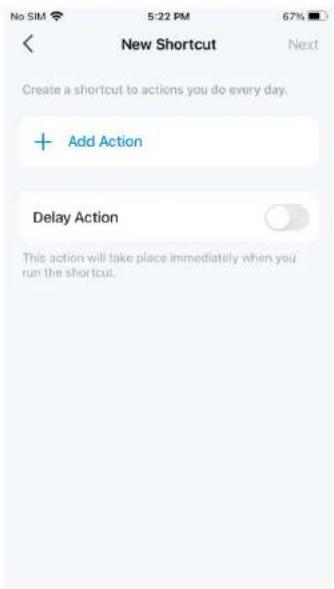
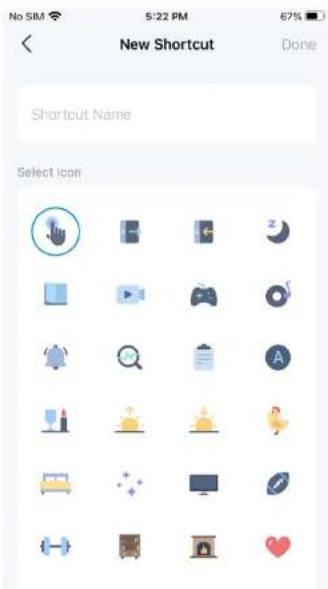
Option 2: Create your own shortcuts
-
Under Shortcuts, tap + on the top right to
-
Add an action and choose whether to delay 2. Add an action and choose whether to delay on 3. Name your s
add a simple and smart action. add a simple and smart action. the action.
Tap Done to save all the settings.
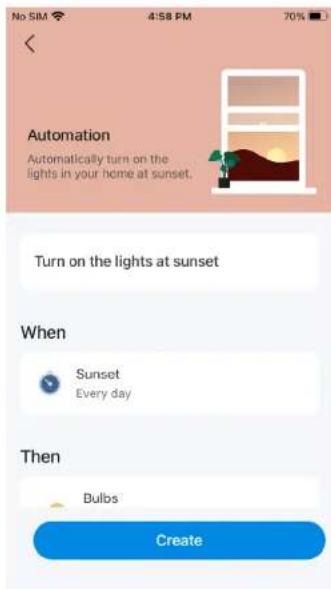
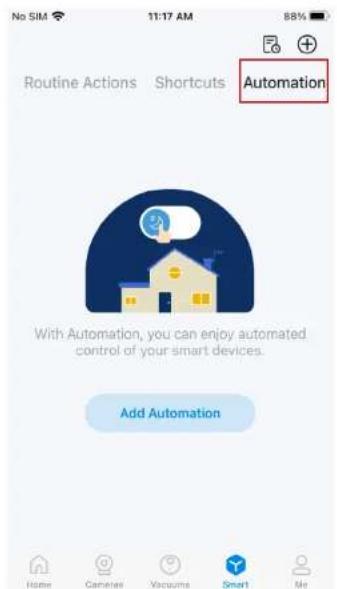
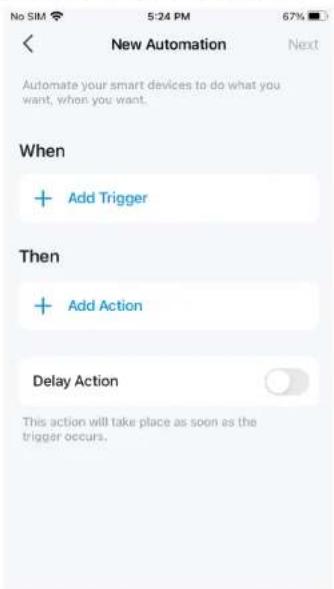
Option 3: Create your own actions
-
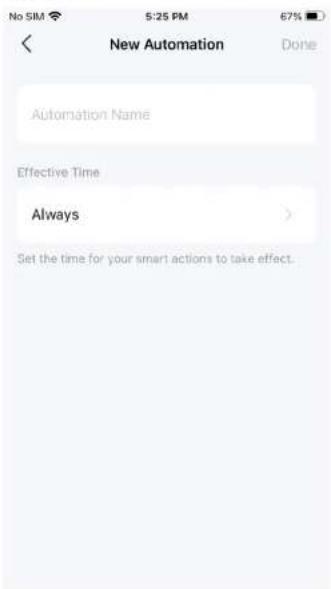
Under Automation, tap + on the top right to add a simple and smart act on add a simple and
-
- Name the new action. Tap + to add conditions (art action) like the trigger time, and tap + to add tasks (Then) like turning on the switch.
-
- Name your automation and set the effective time for the automation. Tap Done to save all the settings.
Me Page
The Tapo app offers a list of advanced features to fulfill diverse smart home needs.
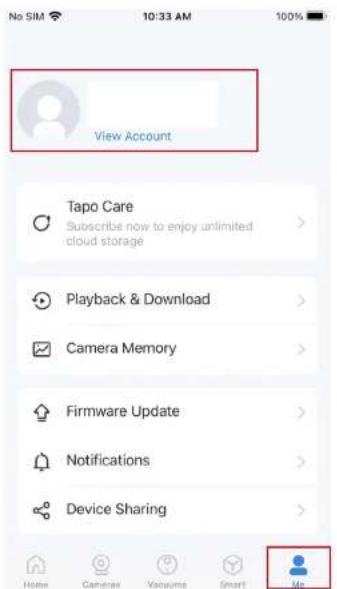
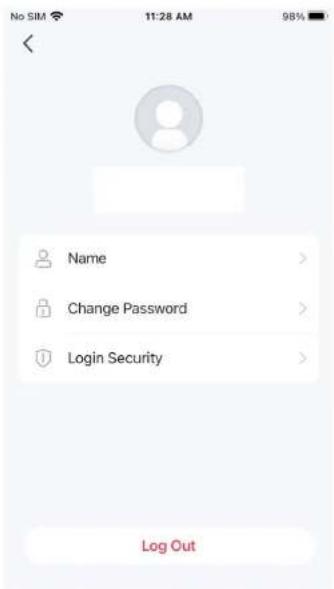
Manage Your Account
Open the Tapo app, tap Me on the bottom to enter the page. Then you can tap your avatar or account to change the avatar, name, password, and login security.
Tapo Care
Tapo Care is a comprehensive service with unlimited cloud storage. You can subscribe to the advanced plan for your Tapo cameras.

Playback & Download
You can tap any of your Tapo cameras to enter the camera's Playback & Download page. If you tap Upgrade Now, the Tapo Care page appears.
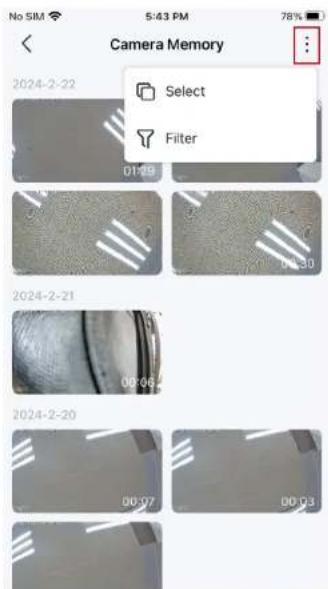
Camera Memory
All saved recordings appear in Memory. You can tap the ⚙ icon to manage and filter the recordings.
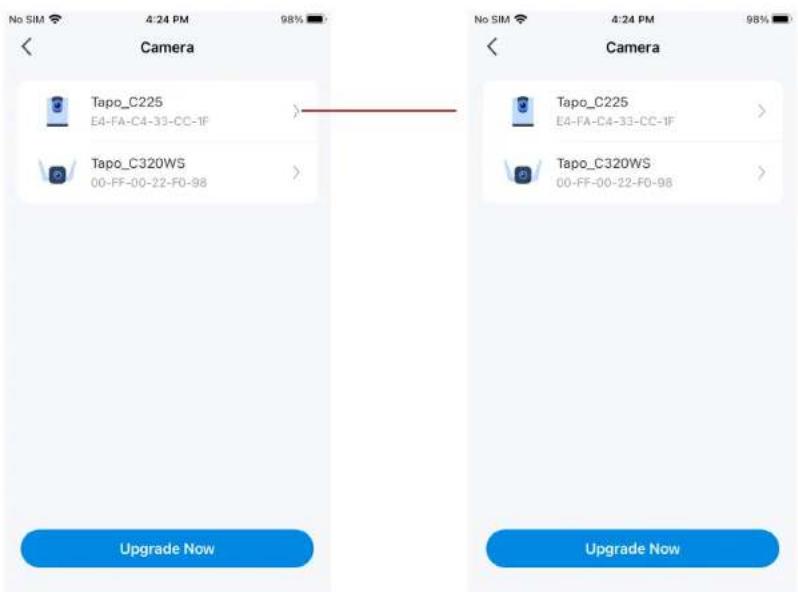
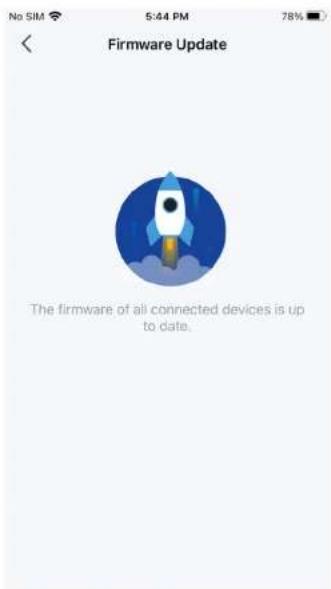
Firmware Update
Tap to check if any firmware updates are available on this page and update your devices as instructed.
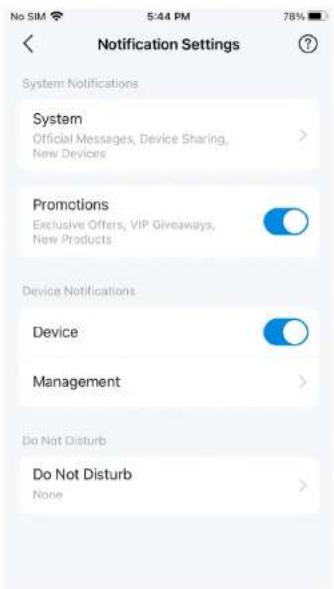
Notifications
Turn on Notifications to allow Tapo to show alerts on the Lock Screen, Banners, and Notification Center as needed.
Device Sharing
Share your Tapo device with your families and check the devices shared by others. Tap the 🌿 icon to add a bothering inviter to the Deny List.

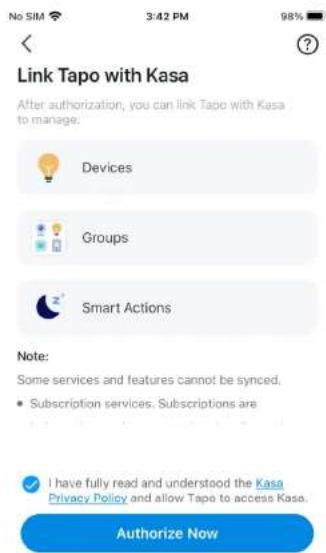
Link Tapo with Kasa
You can link Tapo with Kasa to Manage Devices, Groups, and Smart Actions. Tap Authorize Now to allow Tapo to access Kasa.
Widgets
With Widgets, you can conveniently control your smart device from the home screen on Android devices or the Today View on iOS devices.
Note: For detailed instructions, please refer to https://www.tp-link.com/support/faq/3313/.
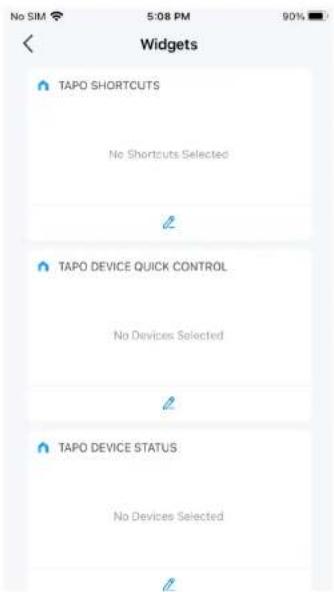
How to use Widgets
With widgets, you can conveniently control your smart devices from the Today View on your iPhone, iPad or iPad touch.
-
Swipe right over the Home screen or Lock screen of your iPhone, iPad or iPod touch. You can see your widgets in the Today View.
-
Scroll to the bottom and tap "Edit". For iOS 14 and above, tap "Customize" at the bottom to continue.
-
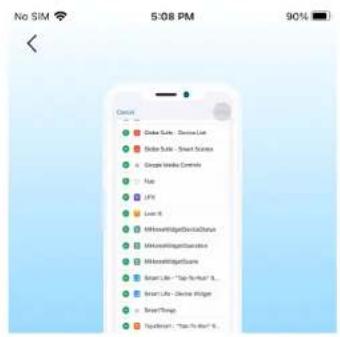
Tap "+" to add Tapo widgets.
-
Tap "Done" to finish.
Note: If the midgate discharges due to the iOS
Third-Party Services
You can control your smart devices through third-party services, including voice control.
Amazon Alexa
Follow the guide https://www.tp-link.com/hk/support/faq/2780/.
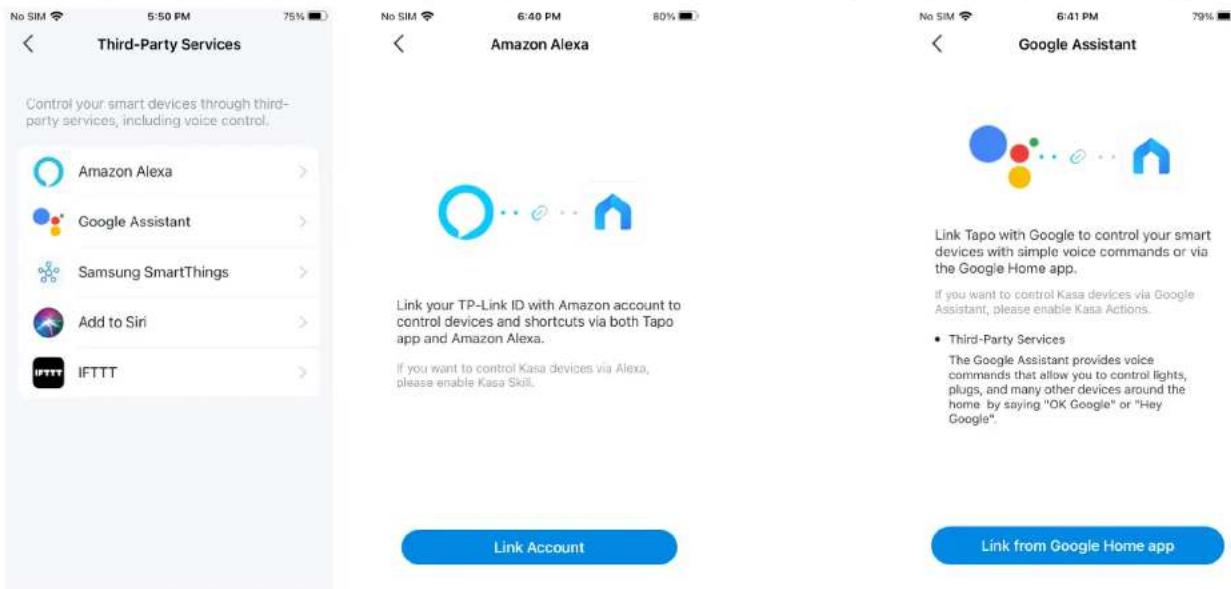
Google Assistant
Follow the guide https://www.tp-link.com/hk/support/faq/2779/.
Third-Party Services
You can control your smart devices through third-party services, including voice control.
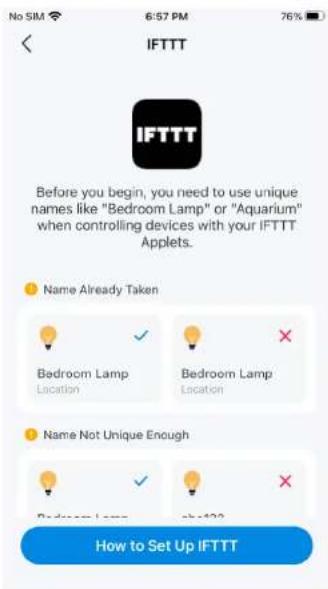
Samsung SmartThings / Add to Siri / IFTTT
You can tap the one as needed, then follow the detailed instructions on the Tapo to complete the connection. Add to Siri is for iOS devices only.
How to Configure Tapo Devices to Work with Samsung SmartThings
Configuration Guide
Updated 07-21-2023 20:58:58 PM
@ 272431
This Article Applies to
This article will introduce how to connect Tapo devices to your Samsung Smart Things app. After setting up the connection successfully, you will be able to control Tapo devices through your Smart Things app.

How to Use Siri to Control Your Tapo or Kasa Smart Devices
Configuration Guide
Updated 02-27-2024 09:12:53 AM
325666
This Article Applies to: ♥
With the Shortcuts App in iOS 12 or above, you can use Siri to control your Tapo/Kasa smart devices — all with just a tap or by asking Siri. It's easy to create a new, custom shortcut using the Shortcuts app for iPhone or iPad. This article takes Tapo as an example to introduce how to implement this feature.
Before You Start:
Ensure your Tapo device is set up successfully and can connect to the internet.

- User Guide
- Contents
- About This Guide
- Conventions
- More Info
- Set Up Your Switch
- Step 1. Download Tapo App
- Step 2. Log In
- Step 3. Add Your Switch
- Main Device Controls
- Home Page
- Status Page
- Check Runtime
- Set Schedules
- Set a Timer
- Set Away Mode
- Manage Device Settings
- Set default state.
- Set light to turn on/off gradually. (\*Only supported by dimmer switches.)
- Check device info.
- Smart Actions
- Option 1: Edit based on the routine actions
- Option 2: Create your own shortcuts
- Option 3: Create your own actions
- Me Page
- Manage Your Account
- Tapo Care
- Playback & Download
- Camera Memory
- Firmware Update
- Notifications
- Device Sharing
- Link Tapo with Kasa
- Widgets
- How to use Widgets
- Third-Party Services
- Amazon Alexa
- Google Assistant
- Samsung SmartThings / Add to Siri / IFTTT
- How to Configure Tapo Devices to Work with Samsung SmartThings
- How to Use Siri to Control Your Tapo or Kasa Smart Devices
Brand : TP-LINK
Model : Tapo S500D
Category : Home Automation