
TLL331091 - Door/window sensor Tellur - Free user manual and instructions
Find the device manual for free TLL331091 Tellur in PDF.


| Product Type | Door/Window Sensor |
| Brand | Tellur |
| Model | TLL331091 |
| Dimensions | 7.5 cm x 4 cm x 1.8 cm |
| Weight | 65 g |
| Power Supply | 2 x AAA batteries (3V) |
| Battery Life | Up to 6 months |
| Wireless Standard | IEEE 802.11 b/g/n (2.4 GHz only) |
| Wi-Fi Configuration | EZ (Smart Config) and AP (Access Point) modes |
| Detection Type | Magnetic reed switch (open/close) |
| Notification Types | Open/Close, Tamper, Low Battery (<10%) |
| History Record | Yes (open/close events) |
| App Compatibility | Tellur Smart (iOS/Android) |
| Voice Control | Amazon Alexa, Google Home |
| LED Indicators | Dual-color (red/blue) for Wi-Fi and status |
| Mounting Options | Adhesive tape or screws |
| Maximum Gap | 10 mm between sensor and magnet |
| Indoor Use Only | Yes (avoid metal, water, extreme weather) |
| Tamper Protection | Built-in tamper button triggers alarm when loosened |
| Reset Procedure | Long press button for 5 seconds until LED flashes |
| Device Sharing | Yes via Tellur Smart app (up to 150 devices) |
Frequently Asked Questions - TLL331091 Tellur
User questions about TLL331091 Tellur
0 question about this device. Answer the ones you know or ask your own.
Ask a new question about this device
Download the instructions for your Door/window sensor in PDF format for free! Find your manual TLL331091 - Tellur and take your electronic device back in hand. On this page are published all the documents necessary for the use of your device. TLL331091 by Tellur.
USER MANUAL TLL331091 Tellur

Smart Door/Window Sensor
User Manual
TLL331091
INTO YOUR FUTURE
1. PRODUCT REVIEW
This Door/Window Sensor is a Wi-Fi, battery powered reed sensor, including device part and magnet part. Working with APP together in your mobile phone, once the state changing (close or open) detected, the device will wake up the Wi-Fi connection to Wi-Fi router, send an alarm signal to your mobile phone via Wi-Fi network, in the case that the APP internet is available locally or remotely. The alarm is selectable as a notification on your mobile phone with bar display, banner with tone, vibration based on the APP Notification setting on your Mobile Phone. There is an around 5-second delay from the state changes to notification on your mobile phone depending on the internet connection quality.
Besides working with APP, this device is compatible with Amazon Alexa and Google Home.
This device can be installed on Door, Window and Drawer, which one part is the frame and the other part can be moved.
2. PRODUCT FEATURES
- Working in 802.11 b/g/n 2.4GHz wireless network (no hub required);
- Wi-Fi network configuration with EZ (Smart Config) and AP(Access Point) mode;
- Powered by 2xAAA battery for lasting 6 months depending on alarm frequency;
• Real state (open/close) monitor in APP; - Notification with Open/Close, Tampered and Low battery (less than 10%);
- Enable/disable notifications on Open/Close, tampered, low battery event in APP;
- Indicate the battery level in APP;
- Open/Close history record;
- Share device in family;
- Dual color LED status indicator;
- Mounting with adhesive tape or screw;
- Works with Amazon Alexa, Google Home;
How to Get the device working:
• Make sure your Wi-Fi network work in 802.11 b/g/n 2.4GHz and internet available;
- Download the APP from Apple store or Google Play;
- Register an account in APP and login with your email address or Mobile phone number;
- Setup the device Wi-Fi connection;
- Mount device on specified location;
• Test and check the Device and APP working state;
- Check working with Alexa and Google Home if necessary;
3. PRODUCT DESCRIPTION
This main device components are showing as following:


1) Latch button: press the Latch button to take apart the battery cover from the device part in order to change the batteries or setup the Wi-Fi network.
2) Button: Long press for 5 seconds this button to enter the Wi-Fi network mode. Switch between EZ mode and AP mode by long press the button more than 5 seconds.
3) Tamer button: Loose this button will trigger a tempered Alarm to Mobile Phone;
4) LED indicator: indicate the device working state:
- Fast blinking in Red: EZ mode (Smart config) for Wi-Fi configuration;
- Slow blinking in Red: AP Mode for Wi-Fi configuration;
- Flash once in Blue: Wi-Fi network connected, short press the temper button or move the magnet from the device part to flash the Blue;
- Flash once in Dual-Color: No Wi-Fi network connected, short press the temper button or move the magnet from the device part to flash the Dual LED.
Note:
1) To check the device is working or not: Press the tamper button or move the magnet part to close the device, the LED indicator will flash;
2) To check the device is Wi-Fi connected or not: if the LED indicator turns purple, the device is not Wi-Fi connected. If the LED indicator turns blue, the device is Wi-Fi connected.
4. PRODUCT SPECIFICATIONS
• Power supply: 2 x AAA battery, 3V
- Battery life: Up to 6 months
- Open/Close notifications: Yes
- Tamper notifications: Yes
- Low battery notifications: Yes
• History record: Yes
- WiFi standard: IEEE 802.11b/g/n
• Supported WiFi network: 2.4GHz
- Dimensions: 7.5cm x 4cm x 1.8cm
- Weight: 65 gr
5. INSTALL APP AND REGISTER AN ACCOUNT
Download the Tellur Smart App for both iOS and Android OS. Scan the QR code to download Tellur Smart App

Set up router
This device only supports 2.4GHz frequency band router, does not support 5GHz frequency band router, please set the relevant parameters of the router before WiFi configuration, WiFi passwords do not include special characters such as \~!@#\$%^&*(). When the device is configured in WiFi, the mobile phone and device are as close as to the router, which can speed up the configuration of the device.

6. ADD AND REMOVE DEVICE IN YOUR APP ACCOUNT
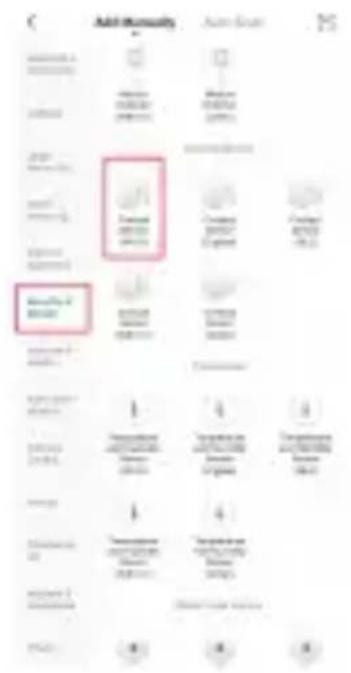
6.1 : Launch the APP and login, Click Add Devices -> Security & Sensor -> Contact sensor (Wi-FI) to start the device adding.
6.2 Press the device button for 5 seconds to enter the Wi-Fi configuration state (fast blinking in EZ mode or slow blinking in AP mode).
6.3 Input the Wi-Fi SSID and password of the Wi-Fi network that the device is going to work with, then wait around 30 seconds for the Wi-Fi con-figuration to be fi-nished and the device is successfully added
6.4 Change the device name and share it within APP account as you want.
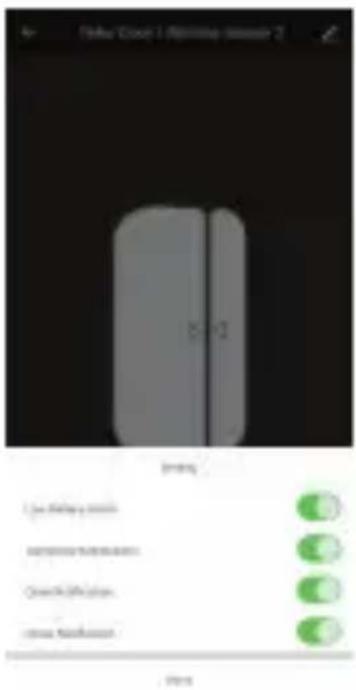
6.5 Click the device just added to launch the device state UI to check the state, battery level, record history and the APP notification setting.

Note:
*Make sure the device and APP work in same Wi-Fi configuration mode, both in EZ mode or in AP mode. Refer to Section 3 product description LED indicator part to check which state the device is working with.
*In some case that the EZ mode is not working Wi-Fi network, AP mode is the only option.
- EZ mode: make sure your APP is internet available and device and APP both work in EZ mode. Then input the Wi-Fi network password to finish the device adding. If you want to change the Wi-Fi network, please check the “Change network” in APP;

- AP mode: Click AP Mode, make sure your APP is internet available and device and APP both work in AP mode. Confirm to input the SSID and Password of Wi-Fi network, then select the Device AP name with Tellur Smart App in Wi-Fi list then back to App to finish the device adding.


After the device is successfully added to APP account, the LED will turn off. Using the methods mentioned in LED indicator to check the device is successfully added or not. If not, please repeat the Device adding again.
6.6 Remove device
1) Click “Remove Device + Disconnect” to remove this device from current account. Click “Remove Device + Disconnect and wipe data” to remove the device from current account and clear the history record.
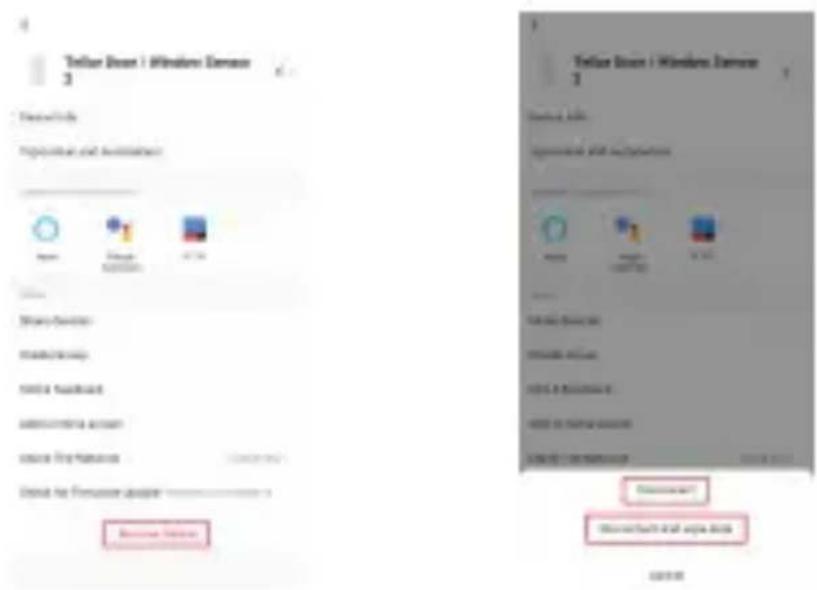
2) After remove device from the APP, you can reconnect the device to other account using EZ or AP mode;
7. PRODUCT INSTALLATION AND CHECK THE WORKING STATE
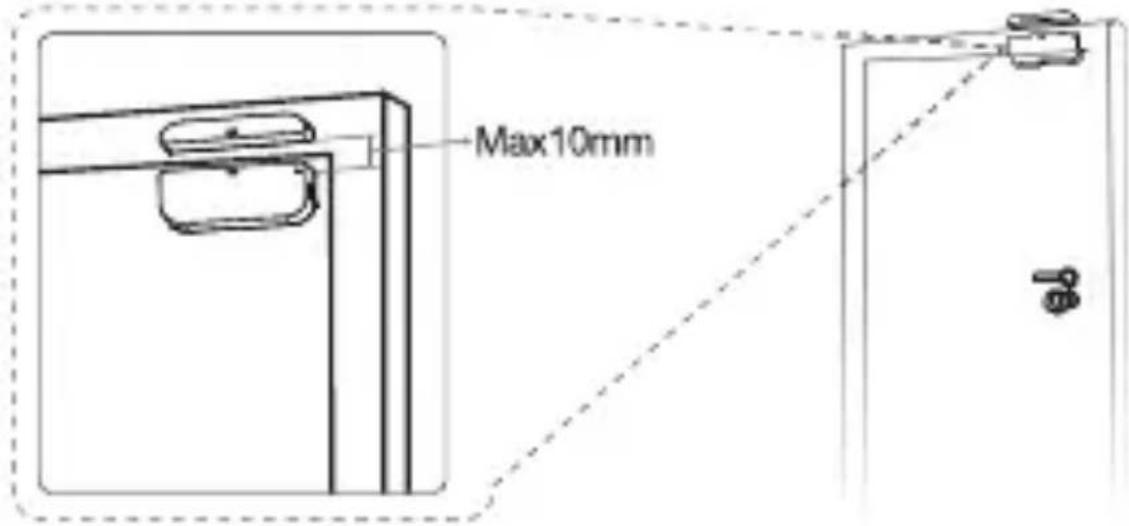
7.1 The device part and the magnet part needs to be installed within 10MM when the door/window is closed.
NOTE:
-
This Sensor should not be mounted directly on or near metal framing or other large metallic objects since metal objects may weaken the radio signal strength.
-
This Sensor should only be placed indoor and away from water and other extreme weather conditions.
7.2 Using one of the following methods to mount the device to the wall, door or window:
• 3M Tap Mode
1) Stick the included self-adhesive pads to the bottom of the device and magnet.
2) Peel off the protective layer of the sticker.
3) Stick the device onto the door/window frame.
4) Stick the magnet onto the moving part of the door/window, no further than 10mm from the sensor.

NOTE:
-
Wipe clean the surface where the Door Window Sensor will be mounted.
-
Any dust and particles can reduce the adhesion of double-sided mounting tape.
- Screw Mode
1) Take the battery cover apart from the device part by pressing and holding the latch button and the holder of the magnet part;
2) Screw the battery cover on to the door or window frame;
3) Keep the orientation marks of the device part and the magnet are oriented towards each other;
4) Screw the magnet holder to the moving part of the door or window;
5) Mount the device part on to battery cover;
6) Mount the magnet part to the holder.

7.3 Change the battery and change the Wi-Fi network In the case of the battery is over or the Wi-Fi network is changed (SSID or password is changed), take down the device part, to replace the battery or config the Wi-Fi network again; 1) Press and hold the Latch button to take apart the device part. Leave battery cover tapped on screw on the frame; 2) Change the batteries; 3) Or follow the Device add procedures;
4) Mount the device part back to the battery cover;
7.4 Test and check the device working state
1) Simply to open/close the moving part from the frame, that is to take the magnet part apart from device part, if the LED is flashing once in blue and state in APP changes between open and close.
2) Take down device part from the battery cover, the LED is flashing once in blue and APP will receive a Tampered alarm.
Alexa integration:
- Go to Home menu on Alexa app.
- Select "Skills" / "Skills & Games".

- Type Tellur Smart in the search bar.
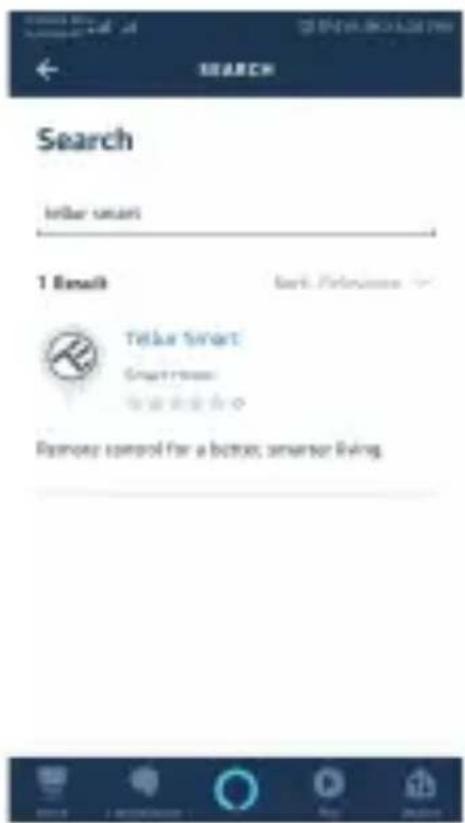
- Select Tellur Smart and click "Enable" to activate Tellur Smart.
- Enter your Tellur Smart account and password. Now you have finished the integration with Alexa.
- Tellur Smart app is now skilled with Alexa and you can vocally control the devices added in Tellur Smart. Remember - if you rename your smart devices, use a simple name that Alexa can recognize.
- To control your smart devices through Alexa, use simple and concise voice commands. Here's an example for bedroom lighting:
"Alexa, turn off bedroom light" "Alexa, turn on bedroom light" "Alexa, dim bedroom light" "Alexa, set bedroom light to red"

Failed to add device?
- Make sure the device is powered on.
-
Check the WiFi connection of your phone.
-
Check if the device is in pairing mode. Reset your smart device to enter pairing mode. Please refer to the "How to reset device" section below.
-
Check router or related: If you use a dual-band router, select the 2.4GHz network to add the device. You also need to enable the router's broadcasting function. Set encryption method as WPA2-PSK and authorization type as AES, or set both on "auto".
-
Check if the WiFi signal is strong enough. To maintain the signal strong, keep your router and the smart device as close as possible.
-
Wireless mode should be 802.11.b/g/n
-
Make sure you don't exceed the maximum number of registered devices supported by the app (150).
-
Check if the router's MAC filtering function is enabled. If so, remove the device from the filter list and make sure the router is not prohibiting the device connection.
-
Make sure the WiFi password entered in the app is correct.
EZ and AP connection modes:
Smart devices can be connected using two modes: EZ and AP.
EZ represents the easiest way of connecting and enabling a smart device. You will need to have the device, active wireless network through with login password and Tellur Smart APP installed on a smartphone/tablet.
AP mode can be used to configure and enable a smart device first with the smartphone / tablet and later on to the Wi-Fi network.
How to reset device?
-
Reset procedure for devices with reset button (power strip, aroma diffuser, plugs etc.) -> Long press the reset button for 5 seconds until the LED indicator flashes, indicating successful reset. If the LED indicator flashes quickly (2 times per second), the device has entered EZ pairing mode. If the indicator flashes slowly (one time /3 seconds), the device has entered AP pairing mode. Under EZ mode, press the reset button for 5 seconds until the LED flashes slowly, indicating the AP mode (and vice versa).
-
Reset procedure for lighting devices -> Start by turning off the lights. Switch light following these exact steps: on-off-on-off-on (the time interval between switches should not exceed 10 seconds). When the lights are flashing, the device has been successfully reseted. If the light isn't flashing, repeat the steps above.
When the lights flash quickly (4 times/second), the device is in EZ mode. If the lights flash slowly (2 times/3 seconds), the device is in AP mode. Under EZ mode, repeat the steps above until the light starts flashing slowly, indicating that the device has entered AP mode (and vice versa).
How to add device under EZ mode?
- Make sure the LED indicator/light flashes quickly.
- Make sure the phone is connected to WiFi.
- Tap "Add device" in Tellur Smart app and enter the WiFi's network password.
- In the device list, select the device you want to pair and add it.
How to add device under AP mode?
- Make sure the LED indicator/light flashes slowly.
- Tap "Add device" in Tellur Smart app and select "AP mode" from the top-right corner. Connect to the device's hotspot first and then proceed to connect it to the WiFi network.
- Tap "Next" to add device.
Can I control device with 2G/3G/4G network?
When adding the device for the first time, the device and the phone need to be connected to the same WiFi network. Once the device has been successfully paired with Tellur Smart app, you can remotely control it via 2G/3G/4G networks.
How can I share my device with family?
Open Tellur Smart app, go to "Profile" -> "Device sharing" -> "Sharing sent", tap "Add sharing" and share the device with the added family members. Notice - users have to install the Tellur Smart app on their device in order to see shared devices.
How can I manage the devices shared by others?
Open the app, go to "Profile" > "Device sharing" > "Sharing received" where you can see the devices shared with other. Swipe left to delete shared devices.
Quick Guide of Using Google Home to Control Smart Devices
Before using Google Home to control your devices, make sure you meet the following conditions:
You have a Google Home device or an Android device with Google Assistant.
You have the newest version of Google Home app.
You have the newest version of Google app (Android only).
The device display language is set to English US.
You have the Tellur Smart app and a related account.
Add devices in Tellur Smart App (Refer to App Instruction)
You can skip this part if you've already add some devices to your Tellur Smart account, and in the meantime the devices' name are easily recognized.
Link account in Home Control
1.Go to Google Home's homepage and tap "+".
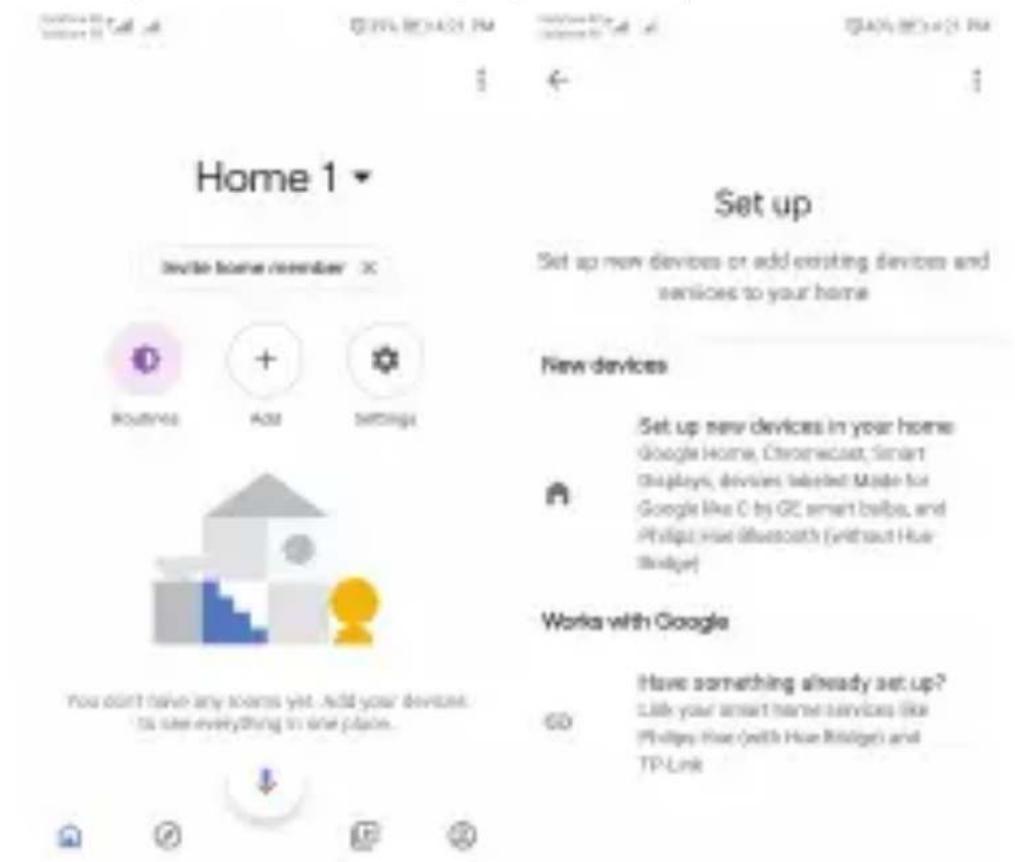
- Hit the "Add new" button, enter Tellur Smart in the search bar and select the app from the list. Next, select your Tellur Smart account's region, enter your Tellur Smart account and password and tap "Link now". After you assign rooms for devices, your devices will be listed in the Home Control page.
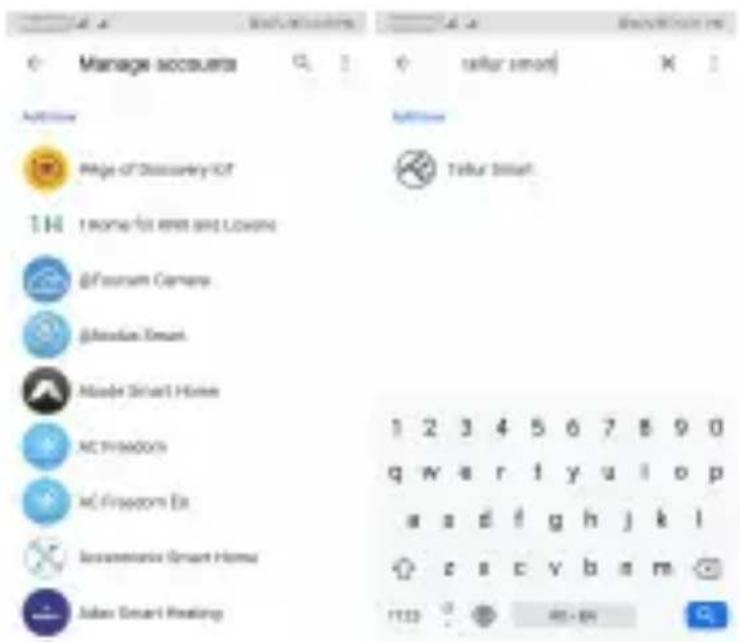
Now you can control your smart devices through Google Home. Take bedroom light as the example, the supported voice commands are as below:
- Ok Google, turn on/off bedroom light.
- Ok Google, set bedroom light to 50 percent.
- Ok Google, brighten bedroom light.
- Ok Google, dim bedroom light.
- Ok Google, set bedroom light to red.
Disposal and recycling information
The crossed-out wheeled-bin symbol on your product, battery, literature or packaging reminds you that all electronic products and batteries must be taken to separate waste collection points at the end of their working lives; they must not be disposed of in the normal waste stream with household garbage. It is the responsibility of the user to dispose of the equipment using a designated collection point or service for separate recycling of waste electrical and electronic equipment (WEEE) and batteries according to local laws. Proper collection and recycling of your equipment helps ensure EEE waste is recycled in a manner that conserves valuable materials and protects human health and the environment, improper handling, accidental breakage, damage, and/or improper recycling at the end of its life may be harmful for health and environment.

- SMART DOOR/WINDOW SENSOR
- PRODUCT REVIEW
- PRODUCT FEATURES
- HOW TO GET THE DEVICE WORKING
- PRODUCT DESCRIPTION
- NOTE
- PRODUCT SPECIFICATIONS
- INSTALL APP AND REGISTER AN ACCOUNT
- SET UP ROUTER
- ADD AND REMOVE DEVICE IN YOUR APP ACCOUNT
- 6.6 REMOVE DEVICE
- PRODUCT INSTALLATION AND CHECK THE WORKING STATE
- 3M TAP MODE
- SCREW MODE
- ALEXA INTEGRATION
- FAILED TO ADD DEVICE
- EZ AND AP CONNECTION MODES
- HOW TO RESET DEVICE
- HOW TO ADD DEVICE UNDER EZ MODE
- HOW TO ADD DEVICE UNDER AP MODE
- CAN I CONTROL DEVICE WITH 2G/3G/4G NETWORK
- HOW CAN I SHARE MY DEVICE WITH FAMILY
- HOW CAN I MANAGE THE DEVICES SHARED BY OTHERS
- QUICK GUIDE OF USING GOOGLE HOME TO CONTROL SMART DEVICES
- LINK ACCOUNT IN HOME CONTROL
- DISPOSAL AND RECYCLING INFORMATION
Brand : Tellur
Model : TLL331091
Category : Door/window sensor