
Astra - Grue de caméra Proaim - Free user manual and instructions
Find the device manual for free Astra Proaim in PDF.


| Product Type | Camera Jib Crane |
| Brand | Proaim |
| Model | Astra |
| Length Options | 8 ft (standard) or 12 ft (with 4 ft extension) |
| Included Components | Front section, rear section, camera mount (over slung), extension plate, vertical counterweight bar, LCD mounting bracket, tightening knobs |
| Camera Mount Compatibility | 1/4";-20 and 3/8";-16 threads; quick release plate compatible |
| Tilt Function | Manual tilt via knob and pin removal; optional tilt brake |
| Counterweight System | Vertical counterweight bar with adjustable positioning |
| Construction Material | Metal |
| Warranty | 1 year from date of purchase (labor and parts; excludes transport, misuse, accidental damage) |
| Assembly Required | Yes (sections connect via interior bar and knobs) |
| Usage | Professional video and film production |
| Safety Notes | Use counterweights to balance; maintain control during manual tilt; avoid using tilt function on fluid head with crane attached |
Frequently Asked Questions - Astra Proaim
User questions about Astra Proaim
0 question about this device. Answer the ones you know or ask your own.
Ask a new question about this device
Download the instructions for your Grue de caméra in PDF format for free! Find your manual Astra - Proaim and take your electronic device back in hand. On this page are published all the documents necessary for the use of your device. Astra by Proaim.
USER MANUAL Astra Proaim
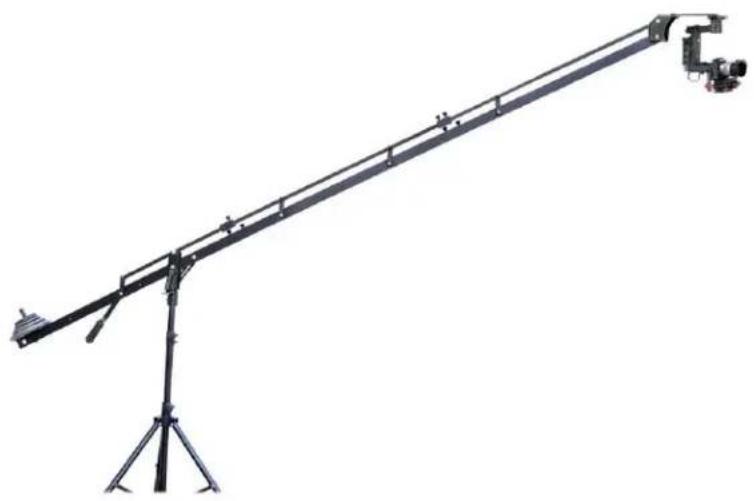
PROAIM Astra 8ft & 12ft Camera Jib Crane
Assembly Manual
natural_image
Mechanical tripod-mounted optical instrument with mounted camera and tripod base (no text or symbols visible)What's In The Box
Please inspect the contents of your shipped package to ensure you have received everything that is listed below.
natural_image
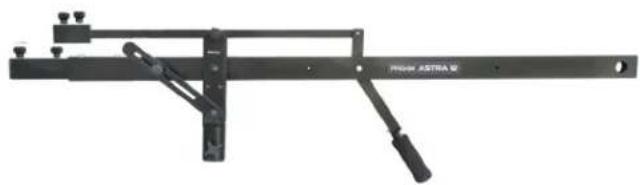
Mechanical lever assembly with a black frame and attached lever, no visible text or symbolsAstra comes with a back section, a front section with your choice of camera mount, and vertical and horizontal counterweight bars.

natural_image
Pure mechanical assembly diagram without any text, numbers, or symbolsExtension Section - 4ft


Tightening knobs

natural_image
Black metal mechanical lever with a flat top and side bracket (no visible text or symbols)Camera Mount With Over Slung Mount.
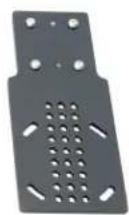
Extension Camera Plate
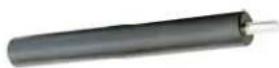
Vertical Counterweight Bar
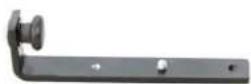
LCD Mounting Bracket
All rights reserved.
No part of this document may be reproduced, stored in a retrieval system, or transmitted by any form or by any means, electronic, mechanical, photo-copying, recording, or otherwise, except as may be expressly permitted by the applicable copyright statutes or in writing by the Publisher.
Astra Jib Setup
Using Tripod Head
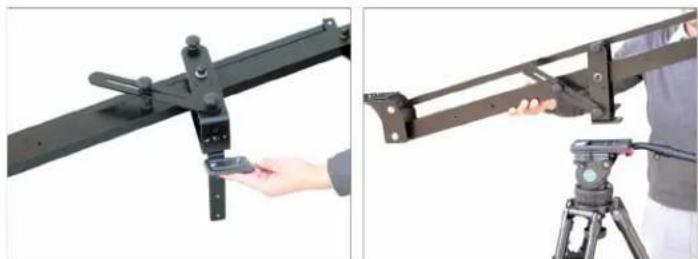
Remove the quick release plate from the tripod head. Screw into the crane's mount, located on the rear section. 1/4"-20 & 3/8"-16 threads available. Do not attempt to use the tilt function on the fluid head with the crane attached.
natural_image
Two-panel image showing a hand operating a black metal rail-mounted device and a person adjusting a camera on a tripod (no text or symbols visible)Mounting on Support Stand:
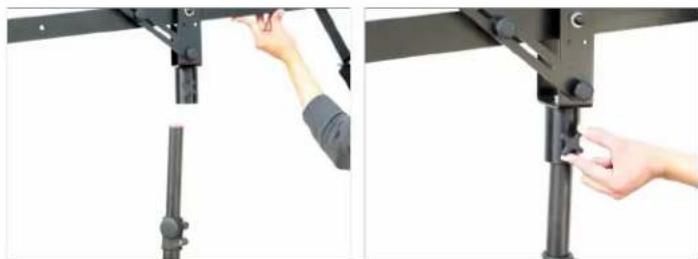
- With the stand mount attached to the crane, set it on top of the stand's main shaft. Insert the knob into the groove, and tighten to secure.
natural_image
Two-step installation of a mechanical device with hands adjusting components (no visible text or symbols)Assembly for 8ft Astra Jib
Connecting the Jib sections
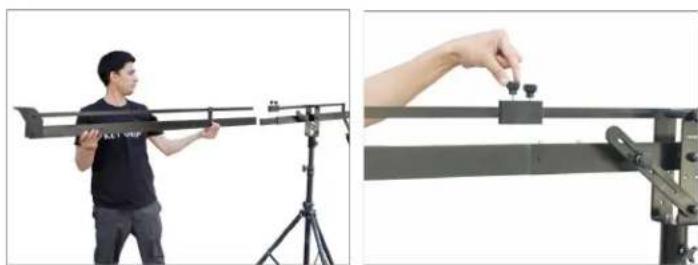
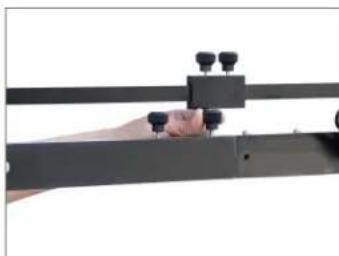
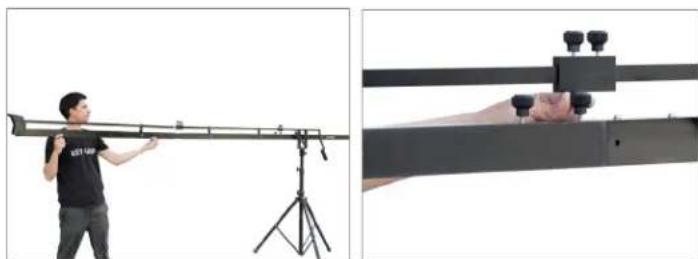
- The rear section has an interior connecting bar extension out. This slides into the front section or extension. Tighten the knobs to secure the sections together.
natural_image
Two-panel image showing a person using a long metal frame mounted on a tripod, and a hand adjusting a small component on a black frame (no text or symbols visible)- After inserting the connecting bar, insert the knob into the coupler and tighten knob into the groove.
natural_image
Close-up of a hand holding a black metal frame with adjustment knobs (no text or symbols visible)Assembly for 12ft Astra Jib Extend your 8ft crane to a 12ft crane by adding the 4ft extension.
- Add the 4ft extension section to the rear section and secure properly. Next, attach the main head section to the extension section. Tighten the knobs to secure the sections together.
natural_image
Two-panel image showing a person using a long horizontal axis and a close-up of a precision rifle with a tripod-mounted mount (no text or symbols visible)Camera Setup
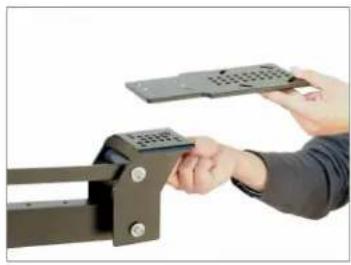
- At this point, the crane will be front heavy. Allow it to rest on the ground. Attach extension plate by using the provided screw. Now, attach the camera to the extension plate by using 14 "-20 universal sized screw; it will thread from the bottom of the camera. Properly secure your camera.
natural_image
Close-up of hands interacting with a black metal mechanical bracket (no text or symbols visible)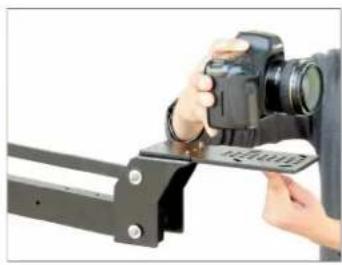
natural_image
Person using a DSLR camera to install a metal bracket (no text or symbols visible)Camera Mount with Fluid Head
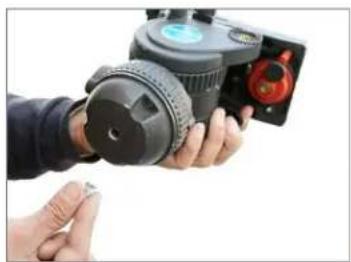
Firstly you will need to attach the BS-100 screw with your fluid head then attach the fluid head with your camera plate.
natural_image
Close-up of hands holding a camera module with a sensor and red connector (no visible text or symbols)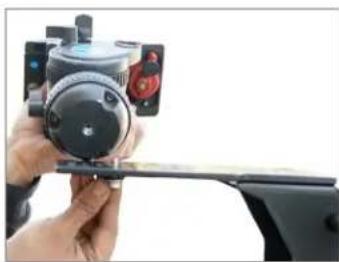
natural_image
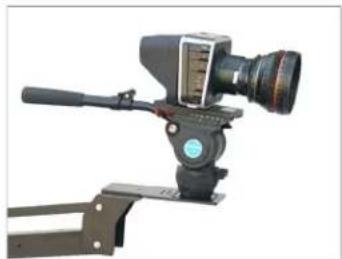
Close-up of a hand holding a camera lens mounted on a black optical stand (no visible text or symbols)- Secure your camera properly as shown.
natural_image
Close-up of a mounted optical instrument with lens and lever (no visible text or symbols)Mounting Counterweights
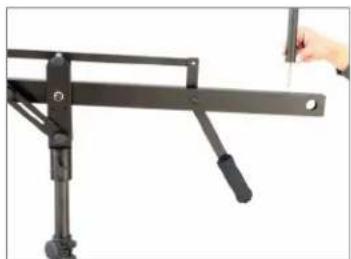
After the camera is mounted, it is safe to add counterweights to bring the crane into balance. First, attach the bar that the counterweights will be placed on. Connect the vertical counterweight bar to the bolt.
natural_image
Close-up of a black mechanical clamp or lever with a hand adjusting the handle (no text or symbols visible)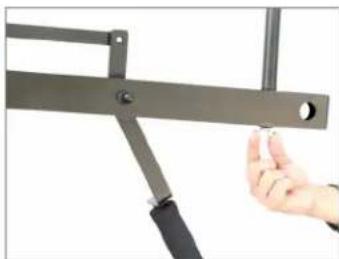
natural_image
Close-up of a hand holding a metal bracket with circular holes (no text or symbols visible)NOTE: When the proper amount of counterweight has been added, the crane will rest in a horizontal position. Motions will be smooth and effortless. Note, the type of camera and mounting position will affect the balance. If the mounted camera is front heavy then mount the vertical bar in the first hole.
Manual Tilt Mode
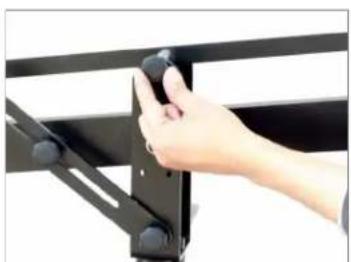
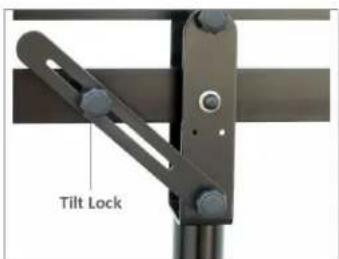
Manual tilt mode is achieved by loosening the knob & removing the pin at the top of the stand mount. Now the handle can be used to tilt the camera independently from the crane's body.
natural_image
Hand holding a black metal bracket with adjustment knobs (no text or symbols visible)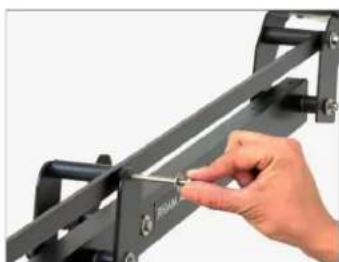
natural_image
Close-up of a hand adjusting a black metal frame with a small tool, no visible text or symbolsBelow is the manual tilt functionality of the camera.
WARNING: when tilting manually, always maintain control of the camera. A front heavy camera may move forward abruptly without notice you need to be very careful at this point.
For straight angle
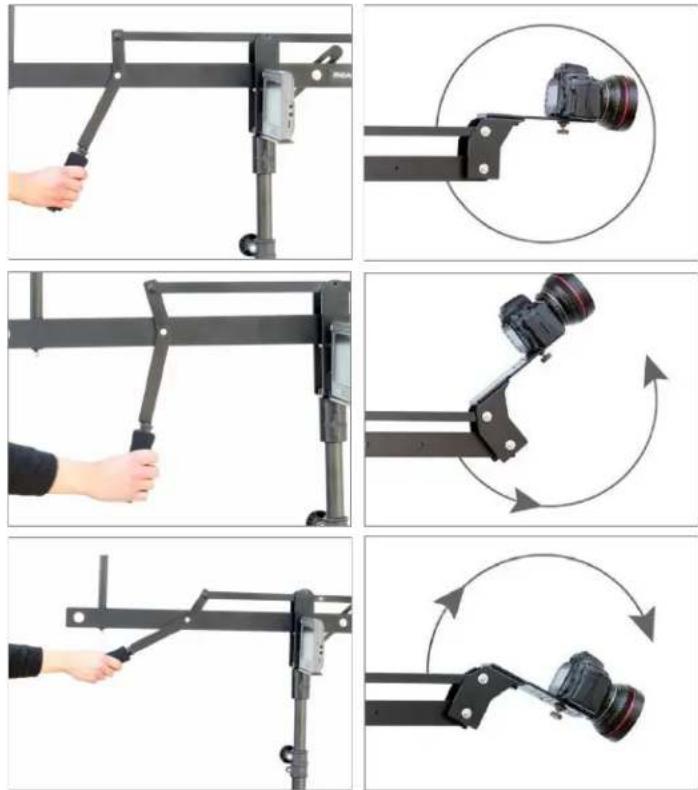
For upper angle
For lower angle
Optional Tilt Brake
For using tilt function, loosen the knob to tilt the crane to the desired position. Tighten back the knob if you want to put a brake to tilt feature.
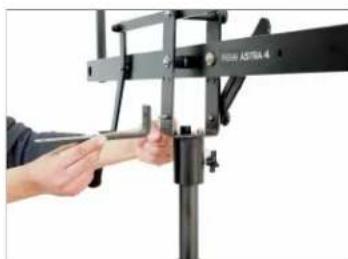
Monitor Mounting Bracket
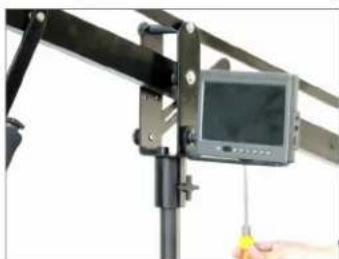
To attach the monitor bracket, screw the knob into the threaded hole on the crane's tripod mount.
natural_image
Close-up of a hand adjusting a black mechanical frame with a label 'RICH ASTRA 4' (no other text or symbols visible)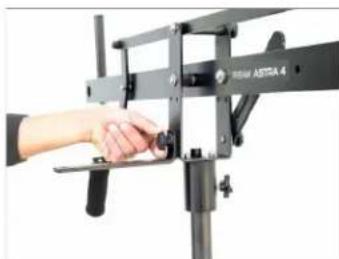
natural_image
Close-up of a hand adjusting a black mechanical frame with a label reading 'REAM ASTRA 4' (no other text or symbols visible)- LCD/MONITOR are shown securely mounted on jib.
natural_image
Close-up of a mechanical device with a mounted screen and lever, no visible text or symbolsYOUR PROAIM ASTRA CAMERA JIB CRANE ALL DRESSED UP AND READY TO GO!

natural_image
Black-and-white photo of a long, thin optical surveying instrument mounted on a tripod stand (no visible text or symbols)(SHOWN WITH OPTIONAL ACCESSORIES)
Warranty: We offer one year warranty for our products from date of purchase. Within this period of time, we will repair it without charge for labor or parts. Warranty doesn't cover transportation costs nor does it cover a product subjected to misuse or accidental damage. Warranty repairs are subjected to inspection and evaluation by us.
Liability: We are not liable for damage caused by products that we do not supply or from mishandling in transit, accident, misuse, neglect, lack of care of the product, or service by anyone other than our company.
Contact Us: In case of any kind of dissatisfaction, please Contact us immediately and we promise our utmost support and care until you use our product.
- PROAIM Astra 8ft & 12ft Camera Jib Crane
- What's In The Box
- Astra Jib Setup
- Using Tripod Head
- Mounting on Support Stand:
- Assembly for 8ft Astra Jib
- Assembly for 12ft Astra Jib Extend your 8ft crane to a 12ft crane by adding the 4ft extension.
- Camera Setup
- Camera Mount with Fluid Head
- Mounting Counterweights
- Manual Tilt Mode
- Below is the manual tilt functionality of the camera.
- Optional Tilt Brake
- Monitor Mounting Bracket
Brand : Proaim
Model : Astra
Category : Grue de caméra