
TS06 - Hard Drive SILVERSTONE - Free user manual and instructions
Find the device manual for free TS06 SILVERSTONE in PDF.


| Product Type | External USB Slim Optical Drive Enclosure with 2.5" SSD/HDD Conversion Tray |
| Brand | SilverStone |
| Model | TS06 |
| Color | Black (TS06B), White (TS06W) |
| Material | Plastic with diamond shape exterior |
| Enclosure Dimensions | 140mm x 132mm x 17mm |
| Conversion Tray Dimensions | 128mm x 128mm x 13mm |
| Net Weight (Enclosure) | 150g |
| Net Weight (Tray) | 50g |
| Power Requirement | 5Vdc from USB VBus |
| Interface (Enclosure) | Built-in retractable USB 2.0 cable |
| Interface (Optical Drive Support) | 13Pin slimline SATA |
| Interface (Conversion Tray) | 22Pin SATA |
| Drive Size Support (Tray) | 9.5mm thickness 2.5" HDD or SSD |
| Optical Drive Support | 12.7mm slimline SATA optical drive |
| LED Indicator | Green light for power on, Blue light for read/write access |
| Operating System Support | Windows XP, Vista, 7, Mac OS, Linux |
| Functions | Convert notebook optical drive bay to 2.5" SSD/HDD; External USB optical drive enclosure; Hot-swap capable (AHCI mode) |
| Included Items | Enclosure with retractable USB cable, conversion tray, screws, panel, user manual |
Frequently Asked Questions - TS06 SILVERSTONE
User questions about TS06 SILVERSTONE
0 question about this device. Answer the ones you know or ask your own.
Ask a new question about this device
Download the instructions for your Hard Drive in PDF format for free! Find your manual TS06 - SILVERSTONE and take your electronic device back in hand. On this page are published all the documents necessary for the use of your device. TS06 by SILVERSTONE.
USER MANUAL TS06 SILVERSTONE
Designing Inspiration
SilverStone Technology Co., Ltd.
www.silverstonetek.com
support@silverstonetek.com
Issue Date: August, 2011
NO.G11214610
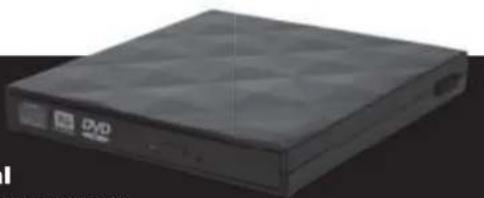
natural_image
Black rectangular electronic device with DVD label and logo (no visible text or symbols on body)TS06 Manuaal
External USB slim optical drive enclosure with
2.5" SSD/HDD conversion tray
Installation and system optimization guide:
The following manual and guides were carefully prepared by the SilverStone engineering team to help you maximize the potential of your SilverStone product. Please keep this manual for future reference when upgrading or performing maintenance on your system. A copy of this manual can also be downloaded from our website at:
http://www.silverstonetek.com
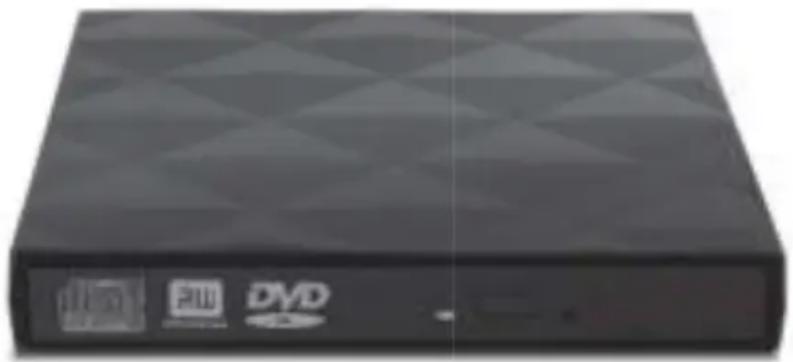
natural_image
Exterior view of a black rectangular electronic device with visible internal components (no readable text or symbols)Specifications P.2
Instruction P.3
Installation procedure (Lenovo) P.7
Installation procedure (Toshiba) P.16
Optical drive installation P.27
TREASURE SERIES TS06
External USB slim optical drive enclosure with 2.5" SSD/HDD conversion tray
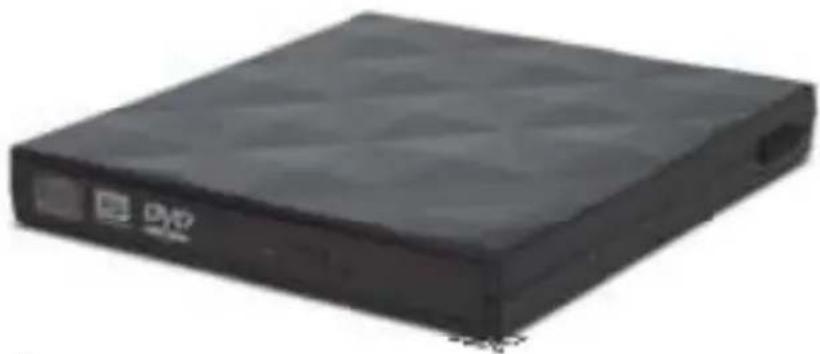
natural_image
Black rectangular electronic device with DVD label and logo (no visible text or symbols on body)Features
Enclosure built-in retractable USB 2.0 cable
Interchangeable optical drive slot to 2.5" SATA SSD or HDD
Compatible with 12.7mm slimline SATA optical drive
Improve laptop performance and capacity with extra hard drive
Enclosure Specifications
| Enclosure Material | Plastic with diamond shape exterior |
| Color | Black (TS06B), White (TS06W) |
| Power Requirement | 5Vdc from USB VBus |
| ODD Size Support | 12.7mm optical disc drive |
| ODD Interface Support | 13Pin slimline SATA |
| Enclosure Interface | Built-in retractable USB 2.0 cable |
| Operating System Support | Windows XP, Vista, 7, Mac OS and Linux |
| Net Weight | 150g |
| Dimension | 140mm x 132mm x 17mm |
Conversion tray Specifications
| Tray Material | Plastic |
| Color | Black (TS06B), White (TS06W) |
| Drive Size Support | 9.5mm thickness 2.5" HDD or SSD |
| Drive Interface Support | 22Pin SATA |
| Tray Interface | 13Pin slimline SATA |
| LED indicator | Green light for power on, Blue light for read/write access |
| Net Weight | 50g |
| Dimension | 128mmx128mmx13mm |
Instruction
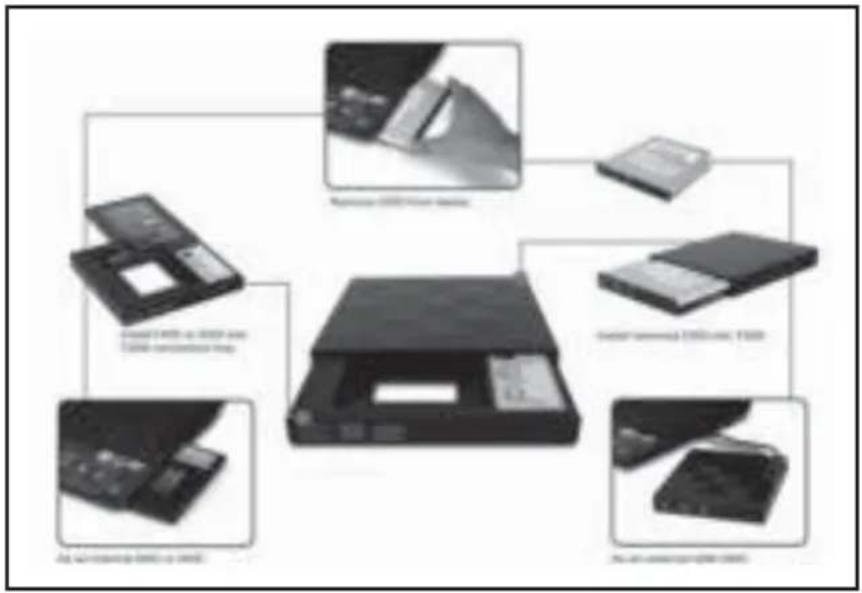
The optical drive tray is the same size as standard 12.7mm optical drive to facilitate exchanging with standard optical drive in a notebook computer and for enhancing speed or enlarging storage capacity.
The four main purposes for the optical drive tray are as follow:
ENGLISH
Put a 2.5" SSD into the optical drive tray and set it as an OS drive. It will provide up to 90%* increase in OS speed. (* The increased speed depends on SSD performance)
DEUTSCH
natural_image
Black rectangular electronic device with a paperclip and logo on top (no visible text or symbols)ENGLISH
Put a 2.5" hard drive into the optical drive tray to be a second hard drive for a notebook computer for increased storage capacity. Take out optical drive from a notebook computer then install the second 2.5" hard drive into the original optical drive tray for expansion. When two hard drives copy each other, their speeds are faster and more efficient.
DEUTSCH
Put a 2.5" hard drive into the optical drive tray to be a second hard drive for a notebook computer for increased storage capacity. Take out optical drive from a notebook computer then install the second 2.5" hard drive into the original optical drive tray for expansion. When two hard drives copy each other, their speeds are faster and more efficient.
FRANÇAIS
natural_image
Black hard drive with a circular drive cover and indicator lights (no visible text or symbols)ENGLISH
SATA interface has hot-swap* feature so you can use this optical drive tray as a removable backup enclosure. The transfer speed of this removable backup enclosure is faster, more convenient and more stable than an external hard drive.
(* hot-swap feature base on AHCI mode in Windows system)
DEUTSCH
natural_image
Black and silver electronic device with a cable, shown against a plain white background (no text or symbols visible)ENGLISH
Removed optical drive from a notebook computer can be installed into the attached optical drive enclosure as an external optical drive.
DEUTSCH
Installation procedure for Lenovo notebook computer:
Please follow below procedure to exchange the notebook computer's optical drive for conversion tray.
For notebook computer from other brands, please also refer to their user manuals for information on optical drive removal.
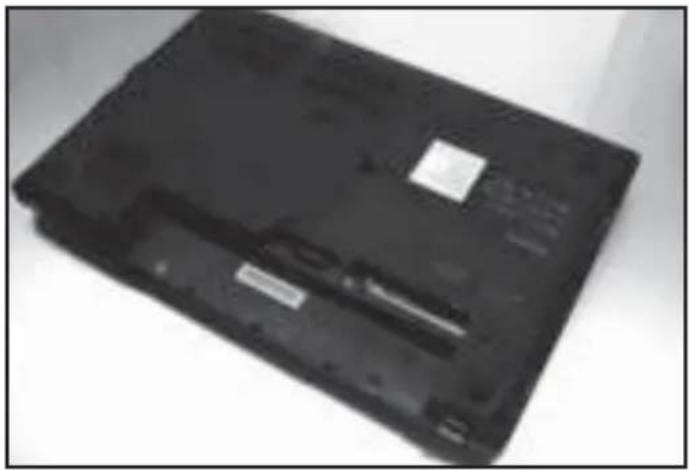
natural_image
Black rectangular electronic device with visible label and mounting holes (no readable text or symbols)ENGLISH
Please turn over the notebook computer onto its back side.
DEUTSCH
natural_image
Hand holding a small object over a black electronic device (no visible text or symbols)ENGLISH
There is an optical drive fixed screw near the middle rear of the notebook computer, use a screwdriver to loosen the screw.
DEUTSCH
Installation procedure for Lenovo notebook computer:
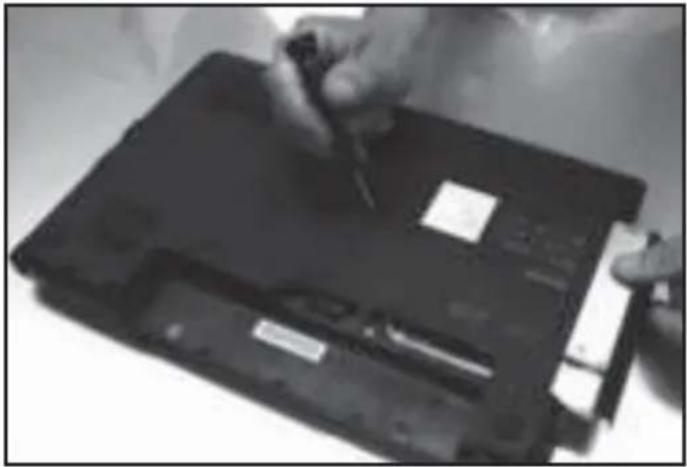
natural_image
Close-up of a hand holding a black electronic device with visible slots and labels (no readable text or symbols)ENGLISH
Use a screwdriver to push the optical drive out.
DEUTSCH
natural_image
Close-up of hands holding a small electronic device (no visible text or symbols)ENGLISH
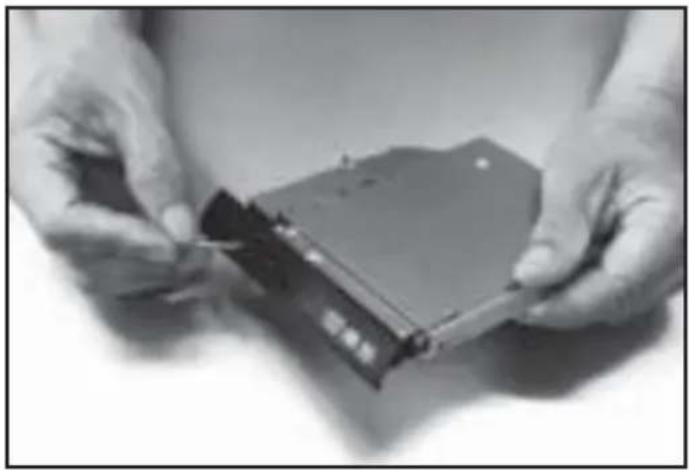
There is an eject hole on the front panel of the optical drive.
DEUTSCH
Installation procedure for Lenovo notebook computer:
natural_image
Close-up of hands holding a hard drive disc (no visible text or symbols)ENGLISH
Use a clip or sharp object to insert into the eject hole and take apart optical drive tray and optical drive shell separately.
DEUTSCH
natural_image
Close-up of hands assembling electronic components with a small component (no visible text or symbols)ENGLISH
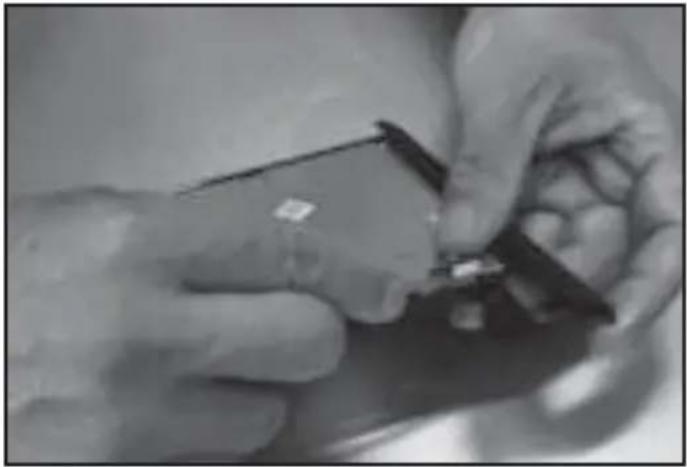
Turn over optical drive onto its back side to find the four hooks inside the optical drive front panel.
DEUTSCH
Installation procedure for Lenovo notebook computer:
natural_image
Close-up of hands assembling or repairing a small electronic component (no visible text or symbols)ENGLISH
Please use a screwdriver to press the hook and take apart the optical drive front panel and optical drive separately.
DEUTSCH
natural_image
Close-up of hands assembling a small electronic component with a tool (no visible text or symbols)ENGLISH
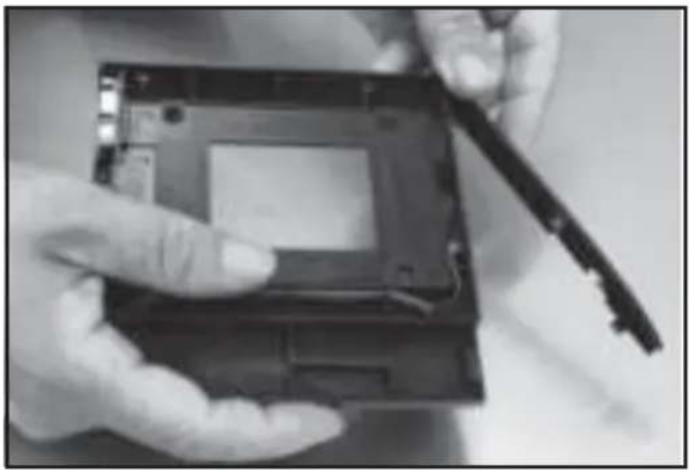
Then take apart other three hooks gently to removing the optical drive front panel.
DEUTSCH
Installation procedure for Lenovo notebook computer:
natural_image
Close-up of hands holding a computer case with a partially visible internal component (no text or symbols)ENGLISH
Fasten the optical drive front panel from left to right into the front panel hooks of the conversion tray.
DEUTSCH
natural_image
Close-up of hands holding a small electronic device with visible internal components (no text or symbols)ENGLISH
Press optical drive front panel and ensure it is fixed tightly.
DEUTSCH
Installation procedure for Lenovo notebook computer:
natural_image
Close-up of hands holding a dark electronic component with visible traces (no text or symbols)ENGLISH
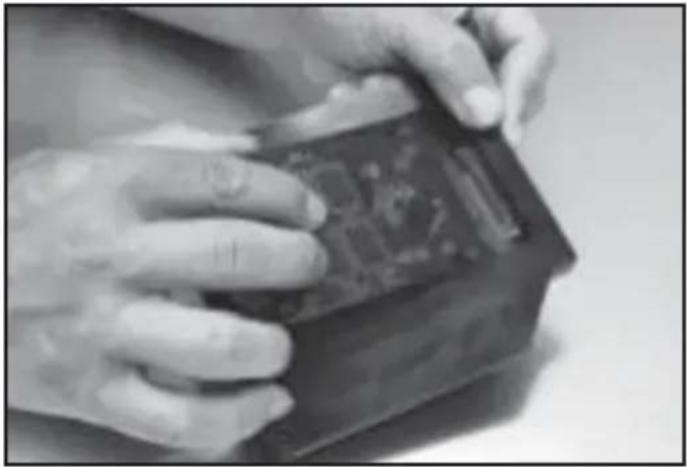
Take the 2.5" hard drive into conversion tray.
DEUTSCH
natural_image
Close-up of hands holding a small electronic device with visible circuit board (no text or symbols)ENGLISH
Please push 2.5" hard drive from back to front and connect tightly.
DEUTSCH
Installation procedure for Lenovo notebook computer:
natural_image
Close-up of hands assembling a CD drive into a compact case (no visible text or symbols)ENGLISH
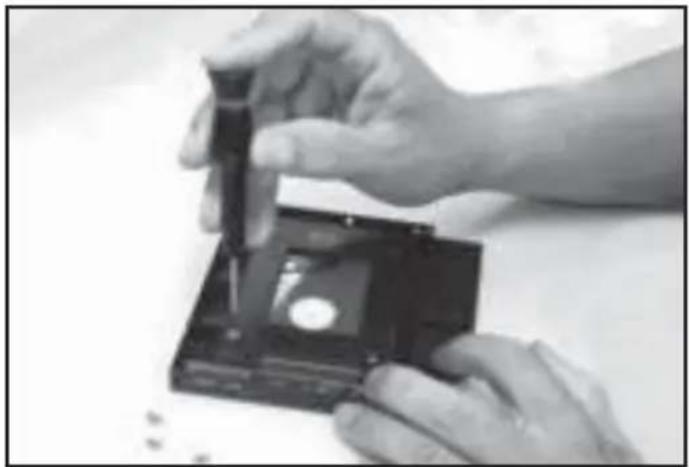
Turn over the back side and use attached screws to fix the drive in conversion tray.
DEUTSCH
natural_image
Close-up of hands holding a small electronic device with a flat panel on top (no visible text or symbols)ENGLISH
Take apart the iron slice from the back of the optical drive.
DEUTSCH
Installation procedure for Lenovo notebook computer:
natural_image
Close-up of hands using a tool to adjust or install a small electronic component (no visible text or symbols)ENGLISH
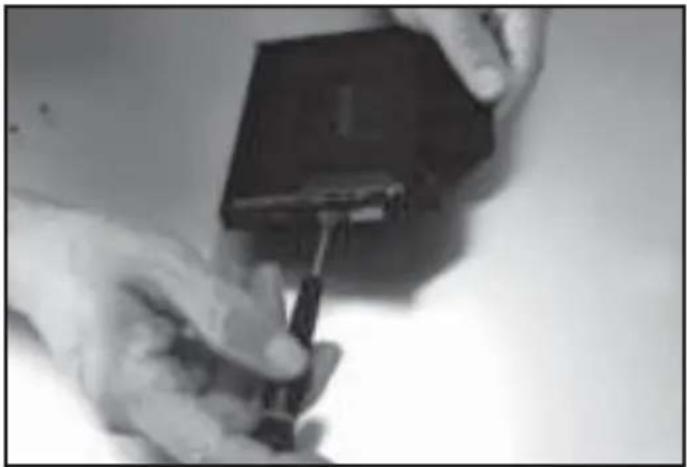
Fasten the iron slice on the back of tray.
DEUTSCH
natural_image
Close-up of hands holding a black electronic device with visible slots and labels (no readable text or symbols)ENGLISH
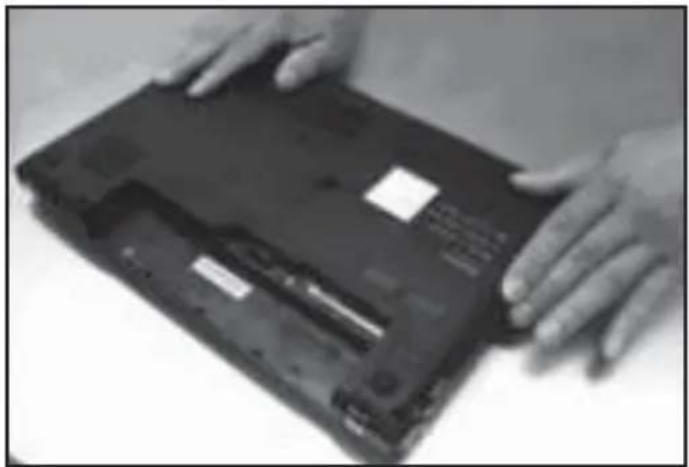
Slip the conversion tray into the notebook computer's optical drive slot.
DEUTSCH
Installation procedure for Lenovo notebook computer:
natural_image
Close-up of hands holding a black laptop case with visible drive bays (no text or symbols)ENGLISH
Please ensure it connects with the notebook tightly.
РУССКИЙ
natural_image
Close-up of hands installing or adjusting a laptop cover with a screwdriver (no visible text or symbols)ENGLISH
Fasten the screws near the middle back of the notebook computer.
РУССКИЙ
Installation procedure for Toshiba notebook:
For notebook computer from other brands, please also refer to their user manuals for information on optical drive removal.
1.
natural_image
Person using a digital tablet with a stylus, no visible text or symbolsENGLISH
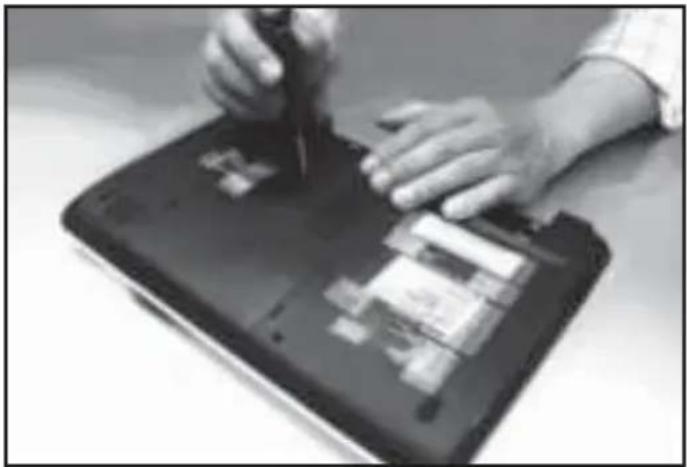
Turn over the notebook onto its back side and turn loosen the screws from the back cover.
DEUTSCH
natural_image
Close-up of hands typing on a tablet with a small card visible (no text or symbols)ENGLISH
Take out the screws and open the back cover.
DEUTSCH
Installation procedure for Toshiba notebook:
natural_image
Close-up of a hand installing or adjusting a CD drive into an open laptop (no visible text or symbols)ENGLISH
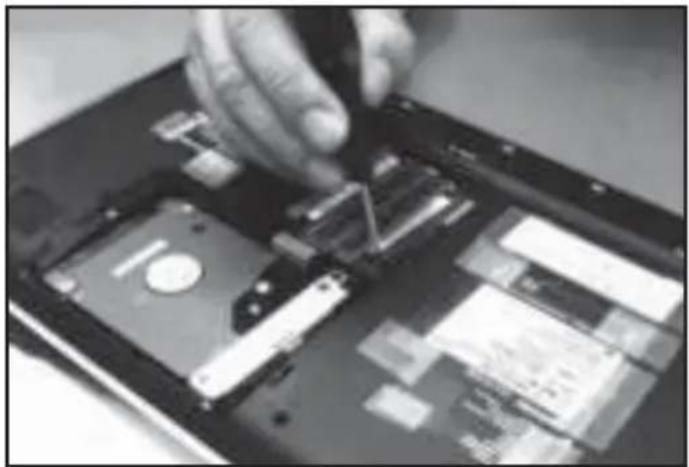
There is an optical drive fixed screw near the middle rear of the notebook computer, use a screwdriver to loosen the screw.
DEUTSCH
natural_image
Close-up of hands installing or repairing a tablet with visible internal components (no text or symbols)ENGLISH
Use a screwdriver to push the optical drive out.
DEUTSCH
Installation procedure for Toshiba notebook:
natural_image
Close-up of hands holding a tablet device with visible internal components (no text or symbols)ENGLISH
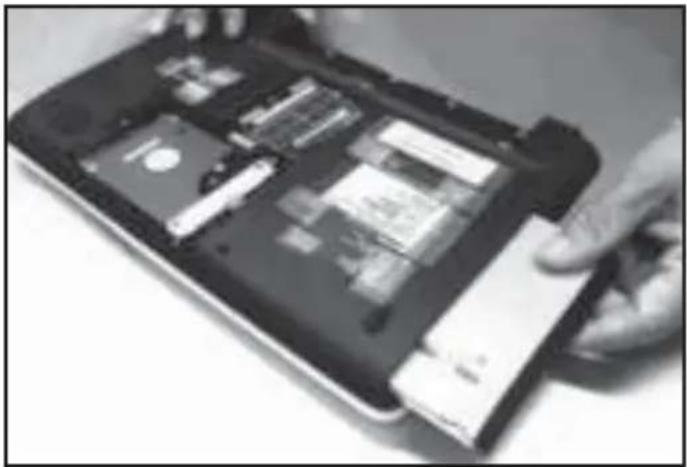
Take the optical drive out of the notebook computer
РУССКИЙ
Извлеките DVD из ноутбука.
DEUTSCH
natural_image
Close-up of hands using a tool to cut or mark a small object on a surface (no visible text or symbols)ENGLISH
There is an eject hole on the front panel of the optical drive.
РУССКИЙ
Installation procedure for Toshiba notebook:
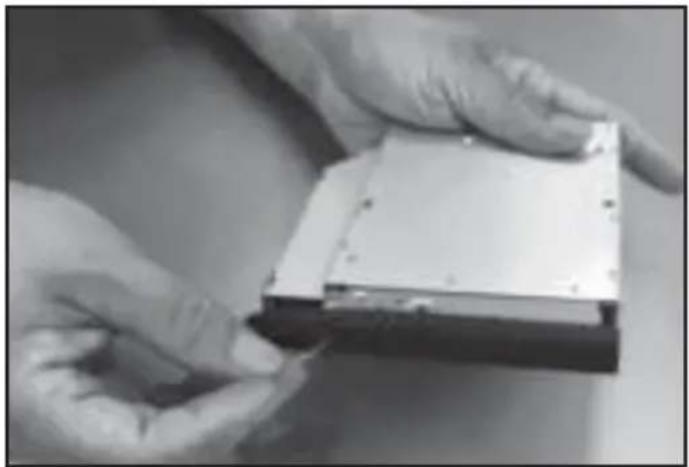
natural_image
Close-up of hands holding a small electronic device with a metallic housing (no visible text or symbols)ENGLISH
Use a clip or sharp object to insert into the eject hole and take apart optical drive tray and optical drive shell separately.
DEUTSCH
natural_image
Close-up of hands holding a small object, possibly a tool or device, with no visible text or symbols.ENGLISH
Turn over optical drive onto its back side to find the four hooks inside the optical drive front panel.
DEUTSCH
Installation procedure for Toshiba notebook:
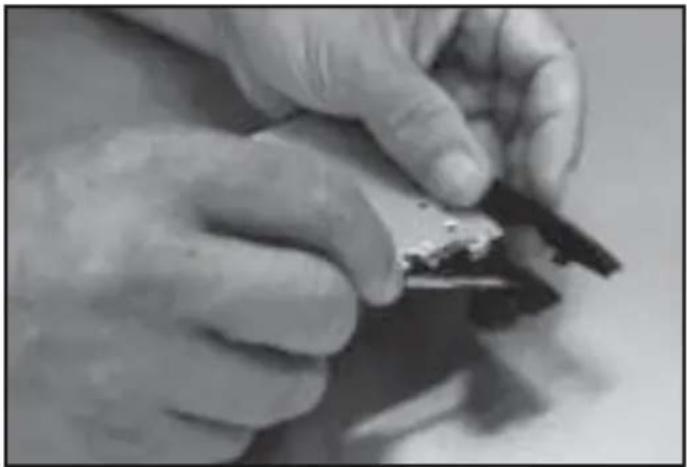
natural_image
Close-up of hands using a tool to cut or sample material (no visible text or symbols)ENGLISH
Please use a screwdriver to press the hook and take apart the optical drive front panel and optical drive separately.
DEUTSCH
natural_image
Close-up of hands assembling a small electronic component with a black tool (no visible text or symbols)ENGLISH
Then take apart other three hooks gently to removing the optical drive front panel.
DEUTSCH
Installation procedure for Toshiba notebook:
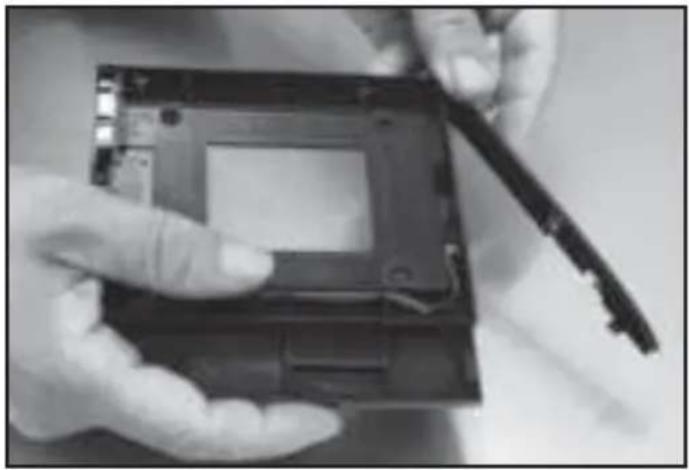
natural_image
Close-up of hands holding a computer case with a partially visible internal component (no text or symbols)ENGLISH
Fasten the optical drive front panel from left to right into the front panel hooks of the conversion tray.
DEUTSCH
natural_image
Close-up of hands holding a device with visible internal components (no text or symbols)ENGLISH
Press optical drive front panel and ensure it is fixed tightly.
DEUTSCH
Installation procedure for Toshiba notebook:
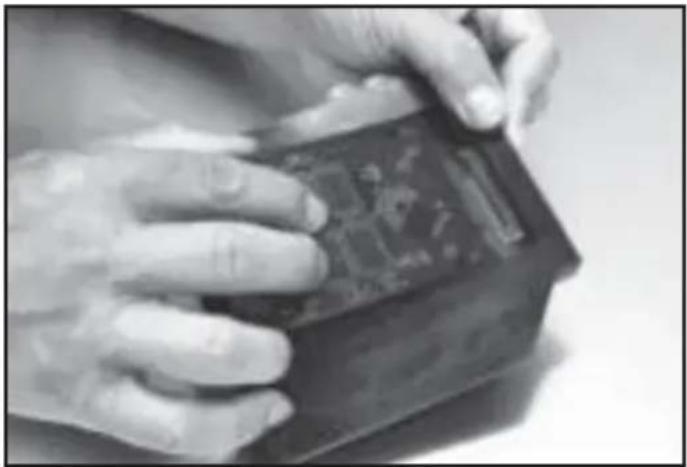
natural_image
Close-up of hands handling a dark, textured object with no visible text or symbolsENGLISH
Take the 2.5" hard drive into conversion tray.
DEUTSCH
natural_image
Close-up of hands holding a small electronic device with visible circuitry and components (no text or symbols)ENGLISH
Please push 2.5" hard drive from back to front and connect tightly.
DEUTSCH
Installation procedure for Toshiba notebook:
natural_image
Close-up of hands assembling a black hard drive into a compact case (no visible text or symbols)ENGLISH
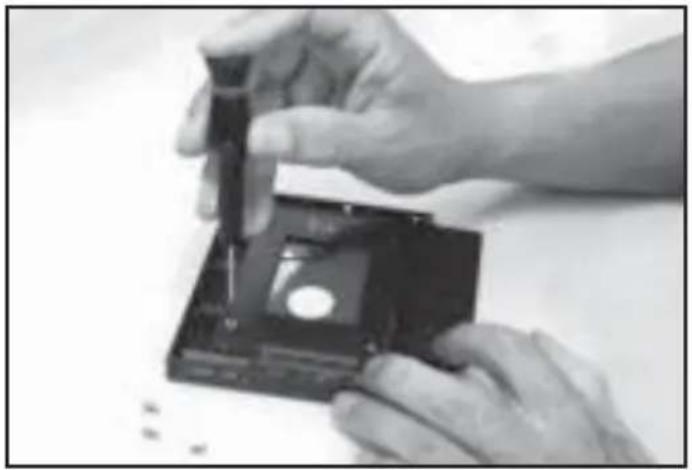
Turn over the back side and use attached screws to fix the drive in conversion tray.
DEUTSCH
natural_image
Close-up of hands assembling a small electronic device with a tool (no visible text or symbols)ENGLISH
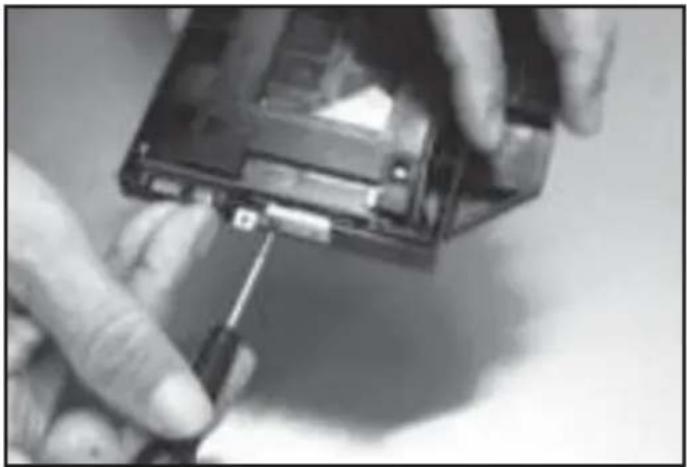
Take apart the iron slice from the back of the optical drive.
DEUTSCH
Installation procedure for Toshiba notebook:
natural_image
Close-up of hands installing or adjusting a hard disk drive into a memory compartment (no visible text or symbols)ENGLISH
Fasten the iron slice on the back of tray.
DEUTSCH
natural_image
Hand holding a device with internal components, no visible text or symbolsENGLISH
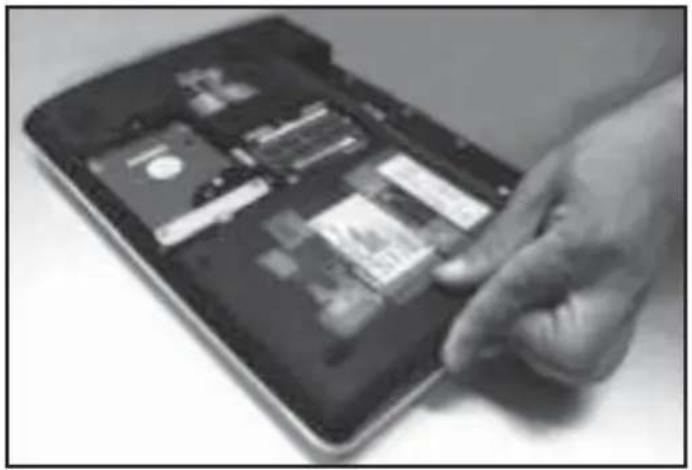
Slip the conversion tray into the notebook computer's optical drive slot.
DEUTSCH
Installation procedure for Toshiba notebook:
natural_image
Hand holding a tablet displaying internal components (no visible text or symbols)ENGLISH
Please ensure it connects with the notebook tightly.
DEUTSCH
natural_image
Close-up of hands assembling a tablet with visible circuitry and components (no text or symbols)ENGLISH
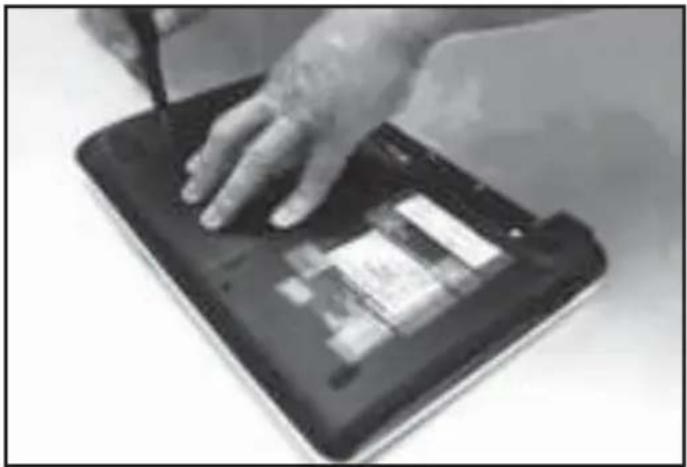
Fasten the screws near the middle back of the notebook computer.
DEUTSCH
Installation procedure for Toshiba notebook:
natural_image
Close-up of a hand pressing down on a tablet with a visible circuit board (no text or symbols)ENGLISH
Put the cover back and fasten screws on the notebook computer.
РУССКИЙ
Optical drive installation instruction:
Please follow below procedure to install optical drive into external enclosure
natural_image
Close-up of hands holding a small object with a ruler, no visible text or symbolsENGLISH
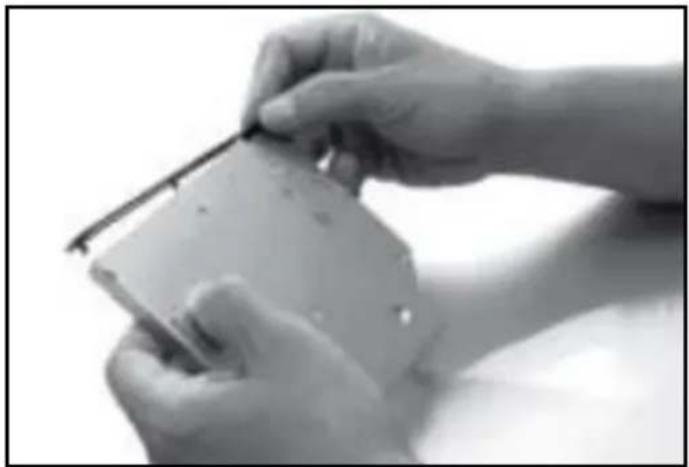
Turn over optical drive onto its back side and put on the attached panel.
DEUTSCH
natural_image
Close-up of hands holding a small rectangular object, possibly a device or electronic component (no visible text or symbols)ENGLISH
Install the panel from right to left.
DEUTSCH
Optical drive installation instruction:
natural_image
Close-up of a black rectangular electronic device with a diamond-patterned surface and a small protrusion, circled in gray (no visible text or symbols)ENGLISH
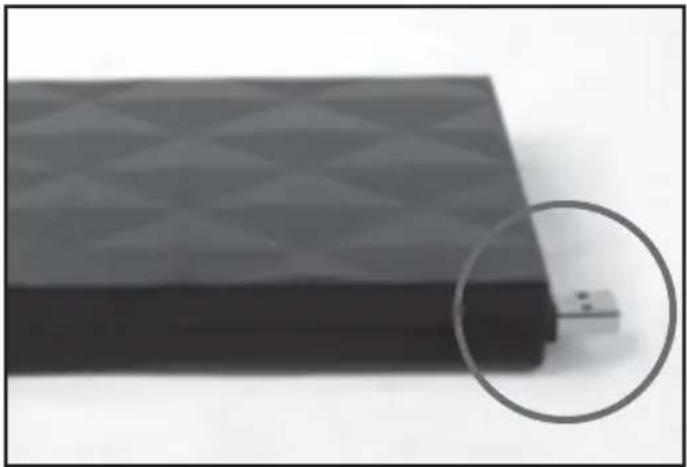
Take out the external enclosure and pull out USB cable from top right corner.
DEUTSCH
natural_image
Close-up of a black USB cable with a black arrow pointing to it, against a plain background (no text or symbols)ENGLISH
Pull out USB cable completely.
DEUTSCH
Optical drive installation instruction:
ENGLISH
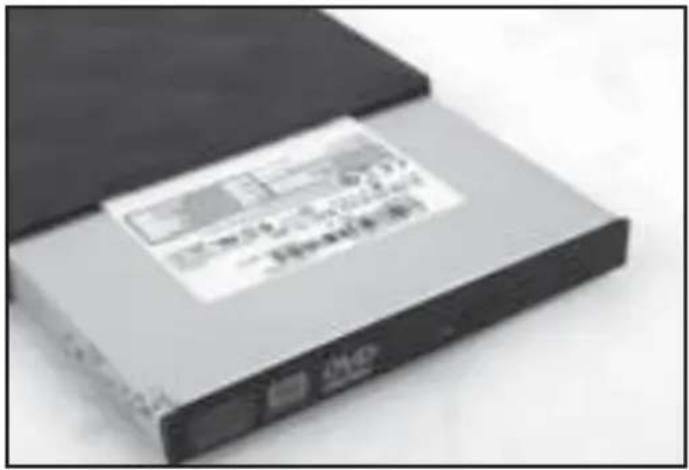
Put in optical drive.
РУССКИЙ
natural_image
Black rectangular electronic device with a small display and logo on the cover (no visible text or symbols)ENGLISH
Press optical drive to the bottom.
РУССКИЙ
Optical drive installation instruction:
natural_image
Close-up of a hand holding a black mechanical component, possibly a tool or device (no visible text or symbols)ENGLISH
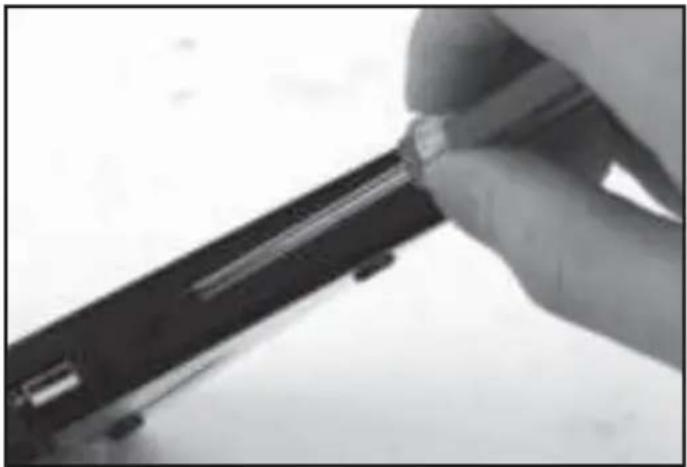
Fasten the cover with two screws.
РУССКИЙ

Brand : SILVERSTONE
Model : TS06
Category : Hard Drive