VX600 - Camera EASYPIX - Free user manual and instructions
Find the device manual for free VX600 EASYPIX in PDF.


| Product Type | Digital Camera |
| Brand | Easypix |
| Model | VX600 |
| Sensor Resolution | 6.36 Megapixels (CCD) |
| Maximum Image Resolution | 3648 x 2736 (interpolated) |
| Optical Zoom | 4.8x |
| Digital Zoom | 8x |
| Lens Focal Length | 4.6 - 22.2 mm |
| Aperture Range | F3.3 - F4.8 |
| Shutter Speed | 16 - 1/2000 sec |
| Focus Range (Normal) | 30 cm - infinity |
| Focus Range (Macro) | 1 cm - 30 cm |
| Display | 2.5" LTPS TFT LCD |
| Built-in Memory | 32 MB |
| Memory Card Slot | SD / MMC |
| Image Format | JPEG (EXIF 2.2) |
| Video Format | MPEG4 AVI (VGA 30fps) |
| Audio Recording | WAV |
| Flash Modes | Off, Auto, Force On, Red-eye Reduction, Slow Sync |
| Self-Timer | 3s / 10s |
| Connectivity | USB 2.0, TV Out (NTSC/PAL) |
| Power Supply | NP-40 Li-Ion Battery |
| Dimensions (W x H x D) | 97 x 55 x 24.8 mm |
| Weight (without battery) | 140 g |
| Body Material | Metal |
| Bundled Software | Ulead Photo Explore 8.0 SE, Video Studio 7.0 SE, Cool 360, Adobe Acrobat Reader 5.0 |
Frequently Asked Questions - VX600 EASYPIX
User questions about VX600 EASYPIX
0 question about this device. Answer the ones you know or ask your own.
Ask a new question about this device
Download the instructions for your Camera in PDF format for free! Find your manual VX600 - EASYPIX and take your electronic device back in hand. On this page are published all the documents necessary for the use of your device. VX600 by EASYPIX.
USER MANUAL VX600 EASYPIX
Thank you for purchasing this camera, this camera will help you to fulfill all your digital picture processing needs.
The camera is equipped with three modes (Capture, Playback, and Audio / Video) for your exploration. In combination with all the above modes function, not only will this camera serve as a digital camera, but it can also be used in recording short movie and audio recording.
This versatile, neat design camera offers 6.36 mega pixels high quality image along with precise 38.4x zoom (4.8x optical plus 8x digital). The built-in 32MB internal memory can store your images, video clip and audio files. Its auto focus lens supports a macro focus mode from 1cm to 30cm. Generally, it can take the pictures from 30cm to infinite range. Through the USB cable connection, pictures can be easily transmitted from the camera to the PC. It also provides a TV-out function to perform the operation through TV.
To make the best out of this camera, we strongly suggest that you read through this manual prior to operating this camera.
Table of Contents
PREFACE....1
SETUP 3
UNPACKING CAMERA....3
LOADING BATTERY AND SD CARD....5
BASIC SETTINGS......6
FORMATTING INTERNAL MEMORY / SD CARD 6
BASIC OPERATING PROCEDURE....7
TURNING CAMERA ON/OFF....7
BASIC SHOOTING....7
AUTO-FOCUS FUNCTION....8
ZOOMING IN/OUT 8
VIEWING PICTURES......8
MAIN MODES AND SETUP FUNCTION INSTRUCTIONS....11
CAPTURE MODE 12
PLAYBACK MODE....18
SETUP FUNCTION....23
MAKING CONNECTIONS 28
INSTALLING SOFTWARE 28
CONNECTING THROUGH USB....29
CONNECTING THROUGH TV-OUT....29
APPENDIX....30
Setup
Setting up this digital camera is quick and simple. Following these steps and you'll be on your way to infinite boundaries.
Unpacking Camera
- Clearing all items from the box. (It is highly recommended that the box and wrappings are kept for future usage)
- Double check for the following items:
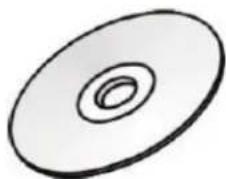
natural_image
Simple line drawing of a circular object with concentric rings (no text or symbols)CD-ROM
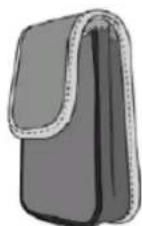
Pouch
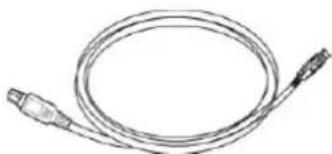
natural_image
Line drawing of a cable with two connectors (no text or symbols)Mini USB cable
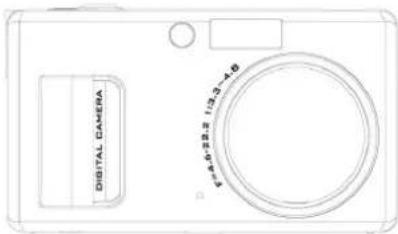
Camera
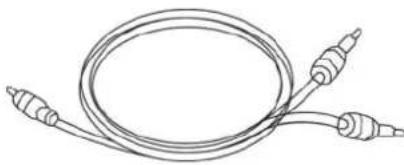
natural_image
Line drawing of a coiled cable with two connectors (no text or symbols)Video Cable Strap
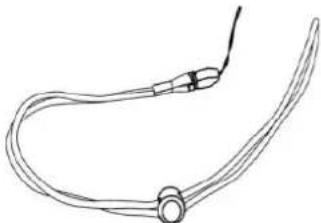
natural_image
Line drawing of a curved cable or wire with two connectors (no text or symbols)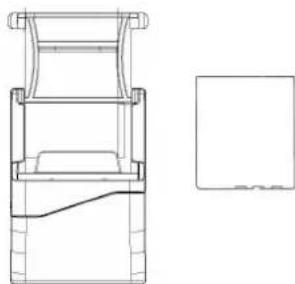
natural_image
Technical line drawing of a mechanical assembly with a separate view of a rectangular component (no text or symbols)
natural_image
Simple line drawing of a knuckle or grip (no text or symbols)Hand

natural_image
Pure 3D geometric shape resembling a folded paper or sheet (no text or symbols)Quick
Guide
Camera Parts
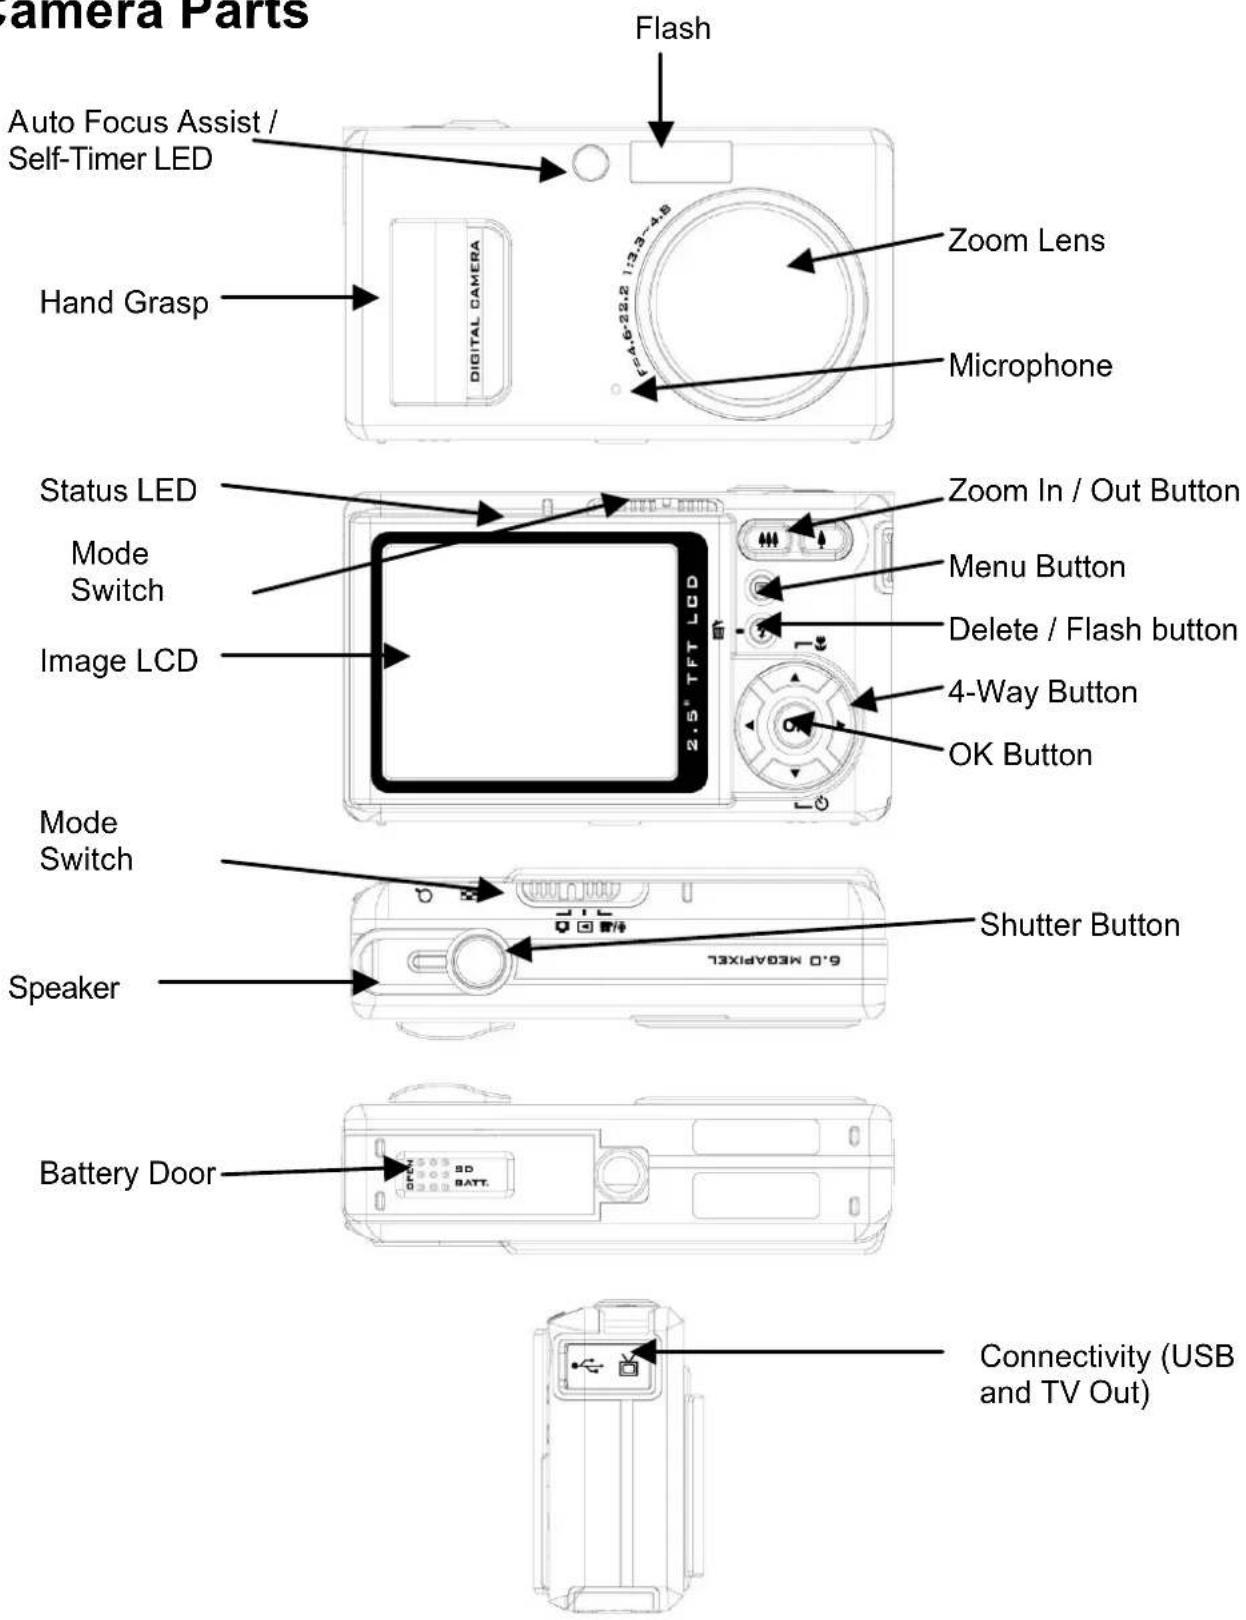
Loading Battery and SD Card
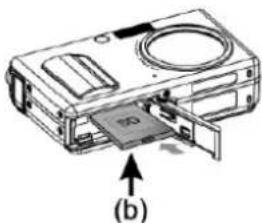
This camera uses NP-40 battery. The battery and SD card share the same compartment and door.
- Sliding the battery / SD card door in the direction of the arrow then lifting it to open.
- Loading the included battery into the battery compartment. (a)
- Inserting the SD card into the slot. (b)
- Closing the battery/SD card door.

natural_image
Line drawing of a device casing with internal compartments and an open door (no text or symbols)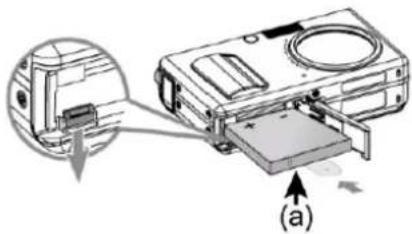
natural_image
Diagram of a computer case with an open lid and labeled component (b), no readable text or symbols present.CAUTION!
- Using only the specified battery for this camera. Other power sources may cause fire.
- Battery should be inserted in the battery compartment with the sides facing correctly.
NOTE:
- Upon loading new battery, users will need to reset their Basic Settings.
- Do not open the battery / SD card door or remove the battery when the camera is in its ON status. Only remove the battery and SD card when the camera is not in use, or in its OFF status.
- If you do not plan on using the camera for a long period of time, please remove the battery and SD card.
- In order for Li-Ion battery to get optimum performance it is highly recommended to charge the battery at least 8 hours on first use or after storage of more than 3 months.
Basic Settings
Upon turning the camera on, a “welcome image” will appear on the LCD display. Please proceed with the following settings:
NOTE: Users have the option of changing the camera's “welcome image,” by selecting background setting under the menu section of Playback mode.
Language Preference Setting
There are a total of fourteen languages to choose from to interact with this camera. Please refer to setup function. (Page 26)
Date and Time Setting
Please refer to the Date and Time setting under setup function. (Page 23)
Formatting Internal Memory / SD Card
To take more pictures effectively, format the content of the Internal Memory/SD card. To format SD card, please insert your compatible SD card into SD slot. Then proceed with the following steps:
- Enter the Menu Setup Function.
- Selecting "Format" setting option of the menu by ▲▼ buttons.
- The user will then be asked "Format SD Card?" on the LCD Display.
- Pressing the Shutter button to confirm and proceed with formatting.
As a result, if there is no SD / MMC card in camera, the LCD display will show the following message for confirmation: "Format internal Memory?" then, press Shutter button to perform formatting internal memory.
Basic Operating Procedure
This Quick Start provides simple and basic directions to get you started with your camera. From this section, you will learn how to turn the camera ON and OFF, shoot pictures, use the Auto Focus function, Zooming In and Out, and Playback your pictures.
Turning Camera ON/OFF
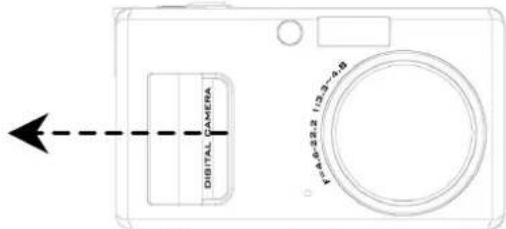
To turn the power on
Slide the power switch to open the lens cover.
To turn the power off
Slide the power switch to close the lens door.
**The backside LED indicator will remain green when the camera is power on**
Basic Shooting
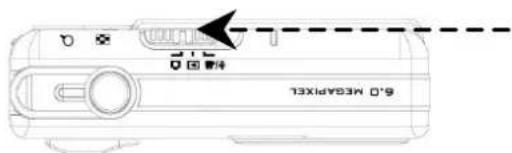
-
Slide the Mode Switch to Capture Mode
-
Looking into the LCD and try to align your subject into the focus brackets.
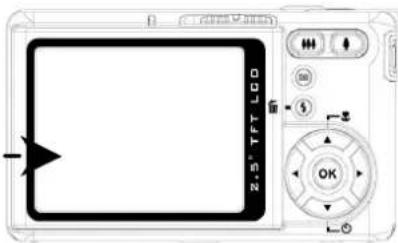
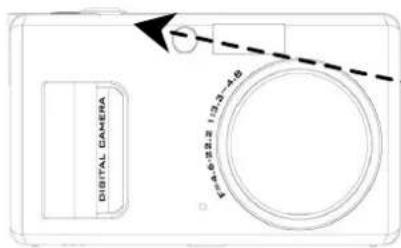
- When your subject has been aligned for shooting, press the Shutter button down halfway for focusing, after the subject has been focused then keep pressing the Shutter button all the way down for taking picture.
Auto-focus Function
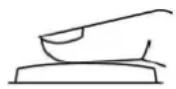
When the Shutter button is pressed halfway down (S1), the Auto-Focus function will be activated and the subject will be focused automatically. Following these steps to activate this function:
S1
S2

- Before pressing down the Shutter button, the focus brackets are white, once the Shutter button has been pressed halfway down (S1), and the subject is able to focus, the focus brackets will turn green, otherwise the focus brackets will turn red.
- When the subject has been focused successfully, pressing the Shutter button all the way down (S2) to take picture.
Zooming In/Out
This camera has 4.8x optical zoom and 8x digital zoom function, there is a zoom bar on the right side of LCD display to indicate the zoom status. While pressing the Zoom button, there is a white bar in the middle of zoom bar to separate optical zoom and digital zoom. Pressing Zoom in and Zoom out button to move the lens between wide angle (1x) and telephoto (4.8x) positions for optical zoom; it will activate the digital zoom by still pressing the button after the lens had moved to telephoto position. Once the subject has been aligned in LCD, the user can press the Zoom button to select preferred image size.
Viewing Pictures
Turning Mode Switch to Playback Mode to review the recently taken images, video clips or audio files, and use the ◀▶ buttons to scroll through them. For an in-depth description of Playback Mode ▶, please refer to page 18.
Quick Delete Picture
In Playback Mode, simply press down on the Delete/Flash button to quick delete an image. A "Delete this file?" message will appear on the LCD, and then pressing down on the OK button will delete the file.
Basic Function Buttons
Mode Switch
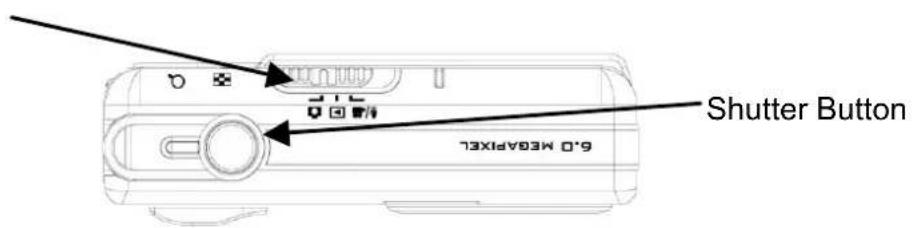
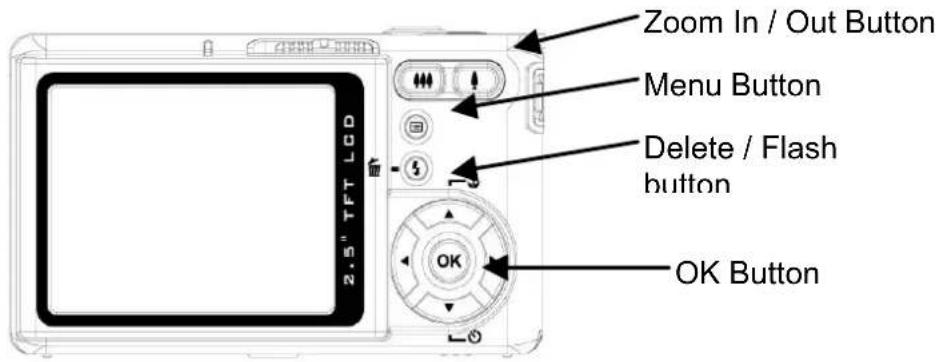
- Shutter Button: Taking picture, video and audio by pressing Shutter button.
- Mode Switch: It allows users to change different mode.
- Zoom In/Out Button: To zoom in and out lens between wide and telephoto position to set preferred image.
Note: Digital zoom is limited for 10.0M resolution.
| Resolution Digital Zoom | |
| 10.0M (3648 x 2736) | 8x |
| 6.0M (2816 x 2112) 8x | |
| 3.0M (2048 x 1536) 8x | |
| 2.0M (1600 x 1200) 8x | |
| 1.3M (1280 x 960) 8x | |
| VGA (640 x 480) 8x |
Under Capture Mode:
- Delete/Flash Button: This button sets flash as force off, auto red eye reduction, force on and slow sync under shooting modes. In Playback Mode, a delete confirmation message will appear on LCD.
Force off: default setting of flash mode.
Auto: auto detecting environment brightness to flash for exposure compensation.
Force on: forcing flash discharge for every shot.
Auto red eye reduction: to avoid red eye caused by auto flash while taking portrait picture.
Slow sync: synchronizing flash with slow shutter speed.
-
Menu Button: This button could enter in each mode menu for settings adjustment.
-
OK Button: This button could confirm the selection.
-
Up Button (Focus Mode Hot Key): This button could let user select different focus mode according to subject focusing distance, there are 3 focus modes for users to set, normal, macro and infinity focus modes.
-
Down Button (Self Timer Hot Key): This button provides use different timer settings: 3 seconds and 10 seconds, 3 seconds is usually applied for users to take shot without tripod to support camera steady and prevent hand shaking by pressing Shutter button.
-
Left & Right Button (EV Adjustment Hot Key): Exposure compensation is used to alter the camera's standard exposure setting. You can darken or lighten the image.
Main Modes and Setup Function Instructions
This section will describe the three modes and setup function included in this camera. An in-depth coverage of these modes will be further described
| Items Menu Setting Options Page | ||
| Capture Mode |  | 12 |
| Playback Mode |  | 18 |
| Audio/Video Mode | 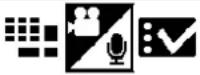 | 21 |
| Setup Function |  | 23 |
Capture Mode
This mode provides variety scenic best shots and "Auto" for still image capturing.
Slide the Mode Switch to the Capture Mode. Pressing the ☐ to access menu. Then use ▲▼button to select the setting option for change setting. Once the option has been selected, use ◀▶ button to scroll through them and confirm to setting changed. Pressing ☐ again can exit menu at anytime.
Scene
Users can select from the following scenes to suit the environment for still image shotting:
Auto - This is for directly "point and shoot", all capturing setting will set by system automatically.
Sport - This is for fast-moving subjects when you want to freeze the action.
Landscape - This is used for wide scenic views.
Night - Night view scenes.
Portrait - This mode blurs the background to focus on the portrait.
Self Portrait - It enables users to take a picture of user self while holding the self and take a shot of half top of portrait.
Night Portrait - This mode is for images taken during twilight or at night for portrait. The flash illuminates the subject while
a slow sync speed capturing a natural exposure of the background.
Sunset - To enhance the red tone for taking sunset picture.
Beach - This is for taking beach view with enhanced blue tone.
Back Light - For taking the picture of back light object by changing metering mode.
Autumn - This is for autumn scenic of red maple views.
Natural - This is suitable for forest or grasslands views.
Sky - This is for sky views to enhance saturation and blue tone.
Party - It enables you to take pictures under a darker environment with different lighting.
Text - This mode will project the text by enhancement of the black and white contrast.
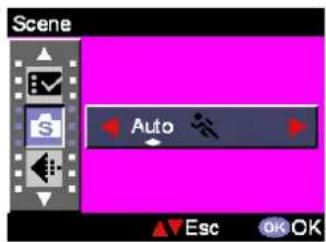
Image Quality
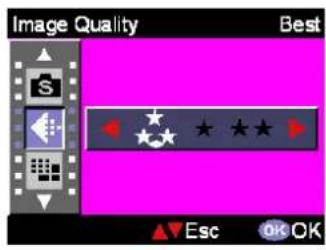
The widely-used JPEG format is used for image-recording quality setting. Users can select from the following image quality:

Best-Least image compression ratio (Default).

Better-Least Less image compression ratio.

Basic-Economical image compression ratio.
Resolution
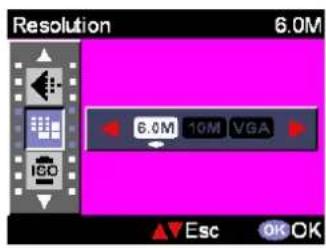
This setting option allows users to set the record resolution.
640 x 480 (VGA)
1280 x 960 (1.3M)
1600 x 1200 (2.0M)
2048 x 1536 (3.0M)
2816 x 2112 (6.0M) (Default)
3648 × 2736 (10.0M)
ISO
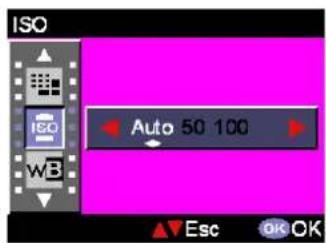
The ISO speed is the sensitivity to light. The higher the ISO speed number, the higher the sensitivity is to light. Auto (Default)
50
100
200
400
White Balance
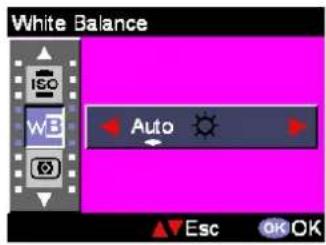
Normally, the “Auto” WB setting will set the optimum white balance automatically. If natural colors cannot be obtained by auto WB, you can set the white balance manually to suit the respective light source. Users can select the following white balance settings:
Auto (Default)
Sun
Cloud
Tungsten
Fluorescent
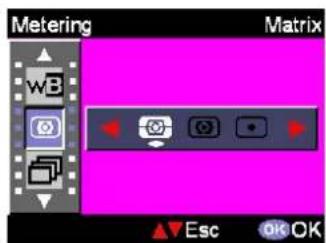
Metering
This setting option will calculate the best overall exposure value. The camera has three metering modes:
Matrix (Default)
Center-weighted
Spot
Continue Shot
This function can provide users to take 3 photos in one shot.
On
OFF (Default)
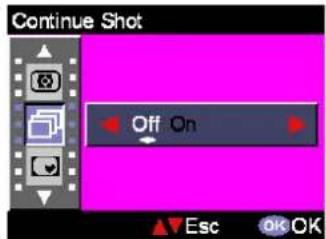
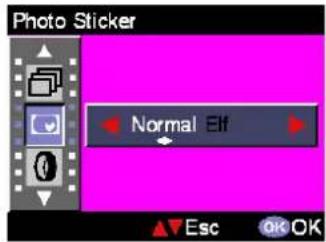
Photo Sticker
This setting option provides users variety foregroundimages for shooting fun increasing. It has Normal, Elf, Couple, Greeting, Winner, Belove and Party foregrounds for users selecting.
Digital Filter
This setting option could let users set image to have color filter effect by digital image processing instead of lens filter:
Normal (Degault) / Black&White / Sepia / Red / Pink / Purple / Blue / Green / Yellow / Solarize / Negative
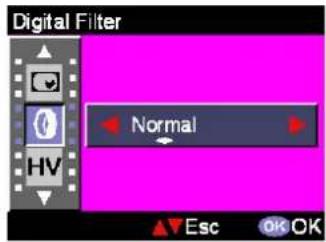
Tip: Solarize -This effect creates the impression that the image has been exposed to light. Negative - Having the light and dark parts opposite to what they were in the original picture.
Histogram
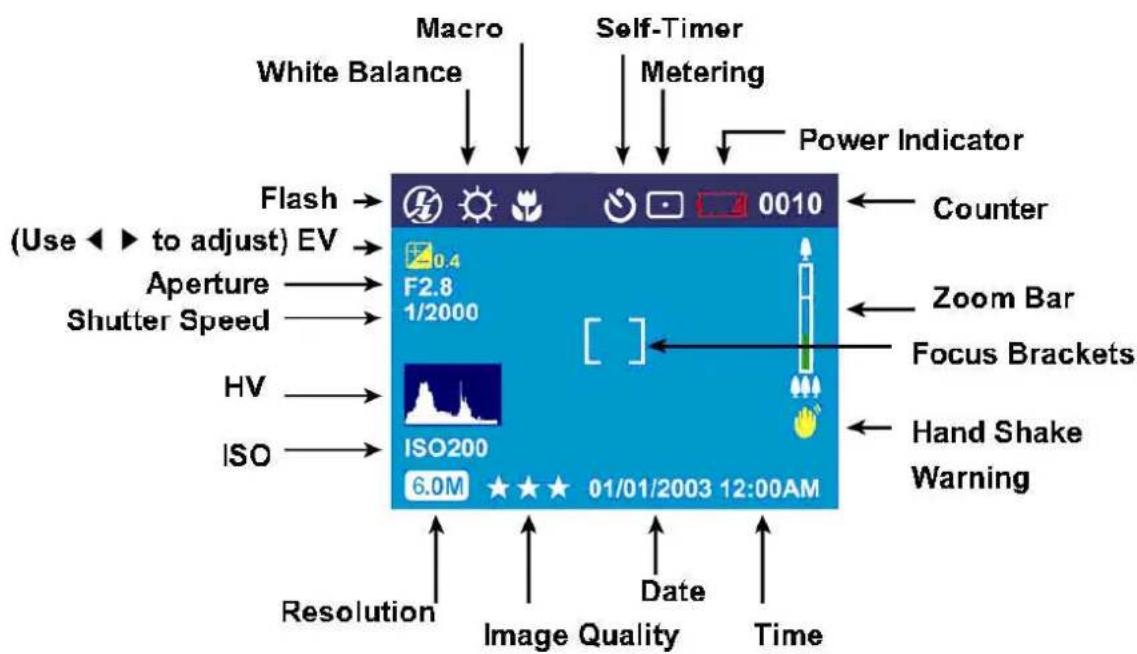
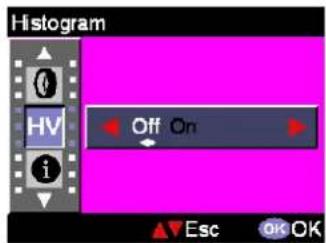
Histogram Value shows the brightness and contrast of the subject. It enables precise exposure control.
You can set histogram display manually.
On
Off (Default)
Information
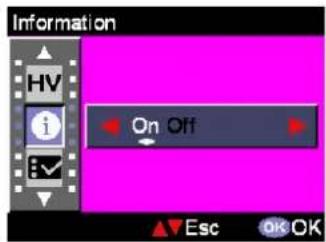
This setting option supports the display capture information on the LCD while taking pictures.
On
Off (Default)
Setup
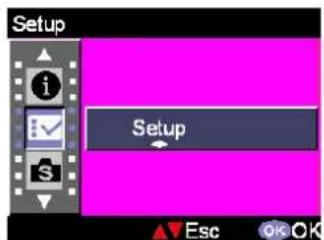
This option supports the display and use of the setup menu; for detailed information, see page 23.
Playback Mode
One of the main advantages of a digital camera is that images can be reviewed instantly. The Playback mode lets users review recently taken pictures, video clips and audio files. This camera has a 2.5" LCD that lets users clearly view their pictures. Press ☐ to access the menu, and then use the ▲▼ button to select the setting options. Once an option has been selected, use the ▶◀ button to scroll through its settings and confirm the setting to be changed (some settings will require pressing Shutter button to be activated). The following is a detailed introduction of the Playback Mode menu.

Delete
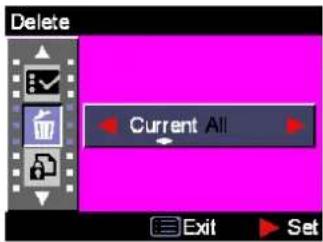
Users can delete current or all files under this setting option: Current All

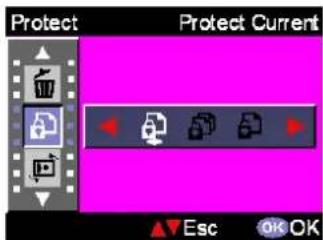
Protect
Users can prevent images from accidental erasure. This setting option has settings as: Protect Current Protect All Unprotect Current Unprotect All

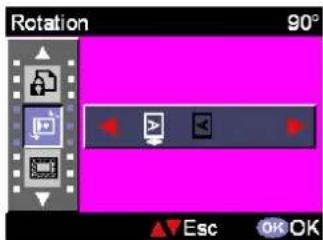
Rotation
This setting option can rotate image 90 degree clockwise and anti-clockwise. After user selected the rotation direction setting will need to press shutter for execution.

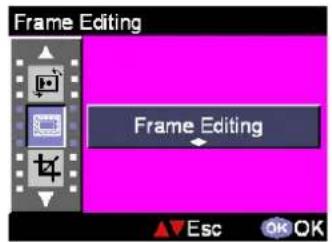
Frame Editing
This camera provides 6 different frames for quick image editing on LCD.

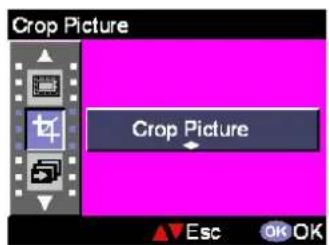
Crop Picture
Users can crop images through the desired magnified area. Pressing Shutter button to confirm crop function. After pressed Zoom In/Out button, the image was magnified or minified, then users could use 4-way button to navigate the image. Once a desired section of the picture had been selected, pressed Shutter button again to crop images.

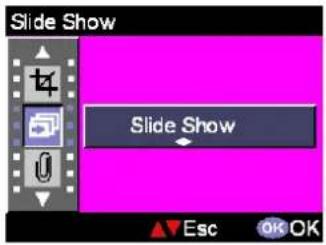
Slide Show
This setting option allows users to review all images by slide show way. Users also can set slide show interval in Setup Mode.

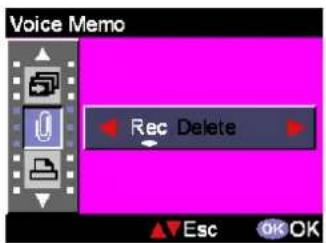
Voice Memo
This setting option provides 20 seconds voice memo recording for still image. Selecting "Voice Memo" then pressing Shutter button to start recording. A countdown timer will indicate how much time is left in the recording session. Pressing Shutter button again can end recording.

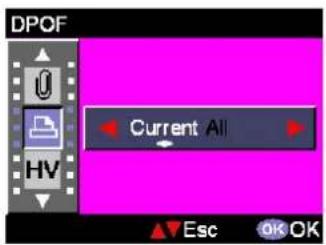
DPOF
DPOF is a format used to record automatic printing information from cameras. By specifying which pictures are to be printed, the pictures can be printed easily by DPOF-compatible printing service labs or on a personal DPOF-compatible printer. Users can select current or all or all images to print:
Current
All
Reset
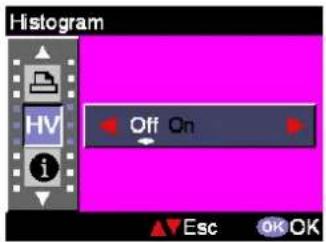
HV
Histogram
This setting option allows users to review the histogram value condition of taken picture. Once Histogram is enabled, users can see the HV display on LCD.
On
Off
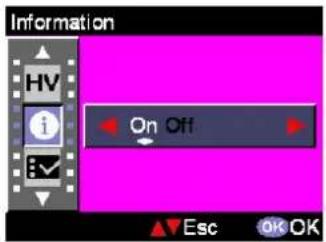
i
Information
This setting option supports the display of recording information on the LCD while reviewing pictures.
On
Off
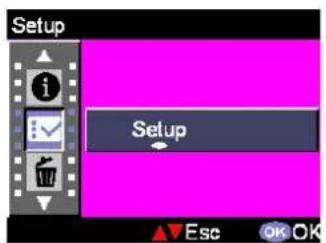
Setup
This option supports the display and use of the setup menu; for detailed information, see page 23.
Audio/Video Video Mode
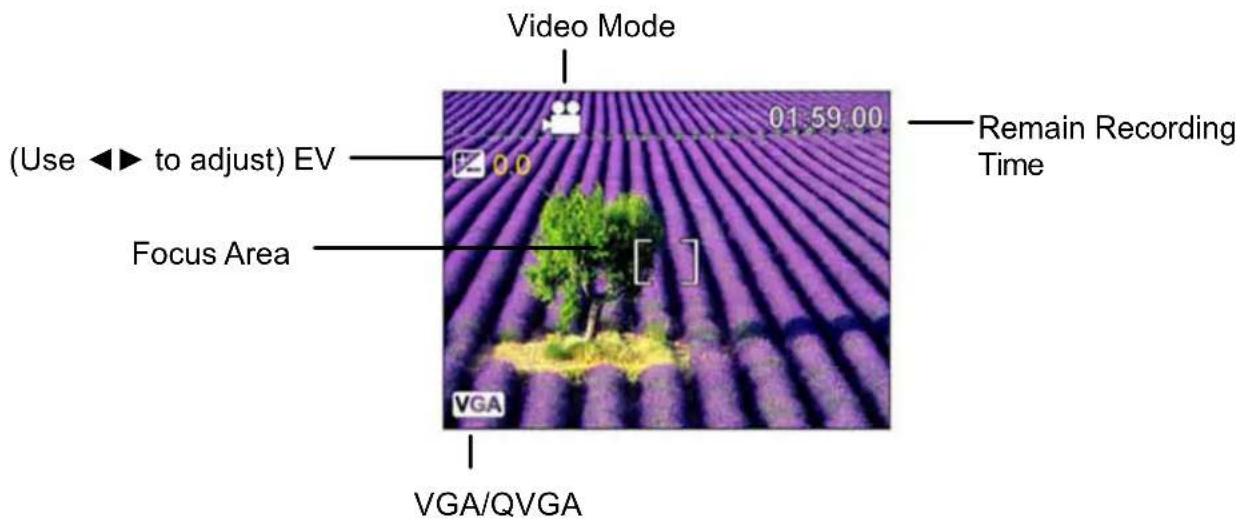
- Video Mode allows users to use the camera as a movie recorder. The recorded movie length is based on the capacity of the internal memory or SD/MMC card.
- Turning the Mode Dial to the Movie Mode.
- To start recording a movie, press the Shutter button. The camera will check the capacity of the memory prior to recording a movie. If the memory is full, a warning message "memory full" will display on the LCD, and the camera will automatically exit the movie recording mode.
- If there is no warning message, the camera will start recording. To stop recording, press the Shutter button again.
- During movie recording, the Status LED is flashing in red.
- Users can select movie recording size by pressing ☐ to select Resolution options, there are VGA and QVGA resolutions for movie recording.
Tip:
- The file format of movie is MPEG 4. (.avi)
- When users playback video clip in PC, system will require MPEG4 Codec. Please link to Microsoft Website for getting the latest Codec or update the third party latest Codec which users had installed.
- During movie recording, the zoom function is blocked.
Audio/Video Audio Mode
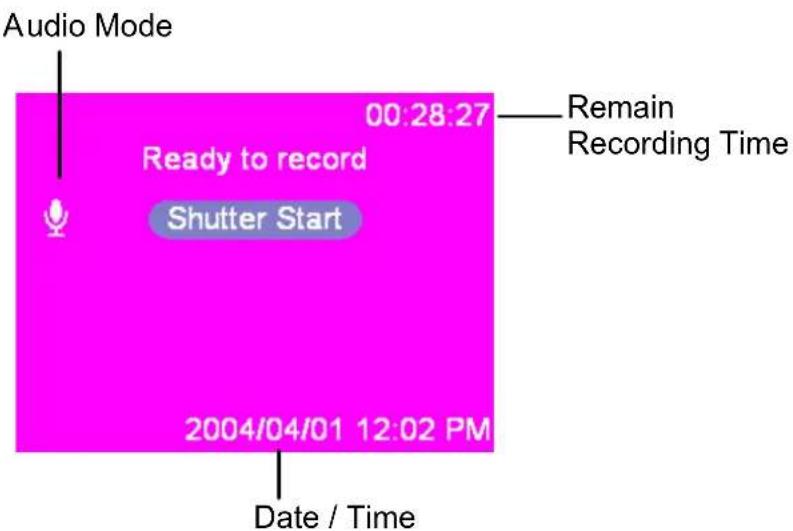
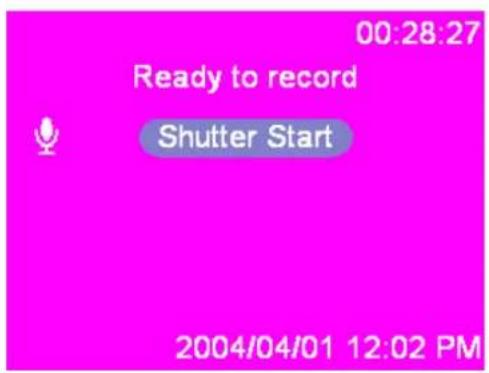
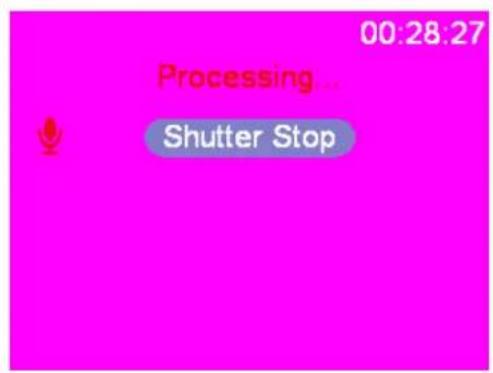
This mode allows users to record audio. Pressing the Shutter button to start recording, and press the Shutter button again to stop recording. During audio recording, the Status LED is flashing in red.
Setup Function
Enter the Menu Setup function. Pressing ▲▼ button to select the setting options. Once the option is selected, use ◀▶ button to scroll through settings and confirm to setting changed (some settings will need to press Shutter button to execute setting activating). Following are the detail instructions of Setup menu.
Date and Time
Resetting date and time after battery changed. Users can press Shutter button to start changing settings value, by using ▲▼button and change setting items by using ◀▶button.
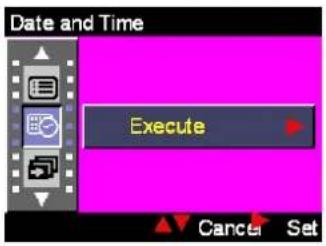
After Date and Time settings changed, users have to press Shutter button again for change confirmation.
Tip: Dates can be set in these formats:
YYYY. MM. DD
MM. DD. YYYY
Time can be set in these formats:
12-hour
24-hour
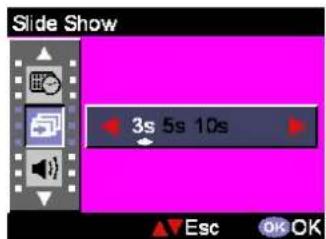
Slide Show
Under this setting, users can set the interval of seconds which they want the slide show to proceed per slide. Users can select:
3S
5S
10S
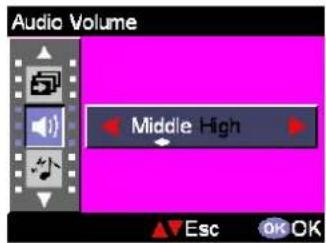
Audio Volume
Users can adjust the camera audio volume to:
High
Middle
Low
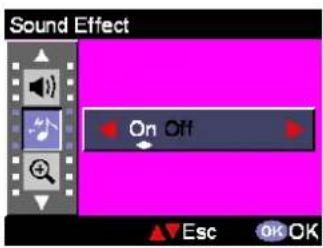
Sound Effect
This setting option allows users to turn the sound effect on or off:
On
Off
Digital Zoom
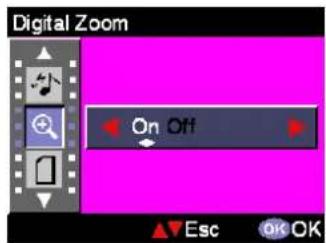
This camera provides the digital zoom function up to 8x magnification while taking picture. Users can set to enable digital zoom function from this setting option.
On
Off
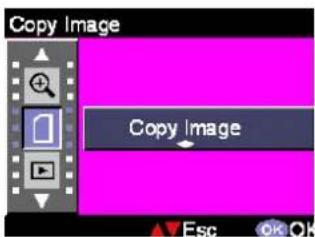
Copy Image
This camera can support to copy pictures from internal memory to SD card. The function is blocked when no SD card in camera.
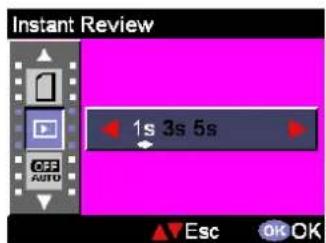
Instant Review
This setting option sets the time for the picture previewed instantly after shoot:
1S
3S
5S
Off
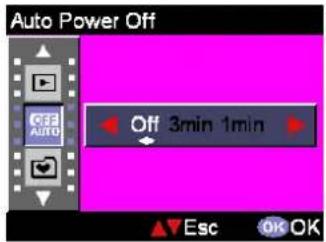
Auto Power Off
This setting option can let camera automatically turns off after no operation for a while. Users can select the following minutes to Auto Power Off the camera.
Off
3 min
1 min
This setting option allows users to select their preferred images which are built in camera (Image1, 2) or “My Photo” as background.
Image 1
Image 2
My Photo
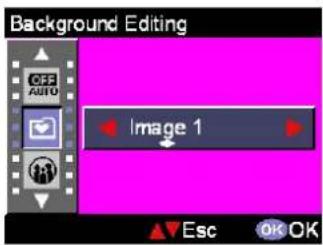
Tip: This background will be replaced the default images of welcome page and Setup Mode background. Users could use "My Photo" function to choose preferred images from Internal Memory or SD card to be background image, and it will be stored in camera, even though the image stored in Internal Memory or SD card had been deleted by users, "My Photo still keeps the image.
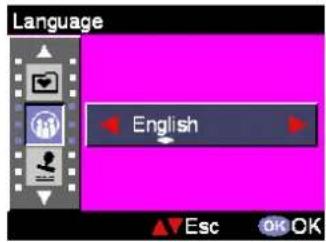
Language
Users can select proper language from the following:
English
German
French
Spanish
Italian
Nederland
Danish
Czech
Russian
Poland
Traditional Chinese
Simplified Chinese
Japanese
Korean
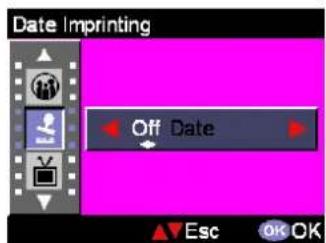
Date Imprinting
This setting option is used for stamping the date on the picture. Users can select following settings:
Date
Off
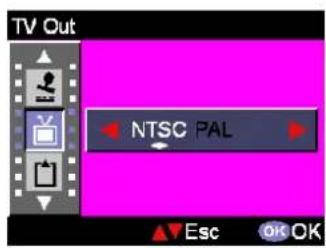
TV Out
Depending on where the user is, the different region requires different TV system for “TV Out” transmission.
NTSC
PAL
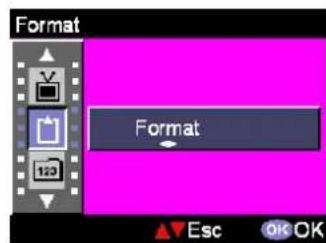
Format
This setting option allows users to format the camera internal or Shutter button to execute or ▲▼ button to escape.
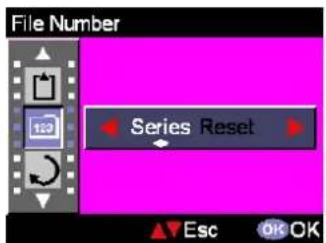
File Number
The image count will be restored to zero once the pictures in memory had been erased under File Number "Reset" condition. Setting the order of pictures stored in the camera:
Reset - File number counting from zero.
Series - File number counting from series.
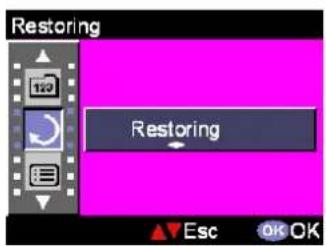
Restoring
This setting option can restore the camera to factory setting.
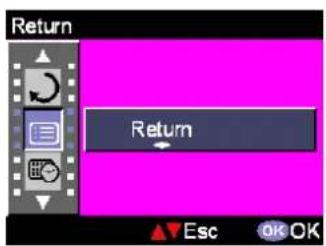
Return
This setting option can go back the previous menu selection.
Making Connections
In this section you will be able to connect the camera to your PC to download or edit photos.
Installing Software
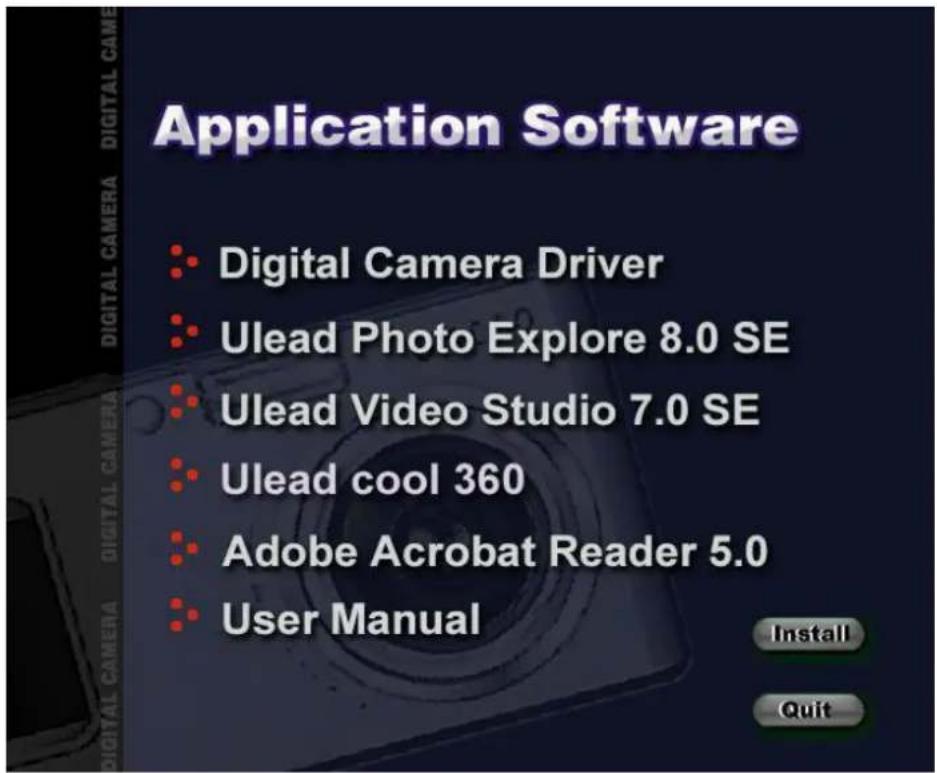
- Insert the CD-ROM into your CD-ROM drive.
- If using Windows 98, click "Digital Camera Driver". Choose any from the five available options and click 'Install'.
- The installation wizard will guide you through the installation.
- You will be able to use the application once it's installed.
Caution:
- Driver is for uploading pictures to computer, if the operation system is Win 98
- If the user didn't install the driver before plugging in the USB device, system will detect new device while the camera connected to computer. Please insert the CD-ROM and complete the drive installation.
Connecting through USB
This section will guide users how to download images from camera to PC through the USB cable.
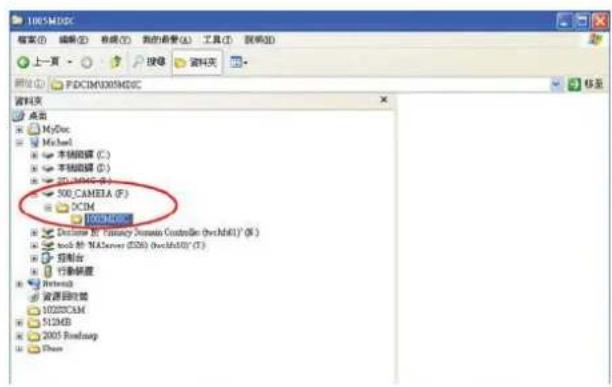
- This camera allows users to move the images or movie from camera to PC by MSDC support.
- When the camera is connected to your PC, there will be one external storage device in "My computer" named "600_CAMERA".
- Simply clicking the folder named "DCIM\1006MDSC", users can find the recorded files.
- Copying or remove these files to from camera to your PC, then users can start to edit the images.
Connecting through TV-out
Before connecting the camera to TV, please set the proper TV-out protocol in the camera. After TV-out set to proper connection protocol, users can enable each function through the TV monitor instead of the LCD display.
- Connecting the video cable into the video out connector.
- Connecting the other end of the video cable into the TV's video-in jack.
- Turning the camera ON, users should then be able to operate the camera with TV screen. (The LCD will turn off while the camera connected to TV-out)
Appendix
Camera Default Setting
| Setting Matrix Default Setting | |
| Resolution 6M (2816x2112) | |
| Image quality Best | |
| Self-timer Off | |
| Capture Auto | |
| White Balance Auto | |
| Digital Filter Normal | |
| ISO Auto | |
| Metering Matrix | |
| Histogram | Off |
| Information | On |
| Scene Auto | |
| Date and Time | 2005.01.01 |
| Slide Show Interval | 3s |
| Audio Volume | Middle |
| Sound Effect On | |
| Digital Zoom | On |
| Instant Review | 1s |
| Auto Power Off | 1min |
| Background Editing | Image 1 |
| Languages | English |
| File Number | Series |
LED Status
| LED Status | Status LED | AF Assist / Self-timer LED | Description |
| Power Off Off | Off Camera off. | ||
| Power On GREEN Off Camera on status. | |||
| Flash charging | Flickering RED | Off When the flash is charging, “Red” LED will flicker (2 flickers / s), then turn to “Green” when the flash had charged completely. | |
| Image saving | Flickering GREEN | Off | “Green” LED will flicker during image saving. |
| Battery low | Flickering Orange | Off | Camera is going to run out of battery power. |
| Self-timer | GREEN RED | Self-Ticker LED will flicker together with beep according to countdown tempo in first 7 sec. then 2 flickers / per sec. at last 3 sec.; If Self-Timer is set to 3 sec., flicker will keep 1 flicker / per sec. till last. | |
| AF Assist | GREEN | RED | When subject illumination is too deem for taking shot. |
| Out of focus | ORANGE | Off | While focus failed, “Orange” LED will be on, it will change to “Green” when users release Shutter button. |
| Audio / Video recording | Slow flickering RED | Flickering / Off | When recording movie / audio, the “Red” LED will flicker slowly (1 flicker / per secretary.) according to “REC” logo. |
Information Code Specifications
| Error Possible | Cause Corrective Action | |
| Card Full | No more pictures can be stored | Remove the pictures or insert another card |
| Write-Protect | Card has been protected | To remove write-protect latch of card |
| Card Error Cannot record, playback or erase pictures on this card | To format this card or replace another card | |
| Picture Error This recorded picture with camera | To view the image through PC. If it cannot be done, the picture is damaged. | |
| SD Card / internal memory No picture in | There no image in storage, so there nothing in playback | To take pictures or insert another card with images |
| Card Setup | This card is not formatted | To format this card before using |
| Battery Empty | Battery low for taking pictures | Installing new or charged battery |
| No Card No card for "copy image" from internal Memory. | To insert a SD/MMC card into camera. | |
Specification
| Features Content | |
| Sensor Photosensor 6.36 MegaPixels | |
| Sensor Size 1/2.5" | |
| Sensor Type CCD | |
| Maximum Image Resolution | 3648 x 2736 (Interpolated) |
| Still Image Size 3648 x 2736 | / 2816 x 2112 / 2048 x 1536 / 1600 x 1200 / 1280 x 960 / 640 x 480 |
| Video Clip VGA @ 30 fps | |
| Build-in Microphone Yes | |
| Build-in Speaker Yes | |
| Build-in Memory 32 MB NAND Flash Memory | |
| Storage Types | Secure Digital (SD) Card or MultiMedia Card (MMC) |
| Optical Zoom 4.8x | |
| Digital Zoom | 8x |
| Focus Length | F=4.6~22.2 mm |
| Aperture Range | F=3.3~4.8 |
| Shutter Speed | 16~1/2000 sec |
| Focus Mode | TTL Contrast Detection |
| Normal Focus Range | 30 cm ~ ∞ |
| Macro Focus Range | 1 cm ~ 30 cm |
| Voice Memo | 20 seconds voice memo |
| Audio Record | WAV |
| Sound Effect | Yes |
| Flash Manual Setting | Off / Auto / Force On / Auto Red Eye Reduction / Slow sync. |
| Flash Range 1.0 ~ 2.4 M | |
| Self-timer | 3/10 seconds delay |
| Continuous Shot | Yes |
| Compressed File Format | JPEG EXIF 2.2 (DPOF support) |
| Video Clip Format | MPEG4 |
| LCD Display | 2.5" LTPS TFT LCD |
| Multiple Language E/G/F/S/ | T/NE/DA/CZ/RU/PO/TC/SC/J/K |
| Playback Zoom Up to 8x | |
| Video Out TV out with video & audio | |
| PC Interface USB 2.0 High Speed | |
| Power Source NP-40 Li-Ion Battery | |
| Body Material Metal | |
| Tripod Mount Yes | |
| Dimensions 97 x 55 x 24.8 mm | |
| Weight (Battery Excluded) 140g | |
| Supported O/S | Microsoft Windows 98SE, ME, 2000, XP, Mac OS 9.1 |
| Bundled software | Ulead Photo Explore 8.0 SEUlead Video Studio 7.0 SEUlead Cool 360Adobe Acrobat Reader 5.0 |

- Table of Contents
- Setup
- Unpacking Camera
- Loading Battery and SD Card
- CAUTION!
- NOTE:
- Basic Settings
- Language Preference Setting
- Date and Time Setting
- Formatting Internal Memory / SD Card
- Basic Operating Procedure
- Turning Camera ON/OFF
- Basic Shooting
- Auto-focus Function
- Zooming In/Out
- Viewing Pictures
- Quick Delete Picture
- Basic Function Buttons
- Under Capture Mode:
- Main Modes and Setup Function Instructions
- Capture Mode
- Scene
- Image Quality
- Resolution
- ISO
- White Balance
- Metering
- Continue Shot
- Photo Sticker
- Digital Filter
- Histogram
- Information
- Playback Mode
- Delete
- Protect
- Rotation
- Frame Editing
- Crop Picture
- Slide Show
- Voice Memo
- DPOF
- HV
- i
- Audio/Video Video Mode
- Tip:
- Audio/Video Audio Mode
- Setup Function
- Date and Time
- Audio Volume
- Sound Effect
- Digital Zoom
- Copy Image
- Instant Review
- Auto Power Off
- Language
- Date Imprinting
- TV Out
- Format
- File Number
- Restoring
- Return
- Making Connections
- Installing Software
- Caution:
- Connecting through USB
- Connecting through TV-out
- Appendix
Brand : EASYPIX
Model : VX600
Category : Camera