
Axon 9 Pro - Uncategorized ZTE - Free user manual and instructions
Find the device manual for free Axon 9 Pro ZTE in PDF.


| Product Type | Smartphone |
| Dimensions | 156.5 x 74.5 x 7.9 mm (6.16 x 2.93 x 0.31 in) |
| Weight | 179 g (6.31 oz) |
| Display | 6.21 inches, 1080 x 2248 pixels |
| Processor | Qualcomm SDM845 Snapdragon 845 |
| RAM | 6 GB |
| Storage | 128 GB internal |
| Operating System | Android 8.0 (Oreo), upgradable |
| Battery Capacity | Li-Ion 4000 mAh, non-removable |
| SIM Type | Single SIM (Nano-SIM) or Hybrid Dual SIM |
| Main Functions | Upgrade via SD card, software update, data backup/restore |
| Maintenance and Cleaning | Keep device dry, avoid extreme temperatures, clean with soft cloth |
| Safety Precautions | Do not remove SD card during backup/upgrade, ensure battery >40%, use only official software |
| Spare Parts and Repairability | Contact after-sales service for support; no user-replaceable battery |
| General Information | Supports SD card upgrade; user manual available for download |
Frequently Asked Questions - Axon 9 Pro ZTE
User questions about Axon 9 Pro ZTE
0 question about this device. Answer the ones you know or ask your own.
Ask a new question about this device
Download the instructions for your Uncategorized in PDF format for free! Find your manual Axon 9 Pro - ZTE and take your electronic device back in hand. On this page are published all the documents necessary for the use of your device. Axon 9 Pro by ZTE.
USER MANUAL Axon 9 Pro ZTE
ZTE A2019G Pro Upgrade Guide (Through an SD Card)
1. Cautions
The software version and pictures in this document are just for reference only. Please use ZTE handset support website provided version to download software.
1) Download the upgrade package.
- Open http://www.ztedevice.com.cn/support and download the upgrade package (update.zip) that matches your phone model. If the downloaded package is not update.zip, unzip the package to obtain update.zip.
- Ensure that your micro SD card is at least 3GB. Note: Please refer to our current version download size.
2) Remove the SIM card, then back up the data and APPs in your phone before the upgrade.
3) Perform data backup.
Note: You should not remove the SD card during the backup process. To avoid data lost, it is not recommended to cancel the backup process.
4) Verify that the update.zip file in the root directory of the SD card matches the model of the phone. Do not modify the file name and extension name of the files in the upgrade package.
5) Verify that your phone has enough (at least 40%) power. Charge the phone if required. To avoid data lost or upgrade failure, it is not recommended to upgrade your phone through an SD card when the phone is being charged.
6) You should not perform any other operation on the phone during the upgrade process.
7) A normal upgrade should be completed in 10 minutes. If the phone does not reboot or show any response in 10 minutes, you should perform the upgrade process again. If the phone cannot be started, perform a forced upgrade. If the forced upgrade does not work, you should contact an after-sale service agent for support
2. Upgrade Description
There are two upgrade methods: normal upgrade and forced upgrade. If the phone cannot be started properly, for example, the phone cannot be started, or the phone does not enter standby state, perform a forced upgrade. If the phone can be started properly and the Settings menu can be selected, perform a normal upgrade.
3. Upgrade Steps
A. Normal upgrade (the primary upgrade method)
1) Download the upgrade package that matches the phone model from ZTE official website (http://www.ztedevice.com.cn/support/), extract update.zip from the package, and copy update.zip to the root directory of the SD card (the file name must be update.zip).
2) Select File Manager>SD Card, verify that the update.zip file in the root directory of the SD card is proper, see Figure 3-1:

Figure 3-1
3) Tap and select Settings > System Updates, see Figure 3-2.
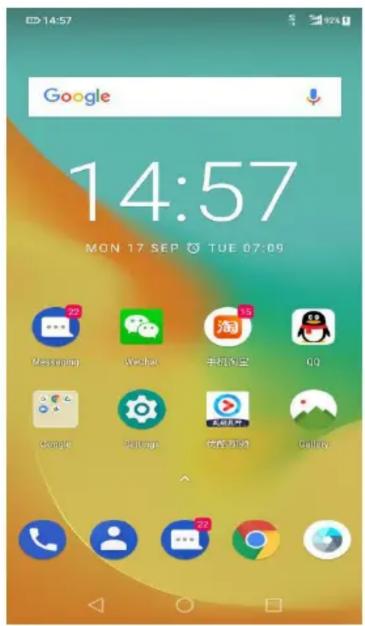
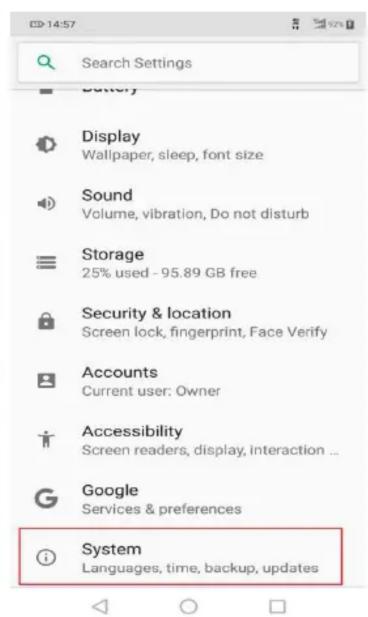
Figure 3-2
4) Tap and select System update, then touch Update, see Figure 3-3.
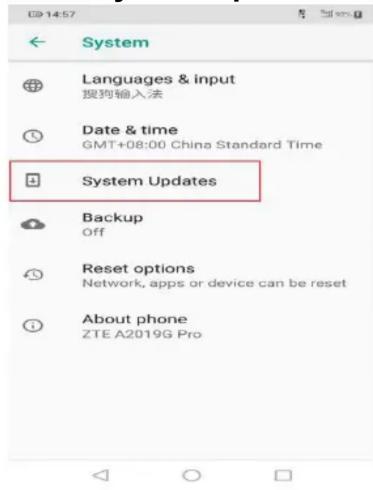
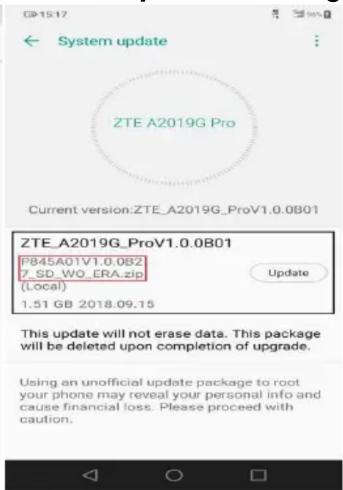
Figure 3-3
5) After 15 seconds the phone automatically to upgrade, See Figure 3-7
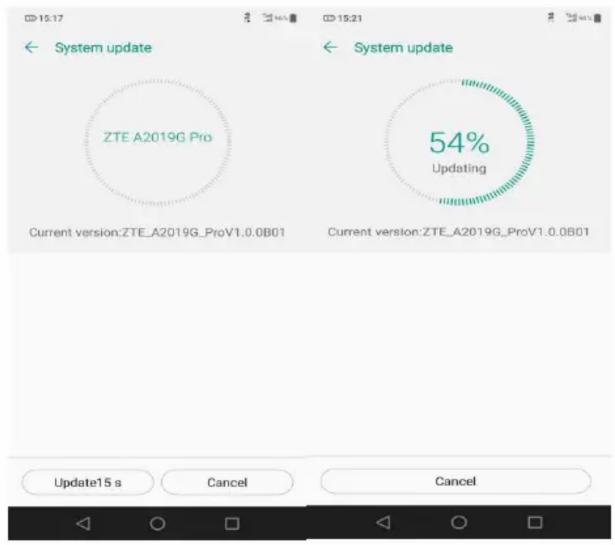
Figure 3-7
6) Upgrade finished, restart the phone. See Figure 3-8
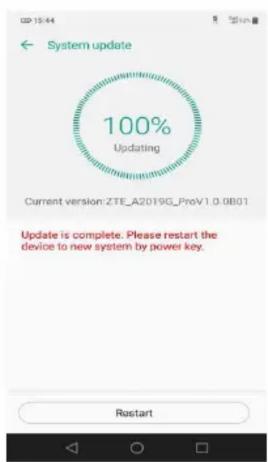
Figure 3-8
B. Forced upgrade (for the phones that cannot be started or the phones that cannot enter standby state)
1) For a powered-off phone, Press and hold the volume up key and power key until the phone enters Android recovery. In this mode, the volume key can be used to select a menu, the power key can be used to confirm it.
2) Press the Volume down key to select Apply update from SD card,
and press the power key to confirm it. The root directory of the SD card is opened.
3) Press the Volume down key to select the update.zip file, and press the power key to confirm it. The phone starts the upgrade process.
4) The phone completes the upgrade process in about 5 minutes. the screen will be displayed: Install from SD card complete, select reboot system now and press the power key to confirm it.
4. (Optional) Restoring the Data
If you have backed up data before upgrading your phone, restore the data. Do not remove the SD card during the restoration process. To avoid data lost, it is not recommended to cancel the restoration process.
Brand : ZTE
Model : Axon 9 Pro
Category : Uncategorized