Teaching L0442 - Clock Fisher Price - Free user manual and instructions
Find the device manual for free Teaching L0442 Fisher Price in PDF.


| Product Type | Educational Analog and Digital Clock |
| Brand | Fisher Price |
| Model | Teaching L0442 |
| Power Supply | 3 x AA (LR6) alkaline batteries (included) |
| Battery Replacement Indicator | Sounds or lights become faint |
| Display | Analog clock face and digital LCD |
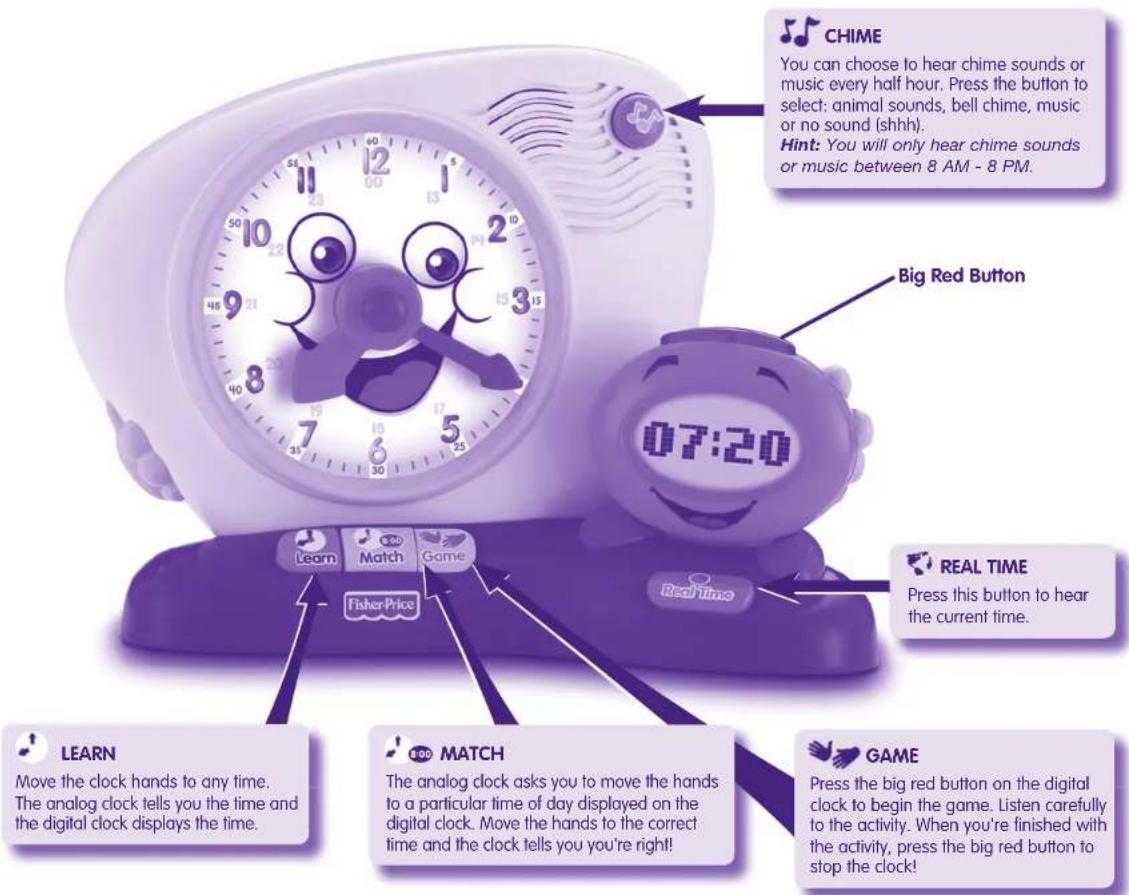
| Modes | Learn, Match, Game |
| Sound Settings | Animal sounds, bell chime, music, or mute |
| Volume Control | Low and high volume switch |
| Skill Levels | Level 1 (beginners) and Level 2 (advanced) |
| Time Setting | Manual analog hand movement; digital set with button |
| AM/PM Selection | Press big red button when it blinks |
| Chime Schedule | Audible only between 8 AM and 8 PM |
| Reset Function | Press reset button with a pointed object |
| Care Instructions | Wipe with damp cloth and mild soap; do not immerse |
| Battery Safety | Do not mix old/new batteries; remove during long non-use |
| Age Recommendation | 3 years and up (preschool) |
| Consumer Service | Mattel UK: 01628 500303; Australia: 1300 135 312; New Zealand: 16-18 William Pickering Drive; Asia: Hong Kong |
| Included Items | Clock, instruction sheet, 3 AA batteries |
Frequently Asked Questions - Teaching L0442 Fisher Price
User questions about Teaching L0442 Fisher Price
0 question about this device. Answer the ones you know or ask your own.
Ask a new question about this device
Download the instructions for your Clock in PDF format for free! Find your manual Teaching L0442 - Fisher Price and take your electronic device back in hand. On this page are published all the documents necessary for the use of your device. Teaching L0442 by Fisher Price.
USER MANUAL Teaching L0442 Fisher Price
natural_image
Black-and-white photo of a smiling child holding a decorative alarm clock and a digital timer (no readable text or symbols)Fun2Learn
Ready For More Learning Fun?
Look for other great Fun 2 Learn™ toys - each with different skills to practice! Each sold separately and subject to availability.

natural_image
Purple toy robot with star-shaped legs and keyboard, labeled 'Preschool Centre' and 'J7148' (no other text or symbols)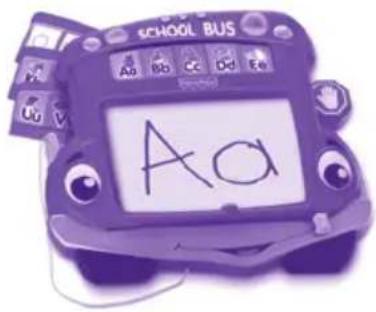
Alpha Bus™ J8188
natural_image
Purple handheld mobile phone with keypad and screen (no visible text or symbols)Learn Your Number Cell Phone™ L1675

natural_image
Purple cartoon-style illustration of a smiling headphones with a digital display and star logo (no text or symbols)PlayPod™ J8195
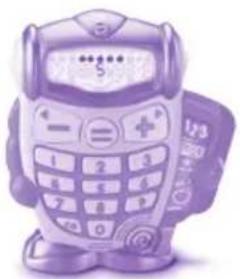
natural_image
Purple cartoon-style mobile phone with keypad and control panel (no visible text or symbols)CalcuBot™ J6871
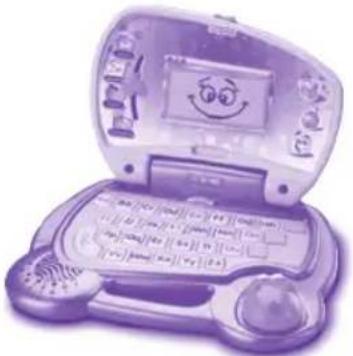
natural_image
Illustration of a cartoon-style open laptop with a smiling face, placed on a keyboard and mouse (no text or symbols visible)Laughtop™ J6958
Consumer Information
- Please keep this instruction sheet for future reference, as it contains important information.
- Requires three "AA" batteries (included).
- Adult assembly is required for battery replacement.
- Tool needed for battery replacement: Phillips screwdriver (not included).
GREAT BRITAIN: Mattel UK Ltd, Vanwall Business Park, Maidenhead SL6 4UB. Helpline: 01628 500303; www.service.mattel.com/uk
AUSTRALIA: Mattel Australia Pty. Ltd., 658 Church Street, Locked Bag #870, Richmond, Victoria 3121 Australia. Consumer Advisory Service 1300 135 312.
NEW ZEALAND: 16-18 William Pickering Drive, Albany 1331, Auckland.
ASIA: Mattel East Asia Ltd, Room 1106, South Tower, World Finance Centre, Harbour City, Tsimshatsui, HK, China.
Before First-Time Use
CAUTION
Please keep small parts such as plastic tabs out of children's reach. Throw the plastic tab away.
Note: A plastic tab is attached to the toy for in-store demonstration purposes. While the tab may have already been removed, check the back of the toy to be sure. If the plastic tab is still attached, pull and remove the tab from the toy. Throw the plastic tab away.
Care
- Wipe this toy with a clean cloth dampened with a mild soap and water solution. Do not immerse this toy.
- This toy has no consumer serviceable parts. Please do not take this toy apart.
Battery Replacement
natural_image
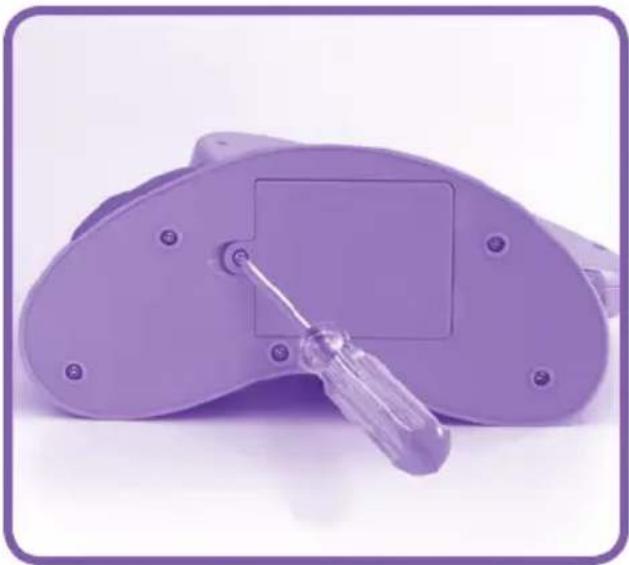
Purple handheld electronic device with screwdriver and central display (no visible text or symbols)For best performance, we recommend replacing the batteries that came with this toy with three, new "AA" (LR6) alkaline batteries.
- Locate the battery compartment on the bottom of the toy.
- Loosen the screw in the battery compartment door with a Phillips screwdriver. Remove the battery compartment door. Remove the batteries and throw them away.
- Insert three "AA" (LR6) alkaline batteries.
Hint: We recommend using alkaline batteries for longer battery life.
- Replace the battery compartment door and tighten the screw with a Phillips screwdriver. Do not over-tighten.
- When sounds or lights from this toy become faint or stop, it's time for an adult to change the batteries!

- Protect the environment by not disposing of this product with household waste (2002/96/EC). Check your local authority for recycling advice and facilities (Europe only).
Battery Safety Information
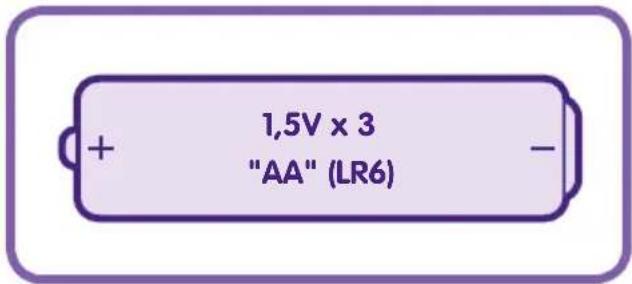
In exceptional circumstances, batteries may leak fluids that can cause a chemical burn injury or ruin your product. To avoid battery leakage:
- Do not mix old and new batteries or batteries of different types: alkaline, standard (carbon-zinc) or rechargeable (nickel-cadmium).
- Insert batteries as indicated inside the battery compartment.
- Remove batteries during long periods of non-use. Always remove exhausted batteries from the product. Dispose of batteries safely. Do not dispose of this product in a fire. The batteries inside may explode or leak.
- Never short-circuit the battery terminals.
- Use only batteries of the same or equivalent type, as recommended.
- Do not charge non-rechargeable batteries.
- Remove rechargeable batteries from the product before charging.
- If removable, rechargeable batteries are used, they are only to be charged under adult supervision.
Time to Learn!
• The large, analog clock is intended for play. The hands do not move automatically.
• The smaller, digital clock keeps real time.

Setting the Correct Time
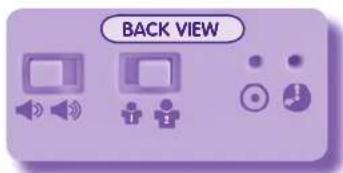
Press the set button with a pointed object. Move the analog clock hands to the correct time. The digital clock displays the same time. Now, wait a moment until the big red button on the digital clock blinks. Then, press the big red button to select AM or PM.

Reset
If the toy acts erratically, press the reset button with a pointed object. Be sure to set the correct time again!

Skill Level
Choose level 1 for beginners or level 2 for advanced play.
Volume Switch
Choose either low volume or high volume.
Brand : Fisher Price
Model : Teaching L0442
Category : Clock