HF2016 - Basket ETNA - Free user manual and instructions
Find the device manual for free HF2016 ETNA in PDF.
Download the instructions for your Basket in PDF format for free! Find your manual HF2016 - ETNA and take your electronic device back in hand. On this page are published all the documents necessary for the use of your device. HF2016 by ETNA.
USER MANUAL HF2016 ETNA
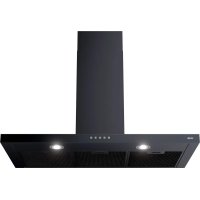
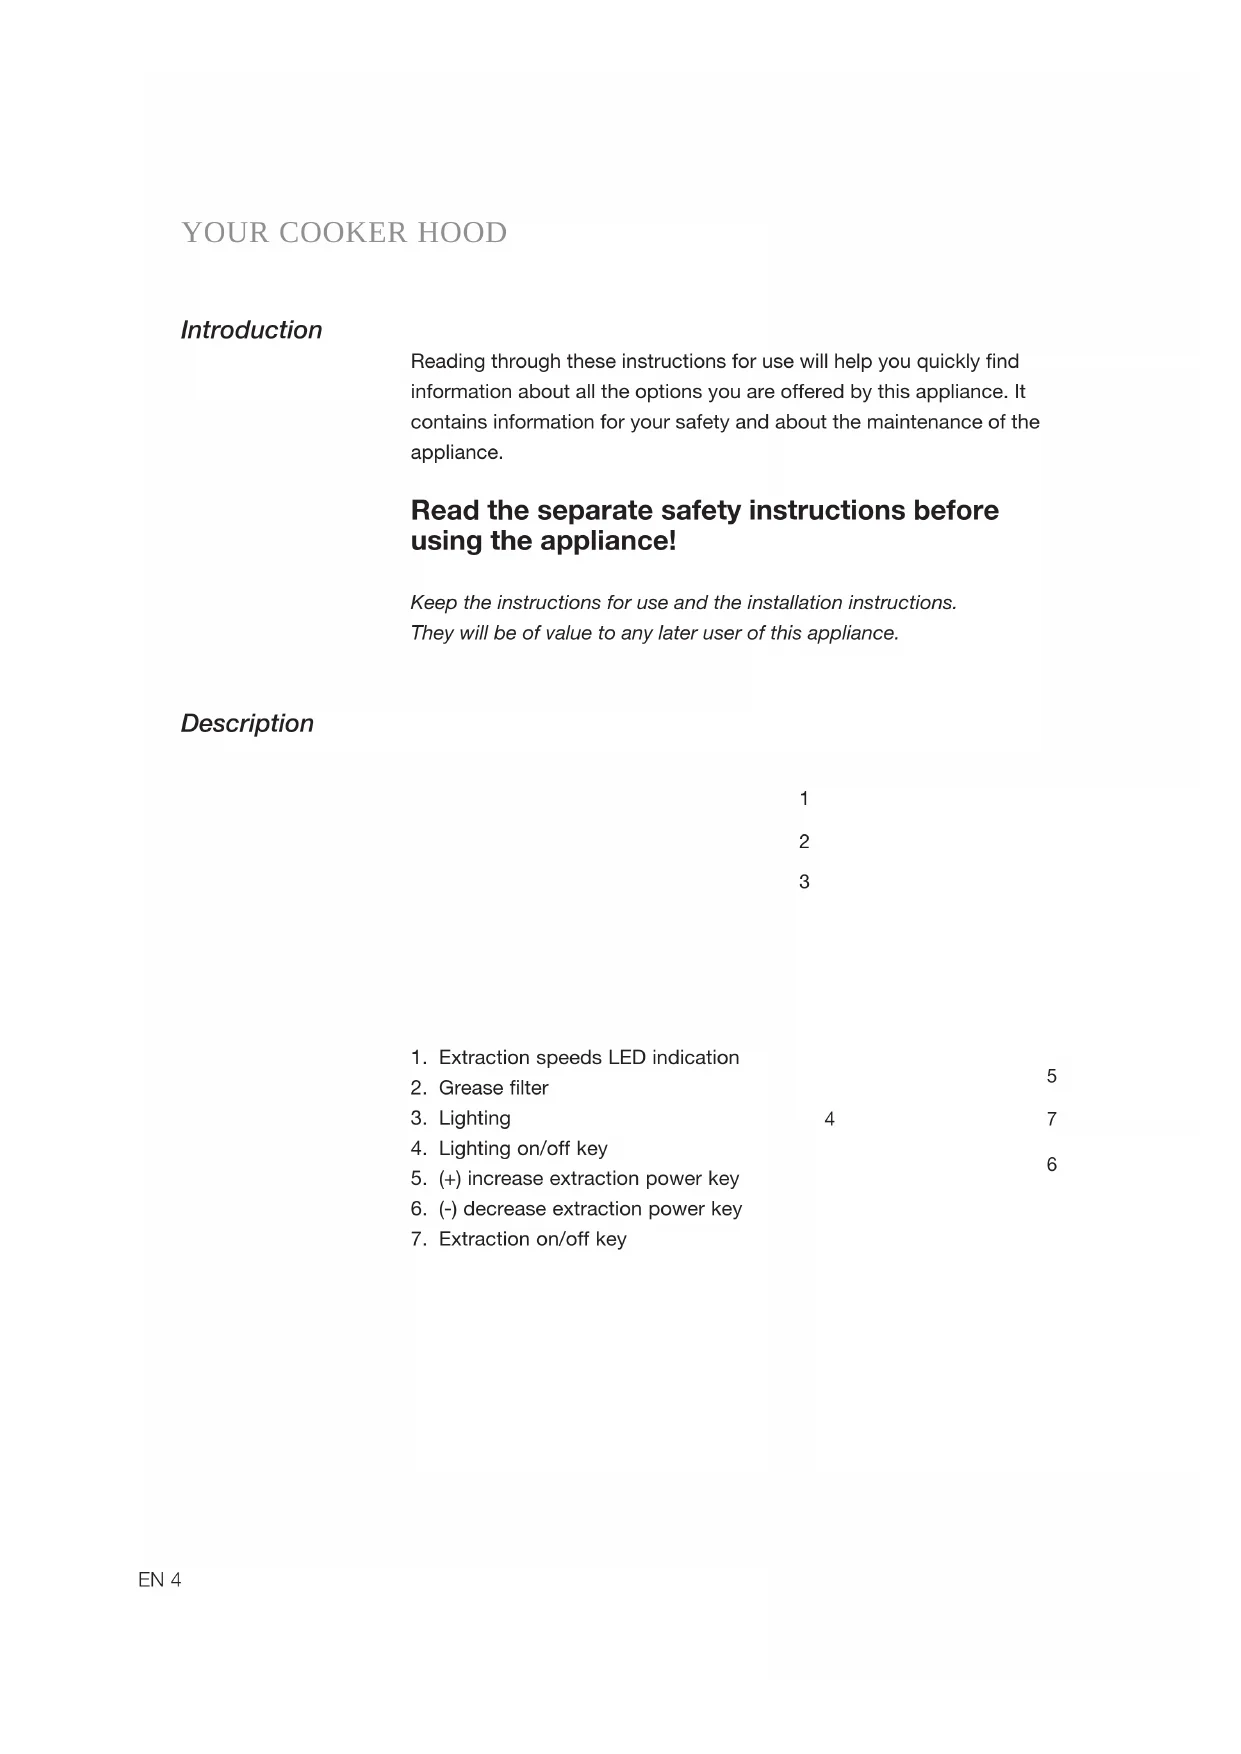
1. Extraction speeds LED indication
4. Lighting on/off key
5. (+) increase extraction power key
6. (-) decrease extraction power key
7. Extraction on/off key
3EN 5 Operation Remote control Switching the fan on and off
1. Touch the extraction on/off key.
- The cooker hood switches on at speed 1.
- The indicator on the cooker hood shows the selected speed: ▷ green = speed 1; ▷ orange = speed 2; ▷ red = speed 3; ▷ red, flashing = speed 4 (maximum of 7 minutes, after which the speed switches back to speed 3).
2. If so required, select a higher speed using the ‘+’ key.
3. Select a lower speed using the ‘-’ key.
Switching the lighting on and off
1. Touch the lighting on/off key.
▷ The light turns on. ▷ Touch the on/off key again to switch the lighting off. Linking the remote control to the cooker hood
1. Disconnect the cooker hood from the power supply with the On /
Off switch located at the top of the cooker hood.
2. Reconnect the cooker hood to the mains with the On / Off switch
located at the top of the cooker hood.
3. Within 5 seconds, touch the lighting key until the lighting is on.
4. Within 5 seconds, touch the extraction on/off key.
▷ Wait at least 10 seconds before you using the cooker hood. ▷ If the remote control is replaced, repeat the steps for linking the remote control. If present, the cooker hood can be connected to the power supply with the On/Off switch located at the top of the cooker hood. Entering a new code for the cooker hood When interference prevents the remote control from working properly, a new code can be entered.
5. Touch the remote control's (-) and (+) keys simultaneously for at
least 10 seconds. ▷ The LED on the remote control lights.
6. Once again, touch the (-) and (+) keys simultaneously within
3 seconds. ▷ The LED on the remote control flashes 3x.
7. Work through the steps for linking the remote control.
Replacing the battery Remove the remote control's cover and replace the battery with a battery of the same type and voltage. The battery is chemical waste and must be disposed of in a responsible manner and in accordance with government regulations. 23A +EN 7 Cleaning Note! Before carrying out maintenance work, always disconnect the cooker hood from the power supply by setting the group fuse in the meter cupboard to ‘0’ or removing the fuse. If present, the cooker hood can also be disconnected from the power supply with the On / Off switch located at the top of the cooker hood. The inside and outside of the cooker hood must be cleaned at regular intervals. Do not use abrasive products. Do not clean with alcohol! Note! Failure to follow these instructions for cleaning the appliance and replacing the filters can result in fire. Always follow these instructions! The manufacturer is not liable for damage to the hood or damage caused by fire that is due to inexpert maintenance or the failure to follow the aforementioned recommendations and the safety instructions supplied with the appliance. Clean the cooker hood with a soft cloth with water and a little detergent. Then wipe with clean water. Do not use corrosive cleaning agents such as soda, and do not use scouring sponges or similar. Treat with a product designed for the maintenance of stainless steel and polish in the direction of the surface finish of the stainless steel. Metal grease filters Metal filters must be cleaned once per month (or when the filter cleaning indicator – if present on the model – indicates that this is necessary). Clean the filters with neutral cleaning agents, by hand or in the dishwasher at low temperatures and with a short programme. Put the grease filters in the dishwasher with the openings facing down so that the water can drain. Aluminium grease filters will become dull from the cleaning agents in the dishwasher. This is normal, and does not affect the performance. The saturation of the filter depends on the intensity of use, the manner of cooking and the regularity with which the grease filters are cleaned. MAINTENANCEEN 8 Grease filters Clean the grease filters at least once a month. Cleaning will result in the aluminium parts of the filters becoming dull due to the use of cleaning agents, in particular when cleaned in a dishwasher. This is normal, and is not covered by the warranty. Removing the grease filters Before you can remove the grease filters, you must open the edgeextractor panel (magnetic closure).
1. Switch off the cooker hood.
2. Hook your fingers behind the panel and use your thumbs to lever it away from the edge of
3. Flip the edge-extractor panel downwards.
4. Pull the handle of the grease filter towards you and tilt the front downwards.
5. Clean the grease filters.
6. Put the filter back into place by first pushing the rear side into the holder. Tilt the front side
upwards. The filter is now once again in place.
7. Press the edge-extractor panel into place.
MAINTENANCEEN 9 Odor filters Important The odor filters must be cleaned every 4 months. After 4 times of cleaning (or if the filtres are damaged), the filters will need to be replaced. The saturation of the filter depends on the intensity of use, the manner of cooking and the regularity with which the grease filters are cleaned. De filters kunnen met de hand worden gewassen, of in de vaatwasser bij een maximum- temperatuur van 65 °C. De wasbeurt moet uitgevoerd worden zonder vaat en zonder vaatwasmiddel. Gebruik geen schoonmaakmiddelen! Remove excess water. Be careful to avoid damaging the filter. Place the filter in the oven to dry for at least 1 hour at a maximum temperature of 80 °C.
1. Remove the grease filters.
2. Remove the odor filters.
3. Clean the odor filters. After 4 times of cleaning, the filters will need to be replaced.
4. Mount the odor filters.
5. Mount the grease filters.
6. Press the edge-extractor panel into place.
- The cooker hood is fitted with LED lighting.
- LEDs guarantee you optimum lighting, a service life of up to 10 times longer than conventional lamps and energy savings of as much as 90%.
- Contact the technical department when LED lighting needs to be replaced. MAINTENANCE
AEN 10 ANNEX Disposal Disposal of packaging and appliance Sustainable materials were used in the manufacture of this appliance. At the end of its life cycle, this appliance must be disposed of in a responsible manner. You can obtain more information from the authorities. The packaging of the appliance is recyclable. The following materials may have been used:
- CFC-free polystyrene (PS hard foam). These materials must be disposed of in a responsible manner and in accordance with government regulations. The appliance is marked with a crossed out wheeled bin symbol to draw your attention to the requirement for the separate disposal of domestic electrical appliances. This means that the appliance may not be disposed of in unsorted household waste at the end of its service life. The appliance must be taken to a special municipal waste processing location for separated waste or to a dealer who provides this service. Collecting and disposing of domestic appliances separately avoids the potential detrimental consequences for the environment and health that can result from unsuitable processing. This ensures that the materials used to make the appliance can be recovered and that substantial savings in the use of energy and raw materials can be achieved. Declaration of conformity We hereby declare that our products conform to the applicable European Directives, Regulations and requirements, as well as all requirements in the standards to which reference is made.EN 11828545 / VER 1 / 23-06-2020