170X5FB - Monitor PHILIPS - Free user manual and instructions
Find the device manual for free 170X5FB PHILIPS in PDF.
Download the instructions for your Monitor in PDF format for free! Find your manual 170X5FB - PHILIPS and take your electronic device back in hand. On this page are published all the documents necessary for the use of your device. 170X5FB by PHILIPS.
USER MANUAL 170X5FB PHILIPS
Digital Reality (Installer LightFrame
Glossaire A B C D E F G H I J K L M N O P Q R S T U V W X Y Z
CE Declaration of Conformity
Energy Star Declaration
- Federal Communications Commission (FCC) Notice (U. S. Only)
- Commission Federale de la Communication (FCC Declaration)
- EN 55022 Compliance (Czech Republic Only)
- VCCI Class 2 Notice (Japan Only)
- MIC Notice (South Korea Only)
- Polish Center for Testing and Certification Notice
- North Europe (Nordic Countries) Information
Information for UK only
Other Related Information
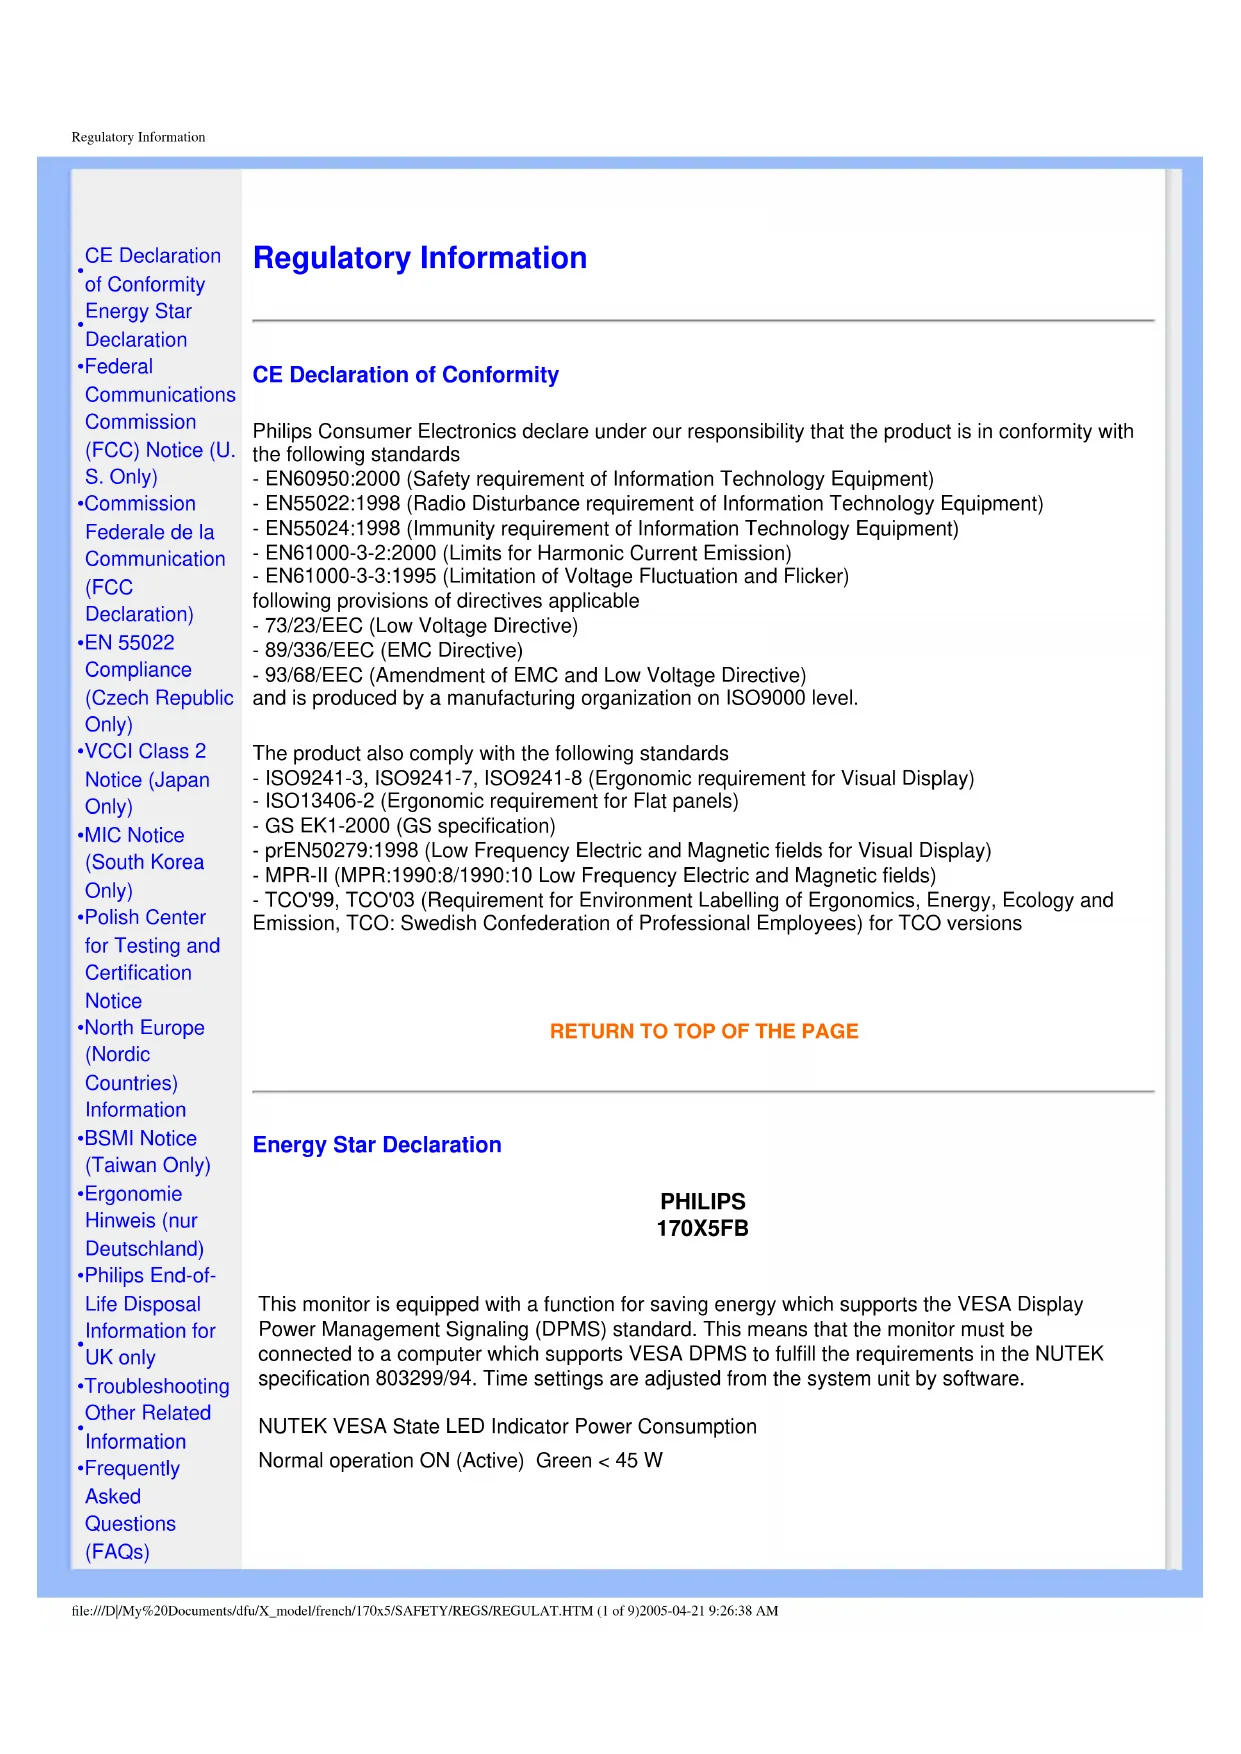
- Frequently Asked Questions (FAQs) Regulatory Information CE Declaration of Conformity Philips Consumer Electronics declare under our responsibility that the product is in conformity with the following standards - EN60950:2000 (Safety requirement of Information Technology Equipment) - EN55022:1998 (Radio Disturbance requirement of Information Technology Equipment) - EN55024:1998 (Immunity requirement of Information Technology Equipment) - EN61000-3-2:2000 (Limits for Harmonic Current Emission) - EN61000-3-3:1995 (Limitation of Voltage Fluctuation and Flicker) following provisions of directives applicable - 73/23/EEC (Low Voltage Directive) - 89/336/EEC (EMC Directive) - 93/68/EEC (Amendment of EMC and Low Voltage Directive) and is produced by a manufacturing organization on ISO9000 level. The product also comply with the following standards - ISO9241-3, ISO9241-7, ISO9241-8 (Ergonomic requirement for Visual Display) - ISO13406-2 (Ergonomic requirement for Flat panels) - GS EK1-2000 (GS specification) - prEN50279:1998 (Low Frequency Electric and Magnetic fields for Visual Display) - MPR-II (MPR:1990:8/1990:10 Low Frequency Electric and Magnetic fields) - TCO'99, TCO'03 (Requirement for Environment Labelling of Ergonomics, Energy, Ecology and Emission, TCO: Swedish Confederation of Professional Employees) for TCO versions
RETURN TO TOP OF THE PAGE
Energy Star Declaration PHILIPS 170X5FB This monitor is equipped with a function for saving energy which supports the VESA Display Power Management Signaling (DPMS) standard. This means that the monitor must be connected to a computer which supports VESA DPMS to fulfill the requirements in the NUTEK specification 803299/94. Time settings are adjusted from the system unit by software. NUTEK VESA State LED Indicator Power Consumption Normal operation ON (Active) Green < 45 W file:///D|/My%20Documents/dfu/X_model/french/170x5/SAFETY/REGS/REGULAT.HTM (1 of 9)2005-04-21 9:26:38 AMRegulatory Information Power Saving Alternative 2 One step OFF (Sleep) Amber < 1 W Switch Off OFF < 1 W As an ENERGY STAR
Partner, PHILIPS has determined that this product meets the ENERGY STAR
guidelines for energy efficiency. We recommend you switch off the monitor when it is not in use for quite a long time.
RETURN TO TOP OF THE PAGE
Federal Communications Commission (FCC) Notice (U.S. Only) This equipment has been tested and found to comply with the limits for a Class B digital device, pursuant to Part 15 of the FCC Rules. These limits are designed to provide reasonable protection against harmful interference in a residential installation. This equipment generates, uses and can radiate radio frequency energy and, if not installed and used in accordance with the instructions, may cause harmful interference to radio communications. However, there is no guarantee that interference will not occur in a particular installation. If this equipment does cause harmful interference to radio or television reception, which can be determined by turning the equipment off and on, the user is encouraged to try to correct the interference by one or more of the following measures: ● Reorient or relocate the receiving antenna. ● Increase the separation between the equipment and receiver. ● Connect the equipment into an outlet on a circuit different from that to which the receiver is connected. ● Consult the dealer or an experienced radio/TV technician for help. Changes or modifications not expressly approved by the party responsible for compliance could void the user's authority to operate the equipment. Use only RF shielded cable that was supplied with the monitor when connecting this monitor to a computer device. To prevent damage which may result in fire or shock hazard, do not expose this appliance to rain or excessive moisture. THIS CLASS B DIGITAL APPARATUS MEETS ALL REQUIREMENTS OF THE CANADIAN INTERFERENCE-CAUSING EQUIPMENT REGULATIONS. file:///D|/My%20Documents/dfu/X_model/french/170x5/SAFETY/REGS/REGULAT.HTM (2 of 9)2005-04-21 9:26:38 AMRegulatory Information
EN 55022 Compliance (Czech Republic Only)
VCCI Notice (Japan Only) This is a Class B product based on the standard of the Voluntary Control Council for Interference (VCCI) for Information technology equipment. If this equipment is used near a radio or television receiver in a domestic environment, it may cause radio Interference. Install and use the equipment according to the instruction manual. Class B ITE
RETURN TO TOP OF THE PAGE
MIC Notice (South Korea Only) Class B Device Please note that this device has been approved for non-business purposes and may be used in any environment, including residential areas.
RETURN TO TOP OF THE PAGE
Polish Center for Testing and Certification Notice The equipment should draw power from a socket with an attached protection circuit (a three-prong socket). All equipment that works together (computer, monitor, printer, and so on) should have the file:///D|/My%20Documents/dfu/X_model/french/170x5/SAFETY/REGS/REGULAT.HTM (4 of 9)2005-04-21 9:26:38 AMRegulatory Information same power supply source. The phasing conductor of the room's electrical installation should have a reserve short-circuit protection device in the form of a fuse with a nominal value no larger than 16 amperes (A). To completely switch off the equipment, the power supply cable must be removed from the power supply socket, which should be located near the equipment and easily accessible. A protection mark "B" confirms that the equipment is in compliance with the protection usage requirements of standards PN-93/T-42107 and PN-89/E-06251.
End-of-Life Disposal Your new monitor contains materials that can be recycled and reused. Specialized companies can recycle your product to increase the amount of reusable materials and to minimize the amount to be disposed of. Please find out about the local regulations on how to dispose of your old monitor from your local Philips dealer. (For customers in Canada and U.S.A.) This product may contain lead and/or mercury. Dispose of in accordance to local-state and federal regulations. For additional information on recycling contact www.eia.org (Consumer Education Initiative)
WARNING - THIS APPLIANCE MUST BE
EARTHED. Important: This apparatus is supplied with an approved moulded 13A plug. To change a fuse in this type of plug proceed as follows:
1. Remove fuse cover and fuse.
2. Fit new fuse which should be a BS 1362 5A,A.
S.T.A. or BSI approved type.
3. Refit the fuse cover.
If the fitted plug is not suitable for your socket outlets, it should be cut off and an appropriate 3- pin plug fitted in its place. If the mains plug contains a fuse, this should have a value of 5A. If a plug without a fuse is used, the fuse at the distribution board should not be greater than 5A. Note: The severed plug must be destroyed to avoid a possible shock hazard should it be inserted into a 13A socket elsewhere. How to connect a plug The wires in the mains lead are coloured in accordance with the following code: BLUE - "NEUTRAL" ("N") BROWN - "LIVE" ("L") GREEN & YELLOW - "EARTH" ("E")
1. The GREEN AND YELLOW wire must be
connected to the terminal in the plug which is marked with the letter "E" or by the Earth symbol or coloured GREEN or GREEN AND YELLOW.
2. The BLUE wire must be connected to the
terminal which is marked with the letter "N" or coloured BLACK.
3. The BROWN wire must be connected to the
terminal which marked with the letter "L" or coloured RED. Before replacing the plug cover, make certain that the cord grip is clamped over the sheath of the lead - not simply over the three wires.