RO7676EA SILENCE FORCE CYCLONIC 4A HOME & CAR PRO - Aspirateur ROWENTA - Free user manual and instructions
Find the device manual for free RO7676EA SILENCE FORCE CYCLONIC 4A HOME & CAR PRO ROWENTA in PDF.
Download the instructions for your Aspirateur in PDF format for free! Find your manual RO7676EA SILENCE FORCE CYCLONIC 4A HOME & CAR PRO - ROWENTA and take your electronic device back in hand. On this page are published all the documents necessary for the use of your device. RO7676EA SILENCE FORCE CYCLONIC 4A HOME & CAR PRO by ROWENTA.
USER MANUAL RO7676EA SILENCE FORCE CYCLONIC 4A HOME & CAR PRO ROWENTA
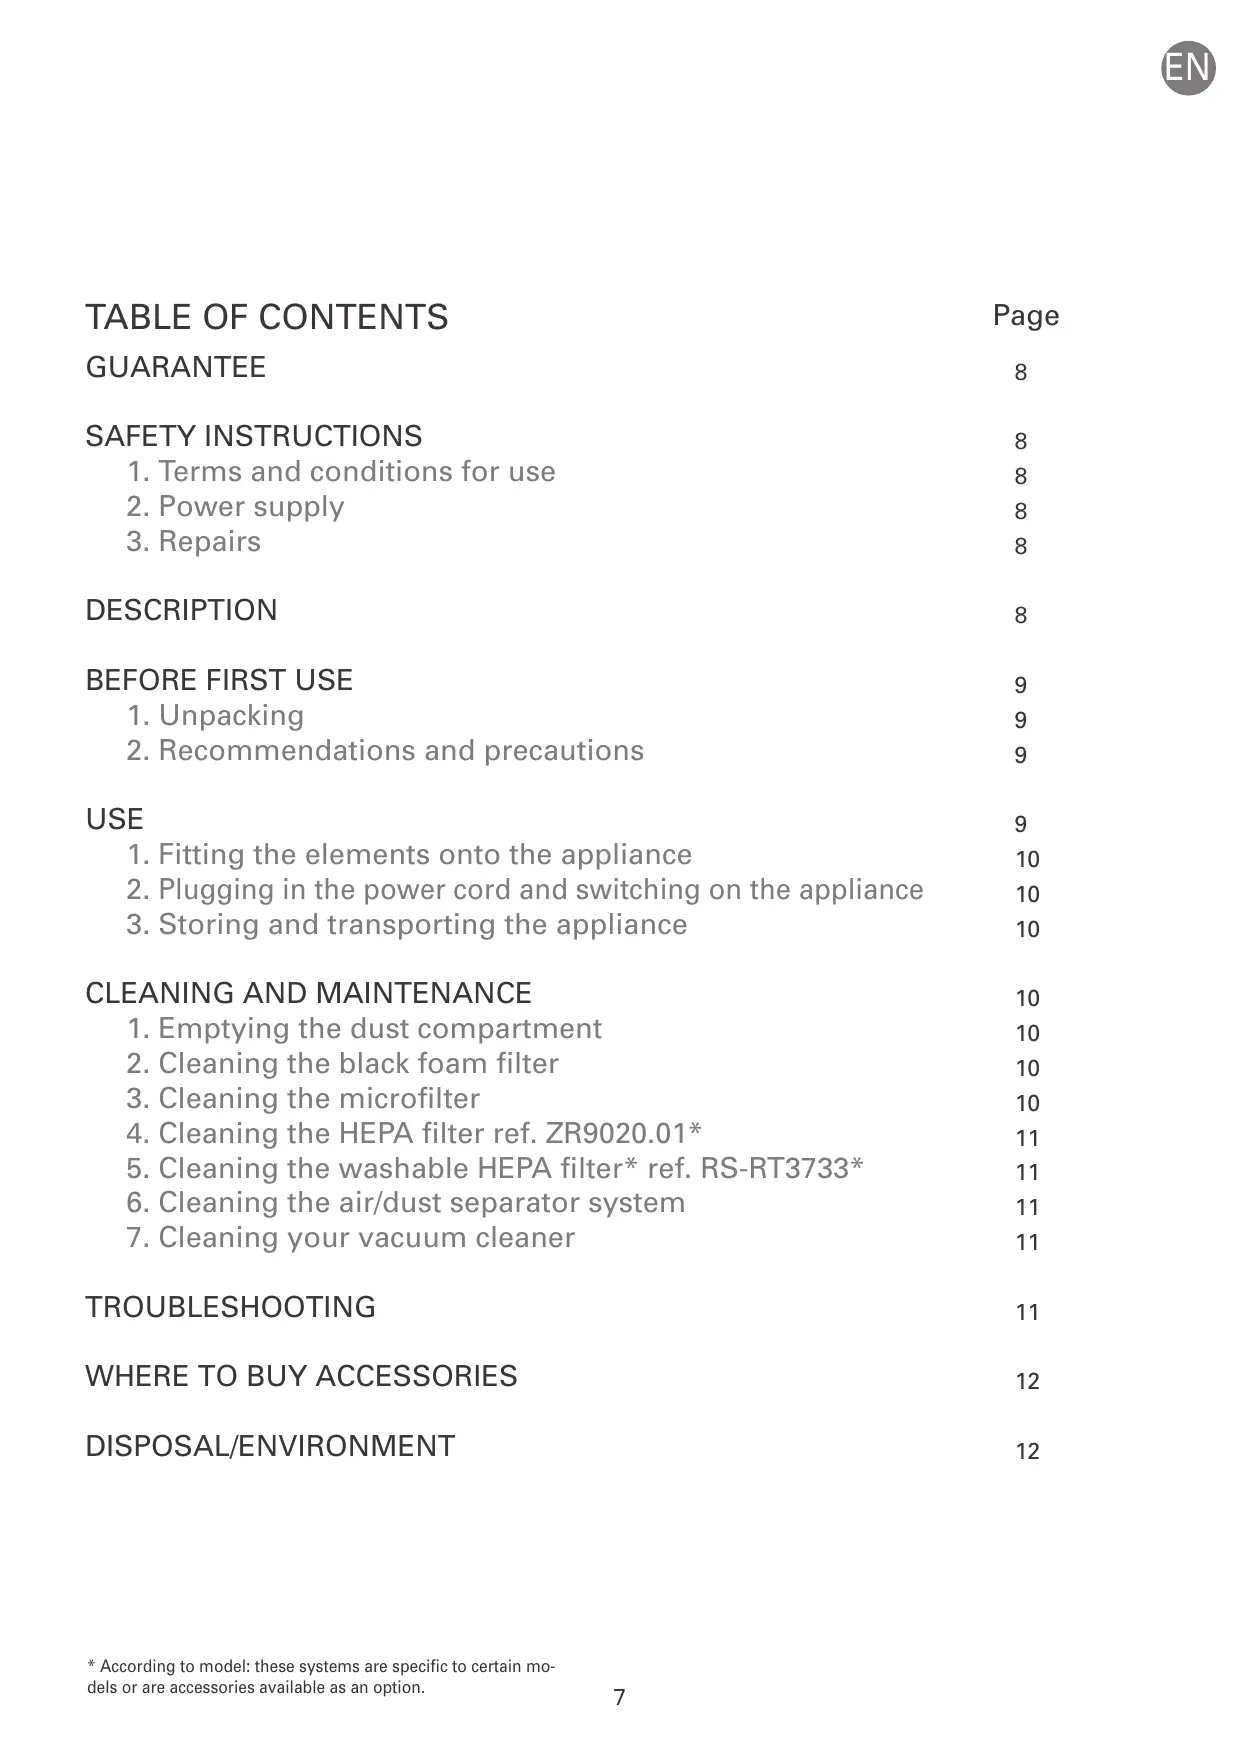
TABLE OF CONTENTS Page
1. Terms and conditions for use 2. Power supply 3. Repairs
1. Unpacking 2. Recommendations and precautions
1. Fitting the elements onto the appliance 2. Plugging in the power cord and switching on the appliance 3. Storing and transporting the appliance
CLEANING AND MAINTENANCE
1. Emptying the dust compartment 2. Cleaning the black foam filter 3. Cleaning the microfilter 4. Cleaning the HEPA filter ref. ZR9020.01* 5. Cleaning the washable HEPA filter* ref. RS-RT3733* 6. Cleaning the air/dust separator system 7. Cleaning your vacuum cleaner
WHERE TO BUY ACCESSORIES
DISPOSAL/ENVIRONMENT
* According to model: these systems are specific to certain models or are accessories available as an option.
• This appliance is for domestic use only; any misuse or use that does not conform to the instructions will release the brand from all liability and the guarantee will be cancelled.
• Read the instructions for use carefully before using your appliance for the first time: use that does not conform to the instructions will release Rowenta from all liability.
SAFETY INSTRUCTIONS For your safety, this appliance complies with all applicable standards and regulations (Low Voltage 2006/95/EC,
Electromagnetic Compatibility 2005/108/EC, Environmental directives, etc.).
1 • Terms and conditions for use
Your vacuum cleaner is an electrical appliance: is should be used under normal conditions for use.
Use and store the appliance out of the reach of children. Never leave the vacuum on unsupervised. Do not place the nozzle or the end of the tube near the eyes or ears. Do not vacuum wet surfaces, any type of liquids, hot substances, supersmooth substances (platinum, cement, ash, etc.), large sharp waste (glass), harmful products (solvants, abrasives, etc.), aggressive products (acids, cleaning products, etc.), inflammable and explosive products (oil or alcohol based). Never immerse the appliance in water; do not spill water on the appliance and do not store it outside. Do not use the appliance if: it has been dropped and there is visible damage or it fails to function correctly. In this case, do not open the appliance but send it to the nearest Approved Service Centre or contact Rowenta Customer Services. This appliance can be used by children aged from 8 years and above and persons with reduced physical, sensory or mental capabilities or lack of experience and knowledge if they have been given supervision or instruction concerning use of the appliance in a safe way and understand the hazards involved. Children shall not play with the appliance.
Keep the appliance and its cord out of reach of children less than 8 years old.
Children under the age of 8 years should not use this appliance unless continuous supervision by a responsible adult is given.
Check that your vacuum cleaner voltage corresponds to that of your domestic power supply.
Switch off and disconnect the appliance by unplugging without pulling the cord: immediately after use, before changing accessories, before cleaning, maintenance or changing the filter. Do not use the appliance if the power cord is damaged. The cord winder and cord for your vacuum cleaner must be replaced by an Approved Service Centre as special tools are required for repairs to avoid any risks. Important: the mains socket outlet should be protected with a 16 A fuse at least. If the circuit breaker is triggered while the appliance is in operation, this may be due to the fact that other appliances with high connected power are connected at the same time to the same electrical circuit. This can be avoided by setting the appliance to a low power before turning on and then adjusting to a higher power.
Repairs should only be performed by a Rowenta Approved
Service Centre. Repairs carried out by the user can pose a risk and cancel the guarantee.
Cover release button Front cover Air/dust separation system a - Cone separator b - Air/dust separation grille c - Separation compartment Dust compartment a - Main compartment b - Fine dust compartment c - Dust compartment seals Maximum fill level for dust compartment Dust compartment housing Carrying handle Suction inlet
* According to model: these systems are specific to certain models or are accessories available as an option.
11 12 13 14 15 16 16 17
ON/OFF button Power cord wind button Parking positions Wheels Multi-direction wheel a - HEPA filter housing b - HEPA filter access hatch HEPA Filter, cccording to model : a - HEPA* Filter (ref ZR9020.01) b - HEPA* washable filter (ref RS-RT3733) 18 Filtration cassette (ref RS-RT3732) a - Black foam filter b - Microfilter 19 Filtration cassette detection system (18)
EN DESCRIPTION Accessories
20 Flexible hose with power nozzle ERGO COMFORT (21) 21 a - ERGO COMFORT ergonomic nozzle b - Integrated brush (EASY BRUSH) c - Manual power switch (POWER CONTROL) 22 ERGO COMFORT metal telescopic tube a - Nozzle/tube locking system (LOCK SYSTEM) b - Tube adjustment button (TELESCOPIC SYSTEM) 23 ERGO COMFORT multi-surface nozzle a - Nozzle/tube locking system (LOCK SYSTEM)
Do not use the power cord or the hose to lift the appliance.
Switch off and unplug your vacuum cleaner after each use. Always switch off and unplug your vacuum cleaner before maintenance or cleaning. Your vacuum cleaner is fitted with a safety device which prevents the motor from overheating. In certain cases (when used on chairs, sofas, etc.) the safety device may be tripped and the appliance may make an unusual noise that is not serious. Only use original Rowenta accessories and filters. Check that all the filters are in place. Do not operate your vacuum cleaner without the filtration system fitted (foam, microfilter and filter). Never place the foam and microfilter in the appliance unless they are completely dry. If you have any difficulties in finding accessories or filters for this vacuum cleaner, contact the Rowenta Customer Service.
Unpack your appliance and remove any labels, keep your warranty form and read the instructions carefully before using your appliance for the first time.
2 • Recommendations and precautions
Unwind the power cord completely before each use. Do not jam it and do not allow it to rub against sharp edges.
If you are using an electrical extension, check that it is in perfect condition and that it is suited to the power of your vacuum cleaner. Do not unplug the appliance by pulling on the power cord. Do not move the vacuum cleaner by pulling on the power cord, the appliance must be moved using its carrying handle.
1 • Fitting the elements onto the appliance
- For rugs and carpets: use the multi-surface nozzle in the retracted brush nozzle position or the Turbo-brush* (fibres and animal hairs).
- For parquet and smooth floors: use the multi-surface nozzle in the brush release position or for best results use the parquet nozzle*. - For corners and hard to reach spots: use the telescopic crevice nozzle*. - For upholstery and delicate surfaces: use the brush with the nozzle (EASY BRUSH) or the upholstery nozzle*.
Clip the end of the hose to the suction inlet located at the front of the appliance (fig.1). To remove, unclip the end using the clip and remove.
Fix the accessory support to the notch in the parking position located at the back of the vaccuum cleaner (fig.2) and store the accessories on top. IMPORTANT! If the accessory support* (30) is positioned at the rear of the appliance, you must remove it so that the vacuum cleaner’s lid (1) can be opened.
IMPORTANT: always switch off and disconnect your vacuum cleaner before changing the accessories.
ERGONOMIC RECOMMENDATIONS ERGO COMFORT range Ergonomic, the ERGO COMFORT range has been designed to facilitate and improve user comfort when vacuuming. To prevent bending over and to ensure upright posture, make sure to: 1. Adjust the length of the ERGO COMFORT metal telescopic tube to your body (fig.6). 2. Place your second hand on the front of the ERGO COMFORT nozzle handle (fig.7).
• Fit the metal telescopic tube to the end of the nozzle until you hear a click indicating that it is locked (fig.3). To remove, press the tube lock button and remove.
• Fit the multi-surface nozzle (23) to the end of the metal telescopic tube until you hear a click indicating that it is locked (fig.4). To remove, press the nozzle lock button and remove. • Adjust the metal telescopic tube to the desired length using the telescopic system (TELESCOPIC SYSTEM) (fig.5). Fit the corresponding accessory to the end of the metal telescopic tube or the nozzle: * According to model: these systems are specific to certain models or are accessories available as an option.
b - 2-position button: brush retracted for rugs and carpets/brush released for parquet and smooth floors
Telescopic crevice nozzle* Upholstery nozzle* Delta parquet nozzle* Rectangular parquet nozzle* Turbo-brush* Mini turbo-brush* Accessory support*
2 • Plugging in the power cord and switching on the appliance
3 • Storing and transporting the appliance
Unwind the power cord completely, plug in your vacuum cleaner and press the ON/OFF button (fig. 8).
After use, switch off your vacuum cleaner by pressing the
ON/OFF button and unplug it (fig. 10). Wind the power cord by pressing the power cord wind button (fig. 11). It is easy to carry your vacuum cleaner using the handle (8). Do not carry your appliance using the dust compartment handle (fig.12). When storing your vacuum cleaner, place the tube in its storage compartment at the back of the appliance (fig.13). You do not need to remove the accessory support (30) to store the accessory range (Fig.14).
ATTENTION: do not operate your vacuum cleaner without the filtration system fitted (foam, microfilter and filter).
Set the suction power using the manual power switch* on the power nozzle (fig.9): • Position (MIN) for vacuuming delicate fabrics (curtains, textiles). • Position (Medium) for daily vacuuming of all types of surfaces with low levels of soiling. • Position (MAX) for vacuuming hard floors (tiled floors, parquet, etc.) and rugs and carpets in the case of high levels of soiling.
CLEANING AND MAINTENANCE The air we breathe contains particles that can be allergenic: larva and dust mite faeces, mould, pollen, smoke and animal waste
(hair, skin, saliva, urine), etc. The finest particles can penetrate deep inside the respiratory system or can cause inflammation and affect the entire respiratory system. (H)EPA ([High] Efficiency Particulate Air Filter) filters retain the finest particles. Thanks to the (H)EPA filter, the air released into the room is cleaner than the air suctioned.
2 • Cleaning the black foam filter
IMPORTANT: always switch off and unplug your vacuum cleaner before cleaning or servicing. Check and clean your vacuum cleaner and the different filters regularly.
ATTENTION: let the black foam filter dry completely and make sure it is completely dry before placing it back in the appliance.
IMPORTANT: clean the black foam filter every 6 months or when the suction is no longer satisfactory.
Press the cover release button (fig.21). Tip the cover backwards (fig.22). Remove the black foam filter (fig.23) then wash and squeeze it (fig.24). Leave to dry for at least 12 hours before refitting.
Reposition the black foam filter and close the cover.
IMPORTANT: do not operate your vacuum cleaner without the filtration system fitted (foam, microfilter and filter).
3 • Cleaning the microfilter (18b)
IMPORTANT: clean the microfilter every 6 months.
1 • Emptying the dust compartment (5)
Press the cover release button (fig.21). Tip the cover backwards (fig.22).
Remove the filtration cassette (18) then separate the black foam filter (18a) from the microfilter (18b) (fig.25). Wash the microfilter (fig.26). Leave to dry for at least 12 hours before refitting.
After each use, empty the dust compartment as follows:
Take the dust compartment by the handle and remove it (fig.15). Separate the fine dust compartment (5b) from the main compartment (5a) (Fig.16). Empty the main compartment over a dustbin (Fig.17) then empty the fine dust compartment (5b) (Fig.18). Clean the compartment seals using a cloth. Reposition the fine dust compartment on the main compartment (Fig.19) then put the dust compartment back into place (fig.20).
ATTENTION: let the microfilter dry completely and make sure that it is well dry before refitting on the appliance.
Reposition the black foam filter and close the cover.
IMPORTANT: do not use the vacuum cleaner once the maximum level (6) is reached on the dust compartment.
* According to model: these systems are specific to certain models or are accessories available as an option.
EN CLEANING AND MAINTENANCE truly dry before putting it back in place).
Put the HEPA filter back in its compartment (Fig.32). Push the hatch back until you hear a locking click.
ATTENTION: your appliance is equipped with a safety system (19) for detecting the filtration cassette: the cover cannot be closed if the filtration cassette is not fitted (18a+18b).
The washable HEPA filter* ref RS-RT3733 is available at shops or at Approved Service Centres.
The filtration cassette ref. RS-RT3732 (18a+18b) is available from shops or at Approved Service
6. Cleaning the air/dust separator system (4)
Remove the hose from the vacuum cleaner.
Open the vacuum cleaner cover (fig. 21-22). Press the separator release button (fig.33) then remove from the separation system (fig.34). Remove the separation compartment (4c) by turning slightly to the left (fig.35) then separate the two components (fig.36). Wash the components (4a+b and 4c) in clear water (fig. 37) and leave to dry for 6 hours. Refit the filter system components (4): - Reposition the separation compartment (4c) on the separation system (4a+b) (fig. 38) by turning slightly until you hear the click indicating that it is closed (fig. 39). - Then reposition the entire separation system (4) in the appliance (fig. 40) and close the cover.
IMPORTANT: if the appliance does not perform as normal after cleaning the black foam filter and microfilter on your vacuum cleaner, clean the HEPA filter.
4 • Cleaning the HEPA filter (17)
If necessary, remove the accessory support (30)* then place the vacuum cleaner in the vertical position (Fig.27). Open the HEPA filter hatch (Fig.28). Remove the HEPA filter from its housing (fig.29). Clean the HEPA filter by gently patting it over a dustbin (fig. 30). Reposition it in its housing (Fig.32). Reposition the hatch until you hear a click indicating that it is closed.
7 • Cleaning your vacuum cleaner
IMPORTANT: replace the HEPA filter every 12 months.
The HEPA filter (ref ZR9020.01) is available from your dealer or in Approved Service Centres.
Wipe the body of the vacuum cleaner and accessories with a soft damp cloth, then dry with a dry cloth.
Wash the dust compartment (5a+ 5b) under clear or soapy water, then dry with a dry cloth.
5 • Wash the washable HEPA filter * ref. RS-RT3733* (17b)
IMPORTANT: do not use aggressive or abrasive detergents. The transparency of the dust compartment and/or front cover and/or cover may change over time; this does not affect the appliance performance.
Important!: only the HEPA filter ref RS-RT3733* should be washed
If necessary remove the accessory support (30)* then place the vacuum cleaner in the vertical position (Fig.27). Open the HEPA filter access hatch (Fig.28) Remove the HEPA filter from its compartment (fig.29). Tap the HEPA filter whilst holding it over a dustbin (Fig.30), then pass it under some running water and leave it to dry for at least 24 hours (Fig.31) (make sure that the filter is well and
ATTENTION: do not wash the vacuum cleaner cover under clear water. Clean using a soft wet cloth.
TROUBLESHOOTING IMPORTANT: stop your vacuum cleaner immediately by pressing the Start/Stop button as soon as it stops performing as normal and before performing any checks.
HEPA filter is damaged, replace it.
• Filtration cassette (ref RS-RT3732): clean the black foam filter (18a) and the micro filter (18b) as indicated in the procedure.
If your vacuum cleaner will not start
• The appliance is not powered. Check that the appliance is plugged in correctly.
If your vacuum cleaner has less suction power, is noisy or makes a whistling noise
• An accessory, the tube, hose, separator (4a), air/dust separation grille (4b) or the separation compartment (4c) is partially blocked: unblock them. • The dust compartment is full: empty and wash it. • The vacuum cleaner cover is not fitted correctly: close properly. • The dust compartment is not correctly fitted: fit it correctly. • The nozzle's manual power switch* is open: close it.
If your vacuum cleaner has no suction power
• An accessory, the tube, hose, separator (4a), air/dust separation grille (4b) or the separation compartment (4c) is blocked: unblock them. • Clean the HEPA filter ref ZR9020.01* (17a) as indicated in the procedure and put it back in its compartment or wash the washable HEPA filter ref RS-RT3733* (17b) following the procedure shown and put it back in its compartment. If the
* According to model: these systems are specific to certain models or are accessories available as an option.
EN TROUBLESHOOTING If the cone separator (4a) fills up
• Dust accumulates in the separation compartment (4c): Check that the pipe between the separator (4c) and the dust compartment (5) is not blocked. Check that nothing is obstructing the dust compartment inlets. • The dust compartment inlets are blocked: remove the dust compartment and empty it. Clean the dust compartment seals.
If the power cord does not wind completely
• The cord slows down as it winds up: pull the power cord out again and press the power cord wind button. In the event of a persistent problem, take your vacuum cleaner to your nearest Rowenta Approved Service Centre or contact Rowenta Customer Services.
If it is difficult to move the nozzle
• Open the manual power switch* on the nozzle.
WHERE TO BUY ACCESSORIES FITTING THE ACCESSORY ACCESSORIES*
USE Upholstery brush
For cleaning upholstery.
Attach the upholstery brush to the end of the nozzle.
For cleaning upholstery.
Fit the upholstery nozzle to the end of the nozzle or tube.
For corners and hard to reach spots.
Fit the telescopic crevice nozzle to the end of the nozzle or tube.
For delicate floors.
Fit the parquet nozzle to the end of the tube
For delicate floors.
Fit the DELTA parquet nozzle to the end of the tube.
For deep-cleaning upholstery fabrics.
Fit the mini turbo-brush to the end of the tube.
For removing animal hairs and fibres embedded in rugs and carpets.
Fit the turbo-brush to the end of the tube.
PLACE OF PURCHASE Rowenta
Authorised Service Centres
DISPOSAL/ENVIRONMENT Packaging: the packaging protecting your appliance consists of environment-friendly and recyclable materials. Packaging that is no longer used should be disposed of at specially designated collection points.
The used appliance: do not dispose of your appliance with household waste. Your appliance contains numerous valuable or recyclable materials and therefore should be given to a dealer or a recycling centre for disposal. * According to model: these systems are specific to certain models or are accessories available as an option.
Think of the environment!
Used filters: as they do not contain forbidden substances in terms of household waste, the used filters can be disposed of with household waste.
BESCHRIJVING VAN HET APPARAAT
WAAR KUNT U ACCESSOIRES KOPEN
WAAR KUNT U ACCESSOIRES KOPEN PLAATSING VAN HET ACCESSOIRE ACCESSOIRES*
GEBRUIK Meubelborstel
Rowenta Service Centra