
NA-V90FA1LVT - Washing machine PANASONIC - Free user manual and instructions
Find the device manual for free NA-V90FA1LVT PANASONIC in PDF.
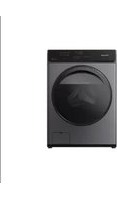


| Brand | Panasonic |
| Model | NA-V90FA1LVT |
| Product type | Front-load washing machine |
| Load capacity | 9 kg |
| Maximum spin speed | 1200 rpm |
| Drum material | Stainless steel |
| Display | LED digital display |
| Washing programs | Cotton, Synthetics, Delicates, Hand Wash, Quick, Wool, Rinse & Spin |
| Temperature range | Cold to 90°C |
| Water connection | Cold water inlet |
| Dimensions (H x W x D) | 850 x 600 x 600 mm |
| Product weight | 78 kg |
| Power supply | 220-240 V, 50 Hz |
| Rated power | 1800 W |
| Energy efficiency class | A+++ |
| Water consumption per cycle | 60 L |
| Noise level during spin | 76 dB |
| Anti-flood protection | Yes |
| Child lock | Yes |
| Delay start | Up to 24 hours |
| Motor type | Inverter motor |
| Drum cleaning function | Yes |
| Adjustable feet | Yes |
| Spare parts availability | 10 years after purchase |
Frequently Asked Questions - NA-V90FA1LVT PANASONIC
User questions about NA-V90FA1LVT PANASONIC
0 question about this device. Answer the ones you know or ask your own.
Ask a new question about this device
Download the instructions for your Washing machine in PDF format for free! Find your manual NA-V90FA1LVT - PANASONIC and take your electronic device back in hand. On this page are published all the documents necessary for the use of your device. NA-V90FA1LVT by PANASONIC.
USER MANUAL NA-V90FA1LVT PANASONIC
Operating & Installation Instructions
Washing Machine (Household Use)
Model No. NA-V115FA1 NA-V10FA1 NA-V90FA1


It is essential to read these instructions.
EN
Thank you for purchasing this product.
- Read these instructions carefully for optimum performance and safety before use.
- Keep this manual for future reference.
Contents
| Safety Precautions | 2 | |
| Checking Your Washing Machine | 6 | |
| Before Washing | 7 | |
| Control Panel | 8 | |
| Detergent | 10 | |
| Washing | 12 | |
| Program List | 14 | |
| Details of Programs | 16 | |
| Washing Tips | 18 | |
| Changing Program Settings | 20 | |
| Changing Appliance Settings | 24 | |
| Maintenance | 25 | |
| Troubleshooting | 29 | |
| Error Display | 35 | |
| Installation | Choosing the Right Location | 36 |
| Moving and Installing | 37 | |
| Connecting the Hoses | 39 | |
| Test Run | 41 | |
| Specifications | 42 | |
Safety Precautions

WARNING
May cause serious injury or death
Children must not use it alone.

- This appliance is not intended for use by persons (including children) with reduced physical, sensory or mental capabilities, or lack of experience and knowledge, unless they have been given supervision or instruction concerning use of the appliance by a person responsible for their safety.
● Children should be supervised to ensure that they do not play with the appliance.
Setting the Child Lock. (P. 24)
![graph LR A["On"] --> B["Off State"] B --> C["5 sec. Hold"] C --> D["Lock"] D --> E["Lock Icon"] E --> F["Lock Icon Off"] F --> G["Lock Icon Off"]](/content/2026/08/1603623/images/6f7f410c943e790a7ee89406502df65f99dae3c3de037b294220c5c39412f737.jpg)
May cause fire or electric shock
Do not touch it with wet hands.

Do not hold or pull on the cord.
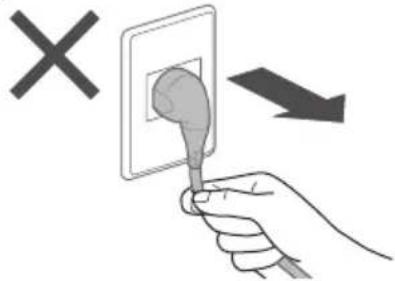
Do not use.

Fully insert it.

Do not use.
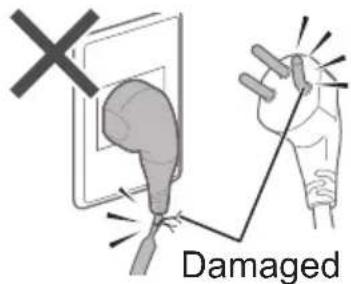
- If the power cord is damaged, it must be replaced by the manufacturer, its service agent or similarly qualified persons in order to avoid a hazard.
In case of failure or damaged power cord, stop use and ask the electrical technician.

Securely insert the ground prong. Ask the electrical technician for a new socket.
![graph LR A["Speaker Source"] --> B["User"] B --> C["Home with Handheld Device"] C --> D["User with Sound Stream"]](/content/2026/08/1603623/images/b6c793a3839d754921617f36b6e757ac53125bb477b18ef398f0654ce1c5cf7e.jpg)
Use a socket appropriate for this appliance.
e.g.)

- The plug shape, socket shape and rating requirement vary with the region.
Accumulated dust may cause fire.

Wipe the power plug periodically.

Keep away from flammable materials.

May cause failure
Do not disassemble, repair or modify it by yourself.

Safety Precautions (continued)

CAUTION
May cause injury
Be careful not to get your fingers caught.

Do not climb on the appliance.

Do not touch when it is hot.
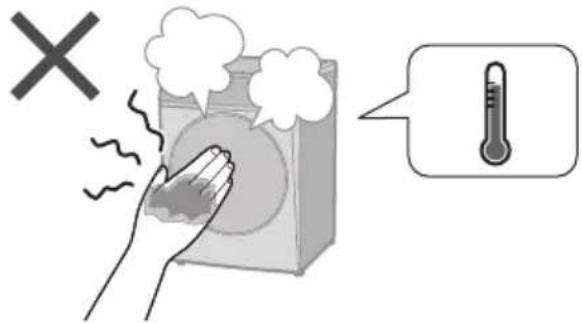
May cause water leakage
Turn off the water faucet. Use new hose-sets.


- New hose-sets supplied with the appliance are to be used and old hose-sets should not be reused.
■ For maximum mass of dry cloth and pressure of tap water, see P. 42.
May cause failure
Keep away from heat and direct sunlight.

Do not obstruct.

- Do not obstruct the openings of the bottom face with carpet, etc.
Remove anchor bolts before operation.

Do not use hot water.
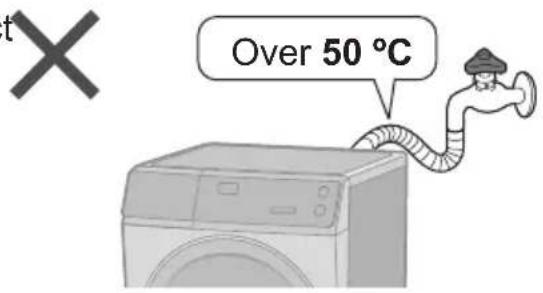
For machine-washable items only.

- This appliance is intended to be used in household.
This appliance is not intended to be used in applications such as:
- staff kitchen areas in shops, offices and other working environments;
- farm houses;
- by clients in hotels, motels and other residential type environments;
- bed and breakfast type environments;
- areas for communal use in blocks of flats or in launderettes.
Do not wash excessively oily clothes.

Checking Your Washing Machine
Part names
Detergent drawer (P. 10)

Accessories
□Elbow (1) (P. 40)

□ Cover caps (4) (P. 38)

□ Water supply hose (1) (P. 39, 40)

☐ Bottom cover (1) / Screw (1) (P. 37)

Before Washing
Preparing laundry
Before put clothes in drum
- Remove foreign objects.

- Use laundry nets for delicates and small items.

Pre-laundry check

- Wash separately.

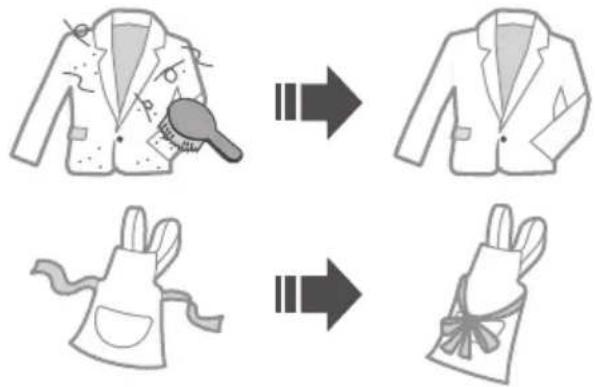
- Pretreat for heavily stains.

- Observe care labels.

- “Mud” program (P. 15) are recommended for removing stains.
Control Panel

Control buttons
![graph TD A["Program selection slider (P. 14)"] --> B["Power button"] C["Start/Pause button"] --> D["Program selection slider (P. 25)"] D --> E["Tub Hygiene"] E --> F["Rinse+"] F --> G["Timer"] G --> H["Wash Mode"] H --> I["Spin"] I --> J["Temp (P.20)"] K["Program selection slider (P. 27)"] --> L["Au…](/content/2026/08/1603623/images/53e2a0890bb628533a9fdc4f459be8bd6dec38ee9a3afb790f95a1f5f6bc10a7.jpg)
Touch operation
- If water, detergent or softener gets on, turn off and wipe off with a towel etc. immediately. (Cause of malfunction)

NOTE
- Turn off → back on

In case of a power failure When the power recovers, operation resumes from where it stopped. (Auto Restart)
Detergent
- Follow the instructions on each package.
Detergent
Use a low foam detergent.
● To prevent powder detergent from remaining in the detergent drawer:

Wet Dry

Lumps Powder

Detergent
Powder detergent Liquid detergent

Bleach


Fabric softener




Separated or solidified softeners


NOTE

STARTSTART
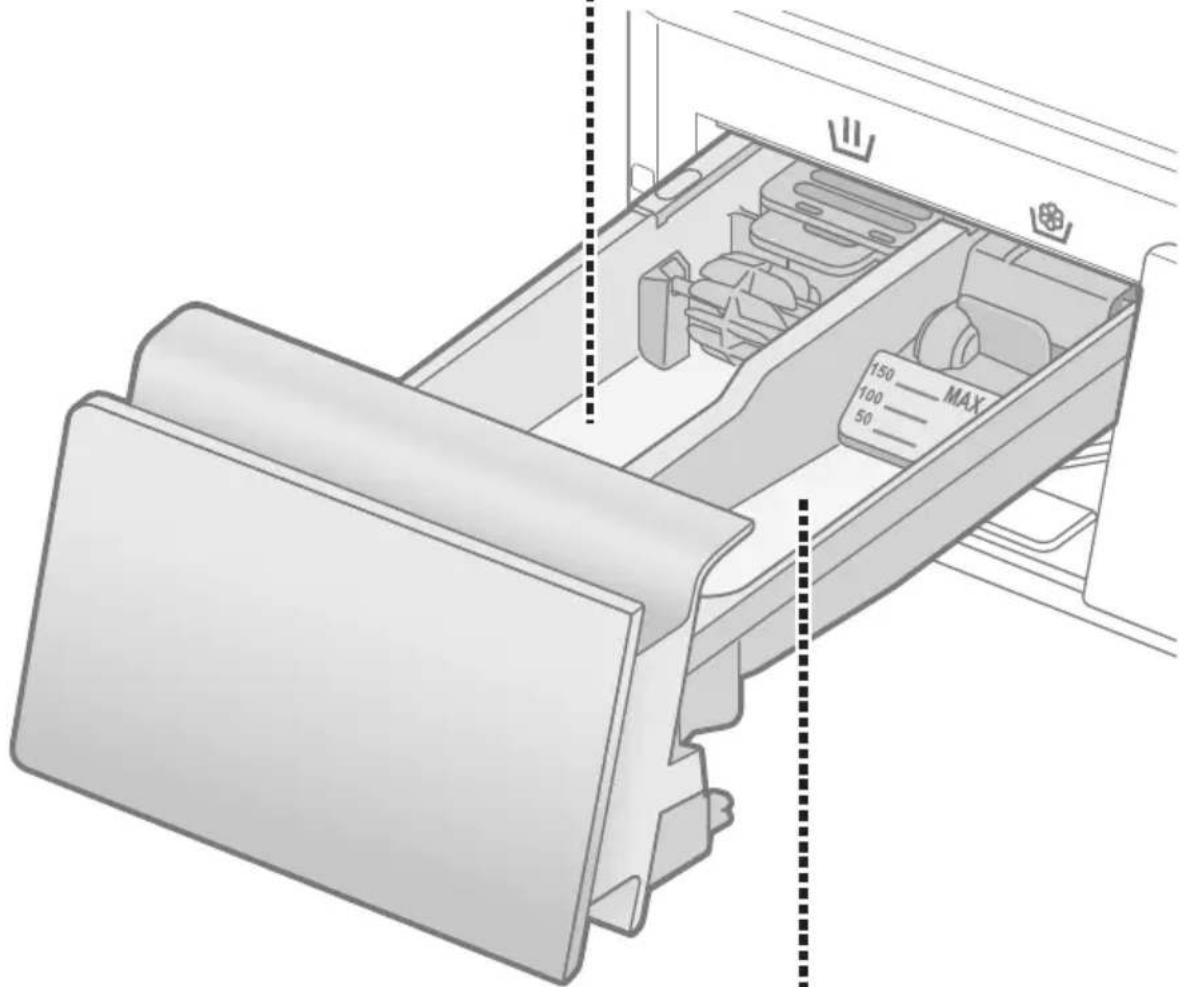

Fabric softener

Max. 150 ml


Washing
Basic Method

NOTE
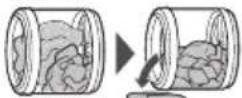
■ Do not let laundry get caught in the door.

■ Do not overfill the drum with laundry.

■ To open the door during operation
During washing
(You can add clothes when 📋It.)
![graph LR A["Pause"] --> B["Max. 1 min."] B --> C["Click"] C --> D["(To restart)"] D --> E["Start"]](/content/2026/08/1603623/images/cfac34f9dbe3379c357de7d2548cd03609bac9c452830595a526b68f4ab61736.jpg)
NOTE
• Door does not open (P. 30)


Select a program. (P. 14)
■ Changing the settings.
Measures the amount of laundry
Displays the time required (recalculated)
5

Temp (P. 20)
Spin (P.21)
Wash Mode (P.21)
Timer (P.22)
Rinse+ (P. 23)
Auto Tub Clean (P. 23)
Program List
| Program Description | Max load (kg) | Total time | |||
| V115FA1 | V10FA1 V90FA1 | ||||
| Daily Wash | Everyday clothes (Quicker than “Cotton” program) | 11.5 10.0 9.0 1:30 | |||
| Cotton | Everyday clothes | 11.5 10.0 9.0 2:54 | |||
| Baby Care | Clothes for babies & sensitive skinRinsing thoroughly | 5.0 2:20 | |||
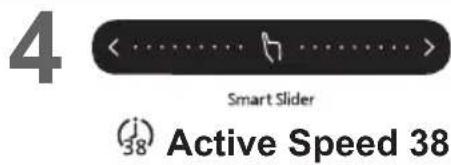
| Active Speed38 | Small loads | 5.0 0:38 | |||
| Bedding | Large items | 3.0 1:30 | |||
| Delicates | Washing gently  | 2.0 0:50 | |||
| Allergy | For ticks and pollen 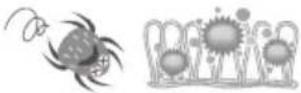 | 11.5 10.0 9.0 3:15 | |||
| Mud | Mud stains  | 11.5 10.0 9.0 3:30 | |||
| Tub Hygiene | Cleaning the drum.  | None 3:45 | |||
- Total time is approximate (When the standard water supply rate is 15 L / min). For each program's default water temperature.
Details of Programs
| Settings Program | Auto setting | ||
| Temp (°C) | Spin (r/min) | ||
| Daily Wash | 40 1200 | ||
| Cotton | 40 1200 | ||
| Baby Care | 40 1400 | ||
| Active Speed 38 | 40 1200 | ||
| Bedding | Cold 700 | ||
| Delicates | 30 500 | ||
| Allergy | 90 1200 | ||
| Mud | 40 1200 | ||
| Tub Hygiene | 40 1200 | ||
NOTE
- For normally soiled laundry at the rated capacity, we recommend using the "Cotton, 60 °C, 1400 r/min" which is tested in accordance with IEC 60456 for the energy and water efficiency aspects.
- Actual water temperature may differ from the declared cycle temperature.
- These results depend on water pressure, water hardness, water inlet temperature, room temperature, type and amount of load, degree of soiling, utilized detergent, fluctuations in the main electricity supply and chosen additional options.
| al functions | |||||
| Temp(°C) | Spin(r/min) | Wash Mode | Timer Rinse+ | Auto Tub Care | |
| Cold, 30, 40, 60 | 500, 700, 1200, 1400 | √ | √ | √ | |
| Cold, 30, 40, 60 | 500, 700, 1200, 1400 | √ | √ | √ | |
| Cold, 30, 40, 60 | 500, 700, 1200, 1400 | √ | √ | √ | |
| Cold, 30, 4 | 500, 700, 1200, 1400 | √ | √ | √ | |
| Cold, 30 | 500, 700 | √ | √ | √ | |
| Cold, 30, 40 | 500 | √ | - | - | |
| 60, 90 | 500, 700, 1200, 1400 | - | √ | √ | √ |
| 40 | 500, 700, 1200, 1400 | √ | √ | √ | |
| 40 1200 | --- | - | |||
: Drain only (No spin)
Washing Tips
ECONAVI
• "Cotton" and "Daily Wash" programs

3 sensors
Weight Temperature Material


Time savingWater saving
Delicates
■ When washing
- To rinse fully, use the "Rinse+" function. (P. 23)
NOTE

Bleach

Liquid detergent for delicates

■ After operation ends
Take out
immediately


■ Lamp indications

Detecting

ECONAVI enabled

ECONAVI disabled
Bedding
■ Washable items


(Wash)

(Handwash)

100 % cotton or 100 % synthetic

Sheets, bedspreads, undersheets
Blankets
■ Not washable items

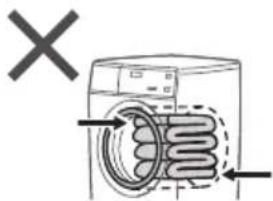
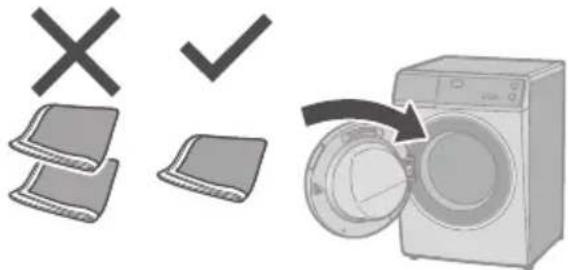
■ Putting blankets into the drum


NOTE



NOTE
Changing Program Settings
■ Preparing
- Sort the laundry and put it into the drum. (P. 7)
- Add the detergent. (P. 10)
1

2
Select a program. (P. 14)

3
Change the program's settings.

● Available options and setting ranges are different depending on the program. (P. 16)
- An alarm sounds if you select an option that is unavailable.
4

!c Temp
Change the washing temperature.

Low High
Setting guide

3
(P. 17)
r/min Spin
Change the spin speed.

Low High
Setting guide
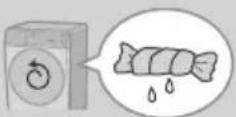 Low Low |  High High |
● To reduce wrinkling | ● To dry more thoroughly |
3 Spin (P. 17)
■ To change the setting while washing


Wash Mode
Select a combination of wash, rinse and spin.
(e.g.)

Wash SpinRinse
3 Wash Mode
| *1 | Wash |
| *2 | Rinse |
| *2 | Spin |
| Wash and rinse | |
| Wash and spin | |
| *2 | Rinse and spin |
*1 Water is drained after wash process.
*2 Drains first if there is water in the drum.
Changing Program Settings (continued)
■ Preparing
- Sort the laundry and put it into the drum. (P. 7)
- Add the detergent. (P. 10)
1

2
Select a program. (P. 14)

3
Change the program's settings.

● Available options and setting ranges are different depending on the program. (P. 16)
- An alarm sounds if you select an option that is unavailable.
4


Timer
Set how many hours later to finish operation. (Up to 24 hours)
![graph LR A["1:00 (e.g.)"] --> B["Set"] B --> C["8h"] C --> D["Auto start"] D --> E["9:00 (e.g.)"] E --> F["Water Washing Machine"] F --> G["Audio Note"]](/content/2026/08/1603623/images/e339e0652c8903ae2918bf704598c9a9e28e0616680a60d38a42c30c1bb6bf5d.jpg)
3
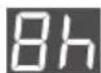
(e.g.)
Press or hold
■ To check a preset time

■ To cancel settings

(All settings are cancelled)
NOTE

All indications turn off except


Not available: P. 17

Rinse+
Add an extra rinse.
![graph LR A["Water Wash"] --> B["Water Wash"] B --> C["+ Rinse Spin"] C --> D["Swing"]](/content/2026/08/1603623/images/a2a293ab126e79b5375e35cd1e779271129a19be01ac2b1095f01a127dda3711.jpg)
3


■ To change the setting while washing

Washing
1

2

OnOff

3


Auto Tub Clean
Add tub cleaning process.

3


NOTE
• The setting is memorized.
Changing Appliance Settings
Setting the Child Lock


■ To cancel:

Cancelling the buzzer


■ To reset:

Maintenance
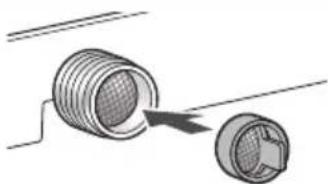
Water supply filter
If water does not flow smoothly

1

6

2

7

3

8
4

9

5

10

Maintenance (continued)

Appliance

Door seal For heavy soil

Mild kitchen detergent

NOTE

- Do not use gritty cleaners or thinners, or products containing alcohol or paraffin oil.
Detergent drawer


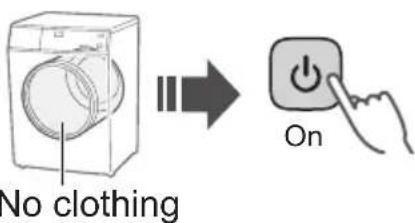
Drum
Once a month or if flashes
1

2
Whitening bleach (chlorine bleach)

3
4

5

NOTE
- If the "Tub Hygiene" program is not run, the indicator goes off when other program is run 3 times.
Maintenance (continued)
Drain filter
Once a month
Be sure to drain water in the drum before this procedure.
CAUTION


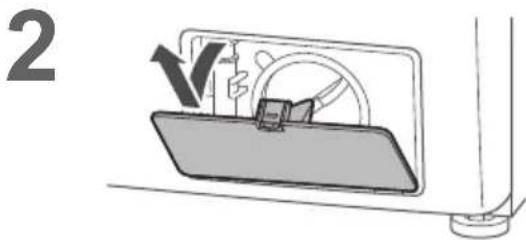

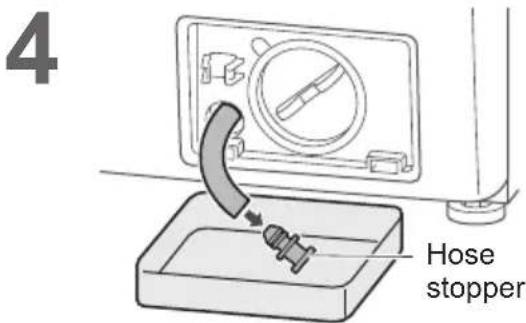


8 Replace 1


2 Until it is in place


Troubleshooting
| Symptoms Points to be checked | ||
| Main unit | Touch the buttons | Possible causeDuring an operation TryChild Lock (P. 24)(Off) TryChild Lock (P. 24)(Off) |
| No operation |  TryClose the door.Turn on.Unplug and insert again. TryClose the door.Turn on.Unplug and insert again.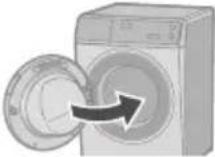  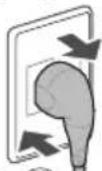 (30 sec.)Press "Start".Turn the breaker on. (30 sec.)Press "Start".Turn the breaker on.  | |
| Odour of rubber | Possible causeartsTime passesNo smell     TryTub Clean (P. 27) TryTub Clean (P. 27) | |
Troubleshooting (continued)

| Symptoms Points to be checked | ||
| Detergent and foam | After washing | □ Check  (P.1) (P.1) |
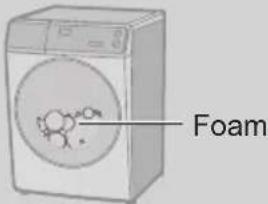 | □ Possible cause● The amount of foam varies.● Temperature ● Water level ● Water softness[S327]   | |
Not enough | □ Check● Powder detergent  (P.1)● Too little detergent ● Low foam detergent ● Heavily soiled ● Load too large (P.1)● Too little detergent ● Low foam detergent ● Heavily soiled ● Load too large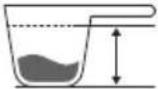    | |
Too much | □ Check● Too much detergent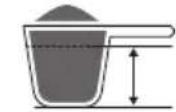 | |
| Wash | During a wash Water drainage Water drainage | □ Possible causeE |
□ Possible cause
Troubleshooting (continued)
| Symptoms Points to be checked | ||
| Rinse/Spin | During the spin process S S | Possible causeUnevenness Evenness     Auto correct Stop Auto correctTryToo light Add 1 or 2 Auto correct Stop Auto correctTryToo light Add 1 or 2    Bath towels Bath towels |
After washing Foam or water Foam or water | Try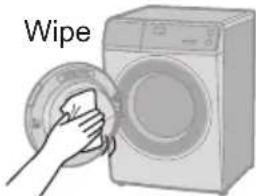  | |
Spin changes to rinse   RinseSpin RinseSpin | Possible causeIf clothes are uneven, this appliances automatically corrects unevenness using the rinse process.  | |
| Laundry | If the laundry yellowsYellow | Try  White White + +  60 °C 60 °C |
| Time | During a wash Displayed time Changes | Possible causeRemaining time is corrected during operation. If the settings changed If the settings changed  If clothes are uneven If clothes are uneven The remaining time may increase. The remaining time may increase. |
| Noise | During water drainage | Possible causeThis is normal.The drain pump is working. |
During spin process | Possible causeThis is normal.Anti-foam leak part is working at the exhaust port. | |
Sound of fan rotating | Possible causeThis is normal.The drain pump is working. | |
Motor emits a sound | Possible causeThis is normal.The motor will make a short sound when the drum engages. | |
Troubleshooting (continued)
| Symptoms Points to be checked | ||
| Noise | Unusual noise (or vibration) | □ Check
● Metal items
 ● Anchor bolts (P. 38)
 ● Slope or an unstable surface

 38) 38) |
| Others | Power cut Breaker
 Of Of  | □ Check
● When the power recovers, operation resumes from where it stopped.
 On On 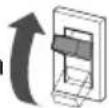   |
Error Display
| Error Display Points to be checked | ||||
| Unable to drain | 1 Check | 2  | 3  | |
 |  |  | 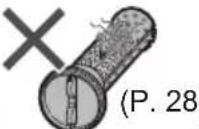 | |
| Door is open | 1 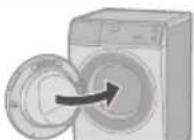 | 2  Start Start | ||
| Unable to spin / dry | 1 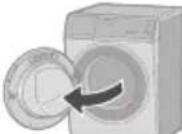 | 2 Check | 3  |  |
 | Unstable or inclined Stable | Too much Reduce | Too little AddUneven Even | |
 |  |  | ||
| KC6K Unable to supply water | 1  |  |  | |
Water outage  | Turned off  | Water supply (P. 25)  | ||
 Unable to spin Unable to spin |  |  |  | |
 |  |  | ||
 |  |  |  | |
Installation
Choosing the Right Location

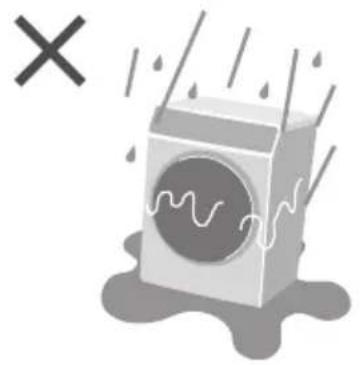
Make sure to ask a service person for installation.
■ Do not install the appliance by yourself.
■ Follow this installation method. If you do not, Panasonic will not be liable for any accidents or damages.
Appliance dimensions

■ Set-in installation

- Do not let the metallic portions of the appliance come into contact with metal sinks or other appliances.
Check the location.


Moving and Installing
Carrying the appliance
Do not do it alone.

Installation of bottom cover


Moving and Installing (continued)
Removing the anchor bolts
1


2

3

NOTE

■ Moving the appliance again

Levelling the appliance
1

2

3

4


Installation Connecting the Hoses
Connect the hoses properly to prevent water leaks.
Maximum connection distances for hoses and the power cord
Right side connection
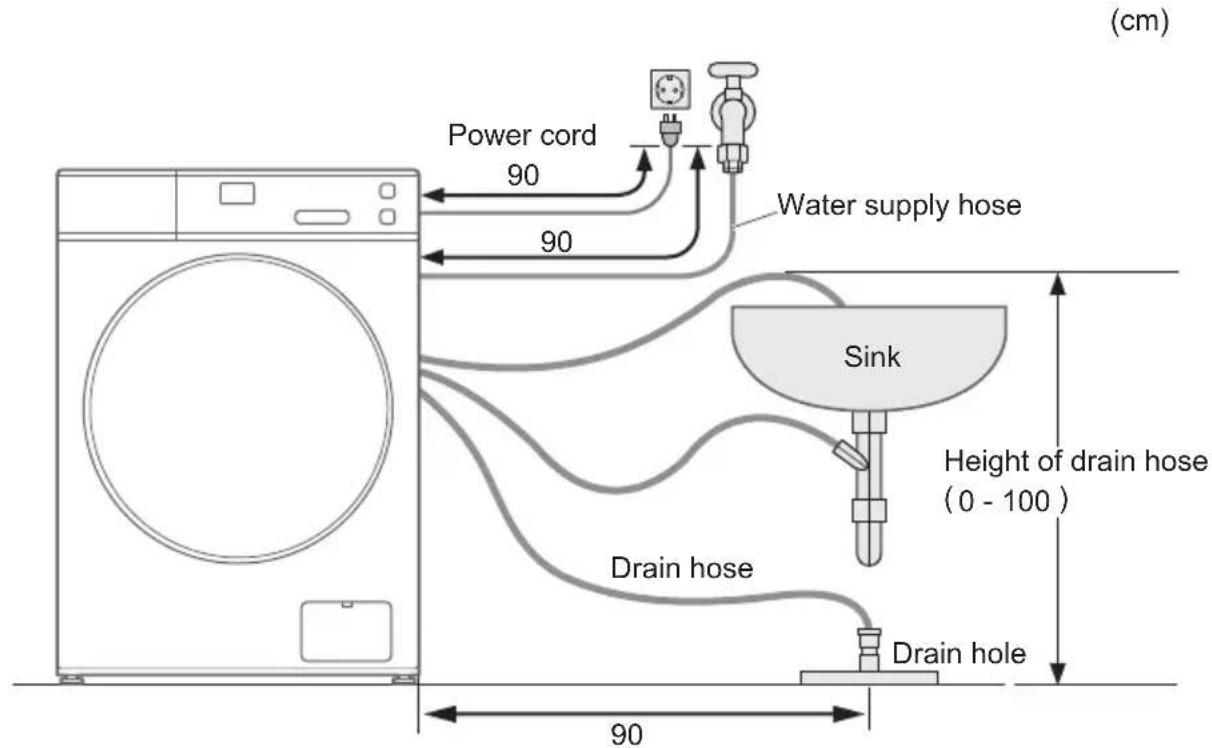
Left side connection
(cm)

Water supply hose
Drain hose
■ Connecting the water supply hose
■ Draining to a sink or wash basin

CAUTION
- Tighten the nut firmly.
- Do not twist, squash, modify or cut the hose.
1

2

3

NOTICE

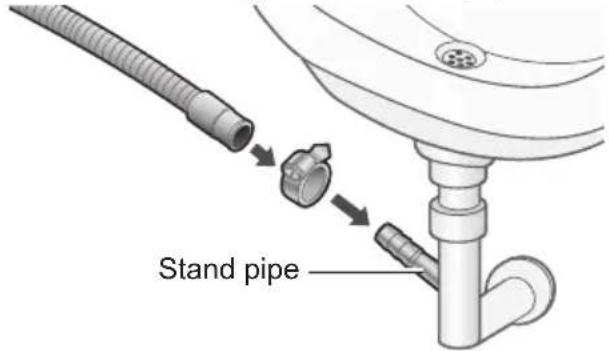
■ Draining to a stand pipe
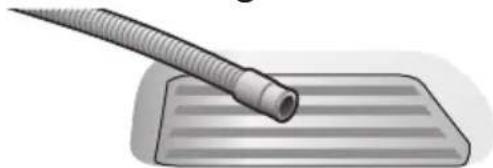
■ Draining to a drain hole
NOTE

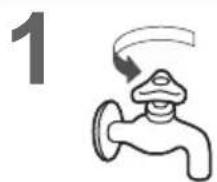


Checking after test run
Problem Causes and Measures
Water leaks

Connect the water supply hose properly
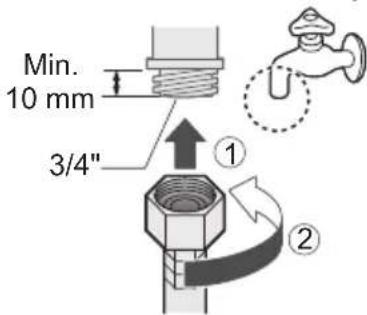

- Remove the anchor bolts (P. 38)

• Install stably

Error display

See P. 35.
Specifications
| NA-V115FA1 | NA-V10FA1 | NA-V90FA1 | |
| Rated voltage (V) 220 - 240 | |||
| Rated frequency (Hz) 50 | |||
| Maximum energy rated power input (W) 1600 - 1900 | |||
| Heating energy rates power input (W) 1445 - 1710 | |||
| Maximum spin speed (r/min) 1400 | |||
| Product dimensions (W x D x H) (mm) 596 × 585 × 845 | |||
| Product weight (kg) 68 | |||
| Maximum mass of dry cloth (Wash) (kg) 11.5 10.0 9.0 | |||
| Pressure of tap water (MPa) 0.01 - 1 | |||
- OPERATING & INSTALLATION INSTRUCTIONS
- EN
- SAFETY PRECAUTIONS
- WARNING
- MAY CAUSE SERIOUS INJURY OR DEATH
- CHILDREN MUST NOT USE IT ALONE
- SETTING THE CHILD LOCK. (P. 24)
- MAY CAUSE FIRE OR ELECTRIC SHOCK
- DO NOT TOUCH IT WITH WET HANDS
- DO NOT HOLD OR PULL ON THE CORD
- DO NOT USE
- FULLY INSERT IT
- MAY CAUSE FAILURE
- SAFETY PRECAUTIONS (CONTINUED)
- CAUTION
- MAY CAUSE INJURY
- MAY CAUSE WATER LEAKAGE
- CHECKING YOUR WASHING MACHINE
- PART NAMES
- ACCESSORIES
- BEFORE WASHING
- PREPARING LAUNDRY
- BEFORE PUT CLOTHES IN DRUM
- PRE-LAUNDRY CHECK
- CONTROL PANEL
- TOUCH OPERATION
- NOTE
- DETERGENT
- FABRIC SOFTENER
- WASHING
- PROGRAM LIST
- DETAILS OF PROGRAMS
- WASHING TIPS
- ECONAVI
- DELICATES
- BEDDING
- WASHABLE ITEMS
- NOT WASHABLE ITEMS
- PUTTING BLANKETS INTO THE DRUM
- CHANGING PROGRAM SETTINGS
- PREPARING
- C TEMP
- R/MIN SPIN
- SPIN (P. 17)
- WASH MODE
- CHANGING PROGRAM SETTINGS (CONTINUED)
- TIMER
- RINSE
- AUTO TUB CLEAN
- CHANGING APPLIANCE SETTINGS
- MAINTENANCE
- WATER SUPPLY FILTER
- MAINTENANCE (CONTINUED)
- DRUM
- DRAIN FILTER
- ONCE A MONTH
- TROUBLESHOOTING
- TROUBLESHOOTING (CONTINUED)
- POSSIBLE CAUSE
- ERROR DISPLAY
- INSTALLATION
- CHOOSING THE RIGHT LOCATION
- MAKE SURE TO ASK A SERVICE PERSON FOR INSTALLATION
- MOVING AND INSTALLING
- CARRYING THE APPLIANCE
- INSTALLATION OF BOTTOM COVER
- MOVING AND INSTALLING (CONTINUED)
- REMOVING THE ANCHOR BOLTS
- LEVELLING THE APPLIANCE
- INSTALLATION CONNECTING THE HOSES
- MAXIMUM CONNECTION DISTANCES FOR HOSES AND THE POWER CORD
- WATER SUPPLY HOSE
- DRAIN HOSE
- CHECKING AFTER TEST RUN
- PROBLEM CAUSES AND MEASURES
- SPECIFICATIONS
Brand : PANASONIC
Model : NA-V90FA1LVT
Category : Washing machine