
M85XWS1 - Projection screen Elite Screens - Free user manual and instructions
Find the device manual for free M85XWS1 Elite Screens in PDF.


| Product Type | Projection Screen |
| Brand | Elite Screens |
| Model | M85XWS1 |
| Screen Diagonal | 85 inches (215.9 cm) |
| Aspect Ratio | 16:9 |
| Screen Material | Matte white fabric with black backing for enhanced contrast |
| Gain | 1.0 |
| Viewing Angle | 160° (80° each side) |
| Tab-Tensioning System | Yes, for a flat surface |
| Mounting Type | Wall or ceiling mount (hardware included) |
| Screen Frame | Aluminum with black velvet border |
| Dimensions (Overall) | Approximately 77.6 x 44.1 inches (197 x 112 cm) |
| Weight | Approximately 22 lbs (10 kg) |
| Power Supply | Not required (manual pull-down screen) |
| Main Functions | Provides a smooth, high-contrast surface for front projection |
| Cleaning Instructions | Gently wipe with a dry microfiber cloth; do not use harsh chemicals |
| Safety Features | Automatic locking mechanism to prevent accidental retraction |
| Spare Parts Availability | Replacement screens and mounting kits available from manufacturer |
| Warranty | 3 years limited warranty |
Frequently Asked Questions - M85XWS1 Elite Screens
User questions about M85XWS1 Elite Screens
0 question about this device. Answer the ones you know or ask your own.
Ask a new question about this device
Download the instructions for your Projection screen in PDF format for free! Find your manual M85XWS1 - Elite Screens and take your electronic device back in hand. On this page are published all the documents necessary for the use of your device. M85XWS1 by Elite Screens.
USER MANUAL M85XWS1 Elite Screens
ELITE SCREENS
Manual Pull-Down Projection Screen
Elite Manual Series
USER'S GUIDE
Pre-installation
- Carefully unpack the screen.
- Always handle the screen in a leveled position on a clean surface.
INSTALLATION
Flush Wall Mounting
- Measure the distance between the keyholes located on the back of the end cap
- Mark the location of where the screen is to be installed for the pre-drilled hole.
- After marking the area and drilling the hole, insert the proper screw into the drilled hole and leave about 1/8" of an inch from the wall to mount the screen.
- Mount your screen from the keyhole located on back of screen's left and right end cap.


Flush Ceiling Mounting
- Measure the distance between the top screw holes located on the top of the end caps.
- Mark the location of where the screen is to be installed for the pre-drilled hole.
- Drill your hole, use a hollow wall anchor if needed
- Insert the proper screw into the drilled hole and secure the screen to the ceiling.
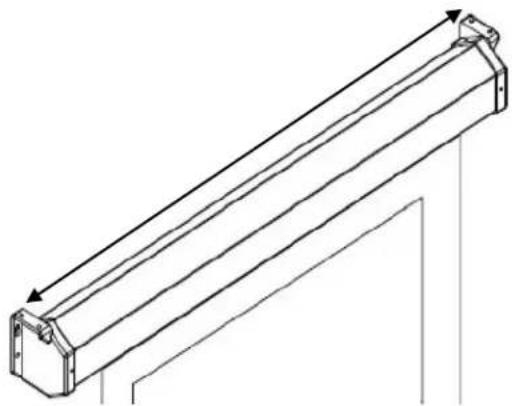
Ceiling Suspended Mounting (additional hardware required) Optional installation using a chain to hang the screen from the ceiling.
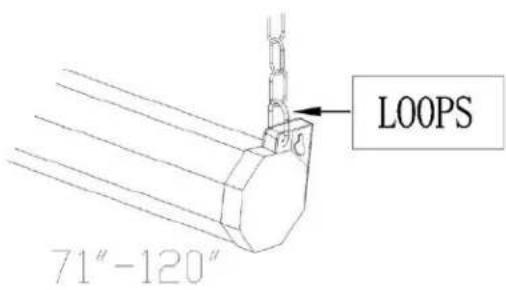
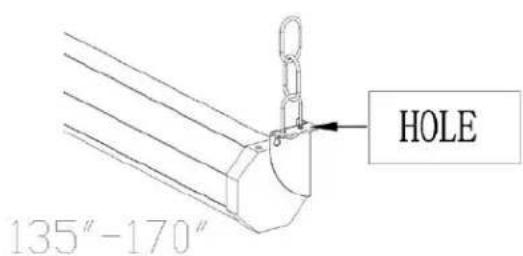
- You can also hang the screen on a ceiling by using a chain and hang it by the two loops (models 71-120) located on each end of the case or by the end cap's ears (models 135-170).
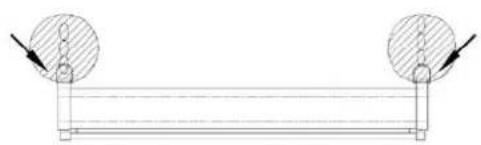
Note: Chain and U bolt/D ring not included.
SCREEN OPERATION
Note: Always pull the screen down or let it up in a 90-degree vertical angle. Do not allow the screen to touch the screen case when the screen goes up or comes down to avoid damaging the screen material.
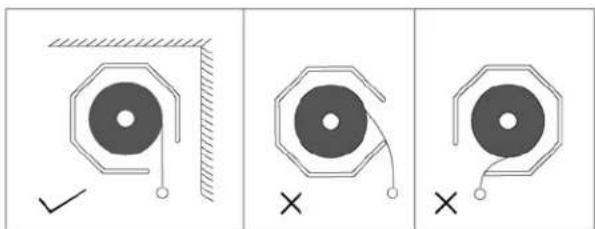
- Pull the screen down from the lanyard or from the handle only in a 90-degree angle. Do not attempt to pull the screen down by the surface or touch the screen, as it will damage the screen and void the warranty.
Note: An internal auto-lock mechanism system will cause the screen to stop and lock on the position at intervals.
- If you want to the screen to retract back, simply pull the screen down more than 2 inches and retract the screen back by quickly and smoothly releasing it up gently.
Note: Always release at a 90-degree angle and do not let go until the screen is entirely inside the case. If ever the screen feels stuck, keep in mind that the screen's mechanism is new and needs to be run up/down a few times to loosen up. If this happens, carefully with a little force yank the screen straight down to unlock the screen.
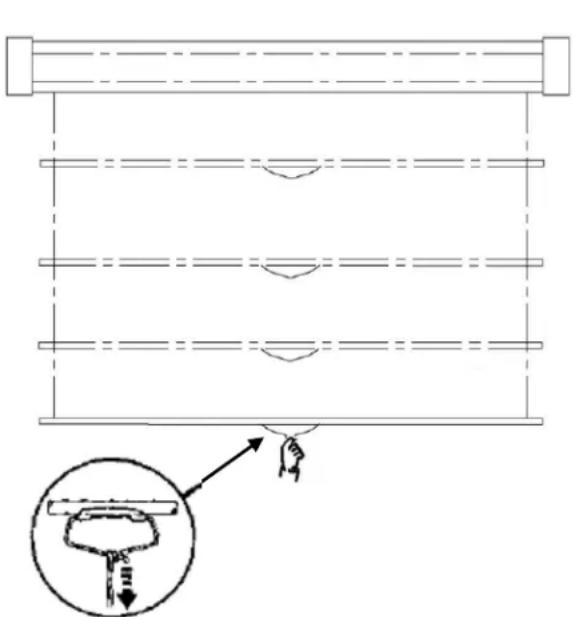
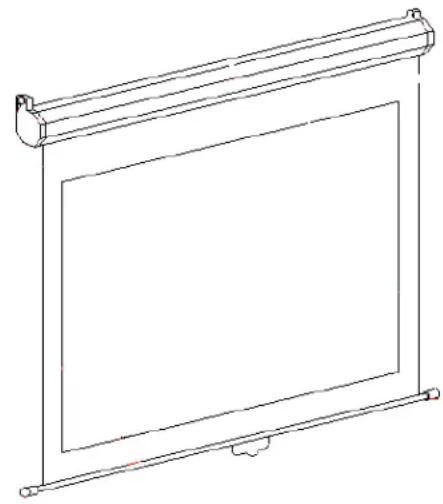
Note: Improperly bringing the screen up/down will damage the screen material or rolling system.
RETRACTION TIP: If you are not able to pull the screen down two inches when attempting to retract it, give the screen a quick yank downwards with a little bit of force. Please be sure to not stand directly under the housing of the unit when yanking down on the screen.
MAINTENANCE
Clean matte white screen material with a soft cloth and mild soap with water.
When not in use, retract screen in its housing to keep the screen material surface clean.
NOTE:
Regardless of mounting method, the screen should be securely supported so that vibration or even abusive pulling on the viewing surface will not cause the case to work loose or fall. The installer must insure that the fasteners used are of adequate strength and suitable for the mounting surface chosen.
Brand : Elite Screens
Model : M85XWS1
Category : Projection screen