
KGPETSINGWA - Unspecified Kogan - Free user manual and instructions
Find the device manual for free KGPETSINGWA Kogan in PDF.


| Product Type | Pet Water Fountain |
| Brand | Kogan |
| Model | KGPETSINGWA |
| Dimensions (L x W x H) | 25 x 20 x 15 cm |
| Weight | 0.8 kg |
| Water Capacity | 2 litres |
| Power Source | USB (5V, 1A) or AC adapter (included) |
| Power Consumption | 5 W |
| Pump Type | Submersible, ultra-quiet |
| Filtration System | Activated carbon filter + sponge pre-filter |
| Water Flow Modes | 3 adjustable flow levels |
| Material | BPA-free plastic (ABS) |
| Color | White/transparent |
| Cord Length | 1.5 m |
| Noise Level | < 30 dB |
| Recommended Pets | Cats and small dogs |
| Cleaning | Disassemble and wash with mild soap weekly; replace filter every 4 weeks |
| Safety Features | Low voltage pump; auto shut-off when water level too low |
| Spare Parts / Replacements | Filter cartridges (KGPETSINGWA-FILTER), pump (KGPETSINGWA-PUMP) available |
| Warranty | 12 months |
| Package Contents | Fountain unit, pump, filter, USB cable, AC adapter, instruction manual |
Frequently Asked Questions - KGPETSINGWA Kogan
User questions about KGPETSINGWA Kogan
0 question about this device. Answer the ones you know or ask your own.
Ask a new question about this device
Download the instructions for your Unspecified in PDF format for free! Find your manual KGPETSINGWA - Kogan and take your electronic device back in hand. On this page are published all the documents necessary for the use of your device. KGPETSINGWA by Kogan.
USER MANUAL KGPETSINGWA Kogan
natural_image
White portable smart water dispenser with control panel and side sink (no visible text or symbols)KOGAN SMARTERHOME™ 4 LITRE SINGLE PET FEEDER
WITH CAMERA
KGPETSINGWA
SAFETY & WARNINGS
- This feeder is only suitable for small and medium pets under 20kg.
- Position the feeder in a suitable position to prevent your pet from tipping it over.
• Regularly replace the desiccant. - Keep the feeder dry and clean. Check the food bowl and hopper regularly for food residue.
- Do not put any substances other than dry pet food into the food hopper. Doing so can damage the pet feeder and may harm your pet.
- It is recommended to position this feeder in a corner, against a wall to prevent you or your pet tripping over the pet feeder or power cable.
- Conceal the power cable as much as possible to prevent your pet from chewing it.
• Children must be supervised when using this feeder. - After installing the spare dry battery, you can manually operate the device to provide normal power supply during power failure.
- Regularly clean the food bowl and food hopper.
- This feeder is not recommended for pets younger than three months.
Note:
This feeder is only suitable for dry foods that are 2-10mm. Do not put freeze-dried food in this feeder.
COMPONENTS

natural_image
Line drawing of a three-pin electrical plug (no text or symbols)Adapter
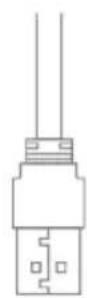
Power Cable
User Guide
natural_image
Blank white rectangle with rounded corners and no text or symbolsDesiccant
OVERVIEW

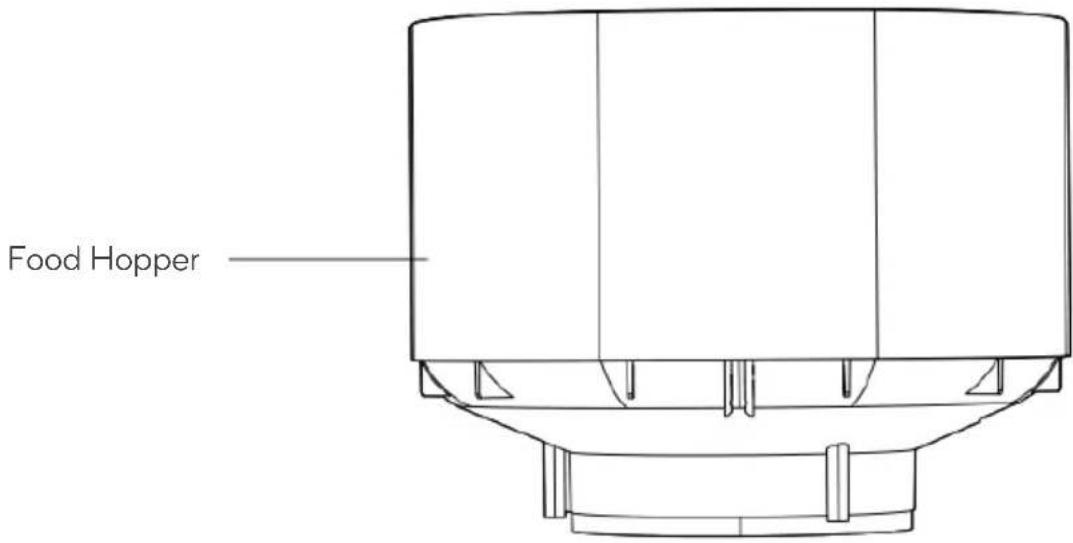


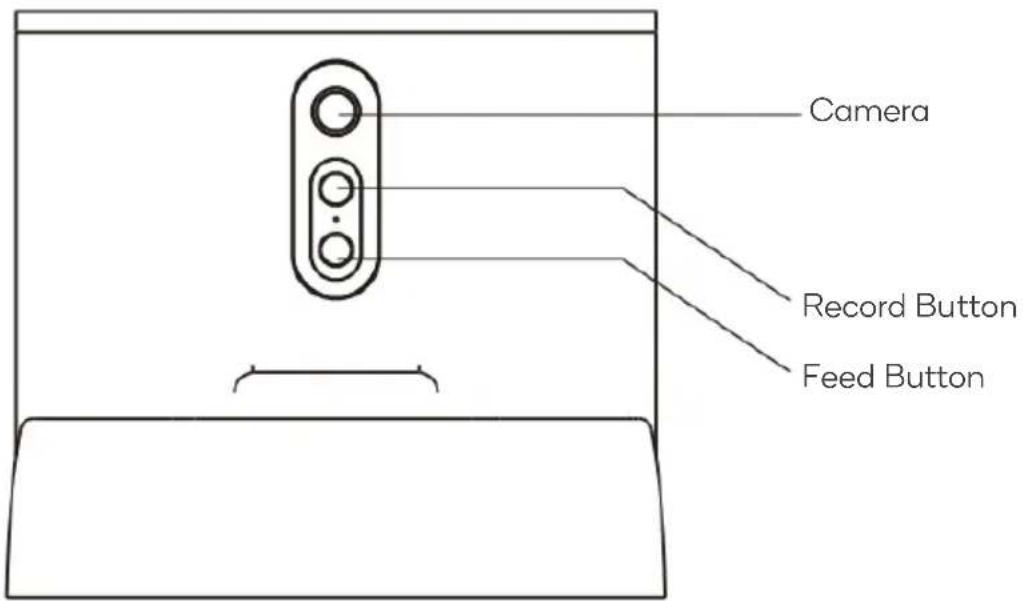
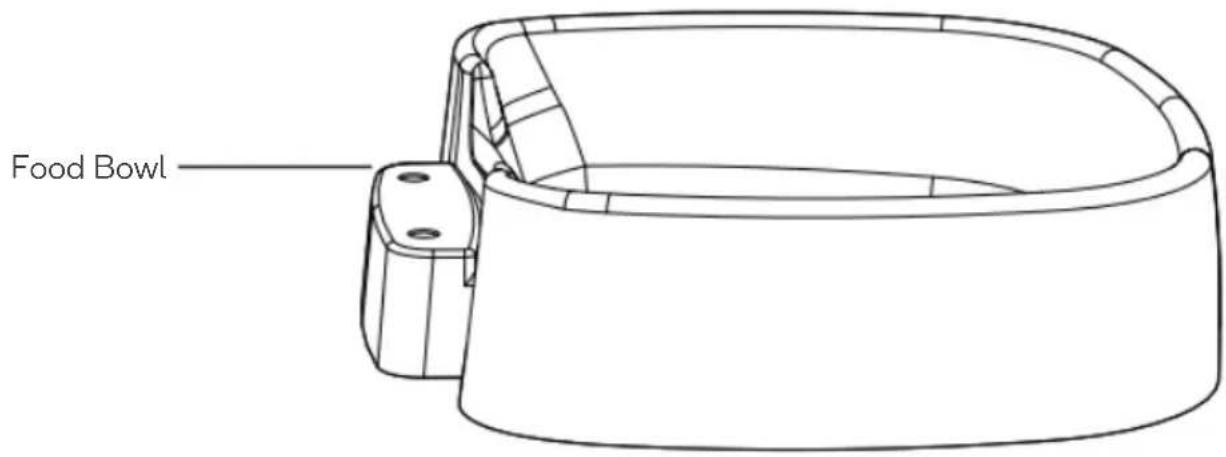
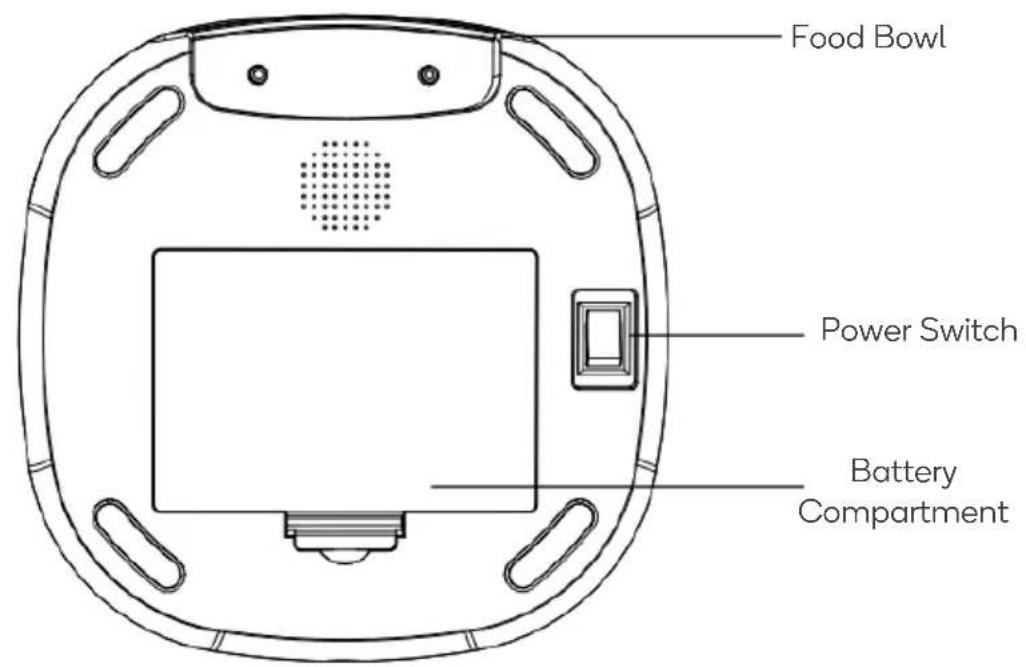
BEFORE FIRST USE
- Open the lid and remove the power cord and adapter from the food hopper.
- Plug one end of the power cable into the power port on the rear of the feeder body and connect the other end to the provided adapter. Connect the adapter to an electrical outlet.
- Install the food bowl in the correct position at the front of the feeder body.
- Add dry pet food to the food hopper.
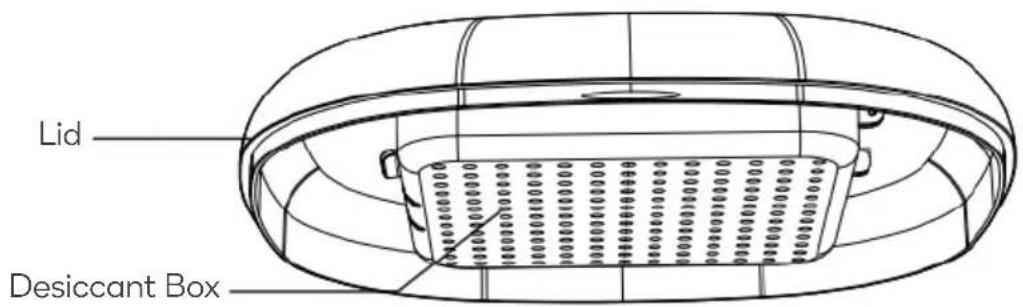
- The provided desiccant will already be in the desiccant box. Replace the desiccant regularly for long-term use. Do not clean and reuse the original desiccant.
- Optional: Install x3 D(LR20) dry cell batteries (not provided) in the battery compartment to use the feeder without connecting to power.
CONNECT TO SMARTERHOME™ APP
Install app
Download the "Kogan SmarterHome" app from the Play Store (Android) or App Store (iOS).

Play Store (Android)


App Store (iOS)

To register:
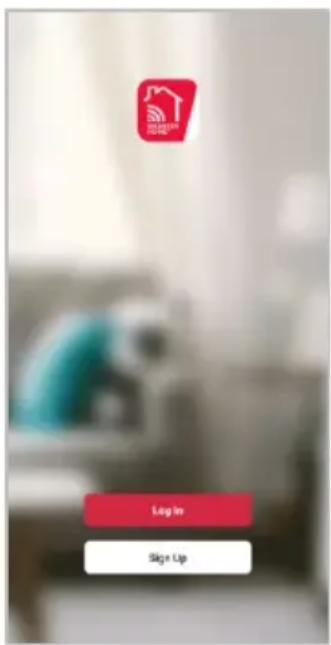
- If you already have a SmarterHome account, select 'Log In'. To register a new account, select 'Sign Up'.
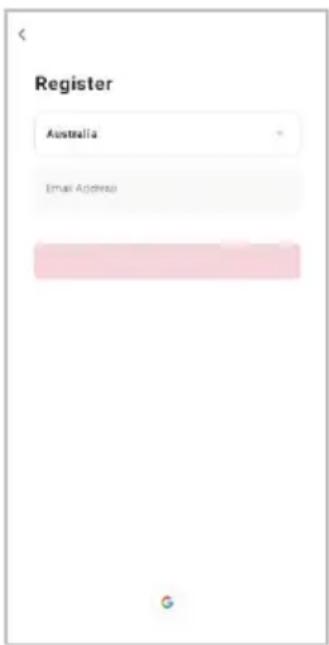
- The system will automatically recognise your country. If needed, you can manually select your country from the drop-down box. Enter your email address and tap 'Get Verification Code' to continue.
- A 6-digit code will be sent to the submitted email address. Enter this code before the one-minute timer expires.
- Continue to the next page and complete your SmarterHome profile.

Set device in pairing mode
When the device is first turned on, it may automatically enter pairing mode (the indicator will be flashing blue).
If not automatically in pairing mode when powered on, you can manually set the device in pairing mode by pressing and holding the feed button for 5 seconds until the indicator flashes blue.
Add device through network
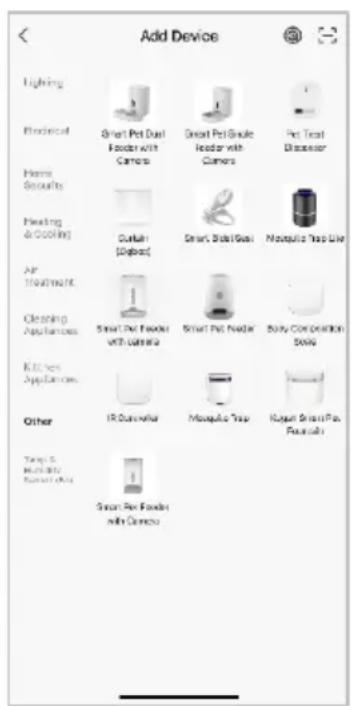
- Once registered, tap "Add Device" on the app's home page, or the "+" in the upper right corner, to add a new device through the network.
- Select the product type from the list of options in the app (Other > Smart Pet Single Feeder with Camera).
- Ensure that the device is in pairing mode, with the indicator flashing blue, and tap "Confirm light is rapidly flashing".
- Enter your Wi-Fi details. It is important that your SmarterHome™ device and the app are connected to the same Wi-Fi network during setup.


Notes:
- The device and the app have to use the same Wi-Fi network.
- The device is only compatible with 2.4Ghz networks.
-
Depending on the product, Steps 3 and 4 may be in opposite order.
-
Calibrate the smart camera by holding your smartphone 15-20cm away from the camera lens until it successfully scans the QR code shown on the following screen of the setup. The device will make a prompt sound to confirm, click "I heard a prompt" to proceed to the next screen.
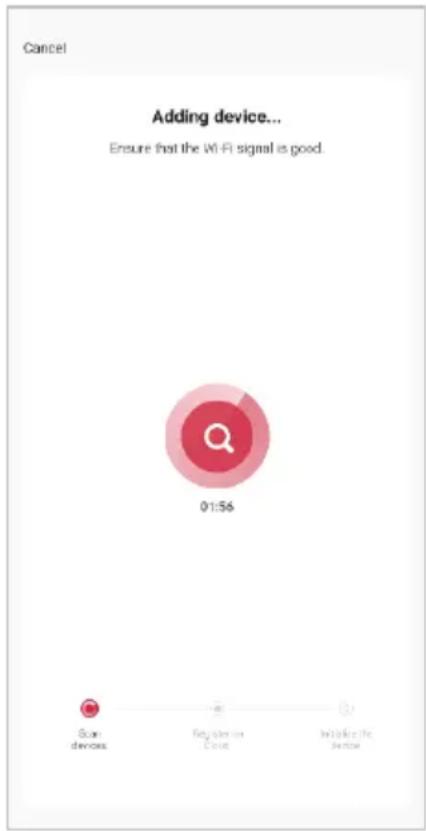
- The device will commence the pairing process and connect to the app. Ensure your Wi-Fi router, mobile phone, and the SmarterHome™ device are kept close until connection is complete.
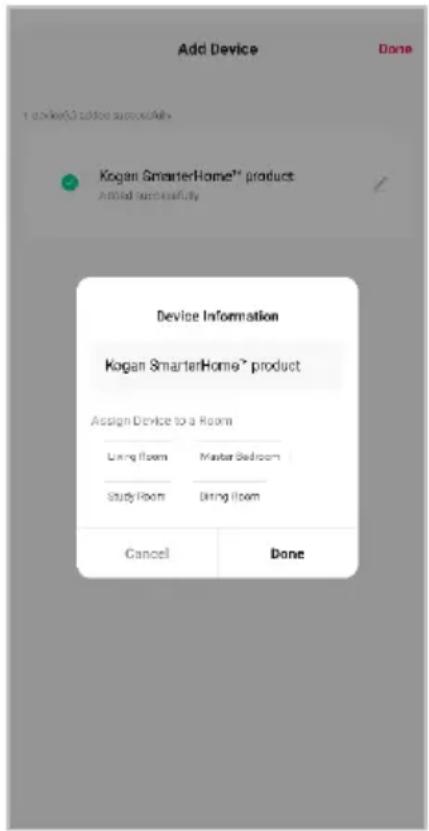
- After successfully being added, you will have the option to rename the device and assign it to a location. It will now be listed on the app's home page. Tap the device listing to enter its control page.

Note:
Once connected, you can select Create Scene from the “+” in the upper right corner (or from the Scene tab) to group connected SmarterHome™ products and automate their functions.
OPERATION
Feeder controls
| Record Button | Press and hold to record a sound. The sound will play when you press the ‘Feed’ button on the app.To cancel the recording, ensure there is no noise, then press and hold the ‘Record’ button for 5 seconds. |
| Feed Button | Short press to dispense food.Press and hold for 5 seconds to restore to factory settings. |
| Power Switch Switch the | feeder on/off. |
App controls
- Setting: Adjust the feeder functions.
• Signal: Signal quality.
• Sound: Switch video sound on/off.
• SD/HD: Switch image quality.
• Full screen: Enter full screen. - Screenshot: Take a picture of the video.
• Talk: 2-way voice intercom. - Record: Record footage and save it to your mobile phone.
- Photos: View photos in your mobile phone's photo album.
- Playback: SD card video playback.
- Schedule: Dispense food at scheduled times.
- Feed: Tap to dispense food.
- IR night vision: Set IR night vision to auto, on or off.
- Alarm: Enable/disable the motion detection alarm.
CLEANING & CARE
- The detachable parts of the feeder can be removed from the feeder body and be cleaned with water and detergent.
- Clean the food bowl and hopper regularly to prevent food residue and bacteria build up.
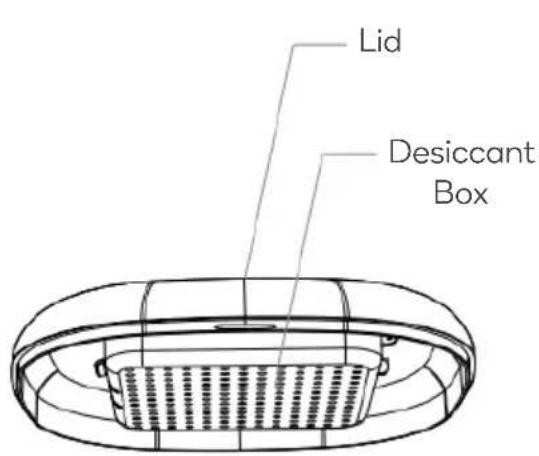
• Pull the desiccant box out to remove it from the lid. - Detach the food hopper by pulling it away from the feeder body.
- Push the bowl downward to remove it.
- Ensure all parts are dry before reattaching them to the feeder body.


TROUBLESHOOTING
| Problem Solution | |
| The feeder is not connecting to the app. | Press and hold the feed button for 5 seconds until the indicator flashes blue to reset the device. Then, pair again. |
| Uninstall and reinstall the SmarterHomeTM app. Ensure all permissions are enabled. | |
| The feeder does not dispense food. | Check if the feeding mechanism is blocked. Remove any blockages. |
| There is a lag of up to 30 seconds between the app and the feeder. | A lag of up to 30 seconds between the app and the feeder may occur if the network connection is poor.The feeder must use a Wi-Fi signal that satisfies the Wi-Fi 802.11bgn protocol. |
Need more information?
We hope that this user guide has given you the assistance needed for a simple set-up.
For the most up-to-date guide for your product, as well as any additional assistance you may require, head online to help.kogan.com
kogan.com

Brand : Kogan
Model : KGPETSINGWA
Category : Unspecified