
ARMUNONB - Rack Mount StarTech.com - Free user manual and instructions
Find the device manual for free ARMUNONB StarTech.com in PDF.


| Product Type | Rack Mount Shelf |
| Brand | StarTech.com |
| Model | ARMUNONB |
| Form Factor | 1U, 19" Rack |
| Dimensions (W x D x H) | 19 x 6.5 x 1.75 in (48.3 x 16.5 x 4.4 cm) |
| Weight | 2.5 lbs (1.1 kg) |
| Material | Cold Rolled Steel |
| Finish | Black Powder Coat |
| Maximum Load Capacity | 25 lbs (11.3 kg) |
| Mounting Hardware | Included (screws, cage nuts) |
| Compatibility | Standard 19" EIA-310 Racks |
| Ventilation | Open front and rear for airflow |
| Installation | Tool-less or screw mount |
| Cable Management | Not integrated, but compatible |
| Power Requirements | None (passive shelf) |
| Operating Temperature | 32°F to 122°F (0°C to 50°C) |
| Storage Temperature | -4°F to 158°F (-20°C to 70°C) |
| Humidity Range | 20% to 80% (non-condensing) |
| Certifications | RoHS, CE, FCC |
| Warranty | 2 Years |
| Maintenance | Wipe with dry cloth; avoid liquids |
| Safety | Ensure load is within capacity; secure to rack |
| Repairability | No user-serviceable parts; replace if damaged |
| Included Accessories | Mounting screws, cage nuts, quick-start guide |
Frequently Asked Questions - ARMUNONB StarTech.com
User questions about ARMUNONB StarTech.com
0 question about this device. Answer the ones you know or ask your own.
Ask a new question about this device
Download the instructions for your Rack Mount in PDF format for free! Find your manual ARMUNONB - StarTech.com and take your electronic device back in hand. On this page are published all the documents necessary for the use of your device. ARMUNONB by StarTech.com.
USER MANUAL ARMUNONB StarTech.com
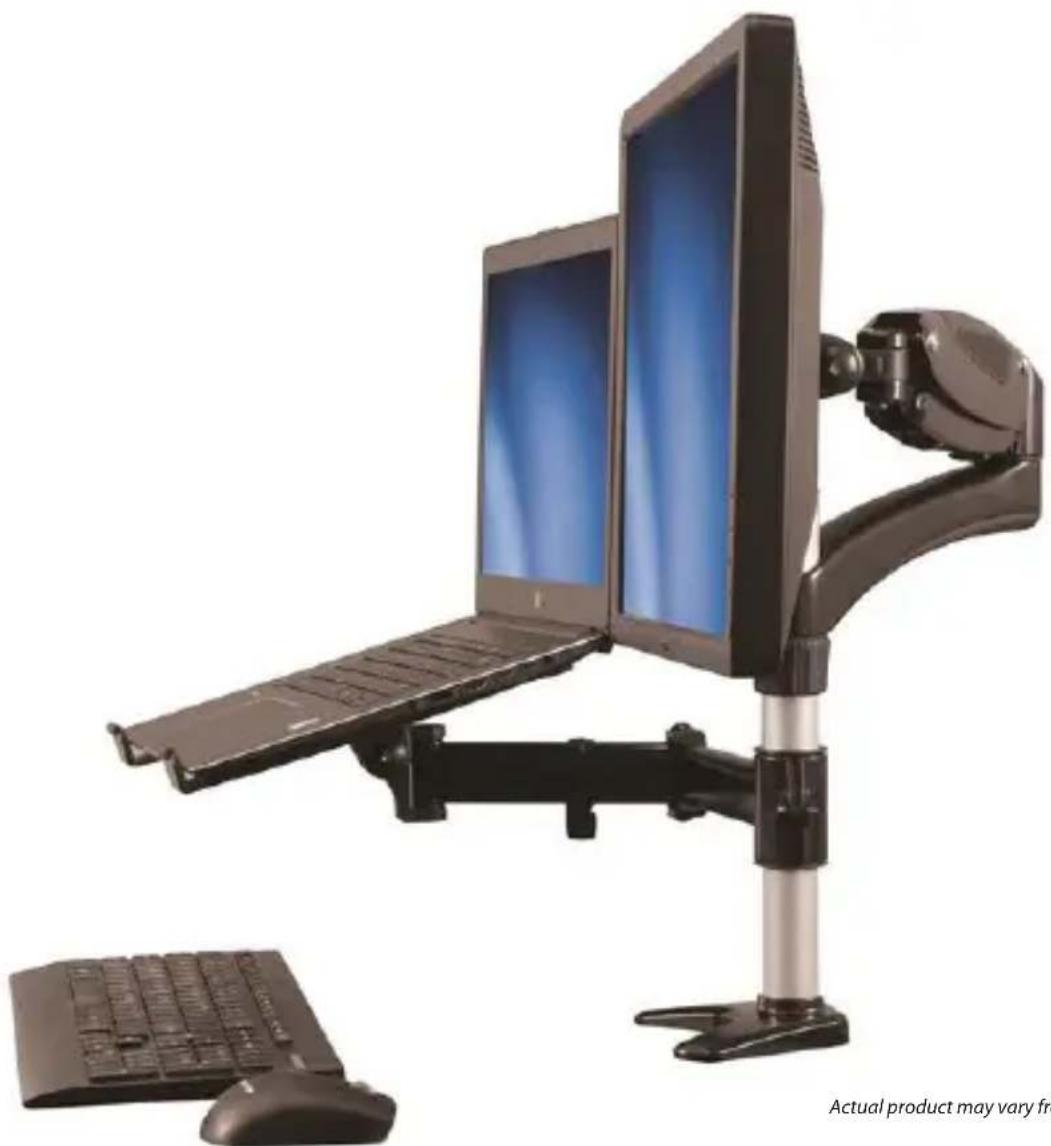
Monitor Mount with Articulating Arm and Laptop Riser
natural_image
Laptop with dual monitors mounted on a stand, accompanied by a keyboard and mouse (no text or symbols visible)Actual product may vary from photos
User Manual
SKU#: ARMUNONB
For the latest information and specifications visit
www.startech.com/ARMUNONB
Use of Trademarks, Registered Trademarks, and other Protected Names and Symbols
This manual may make reference to trademarks, registered trademarks, and other protected names and/or symbols of third-party companies not related in any way to StarTech.com. Where they occur these references are for illustrative purposes only and do not represent an endorsement of a product or service by StarTech.com, or an endorsement of the product(s) to which this manual applies by the third-party company in question. Regardless of any direct acknowledgement elsewhere in the body of this document, StarTech.com hereby acknowledges that all trademarks, registered trademarks, service marks, and other protected names and/or symbols contained in this manual and related documents are the property of their respective holders.
To view manuals, videos, drivers, downloads, technical drawings, and more visit www.startech.com/support
Safety Statements
Safety Measures
- Wiring terminations should not be made with the product and/or electric lines under power.
- Cables (including power and charging cables) should be placed and routed to avoid creating electric, tripping or safety hazards.
Mesures de sécurité
To view manuals, videos, drivers, downloads, technical drawings, and more visit www.startech.com/support
Table of Contents
Safety Statements....2
Product Diagram....4
Product Dimensions ....5
Technical Specifications....6
Product Information 8
Package Contents 8
Installation Requirements....11
Assembly 11
Attaching the Clamp to a Surface....11
Attaching the Laptop Tray to the Swivel Arm....12
Attaching the Swivel Arm to the Pole and Clamp....14
Attaching the Extension Arm 16
Attach a display to the spring arm....17
Attaching the Spring Arm to the Extension Arm....19
Adjust the height tension of the spring arm....21
Adjusting the Swivel Tension of the Display Mount 22
Routing the Cables 22
To view manuals, videos, drivers, downloads, technical drawings, and more visit www.startech.com/support
Product Diagram

| 1 | Rubber Pads Cable Management | |
| 2 | Laptop Tray Pole | |
| 3 | Extension Arm Height-Adjustment Ring | |
| 4 | Swivel Arm Cable-Management Clip | |
| 5 | Monitor Mount |
To view manuals, videos, drivers, downloads, technical drawings, and more visit www.startech.com/support
Product Dimensions

To view manuals, videos, drivers, downloads, technical drawings, and more visit www.startech.com/support
Technical Specifications
| Type of Measurement Measurement | |
Display Size | 15 to 27 in.(381 mm to 686 mm) |
Monitor Mount Weight Capacity | Up to 17.6 lb. (8 kg) |
Laptop Tray Weight Capacity | Up to 17.6 lb. (8 kg) |
Tilt | -90° to + 85° |
Swivel | 180° |
Rotate | 360° |
VESA Monitor Mount | 75 x 75 mm100 x 100 mm |
Product Information
Package Contents

natural_image
Technical line drawing of a mechanical shaft assembly (no text or symbols)Swivel Arm
Qty: One
natural_image
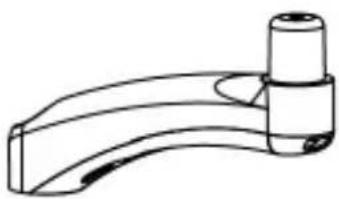
Line drawing of a curved mechanical lever or handle (no text or symbols)Extension Arm
Qty: One
natural_image
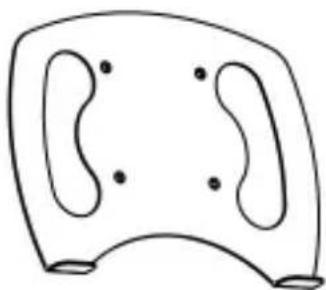
Simple line drawing of a symmetrical abstract shape with two central oval shapes and four surrounding dots (no text or symbols)Laptop Tray
Qty: One

natural_image
Technical line drawing of a mechanical arm with mounting flanges (no text or symbols)Spring Arm
Qty: One
To view manuals, videos, drivers, downloads, technical drawings, and more visit www.startech.com/support
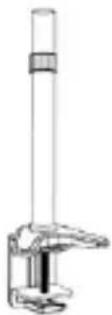 Pole and ClampQty: One Pole and ClampQty: One | 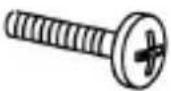 M4x12 ScrewsQty: Four M4x12 ScrewsQty: Four |
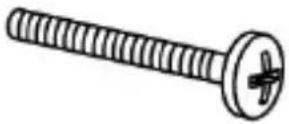 M4x30 ScrewsQty: Four M4x30 ScrewsQty: Four | 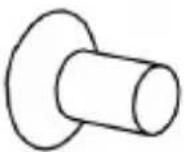 M5x12 ScrewsQty: Four M5x12 ScrewsQty: Four |
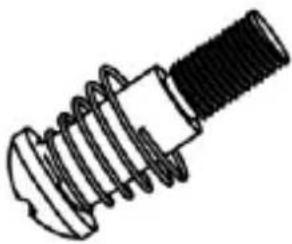 M6x25 ScrewQty: One M6x25 ScrewQty: One | 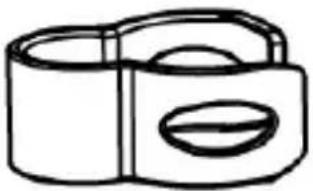 Cable-Management ClipQty: One Cable-Management ClipQty: One |
To view manuals, videos, drivers, downloads, technical drawings, and more visit www.startech.com/support
| [YYYY]M3 Hex Key M5 Hex Key |  |
 M5 NutsQty: Four M5 NutsQty: Four |  Height- Adjustment RingQty: One Height- Adjustment RingQty: One |
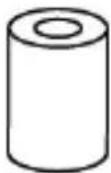 SpacersQty: Four SpacersQty: Four |  Cable-Management ClipQty: Two Cable-Management ClipQty: Two |
To view manuals, videos, drivers, downloads, technical drawings, and more visit www.startech.com/support
natural_image
Solid gray rectangle with black border (no text or symbols)Rubber Pads
Qty: Four
natural_image
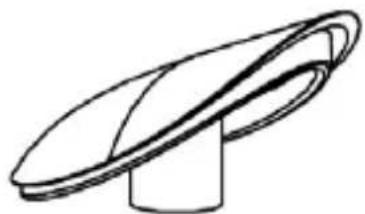
Simple line drawing of a curved, layered object resembling a hat or cap (no text or symbols)Plastic Cap
Qty: One
Installation Requirements
• Phillips Head Screwdriver
- Adjustable Wrench
Assembly
Warning: Make sure to assemble the ARMUNONB according to the following instructions. Failure to do so may result in personal injury or property damage.
If you exceed the weight capacity of the monitor mount or the laptop tray, the ARMUNONB may not work as expected and you could experience personal injury or property damage.
Never operate the ARMUNONB if parts are missing or damaged.
Attaching the Clamp to a Surface
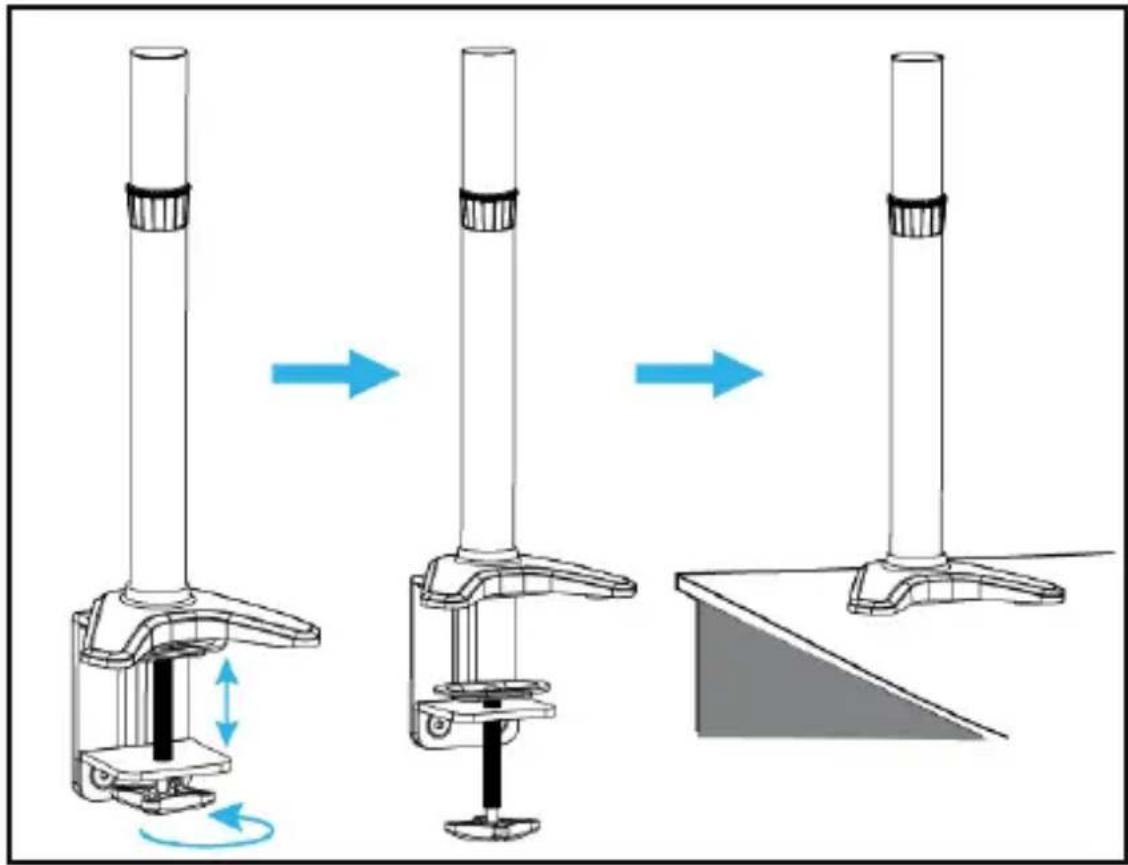
Note: The desk clamp can be attached to a desk or table up to a thickness of 9 cm 90 mm).
To view manuals, videos, drivers, downloads, technical drawings, and more visit www.startech.com/support
- Turn the clamping knob on the pole and clamp (5) counterclockwise until the clamp can slide over the edge of the desk or table.
- Slide the pole and clamp all the way onto the desk or table.
- To tighten the clamp, turn the clamping knob clockwise until the clamp is securely fastened to the desk.
natural_image
Diagram showing three stages of a mechanical device with blue arrows indicating motion, no text or symbols present.Attaching the Clamp to a Surface
Attaching the Laptop Tray to the Swivel Arm
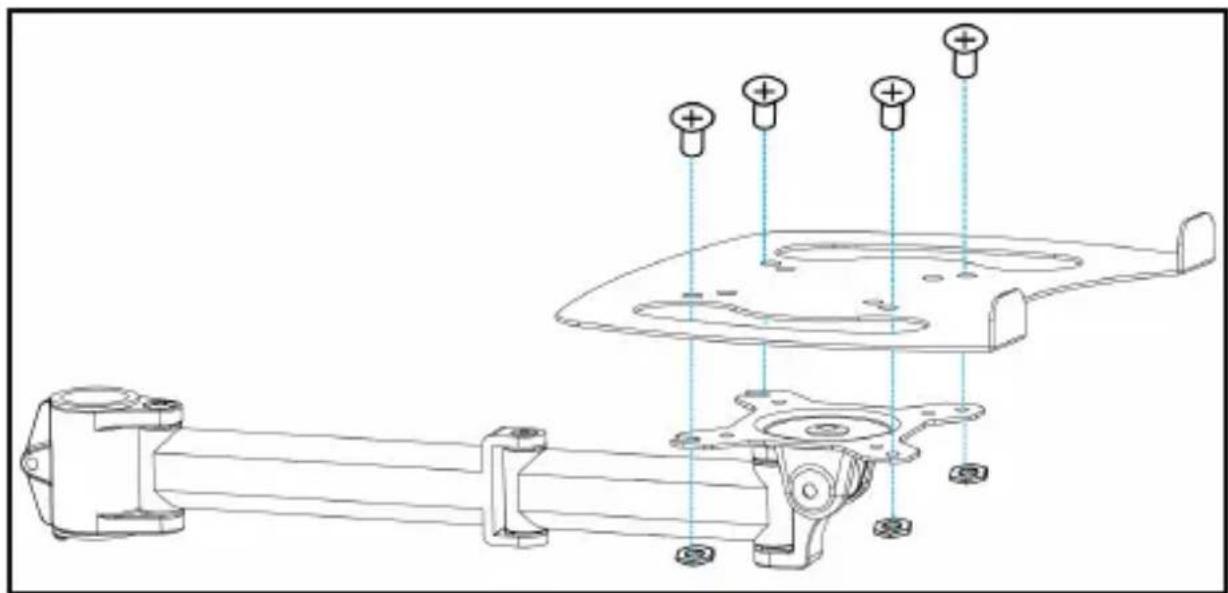
- Insert the four M5x12 screws through the laptop tray and into the four holes in the VESA mount on the swivel arm.
To view manuals, videos, drivers, downloads, technical drawings, and more visit www.startech.com/support
- Thread the four M5 nuts onto the M5x12 screws.
natural_image
Technical line drawing of a mechanical assembly with mounting holes and structural components (no text or symbols)Thread the Four M5 Nuts onto the M5x12 Screws
- Use a wrench to tighten the M5 nuts.
- Remove the backing from the four rubber pads and affix them to the laptop tray where appropriate to prevent the laptop from slipping.

natural_image
Technical line drawing of a mechanical assembly with no visible text or symbolsFixing the Rubber Pads on the Laptop Tray
To view manuals, videos, drivers, downloads, technical drawings, and more visit www.startech.com/support
Attaching the Swivel Arm to the Pole and Clamp
- Turn the adjustable collar on the height-adjustment ring counterclockwise and pull the height-adjustment ring off of the pole and clamp.

natural_image
Simple line drawing of a vertical pole with an upward arrow, mounted on a flat surface (no text or symbols)Pulling the Height-Adjustment Ring off of the Pole
- Slide the swivel arm down the pole and clamp.
To view manuals, videos, drivers, downloads, technical drawings, and more visit www.startech.com/support

natural_image
Diagram showing a mechanical assembly with a downward arrow indicating force or displacement (no text or symbols present)Sliding the Swivel Arm
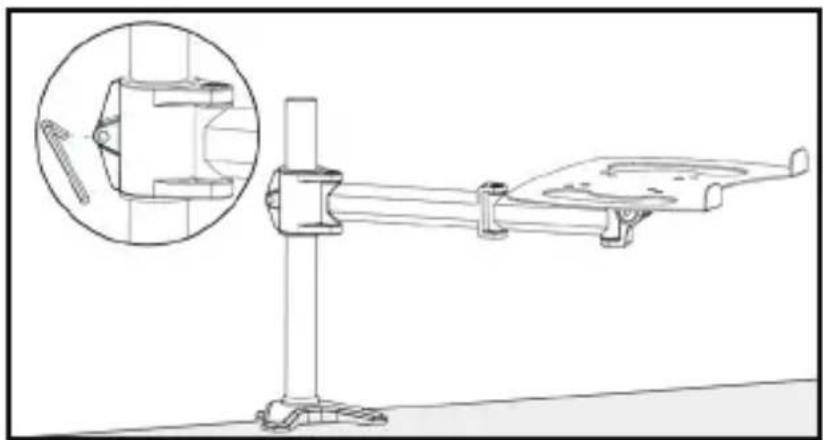
- Once the swivel arm is at the desired height, use the M5 hex key to turn the screw in the swivel arm clockwise to tighten it in place.
natural_image
Technical line drawing of a mechanical assembly with a magnified inset showing a component detail (no text or symbols)Use the M5 Hex Key to Tighten the Screw
4.
To view manuals, videos, drivers, downloads, technical drawings, and more visit www.startech.com/support
Attaching the Extension Arm
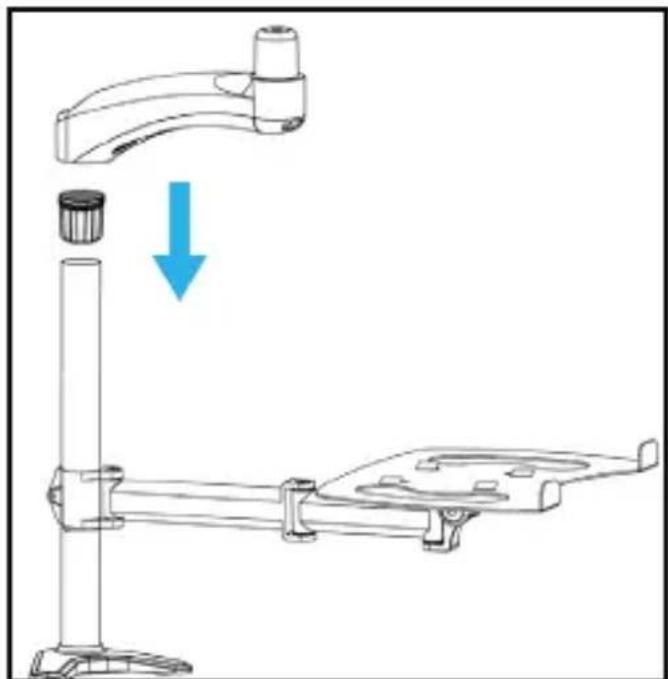
- Slide the height-adjustment ring down the pole and clamp until it's at the height that you want the extension arm to sit at.
- Turn the adjustable collar on the height-adjustment ring clockwise to tighten it in place.
- Slide the extension arm down the pole until it's sitting on the height-adjustment ring.
natural_image
Technical diagram showing a mechanical assembly with a downward arrow indicating a process or transformation (no text or symbols present)Sliding the Extension Down the Pole
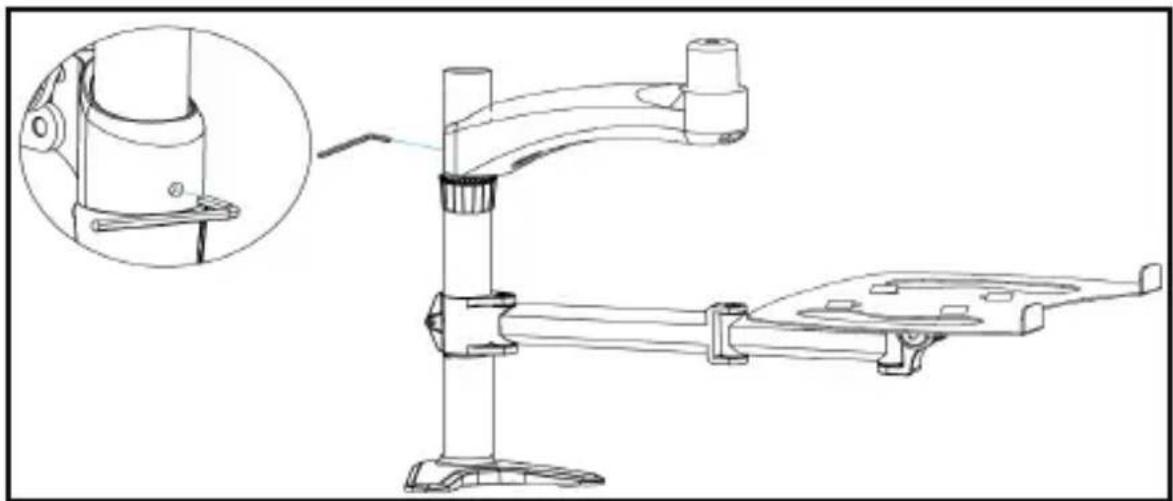
- To adjust the swivel tension of the extension arm, use the M3 hex key to turn the screws in the extension arm clockwise or counterclockwise.
To view manuals, videos, drivers, downloads, technical drawings, and more visit www.startech.com/support
natural_image
Technical line drawing of a mechanical assembly with an inset showing a close-up of a component (no text or symbols present)Adjusting the Swivel Tension
Attach a display to the spring arm
Caution! To prevent scratching, you should handle the surface of the display with care when you attach it to the spring arm.
If you exceed the weight capacity of the mount, the ARMU-NONB may not work as expected and you could experience personal injury or property damage.
- If the VESA mount sits flush against the installation surface on the display, insert the four M4x12 screws through the VESA mount on the spring arm and into the mounting holes on the back of the display.
- Use a Phillips screwdriver to tighten the screws.
To view manuals, videos, drivers, downloads, technical drawings, and more visit www.startech.com/support

natural_image
Technical line drawing of a robotic arm interacting with a mechanical component (no text or symbols)Mounting the VESA Mount Flush Against a Monitor
-
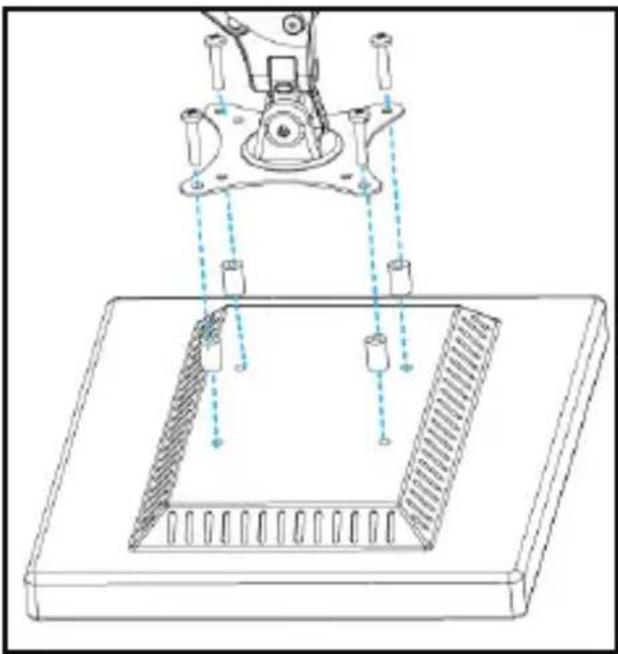
If the VESA mount doesn't sit flush against the installation surface on the display, you need to use the provided spacers. Insert the four M4x30 screws through the VESA mount on the spring arm, into the four spacers, and into the mounting holes on the back of the display.
-
Use a Phillips screwdriver to tighten the screws.
To view manuals, videos, drivers, downloads, technical drawings, and more visit www.startech.com/support
natural_image
Technical line drawing of a mechanical assembly with no visible text or symbolsMounting the VESA Mount Using Spacers
Attaching the Spring Arm to the Extension Arm
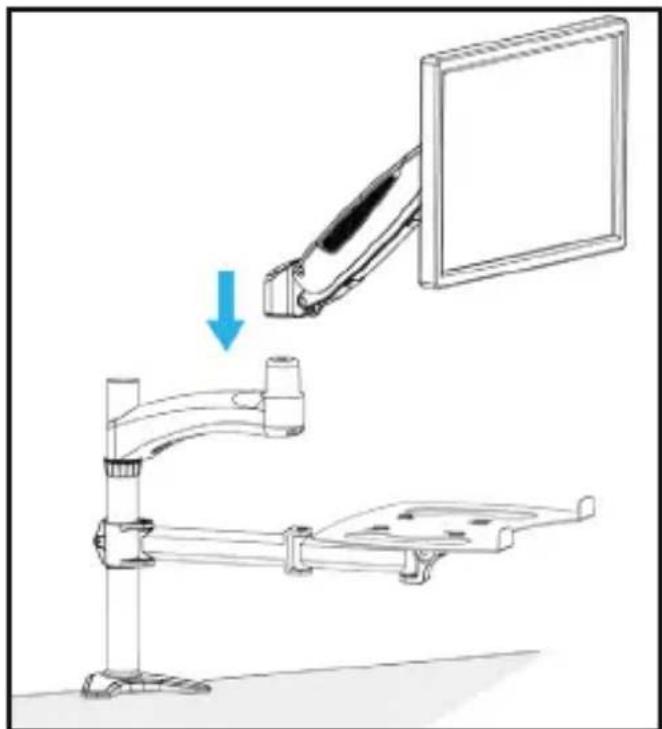
- Carefully lift the spring arm with the display attached and place it onto the extension arm.
To view manuals, videos, drivers, downloads, technical drawings, and more visit www.startech.com/support
natural_image
Diagram showing a mechanical assembly with a monitor mounted on a stand and a curved arm, no text or symbols present.Placing the Monitor on the Extension Arm
- Insert the M6x25 screw through the extension arm, the spring arm, and into the plastic cap.

natural_image
Technical line drawing of a mechanical assembly with a tool and pivot point (no text or symbols)Attaching the Plastic Cap
- Use a screwdriver to tighten the M6x25 screw.
To view manuals, videos, drivers, downloads, technical drawings, and more visit www.startech.com/support
Adjust the height tension of the spring arm
-
You can adjust the height tension of the spring arm to make sure that the display stays in place, regardless of the weight of the display.
-
If the display doesn't stay in place or the movement is stiff, do one of the following:
• To increase the tension, use the M5 Allen key to turn the screw in the spring arm clockwise.
• To decrease the tension, use the M5 Allen key to turn the screw in the spring arm counterclockwise.
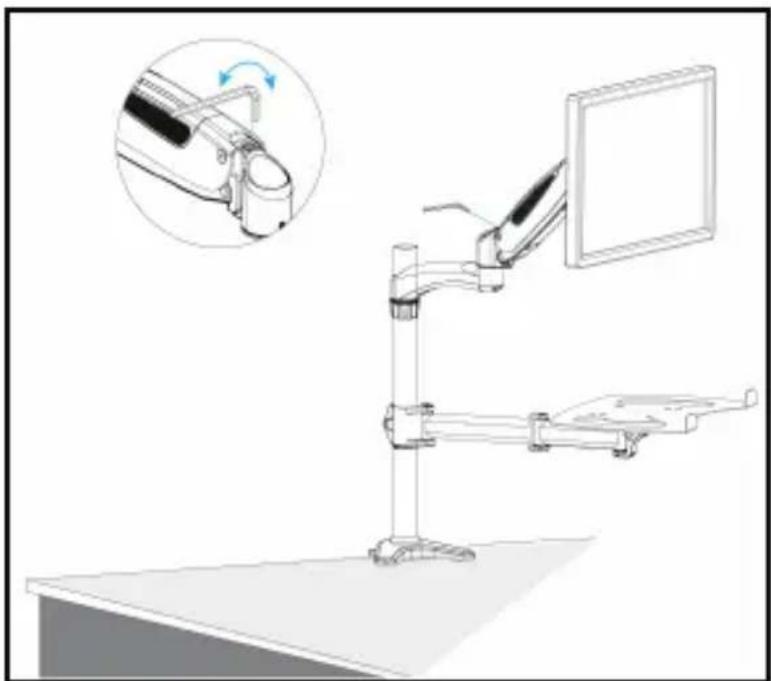
natural_image
Diagram of a desktop computer setup with a monitor and arm, showing a scroll wheel mechanism (no text or symbols present)Adjusting the Height Tension
To view manuals, videos, drivers, downloads, technical drawings, and more visit www.startech.com/support
Adjusting the Swivel Tension of the Display Mount
- To adjust the swivel tension of the display mount, use the M5 Allen key (12) to turn the screw on the top of the VESA mount clockwise or counterclockwise.

natural_image
Mechanical assembly diagram showing a lever mechanism with rotating arrows (no text or symbols)Adjusting the Swivel Tension
Routing the Cables
Warning: Make sure that you leave enough slack at the arm joints so that the arms can be fully extended.
Make sure that the cables that you're routing are unplugged before you complete the following steps.
- Pull out the cable rungs on the spring arm and thread the display cable through the rungs.
- Thread the display cable through the cavity in the underside of the extension arm.
- Hold the display cable against the pole and clamp while you slide the cable-management clip (pole) over the cable and onto the pole.
To view manuals, videos, drivers, downloads, technical drawings, and more visit www.startech.com/support
-
Snap the cable-management clip (laptop arm) onto the swivel arm.
-
Run the laptop power cable along the swivel arm and through the hook in the cable-management clip (laptop arm).
-
To adjust the placement of cable-management clip (laptop arm) on the swivel arm, slide the cable-management clip left or right.

natural_image
Diagram of a desktop computer setup with monitor, tower, and cable, showing wiring connections (no text or symbols)Routing the Cables
To view manuals, videos, drivers, downloads, technical drawings, and more visit www.startech.com/support
Warranty Information
This product is backed by a five-year warranty.
For further information on product warranty terms and conditions, please refer to www.startech.com/warranty.
Limitation of Liability
In no event shall the liability of StarTech.com Ltd. and StarTech.com USA LLP (or their officers, directors, employees or agents) for any damages (whether direct or indirect, special, punitive, incidental, consequential, or otherwise), loss of profits, loss of business, or any pecuniary loss, arising out of or related to the use of the product exceed the actual price paid for the product.
Some states do not allow the exclusion or limitation of incidental or consequential damages. If such laws apply, the limitations or exclusions contained in this statement may not apply to you.
Hard-to-find made easy. At StarTech.com, that isn't a slogan. It's a promise.
StarTech.com is your one-stop source for every connectivity part you need. From the latest technology to legacy products — and all the parts that bridge the old and new — we can help you find the parts that connect your solutions.
We make it easy to locate the parts, and we quickly deliver them wherever they need to go. Just talk to one of our tech advisors or visit our website. You'll be connected to the products you need in no time.
Visit www.startech.com for complete information on all StarTech.com products and to access exclusive resources and time-saving tools.
StarTech.com is an ISO 9001 Registered manufacturer of connectivity and technology parts. StarTech.com was founded in 1985 and has operations in the United States, Canada, the United Kingdom and Taiwan servicing a worldwide market.
Reviews
Share your experiences using StarTech.com products, including product applications and setup, what you love about the products, and areas for improvement.
StarTech.com Ltd.
45 Artisans Cres.
London, Ontario
N5V 5E9
Canada
StarTech.com LLP
2500 Creekside Pkwy.
Lockbourne, Ohio
43137
U.S.A.
StarTech.com Ltd.
Unit B, Pinnacle
15 Gowerton Rd., Brackmills
Northampton
NN4 7BW
United Kingdom
FR: startech.com/fr
DE: startech.com/de
ES: startech.com/es
NL: startech.com/nl
IT: startech.com/it
JP: startech.com/jp
- Monitor Mount with Articulating Arm and Laptop Riser
- User Manual
- Use of Trademarks, Registered Trademarks, and other Protected Names and Symbols
- Safety Statements
- Safety Measures
- Mesures de sécurité
- Table of Contents
- Product Dimensions
- Technical Specifications
- Product Information
- Package Contents
- Installation Requirements
- Assembly
- Attaching the Clamp to a Surface
- Attaching the Laptop Tray to the Swivel Arm
- Attaching the Swivel Arm to the Pole and Clamp
- Attaching the Extension Arm
- Attach a display to the spring arm
- Mounting the VESA Mount Flush Against a Monitor
- Attaching the Spring Arm to the Extension Arm
- Adjust the height tension of the spring arm
- Adjusting the Swivel Tension of the Display Mount
- Routing the Cables
- Warranty Information
- Limitation of Liability
- Hard-to-find made easy. At StarTech.com, that isn't a slogan. It's a promise.
- Reviews
Brand : StarTech.com
Model : ARMUNONB
Category : Rack Mount