
Allison PCAI8524BN - Lighting Quoizel - Free user manual and instructions
Find the device manual for free Allison PCAI8524BN Quoizel in PDF.


| Product Type | Wall Sconce |
| Brand | Quoizel |
| Model | Allison PCAI8524BN |
| Finish | Brushed Nickel |
| Material | Metal and Glass |
| Light Source | Integrated LED (33W) |
| Color Temperature | 3000K (estimated) |
| Brightness | 3000 Lumens (estimated) |
| Voltage | 120V AC |
| Mounting Type | Wall Mount |
| Dimensions (H x W x D) | 8" x 12" x 6" (estimated) |
| Weight | 3 lbs (estimated) |
| Safety Rating | UL Listed |
| Warranty | Limited 1 Year (estimated) |
| Installation | Hardwired, professional installation recommended |
| Care Instructions | Wipe with a soft, dry cloth |
| Package Contents | Fixture body, glass, bracket, inner backplate, parts bag |
Frequently Asked Questions - Allison PCAI8524BN Quoizel
User questions about Allison PCAI8524BN Quoizel
0 question about this device. Answer the ones you know or ask your own.
Ask a new question about this device
Download the instructions for your Lighting in PDF format for free! Find your manual Allison PCAI8524BN - Quoizel and take your electronic device back in hand. On this page are published all the documents necessary for the use of your device. Allison PCAI8524BN by Quoizel.
USER MANUAL Allison PCAI8524BN Quoizel
LightSourceTools Required
33W LED
⚠️ Warnings and Cautions
Turn off the electricity at the circuit breaker before installation. Consult a licensed electrician if in doubt about installation.
Turn off power to the fixture and allow the bulbs to cool before replacing.
Package Contents
Preparation: Identify and inspect all parts before beginning the installation.
Missing or damaged parts? Contact your original place of purchase.
PARTS BAG
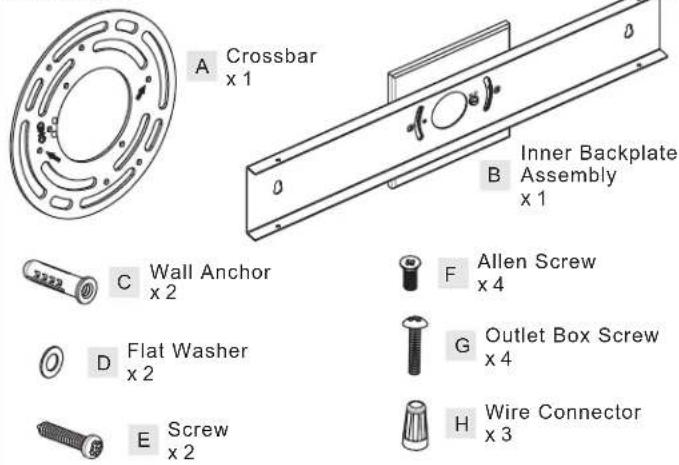

Table of Contents
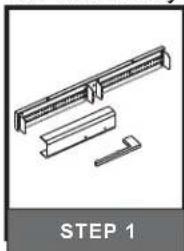
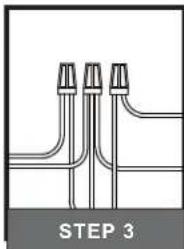
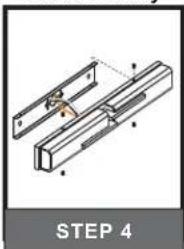
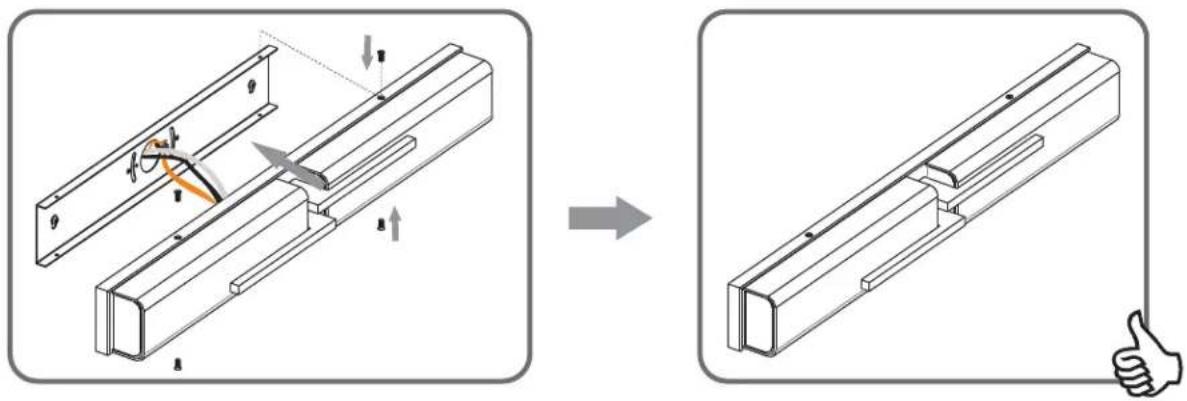
Bracket, Glass Inner Backplate & Fixture Body Wiring Assembly

Fixture Body
STEP 1


Remove screws from Bracket Install Glass to Bracket


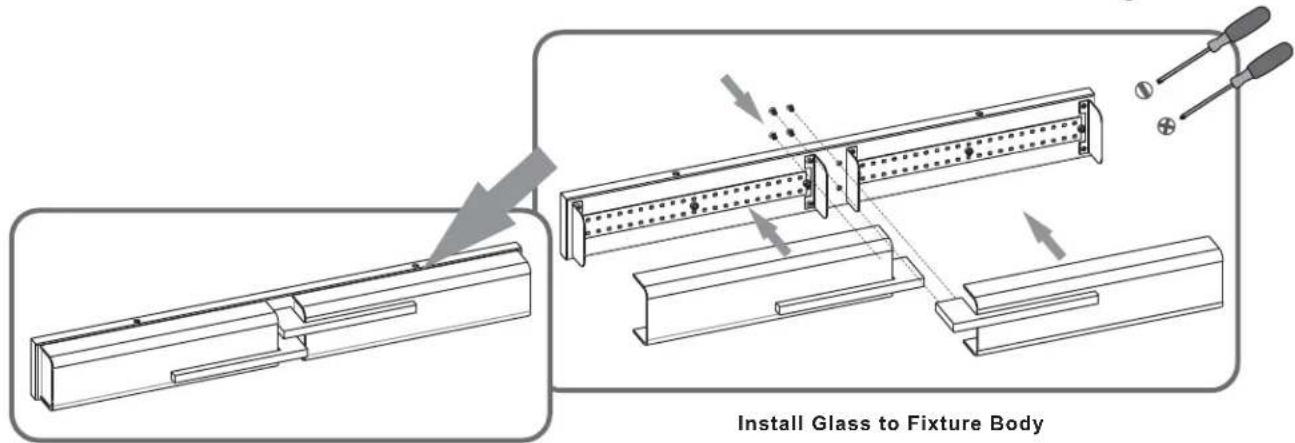

STEP 2
OPTION 1 With Outlet Box


Install Crossbar Install Inner Backplate

Assembly to Crossbar

STEP 2 (Continued)
OPTION 2 Without Outlet Box
1
Remove Square Backplate
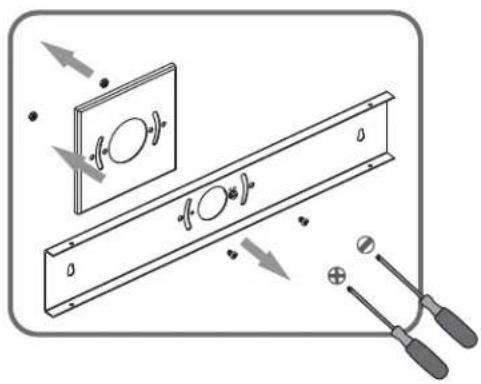
2
Mark Anchor Holes
Location on the Wall
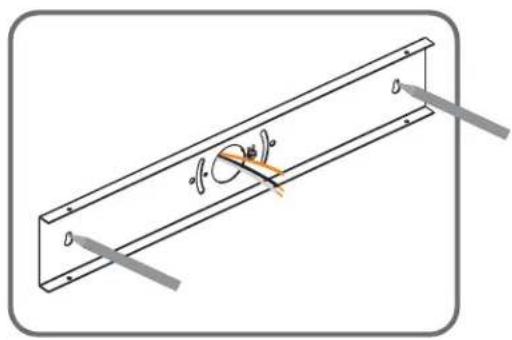
3
Drill Holes for Anchors from marks
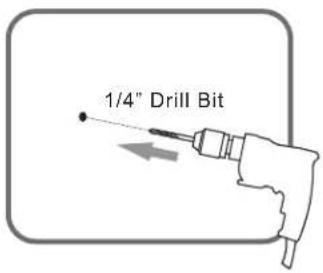


Install Wall Anchors
5
4
STEP 3

STEP 4
Brand : Quoizel
Model : Allison PCAI8524BN
Category : Lighting