
Super car - Toy Chipolino - Free user manual and instructions
Find the device manual for free Super car Chipolino in PDF.

| Product Type | Ride-on toy car |
| Brand | Chipolino |
| Model | Super Car |
| Age Range | 1.5 years and up |
| Maximum User Weight | 20 kg |
| Dimensions (approximate) | 70 x 35 x 45 cm |
| Weight (approximate) | 4 kg |
| Power Supply | 2 x AA 1.5V batteries (not included) for steering wheel melodies |
| Main Functions | Foot-propelled, parent push handle, steering wheel with melodies, safety bumper, footrest |
| Materials | Plastic, metal |
| Assembly Required | Yes, by an adult only; requires a screwdriver (not included) |
| Care and Cleaning | Wipe with a damp soft cloth and mild soap; do not submerge in water; avoid abrasive cleaners |
| Maintenance | Regularly oil moving parts; check plastic parts for cracks |
| Storage | Clean and dry place, away from moisture and heat sources; avoid direct sunlight and extreme temperatures |
| Safety Warnings | No brake; never leave child unattended; not for roads; use only on flat surfaces; child must wear shoes; not suitable for children under 1.5 years or over 20 kg |
| Spare Parts | Only original replacement parts should be used |
| Repairability | Contact retailer or authorized service center for repairs; do not modify the construction |
| Compliance | Conforms to Toy Safety Directive 2009/48/EC and applicable European standards |
Frequently Asked Questions - Super car Chipolino
User questions about Super car Chipolino
0 question about this device. Answer the ones you know or ask your own.
Ask a new question about this device
Download the instructions for your Toy in PDF format for free! Find your manual Super car - Chipolino and take your electronic device back in hand. On this page are published all the documents necessary for the use of your device. Super car by Chipolino.
USER MANUAL Super car Chipolino
INSTRUCTION MANUAL FOR TOY RIDE ON CAR MODEL "SUPER CAR"

This toy is produced in conformity with the requirements of Toy Safety Directive 2009/48/EC of the European Parliament and the Council, the regulation on essential requirements and conformity assessment of toys, the regulation on conformity marking and the applicable European standards.
TO GUARANTEE THE SAFE USE OF THIS PRODUCT FOLLOW THE WARNINGS, GUIDELINES AND RECOMMENDATIONS IN THIS MANUAL!
IMPORTANT! WARNINGS!
- CAUTION! NEVER LEAVE THE CHILD UNATTENDED!
• CAUTION! THIS TOY HAS NO BRAKE! - CAUTION! THIS TOY IS NOT SUITABLE FOR CHILDREN UNDER 1.5 YEARS AND WEIGHT MORE THAN 20kg. DO NOT OVERLOAD!
- CAUTION! THIS PRODUCT IS NOT A TRANSPORT MEANS!
- CAUTION! DO NOT USE ON ROAD LANES!
• CAUTION! KEEP AWAY FROM FIRE!
• AUTION! BEFORE USE, CHECK THE GOOD WORKING ORDER AND FIXING OF ALL PARTS.
- Use for a child over 1.5 years of age!
- Not to be used by two children simultaneously!
- Adult assembly only!
- The child must wear shoes at all times when using the toy! It is advisable to use helmet and protectors.
- Use only during the day and in places with good lighting.
- Do not let children touch the wheels or stand close to them while the ride on car is moving!
• If there are stickers going off, you must stick them back or remove them to avoid children swallowing them!
- Do not use the product if you find any missing or damaged parts!
- Do not use spare parts or other components, which are not supplied by the producer! The producer revokes all responsibility in case parts different from the original ones have been used.
- Do not make changes or modifications to the construction! If necessary, contact the retailer or an authorized service center for advice and repair.
- Use the product only for its purpose!
- Do not allow presence of children under 1,5 years before assembly of the product is complete, to avoid access to small or loose parts!
- Do not tie strings or accessories to the product in order to avoid the risk of suffocation.
- Use only on even playgrounds and at a safe distance from streets or road lanes for vehicles!
- Do not use the product near stairs, escalators, protrusions, swimming pools etc.!
- Keep nylon packages away from children to avoid risk of suffocation!
IMPORTANT! WARNINGS AND GUIDELINES FOR BATTERY USE
- Do not allow children to access or play with the batteries!
- Use only batteries of the designated type and power.
- Do not use batteries of different types.
- Do not mix new with used batteries.
- Follow the designated polarity in the battery compartment.
- Remove damaged or worn out batteries.
- Remove the batteries when the product will not be used for long time.
- Do not throw the batteries in open fire. Do not take the batteries to pieces.
CAUTION! Waste from depleted or unusable batteries must be disposed of separately. It is forbidden to throw them out in containers for household waste. Dispose of the batteries only at the specified places.
MAIN FEATURES OF THE PRODUCT
• The toy is intended for a child over 1.5 years of age and weighing up to 20 kg!
- When the child is sitting in it, the ride on car is propelled by the child's feet.
- Safety bumper
- Foot rest
• Stirring wheel with melodies
- Parent push handle
- Batteries, 2 pcs, type AA/1,5V. Batteries are not included in the set.
MAIN PARTS
| Part name Photo Qty Part name Photo Qty | |||||
| Body 1 pc Axl |  |  | |||
| Stirring wheel 1 pc |  | Parent push handle | 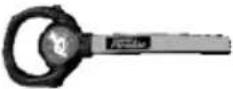 | 1 pc | |
| Front wheels and stirring wheel holder | 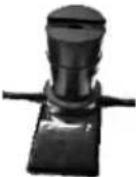 | 1 pc Canopy 1 pc | 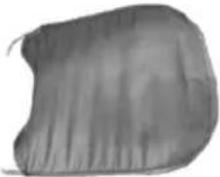 | ||
| Safety bumper, set | 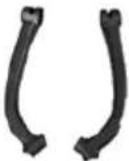 | 1 pc | Footrest | 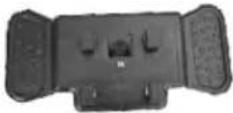 | 1 pc |
| Rear wheels holder |  | 1 pc | Fixings, Set 1 |  | |
| Backrest | 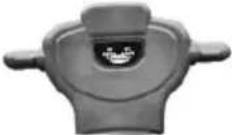 | 1 pc | Fixings, Set 2 | 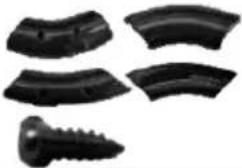 | |
| Wheel |  | 4 pcs | Wheel cover |  | 4 pcs |
Please check that the described parts are available.
ASSEMBLY UNSTRUCTIONS AND FUNCTIONS
WARNING! Follow exactly the instructions and sequences for assembly and using the product from the below figures.
WARNING! Check the security of fixing after performing any operation!
Required tools for performing some operations: screwdriver (not included).
The toy assembly operations and functions are described below from 1 to 9.
Use the descriptions below along with the illustration bearing the same number.
ASSEMBLY
1. ASSEMBLY OF FRONT WHEELS
1-1 – Place the front wheel on the front axle and insert the axle in the holder opening.
1-2 – Place the other wheel on the front axle.
1-3 – Place washer ∅6 on the axle.
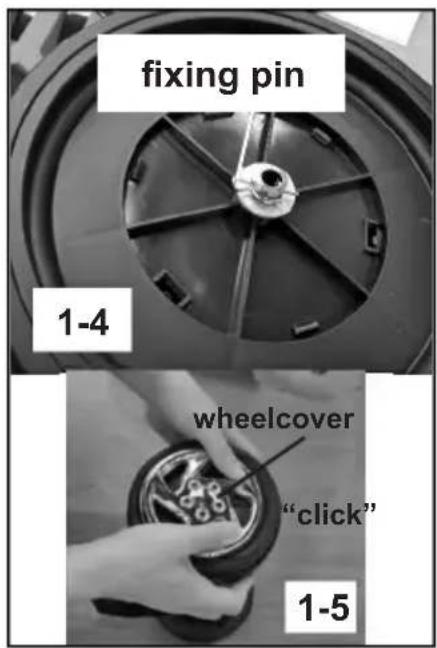
1-4 – Insert the fixing pin in the axle opening.
1-5 – Attach the wheel cover with pressure.
IMPORTANT! When attaching the wheel cover, its pins must match the openings in the wheel. Install the other front wheel following the same actions.
2. ASSEMBLY OF REAR WHEELS
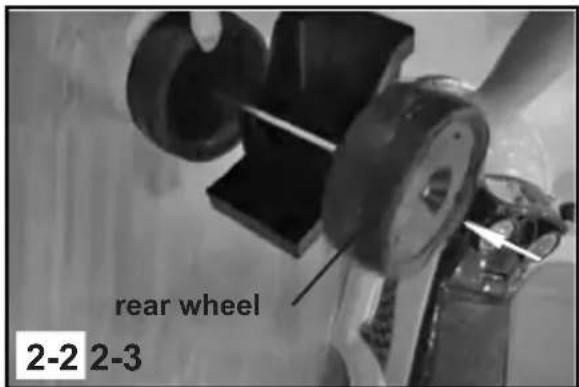
2-1 – Place the rear wheel on the rear axle and insert the axle in the holder opening.
2-2 – Place the other wheel on the rear axle.
2-3 – Place washer ∅6 on the axle.
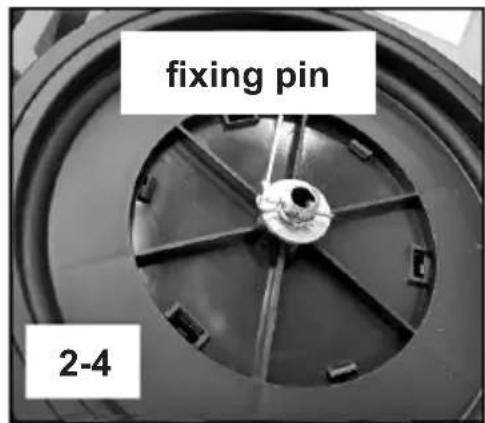
2-4 – Insert the fixing pin in the axle opening.
2-5 - Attach the wheel cover with pressure.
IMPORTANT! When attaching the wheel cover, its pins must match the openings in the wheel. Install the other front wheel following the same actions.
3. INSTALLING THE BACKREST
Insert the backrest to the body and press until you hear a click.
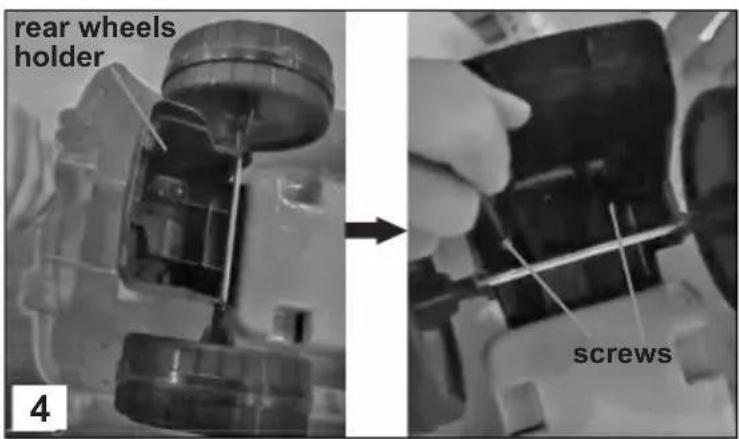
4. INSTALLING THE REAR WHEELS HOLDER
Place the holder on the down part of the body as shown. Fix it with screws.
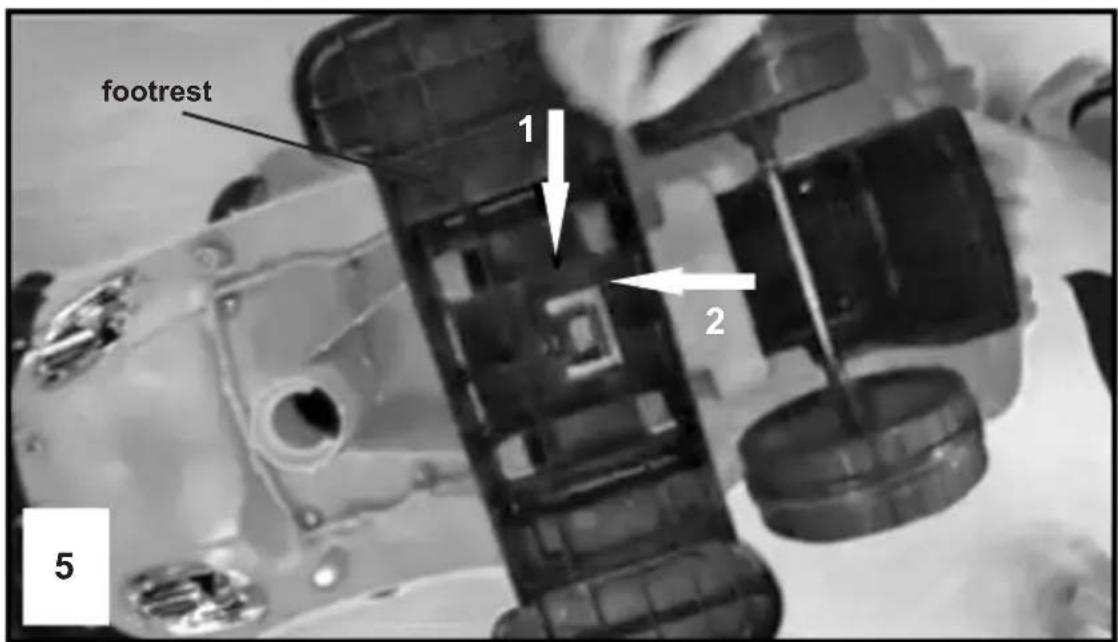
5. INSTALLING THE FOOTREST
Place the footrest on the bottom of the body (1) and push it in the direction shown (2), in order to fix it.
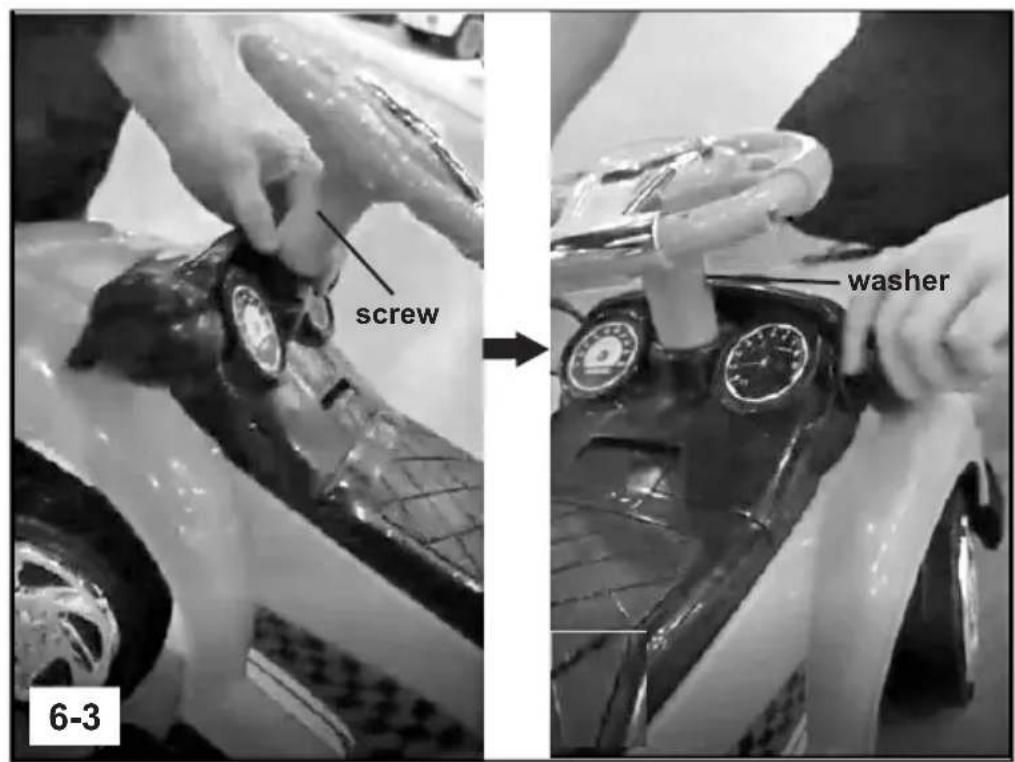
6. INSTALLING THE FRONT WHEELS AND STIRRING WHEEL HOLDER
6-1 - Insert the holder in the body opening, as shown in the picture.
6-2 - Place the stirring wheel on the holder tube.
6-3 - Fix it with screw M5x40 and washer M5.
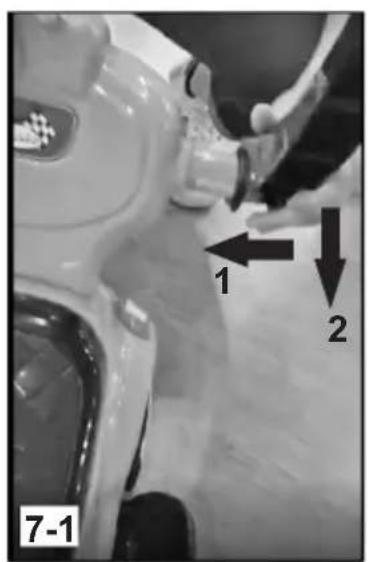
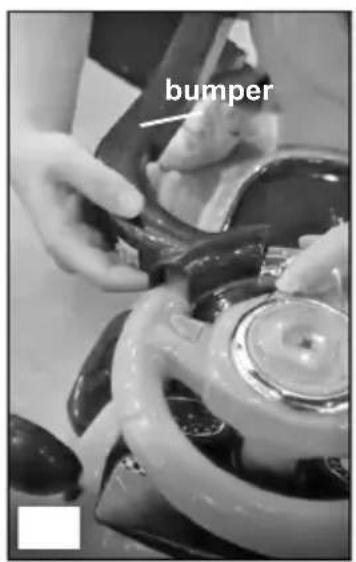
7. INSTALLING THE SAFETY BUMPER
7-1 – Place on of the bumper arms on the seat (1) and twist it to the stirring wheel.
7-2 – Pull the button and press the bumper against the stirring wheel. Release the button in order to fix it.
7-3 – Install other arm of the bumper the same way.
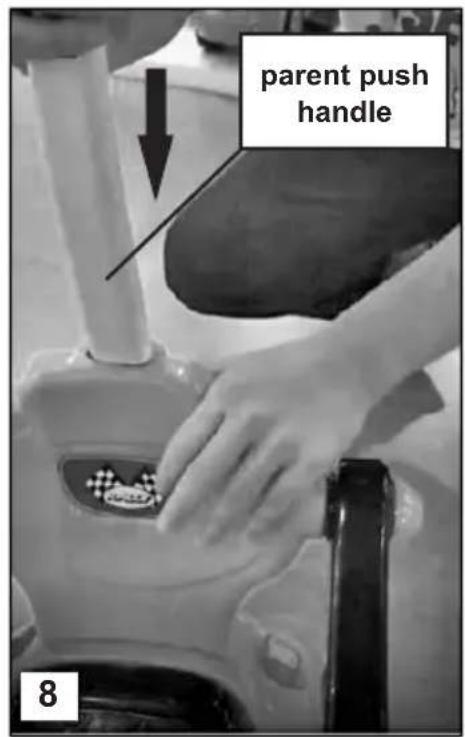
8. INSTALLING THE PARENT PUSH HANDLE
Insert the handle in the backrest opening and press firmly.
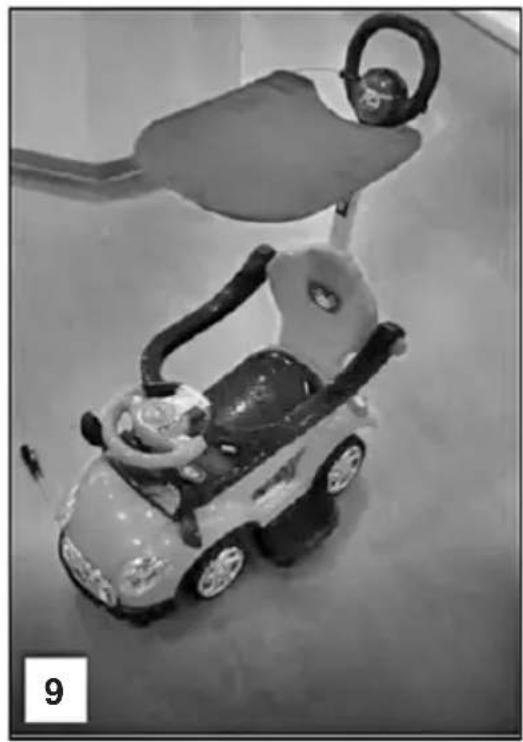
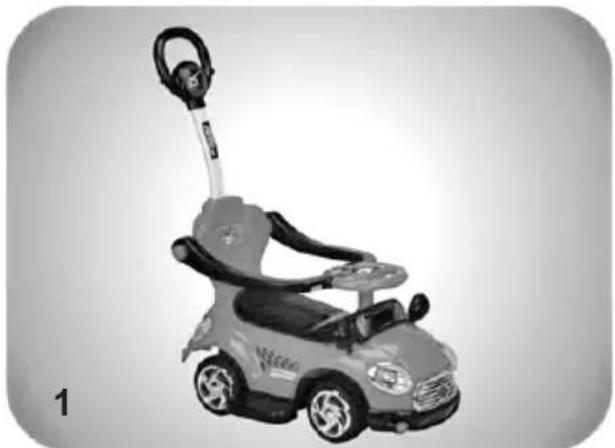
9. ASSEMBLED TOY.


natural_image
Close-up of a hand holding a black mechanical component, labeled 'front wheel' (no other text or symbols visible)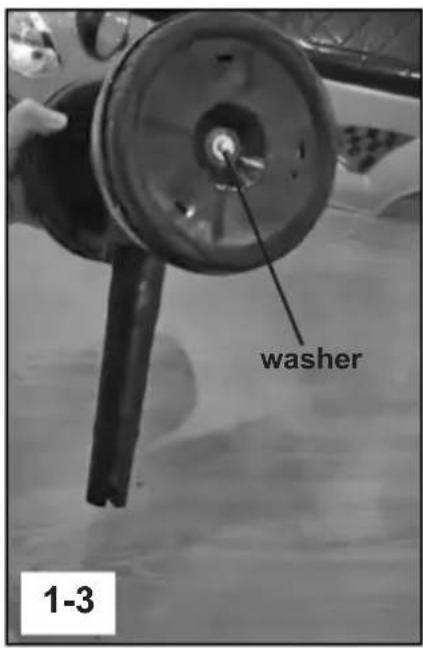


natural_image
Black-and-white photo of a toy car with a large handle and seatbelt, no visible text or symbolsFUNCTIONS
• STIRRING WHEEL IWHT MELODIES

Press one of the buttons on the stirring wheel to play melodies and sounds.
To use this function you must place 2 pcs batteries of type AA/1,5V in the batteries compartment:
- Unscrew the battery compartment cover by using a screwdriver and remove it.
Note: The battery compartment is located under the stirring wheel.
- Place 2 pcs batteries type AA/1,5V in the batteries compartment, following the batteries polarity.
- Press one of the buttons to check if it is working.
- Put the cover back and tighten it with a screwdriver.
- PARENT PUSH HANDLE
natural_image
Model of a toy car with a handheld device attached, shown in grayscale (no text or symbols visible)
natural_image
3D rendered toy car with a cartoon bear head and 'Mexico' branding, shown in grayscale (no text or symbols on the car itself)- The parent can push the ride on car by the handle and the child may step on the footrest.
- Pull out the handle and remove the footrest. The child can ride the car on his own by pushing with his legs.
WARNING! The handle should be removed when the child is capable to ride the toy unassisted.
CARE AND MAINTENANCE INSTRUCTIONS
- Regularly check the plastic parts of the ride on car for any cracks or damage.
• Regularly oil the moving parts. - Clean the toy by using a damp soft towel or sponge and a mild soap. Do not pour water on the toy.
- Do not clean with aggressive detergents containing abrasive particles, ammonia, bleach or spirit.
- Store the product in a clean and dry place, without moisture and at a safe distance from heat sources! Do not subject to direct environmental effect – sun, rain, moisture or harsh temperature changes!
- Do not use the product on muddy, sandy or gravel covered terrains, which can damage the moving parts.
Used materials: plastic, metal
ROCSC023xxx/K401-3
- INSTRUCTION MANUAL FOR TOY RIDE ON CAR MODEL "SUPER CAR"
- TO GUARANTEE THE SAFE USE OF THIS PRODUCT FOLLOW THE WARNINGS, GUIDELINES AND RECOMMENDATIONS IN THIS MANUAL!
- IMPORTANT! WARNINGS!
- IMPORTANT! WARNINGS AND GUIDELINES FOR BATTERY USE
- MAIN FEATURES OF THE PRODUCT
- ASSEMBLY UNSTRUCTIONS AND FUNCTIONS
- ASSEMBLY
- ASSEMBLY OF FRONT WHEELS
- ASSEMBLY OF REAR WHEELS
- INSTALLING THE BACKREST
- INSTALLING THE REAR WHEELS HOLDER
- INSTALLING THE FOOTREST
- INSTALLING THE FRONT WHEELS AND STIRRING WHEEL HOLDER
- INSTALLING THE SAFETY BUMPER
- INSTALLING THE PARENT PUSH HANDLE
- ASSEMBLED TOY.
- FUNCTIONS
- - PARENT PUSH HANDLE
- CARE AND MAINTENANCE INSTRUCTIONS
Brand : Chipolino
Model : Super car
Category : Toy