
WB-4780 - Tilting Wall Mount ORION - Free user manual and instructions
Find the device manual for free WB-4780 ORION in PDF.


| Product Type | Tilting Wall Mount |
| Brand | ORION |
| Model | WB-4780 |
| Color | Black |
| Material | Steel |
| Weight Capacity | Up to 60 lbs |
| VESA Compatibility | 100x100 to 600x400 mm |
| Tilt Range | -5° to +15° |
| Installation Type | Wall mount on wood stud, solid brick, or concrete block |
| Included Hardware | Wall plate, left and right adapter brackets, M5/M6/M8 screws, washers, spacers |
| Number of Screws | 20+ (various sizes) |
| Indoor Use Only | Yes |
| Profile | Low profile with tilt capability |
| Tilt Adjustment | Yes, via bottom bolts |
| Safety Warning | Do not exceed maximum weight capacity; serious injury may occur |
| Compatible Display Sizes | 32" to 65" (typical) |
| Finish | Powder coated |
Frequently Asked Questions - WB-4780 ORION
User questions about WB-4780 ORION
0 question about this device. Answer the ones you know or ask your own.
Ask a new question about this device
Download the instructions for your Tilting Wall Mount in PDF format for free! Find your manual WB-4780 - ORION and take your electronic device back in hand. On this page are published all the documents necessary for the use of your device. WB-4780 by ORION.
USER MANUAL WB-4780 ORION
3. Hang Display onto the Wall Plate
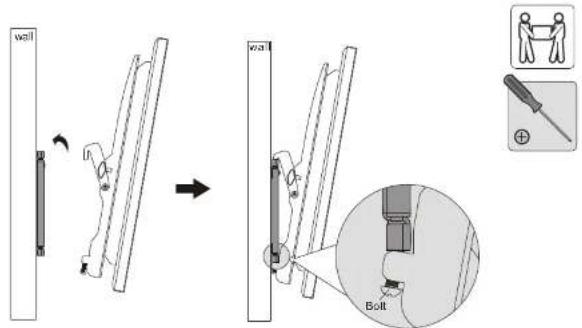
Tighten bottom bolts to secure display brackets to the wall plate.
- Adjustment


Premium Macal Inc
7200 Bolsa Ave., Wastminster, CA 92563 Phone: 714-788-8303
INSTALLATION INSTRUCTIONS
Tilting Wall Mount
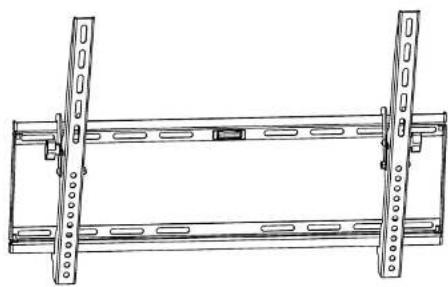

CAUTION: DO NOT EXCEED MAXIMUM LISTED WEIGHT CAPACITY. SERIOUS INJURY OR PROPERTY DAMAGE MAY OCCUR!
NOTE: Read the entire instruction manual before you start installation and assembly.

WARNING
- Do not begin the installation until you have read and understood the instructions and warnings contained in this installation sheet. If you have any question regarding any of the instruction or warning, please contact your local distributor.
- This mounting bracket was designed to be installed and utilized ONLY as specified in this manual. Improper installation of this product may cause damage or serious injury.
- This product should only be installed by someone of good mechanical ability, with basic building experience and fully understanding of this manual.
- Make sure that the supporting surface will safely support the combined load of the equipment and all attached hardware and components.
- If mounting to wood wall studs, make sure that mounting screws are anchored into the center of the studs. The use of a stud finder is highly recommended.
- Always use assistant or mechanical lifting equipment to safely lift and position equipment.
- Tighten screws firmly, but do not over tighten. Over tightening can damage the items, greatly reducing their holding power.
- This product is intended for indoor use only. Using this product outdoors could lead to product failure and personal injury.
Component Checklist
IMPORTANT: Ensure that you have received all parts according to the component checklist prior to installing. If any parts are missing or faulty, telephone your local distributor for a replacement.
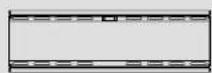
wall plate (x1) A
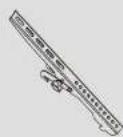
left (x1)adapter bracket B
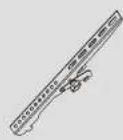
right (x1)adapter bracket C
Package M

M5x14 (x4)

M6x14 (x4) M-B

M8×20 (×4)
M-C
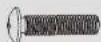
M6×30 (×4)
M-D

M8x30 (x4)
M-E

washer (x4)
M-F

small spacer (x8)
M-G

big spacer (x4)
M-H
Package W


1a. Mount on Wood Stud Wall
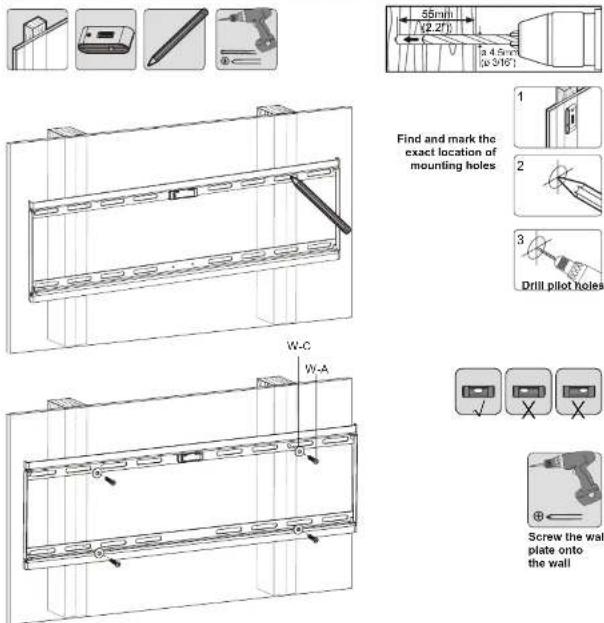
Find and mark the exact location of mounting holes
Screw the wall plate onto the wall

WARNING
A. M. B. C. D. E. F. G. H. I. J. K. L. M. N. O. P. Q. R. S. T. U. V. W. X. Y. Z. A. B. C. D. E. F. G. H. I. J. K. L. M. N. O. P. Q. R. S. T. U. V. W. X. Y. Z. A. B. C. D. E. F. G. H. I. J. K. L. M. N. O. P. Q. R. S. T. U. V. W. X. I. J. K. L. M. N. O. P. Q. R. S. T. U. V. W. X. I. J. K. L. M. N. O. P. Q. R. S. T. U. V. W. X. I. J. K. L. M. N. O. P. Q. R. S. T. U. V. W. X. I. j
1b. Mount on Solid Brick and Concrete Block

Mark the exact location of mounting holes
Drill pilot holes
Screw the wall plate onto the wall

WARNING
- When installing wall mounts on cinder block, verify the actual concrete thickness is at least 1-3/8" (35mm) for using the concrete anchors. Do not drill into mortar joints! Be sure to
- Install Adapter Brackets
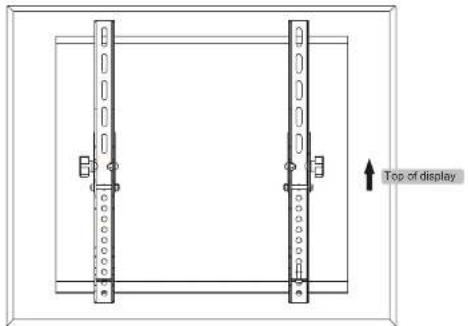
2-1 For Flat Back Screen

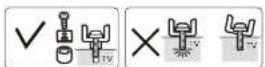
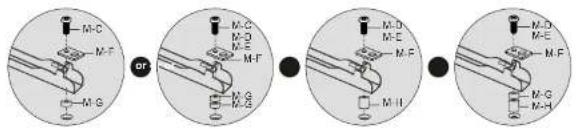
2-2 For Recessed Back Screen or to Access AV Inputs


Brand : ORION
Model : WB-4780
Category : Tilting Wall Mount