KECRN42 - Range hood ZLine - Free user manual and instructions
Find the device manual for free KECRN42 ZLine in PDF.


| Product Type | Wall Range Hood |
| Mounting Type | Wall-mounted |
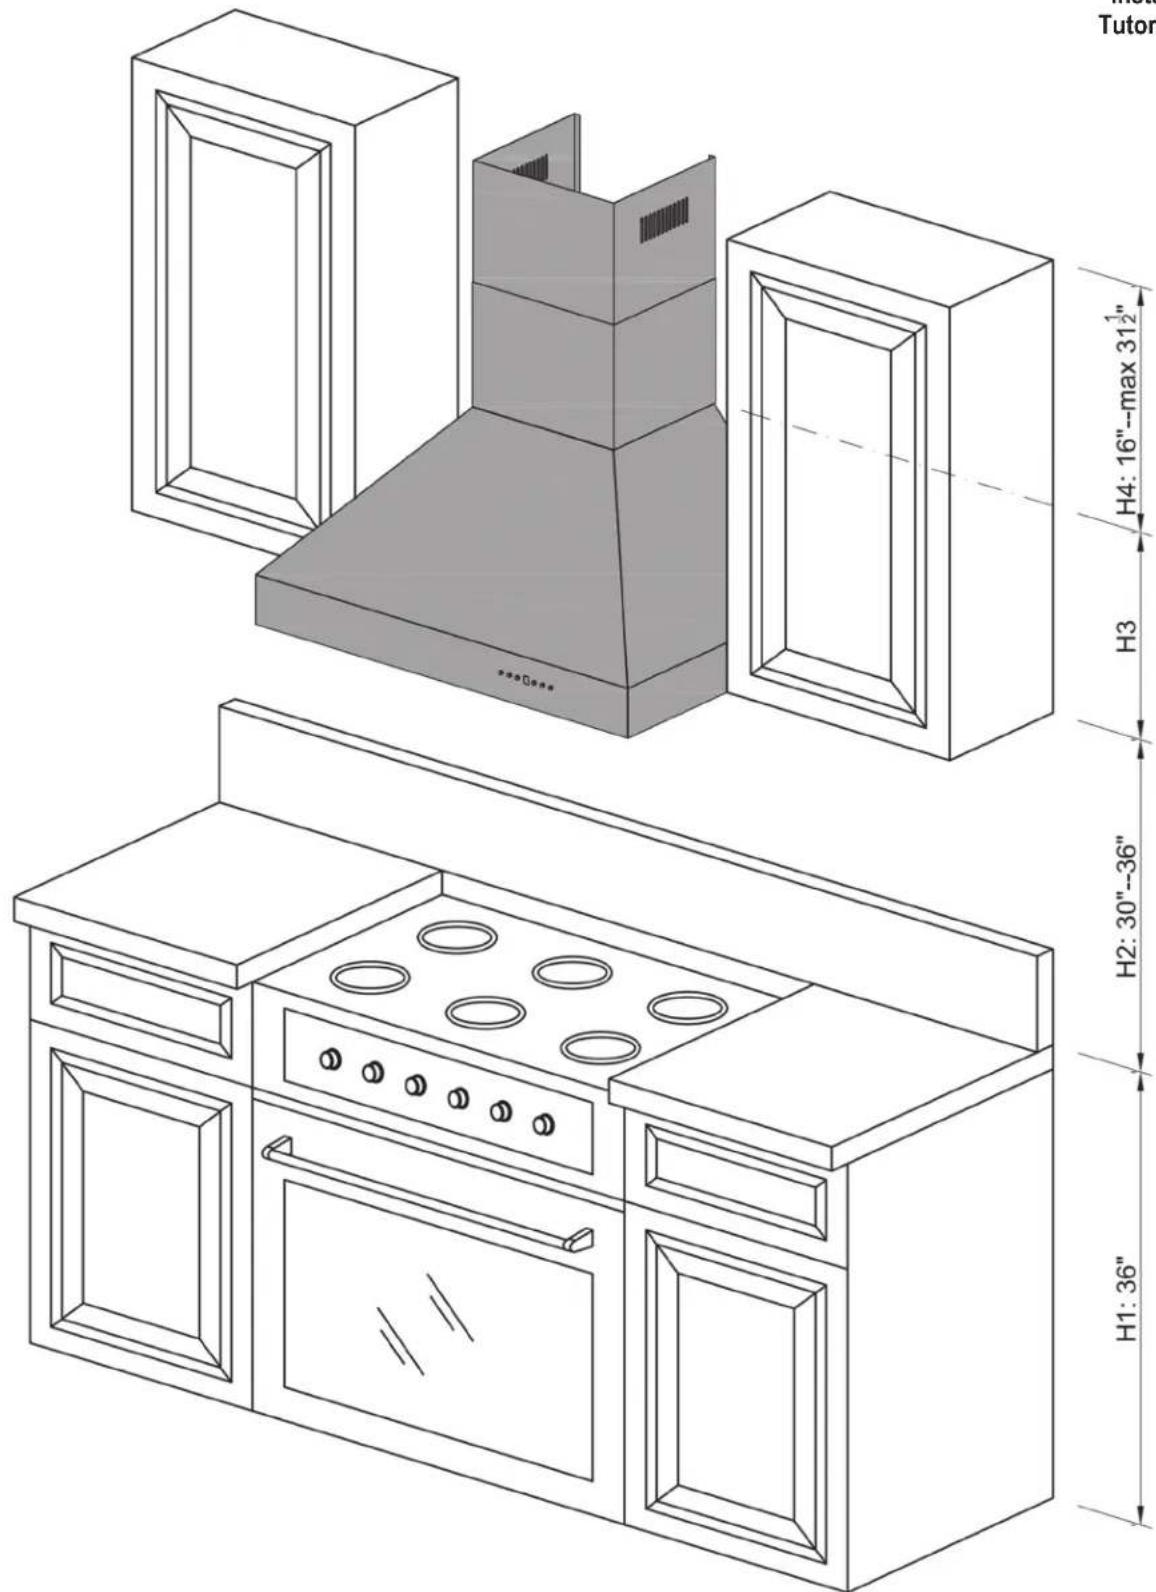
| Installation Height Above Cooktop | 30 to 36 inches (recommended); for outdoor (304 Series) minimum 36 inches above grill |
| Duct Size | 6 inches (single motor models) or 8 inches (dual motor models) round |
| Motor Configuration | Single or dual motor (model-dependent) |
| Filter Type | Baffle filters (stainless steel) |
| Grease Collection | Grease cup (plastic drip cup) included |
| Lighting | LED lights (pre-installed) |
| Chimney Cover Material | Stainless steel (adjustable) |
| Electrical Supply | 120 V, 20 A circuit; grounded three-prong plug (can be direct wired or plugged in) |
| Ducting Type | Flexible duct included; rigid duct recommended |
| Included Parts | Main hood with lights and controls, adjustable stainless chimney cover, transition piece, baffle filters, flexible duct, screws/anchors, top mounting bracket, grease cup |
| Backdraft Damper | Included with single motor models (6" duct); not included with dual motor models (8" duct) |
| Control Type | Button bank (pre-installed) |
| Usage | Indoor (standard) or outdoor (304 Series models) |
Frequently Asked Questions - KECRN42 ZLine
User questions about KECRN42 ZLine
0 question about this device. Answer the ones you know or ask your own.
Ask a new question about this device
Download the instructions for your Range hood in PDF format for free! Find your manual KECRN42 - ZLine and take your electronic device back in hand. On this page are published all the documents necessary for the use of your device. KECRN42 by ZLine.
USER MANUAL KECRN42 ZLine
Wall Range Hood Installation

Installation Tutorial Video
Wall Range Hood Installation
★ Please unpack your range hood when it is delivered and inspect to ensure all parts are included.
Parts Supplied:
- Main Hood With All Lights and Button Banks Pres-installed
- Adjustable Stainless Chimney Cover
- Transition Piece (For 6" or 8")
- Baffle Filters
- Flexible Duct (For 6" or 8")
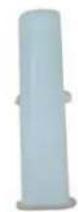
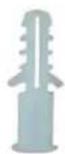
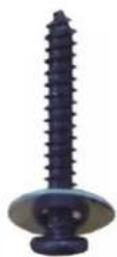
- Packet of Screws and Anchors
- Top Mounting Bracket
- Grease Cup
C
B


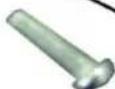


*Note: Wall range hoods with single motors will come with a square to 6" round transition piece and will include a back draft damper. The ducting with these range hoods is 6".
Dual motor wall hoods will come with a square to 8" round transition piece without a back draft damper. The ducting with these range hoods is 8".
*Use rigid ducting wherever possible. Try and minimize the use of elbows. More elbows and longer runs create higher static pressure. The hood comes with a grounded three prong plug that can either be direct wired or plugged into a 20 amp. circuit.
Wall Range Hood Installation
*The recommended height to install your hood is 30" minimum and 36" maximum above the cooktop.
*For Outdoor (304 Series) hood installation, the unit must be installed at a minimum of 36" above the grill.

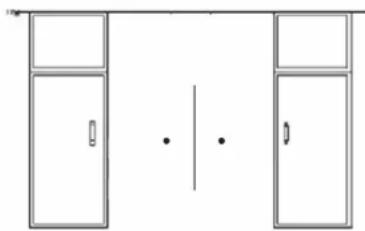
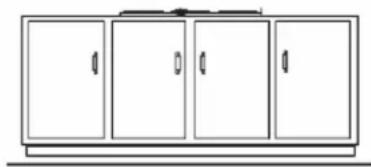
Find the center of the wall where you are installing the hood. Make sure there is sufficient bracing to hold the weight of the hood. Mark your center line and measure out from the center to find your two mounting points. Make sure your mounting points are level when you mark them. It is recommended to install the hood directly into wood supports. (Figure 1)
natural_image
Simple line drawing of two doors with a door and vertical line, no text or symbols presentFigure 1
natural_image
Simple line drawing of a four-c� cabinet or enclosure with no text, numbers, or symbols
Mark the mounting points and install the two mounting screws provided leaving the heads out 14 " to mount the hood. (Figure 1)
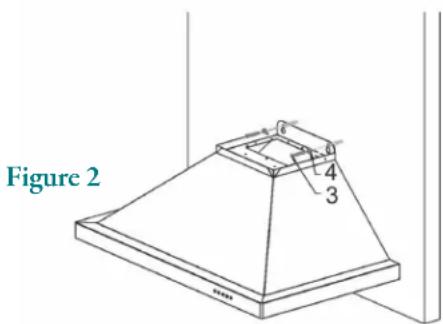

Mount the main body of the hood to the two screws and screw into place. (Figure 2)
natural_image
Technical line drawing of a conical hood with mounting bracket and side panel, labeled Figure 3 (no text or symbols on the diagram itself)
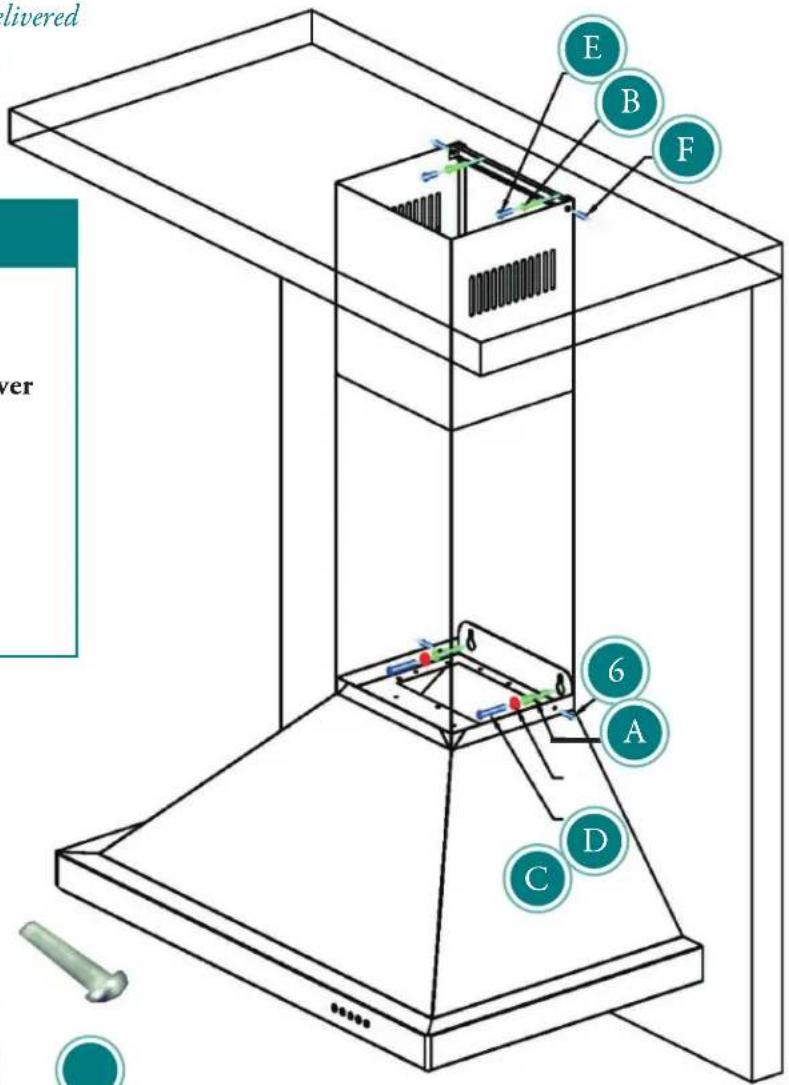
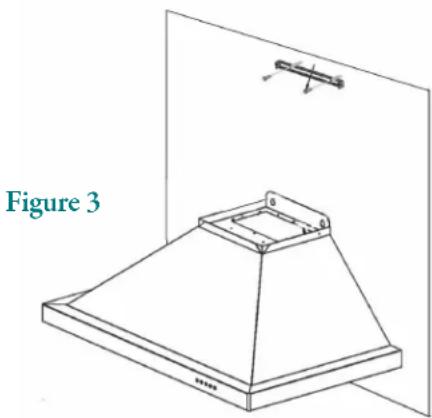
Mount the top chimney mounting bracket centering it above the hood. (Figure 3)
Wall Range Hood Installation

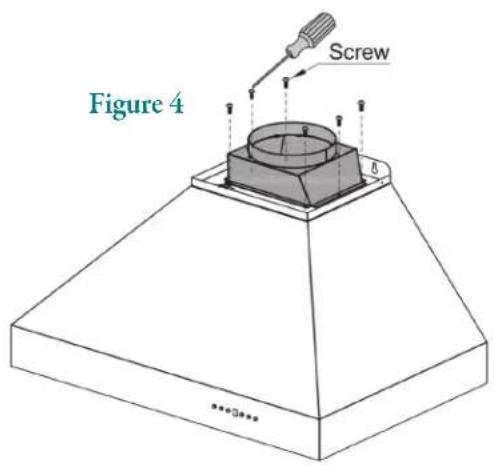
Install the transition piece securing it with screws provided. (Figure 4)

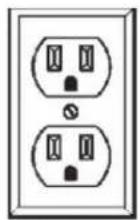
Make your electrical and ducting connections. Try and minimize the use of elbows. More elbows and longer runs create higher static pressure. The hood comes with a grounded three prong plug that can either be direct wire or plugged into a 20amp. circuit. (Figure 5)

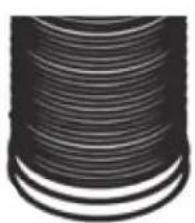
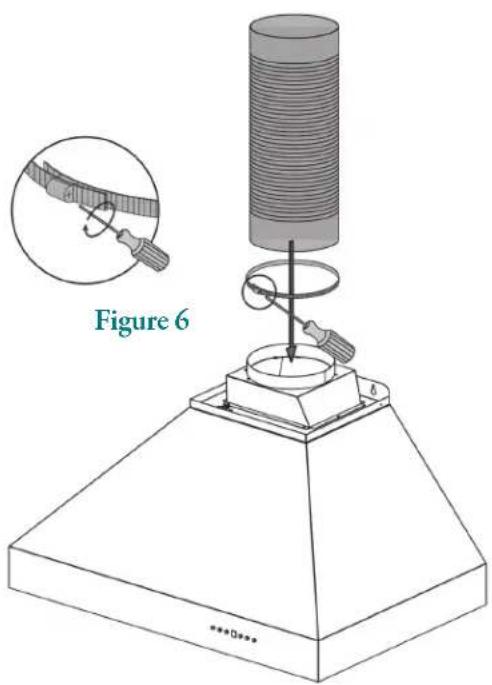
Connect the ducting to the transition piece using ring to hold into place. Attach ducting to the range hood. (Figure 6)
natural_image
Close-up of a coiled black cable or wire with uniform ridges (no text or symbols visible)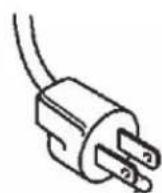
Wall Range Hood Installation

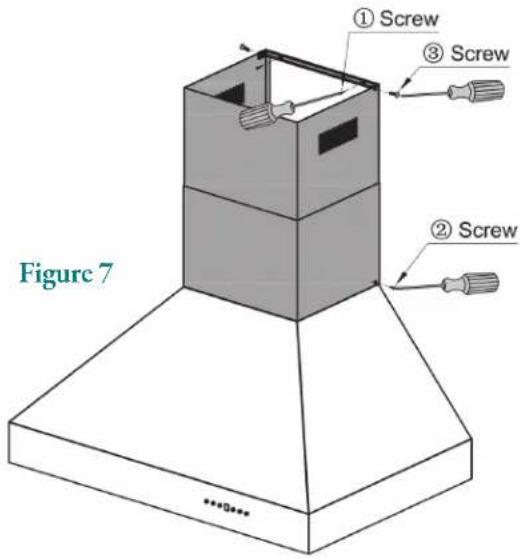
Install the two part chimneys on top of the hood. Slide the inside section up until the vertical vent slots are visible, attach top portion to mounting bracket with screws. Secure lower chimney portion to the hood with screws provided. (Figure 7)

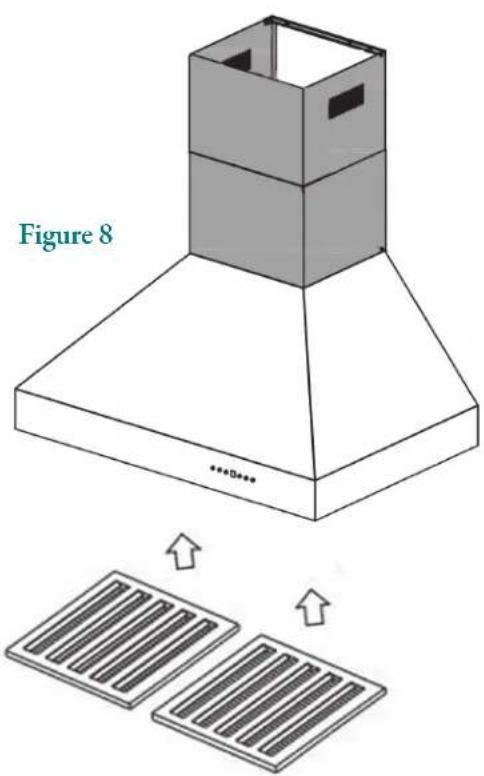
Install plastic drip cup by sliding into brackets located at the bottom of the motor. Install •baffle channel and baffle filters. (Figure 8)
Not all models include baffle channels.
*Before installing baffle filters, make sure that you insert the grease cup under the motor blower.
Brand : ZLine
Model : KECRN42
Category : Range hood