
MTS-55L-BASE - Telephony NEC - Free user manual and instructions
Find the device manual for free MTS-55L-BASE NEC in PDF.


| Product Type | Mounting Brackets (Z-Brackets) for Video Wall |
| Brand | NEC |
| Model | MTS-55L-BASE |
| Compatibility | NEC MultiSync X555UNS PG and other large format displays |
| Material | Metal (steel or aluminum alloy) |
| Included Components | 8 brackets (2 top, 2 bottom, 2 left, 2 right) with L-shaped bases, hand-driven screws, hand-driven nuts, M3 screws (5mm) |
| Installation Tools Required | M3 PH1 screwdriver, ladder (in some cases) |
| Orientation Support | Landscape and Portrait (clockwise rotation for portrait) |
| Application | Modular touch system frame on video walls |
| Color | Black |
| Dimensions (per bracket approx.) | Length: 150-300 mm, Width: 30-50 mm |
| Weight (set approx.) | 4 kg |
| Repairability | Individual brackets replaceable; screws available as spare parts |
| Maintenance | Clean with dry cloth; avoid abrasive cleaners |
| Safety Precautions | Ensure proper ventilation in portrait mode; use tools correctly |
Frequently Asked Questions - MTS-55L-BASE NEC
User questions about MTS-55L-BASE NEC
0 question about this device. Answer the ones you know or ask your own.
Ask a new question about this device
Download the instructions for your Telephony in PDF format for free! Find your manual MTS-55L-BASE - NEC and take your electronic device back in hand. On this page are published all the documents necessary for the use of your device. MTS-55L-BASE by NEC.
USER MANUAL MTS-55L-BASE NEC
Z-Brackets for U-Click
Large Format Display Options
Based on
MultiSync ^® X555UNS PG (Protective Glass)
Table of Contents
- Introduction ...... 3
- Required tools and screws 8
- Steps how to install Z-Brackets on video wall 9
- Technical overview ...... 15
1. Introduction
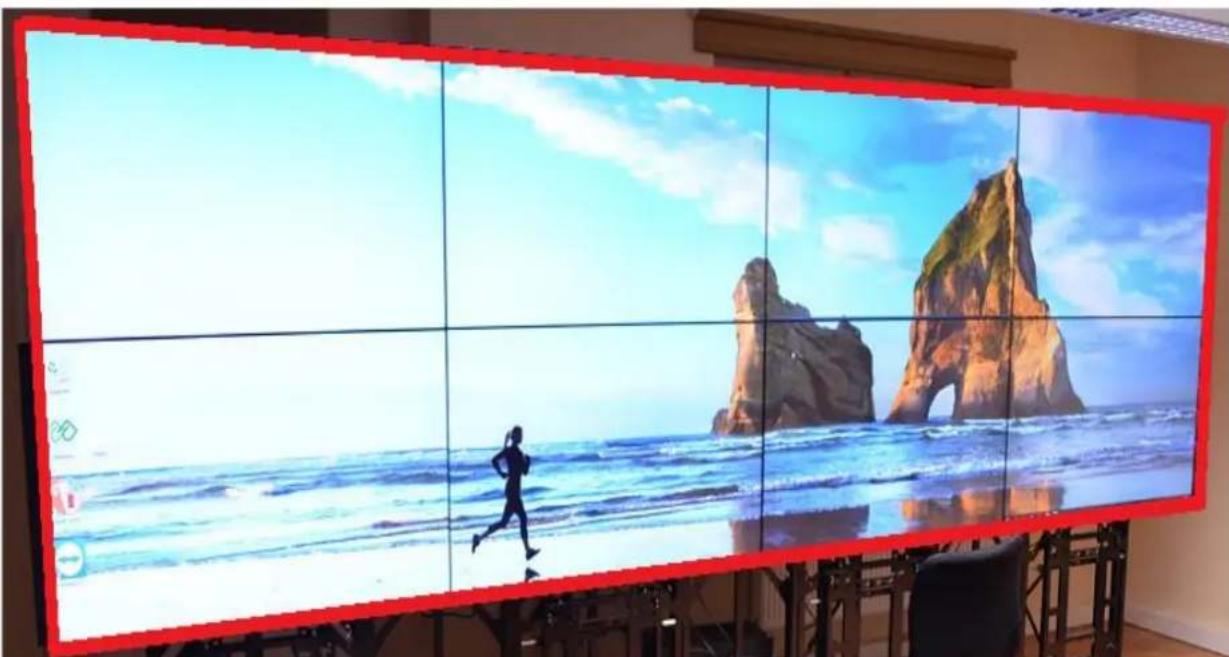
Z-Brackets have been designed as a part of modular touch system. This solution is a frame to hold modular touch system on top of video wall's monitors.
natural_image
Large digital display showing a beach scene with mountains and waves, featuring a running person silhouette (no text or symbols visible)Z-Brackets as a frame over video wall
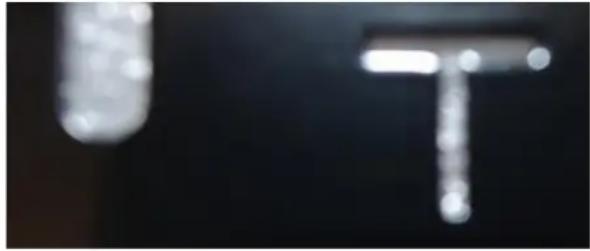
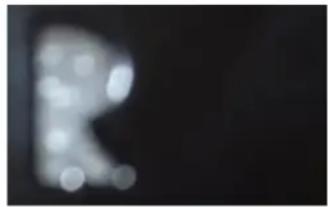
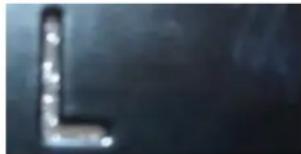
There are four types of Z-Brackets:
- Top brackets, marked in the middle of its length as:
natural_image
Close-up of two abstract light streaks against a dark background, no text or symbols visible- Bottom brackets, marked in the middle of its length as:

natural_image
Blurred image of a dark, indistinct object with no visible text or symbols- Right brackets, marked in the middle of its length as:
natural_image
Blurred abstract image with no discernible text, symbols, or identifiable objects- Left brackets, marked in the middle of its length as:
natural_image
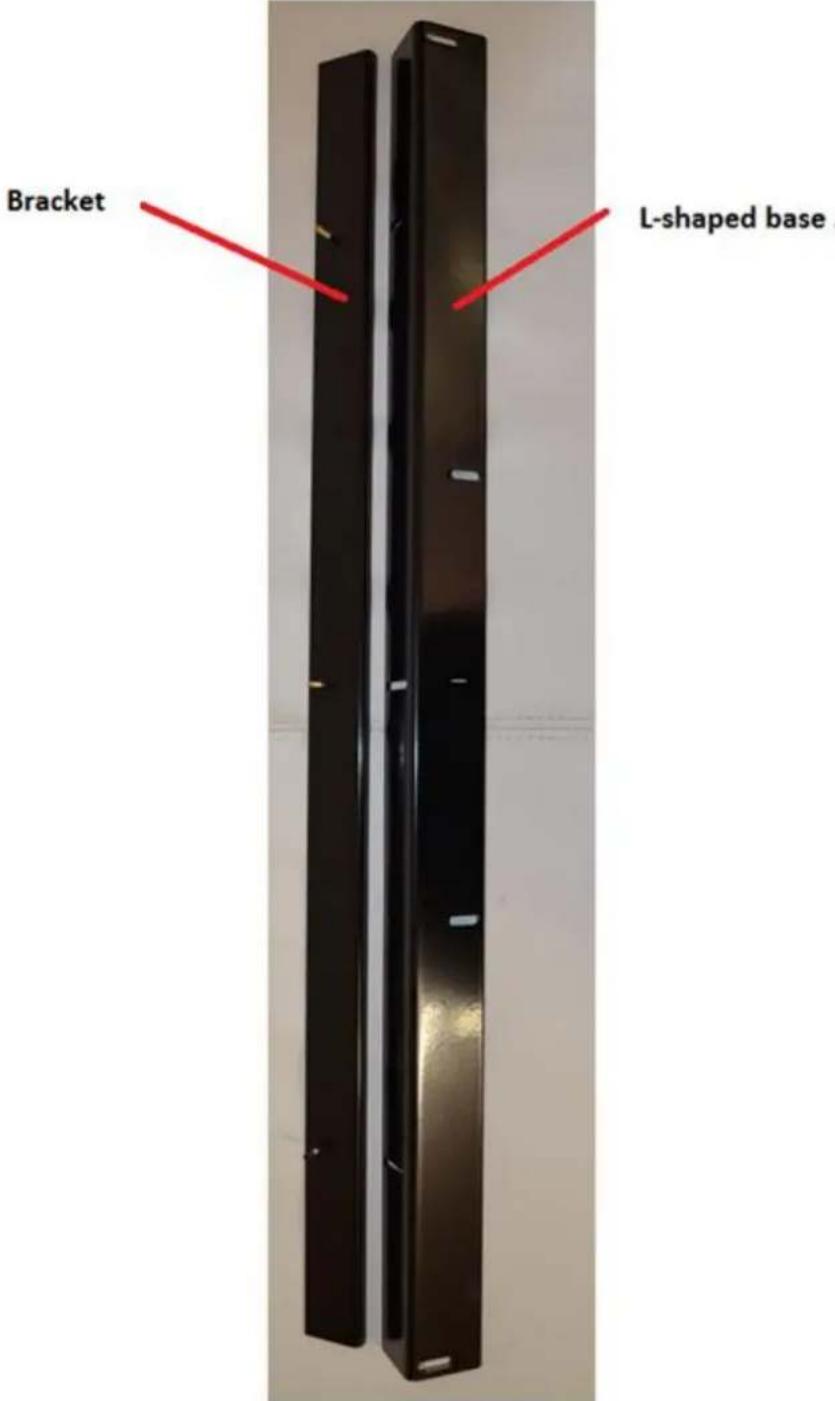
Close-up of a metallic L-shaped object against a dark background (no visible text or symbols)Each Z-Bracket consists of two parts:
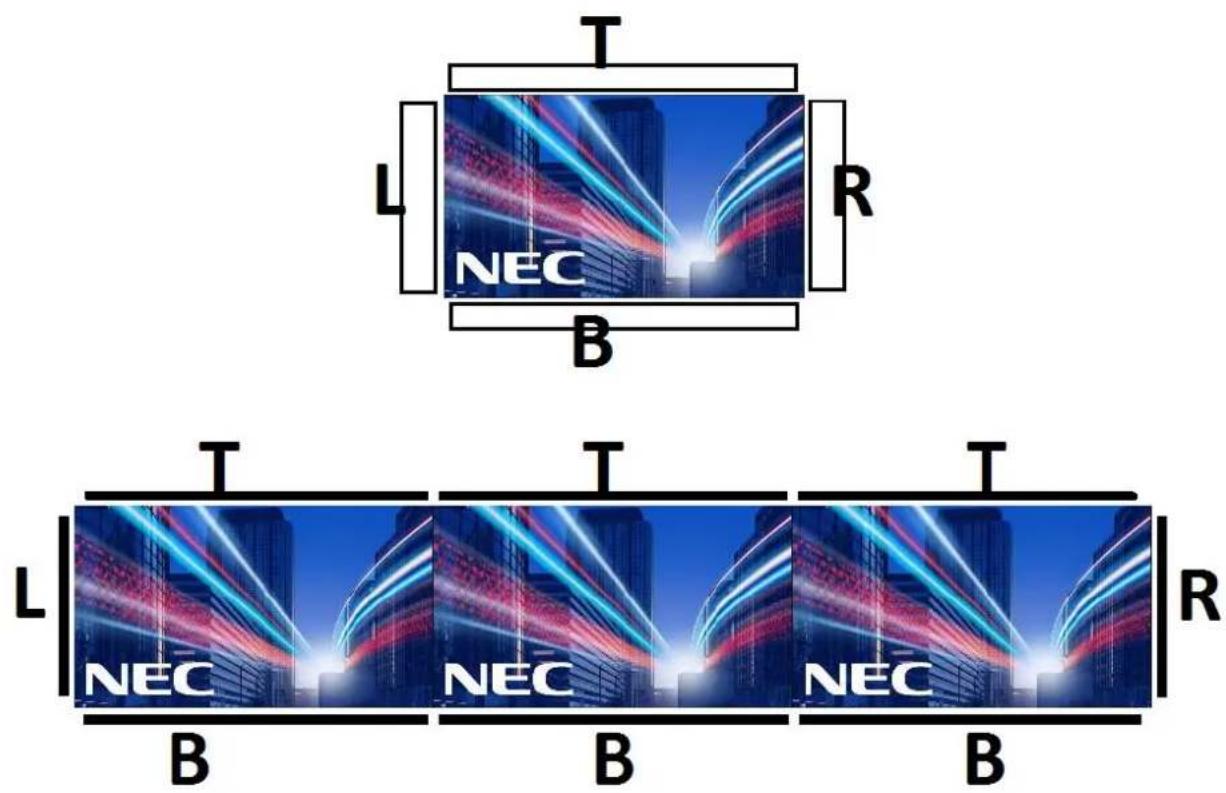
Bracket's marking in Landscape and Portrait configuration:
Landscape:
Portrait:
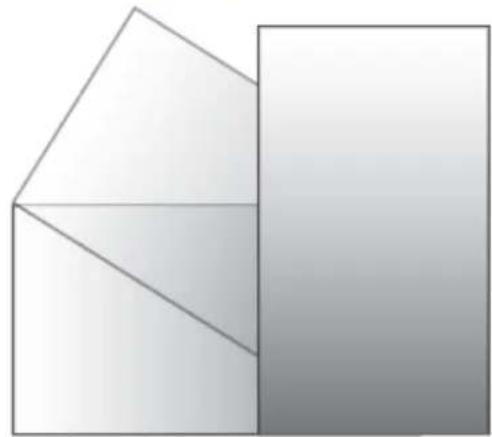
- When using the display in the portrait position, the monitor should be rotated clockwise so that the left side is moved to the top, right side is moved to the bottom. This will allow for proper ventilation and will extend the lifetime of the monitor. Improper ventilation may shorten the lifetime of the monitor.
natural_image
Abstract geometric diagram with two overlapping triangles and a vertical rectangle, no text or symbols present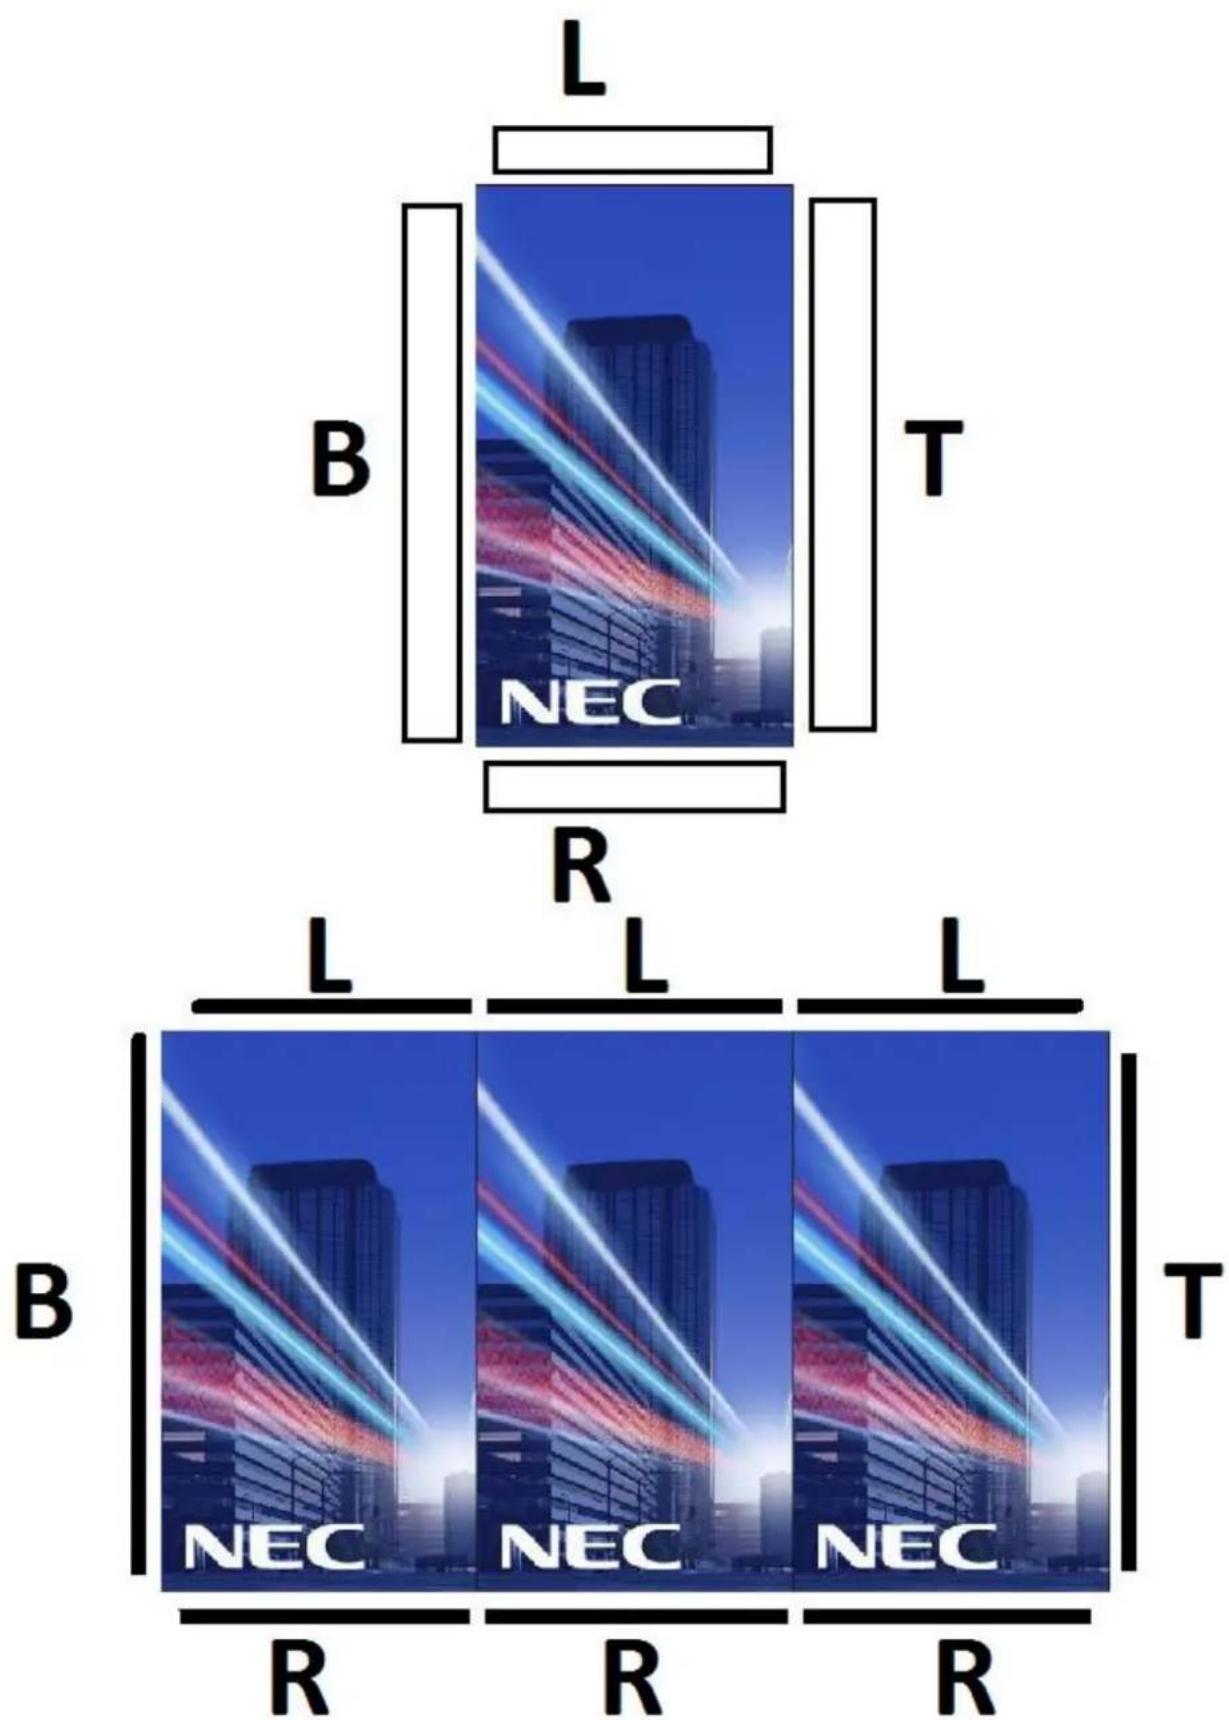
2. Required Tools and Screws

natural_image
Close-up of metal screwdrivers and screws on a textured surface, with an inset image of M3 PH1 screwdriver (no text or symbols on main objects)- Hand – driven screws (provided in accessory box)
- Hand – driven nuts (provided in accessory box)
• M3 screws 5mm (provided in accessory box)
• M3 PH1 screwdriver - Ladder (in some cases)
3. Steps how to install Z-Brackets on video wall
This manual show's how to install Z-Brackets on sample video wall built of four displays in configuration 2 x 2. However there is no limitation in length and height of Z- Bracket's system.
• Sample 2 x 2 video wall:

natural_image
Large metallic panel mounted on a black metal frame, displayed indoors (no visible text or symbols)- Side view with four installation holes
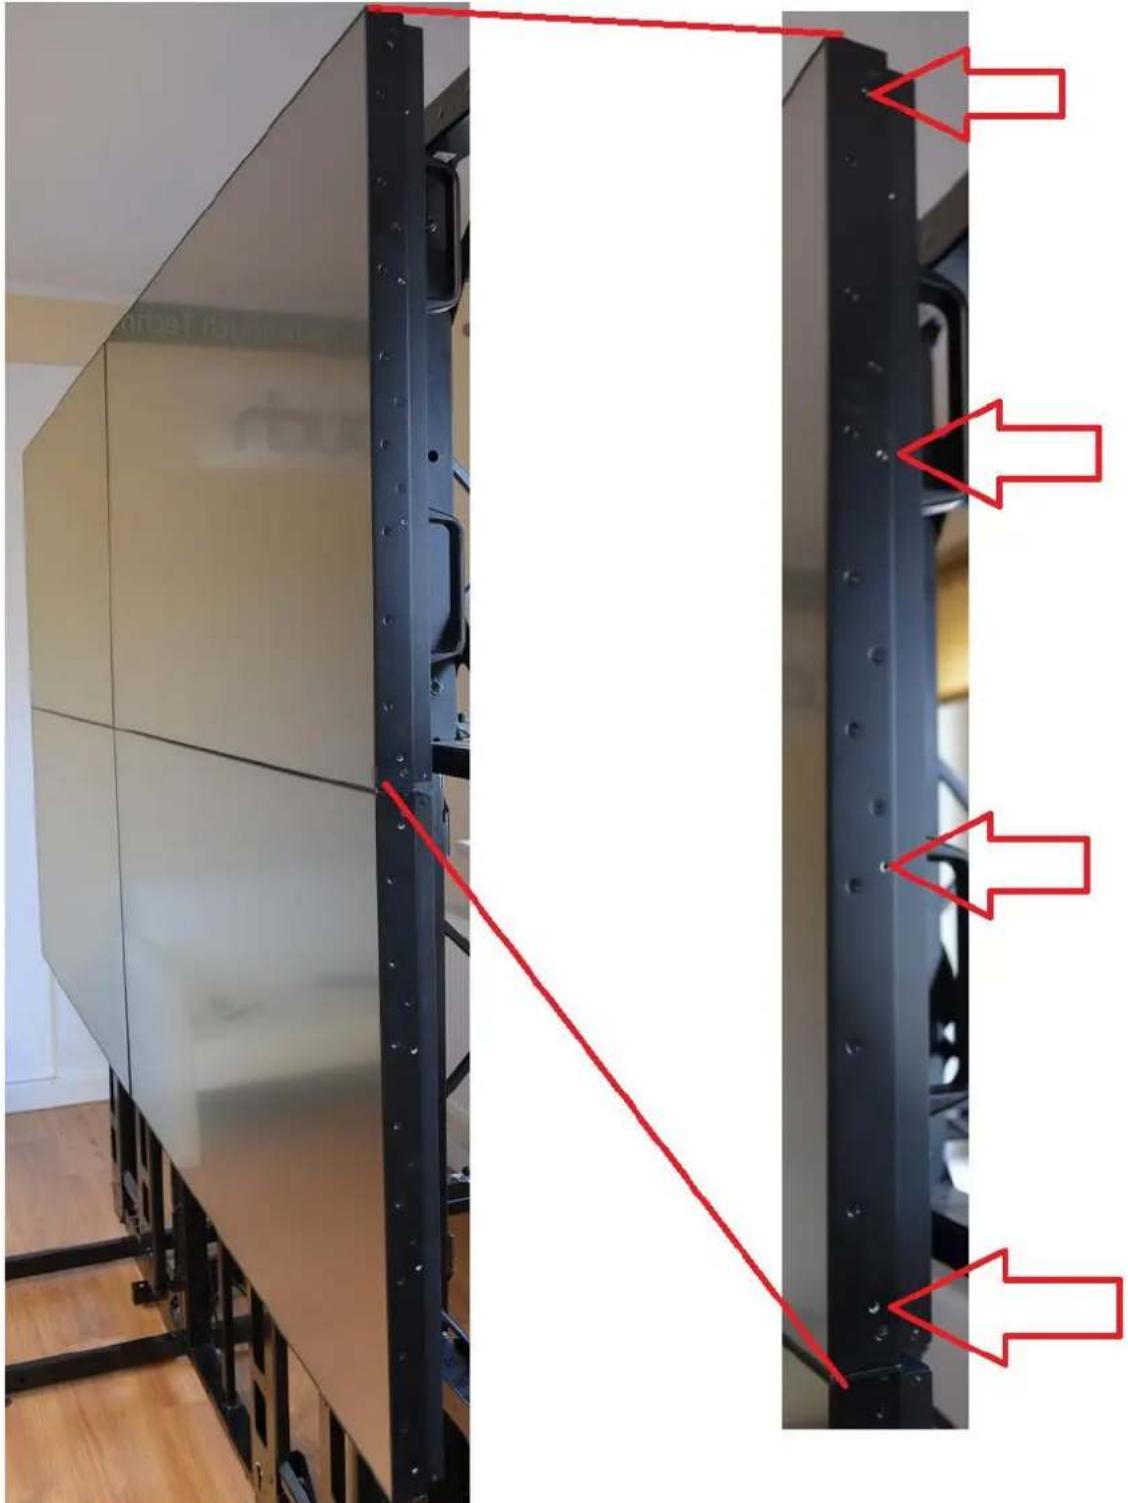
natural_image
Exterior view of a modern office building (no signage)- Set of Z-Brackets prepared for installation
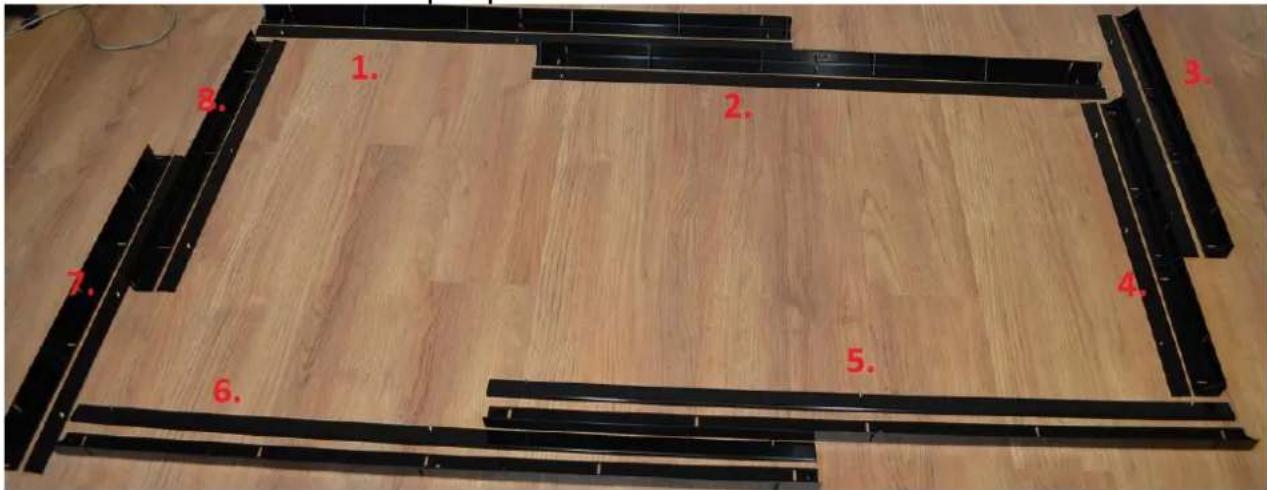
1,2 - Top brackets + L-shaped bases
3,4 - Right brackets + L-shaped bases
5,6 - Bottom brackets + L-shaped bases
7,8 - Left brackets + L-shaped bases
- Assembling bracket with it's L-shaped base
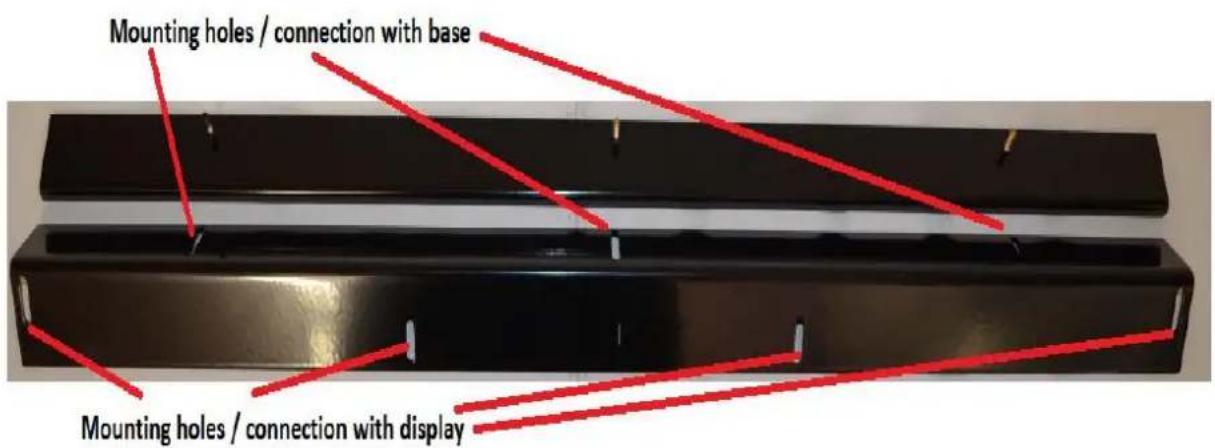
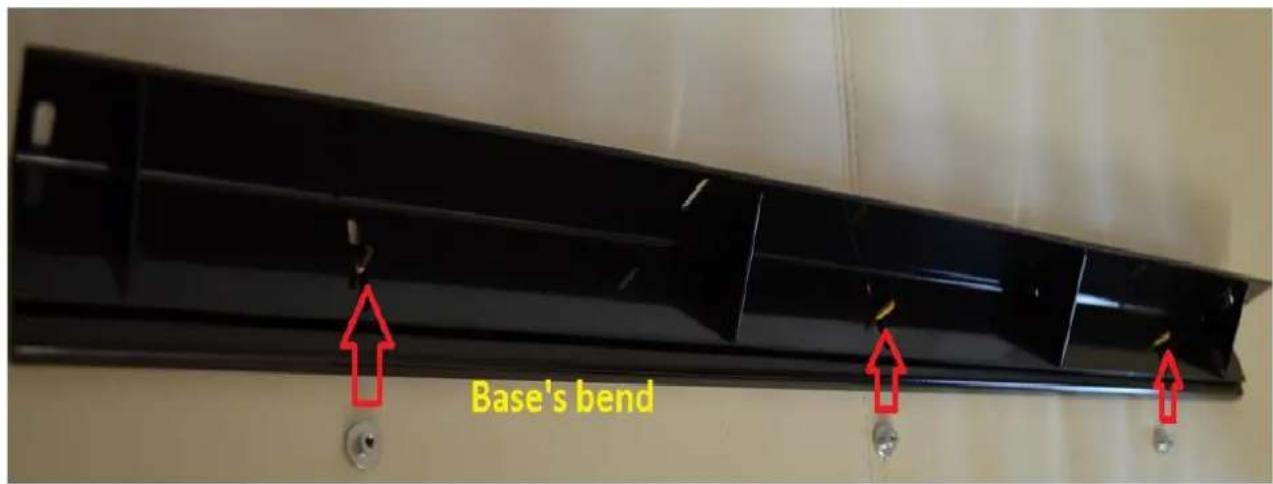

- Short and long brackets with L-shaped bases

natural_image
Two black metal plates mounted on a wooden floor, each with white clips attached (no text or symbols visible)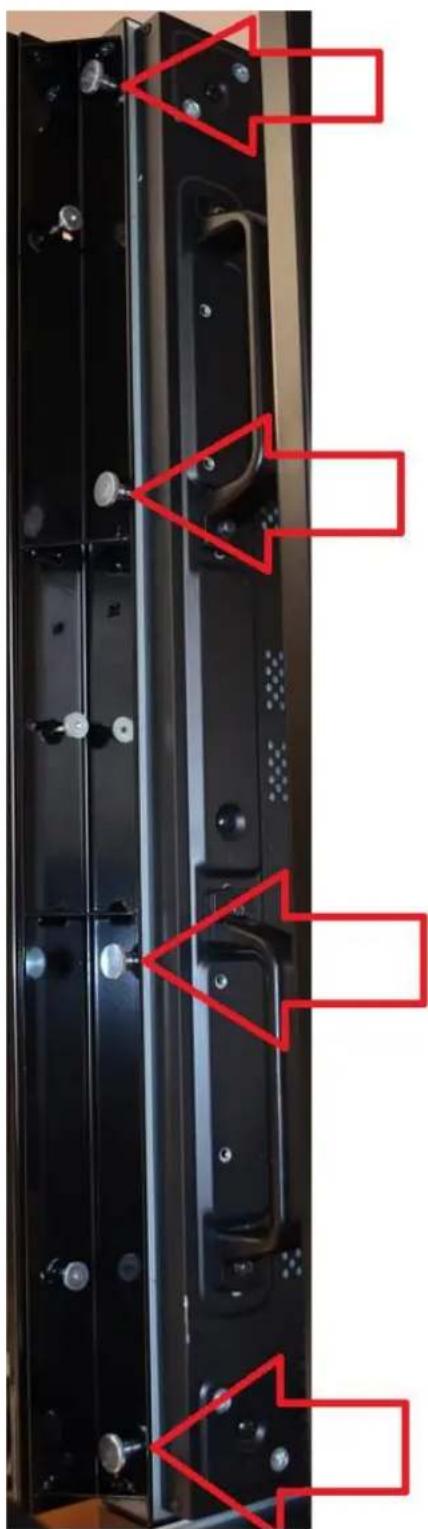
natural_image
Close-up of a black metal door panel with red annotations highlighting structural details (no readable text or symbols)Use four hand-driven screws for short brackets and five for long ones
- Mount Z-Brackets using all available mounting holes
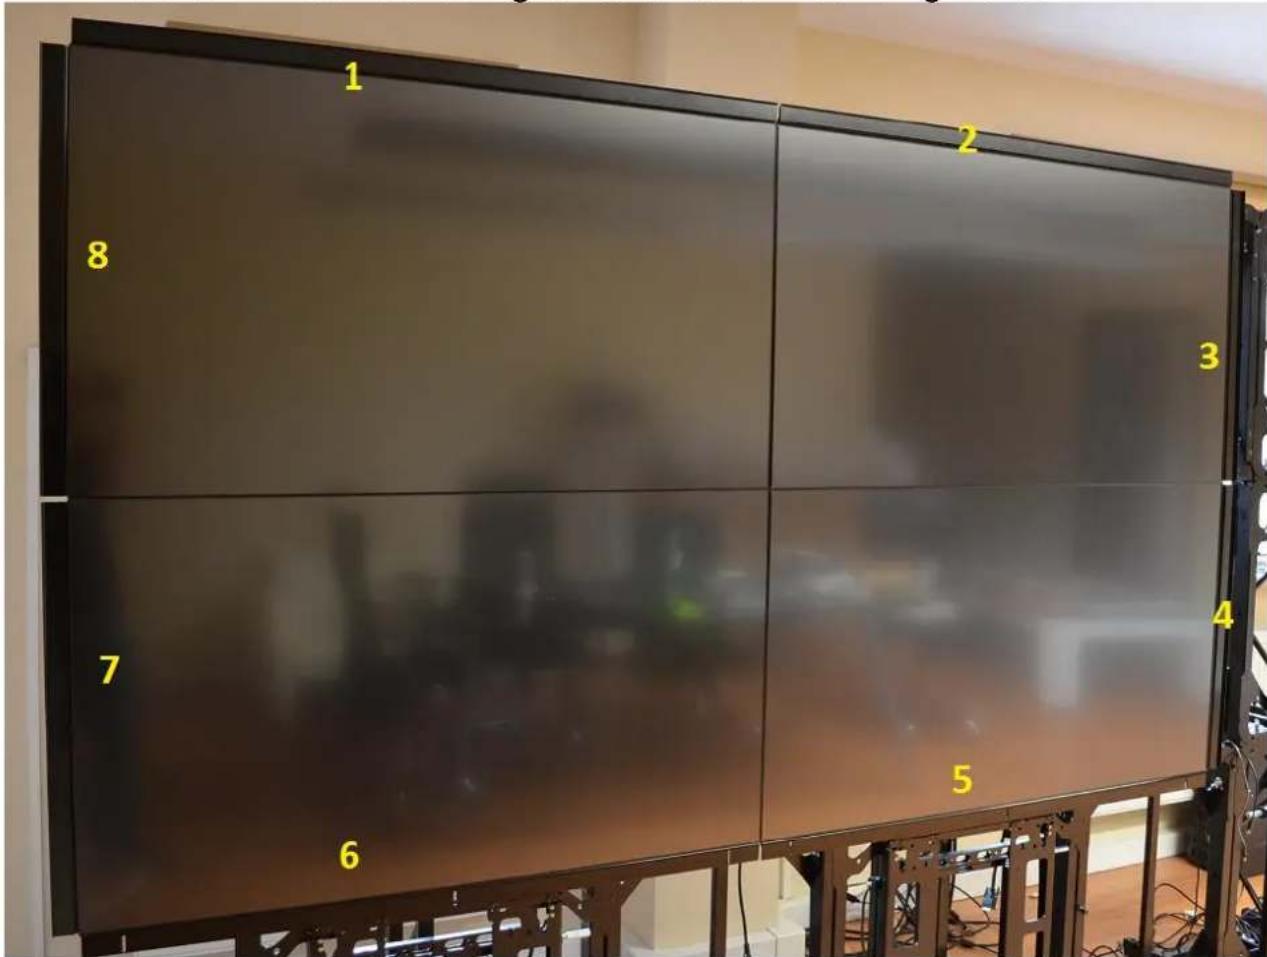
1,2 - Top brackets + L-shaped bases
3,4 - Right brackets + L-shaped bases
5,6 - Bottom brackets + L-shaped bases
7,8 - Left brackets + L-shaped bases
- Construction is ready for touch frame installation
4. Technical overview
- Top bracket


- Bottom bracket


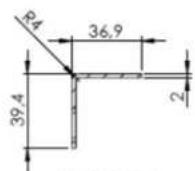
SECTION K-K
SCALE 1:2
- Left bracket

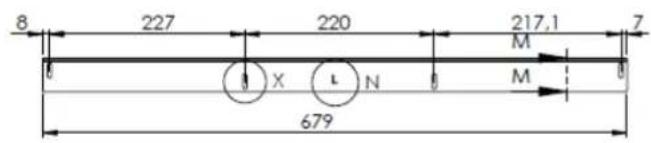
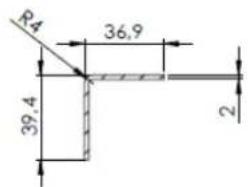
SECTION M-M SCALE 1:2
- Right bracket

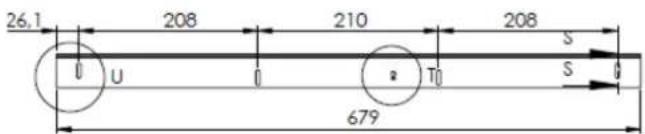

Brand : NEC
Model : MTS-55L-BASE
Category : Telephony