
MF222SL - Home Appliance MATSUI - Free user manual and instructions
Find the device manual for free MF222SL MATSUI in PDF.

| Product Type | Electric Fan |
| Model | MF222SL |
| Brand | Matsui |
| Power Supply | 230V ~ 50Hz, 30W |
| Speed Settings | 2 speeds (buttons 1 and 2) |
| Oscillation | Yes (push pin to engage, pull up to stop) |
| Fan Blade Material | Plastic |
| Grille Material | Metal |
| Net Weight | Approx. 2.5 kg |
| Tilt Adjustment | Yes |
| Control Type | Push buttons (0, 1, 2) |
| Cleaning Method | Wipe with damp cloth and mild detergent |
| Assembly Required | Yes (rear guard, blade, front guard) |
| Indoor Use Only | Yes |
| Safety Shut-off | Not specified (unplug when not in use) |
| Disposal | Separate WEEE collection at end of life |
| Warranty | Standard manufacturer warranty (not detailed) |
Frequently Asked Questions - MF222SL MATSUI
User questions about MF222SL MATSUI
0 question about this device. Answer the ones you know or ask your own.
Ask a new question about this device
Download the instructions for your Home Appliance in PDF format for free! Find your manual MF222SL - MATSUI and take your electronic device back in hand. On this page are published all the documents necessary for the use of your device. MF222SL by MATSUI.
USER MANUAL MF222SL MATSUI
natural_image
Line drawing of a standard electric fan with mesh grille and base mount (no text or symbols)Instruction book
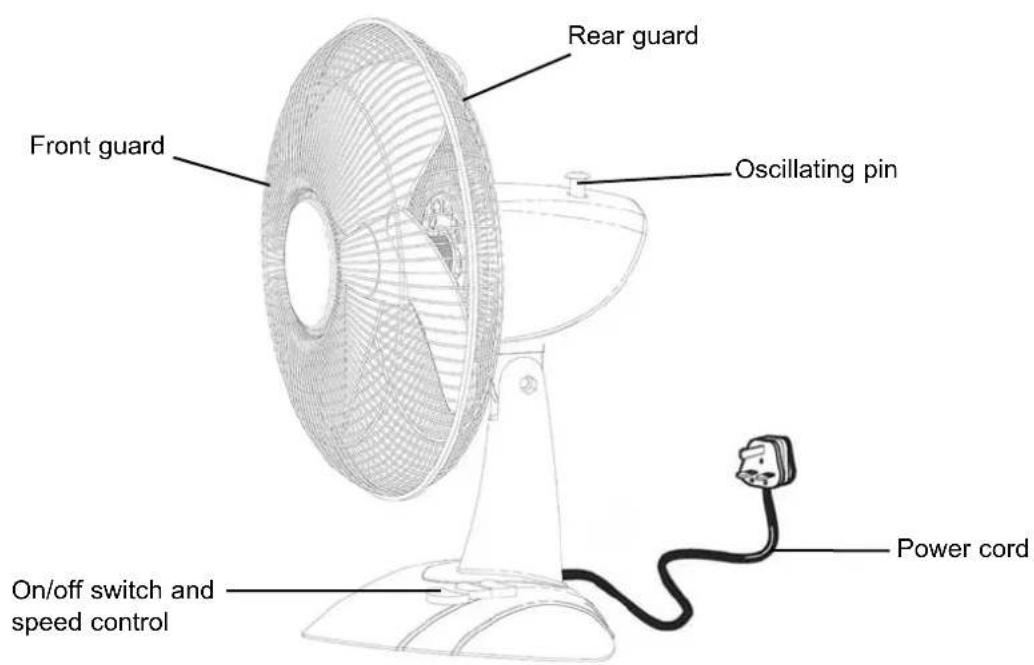
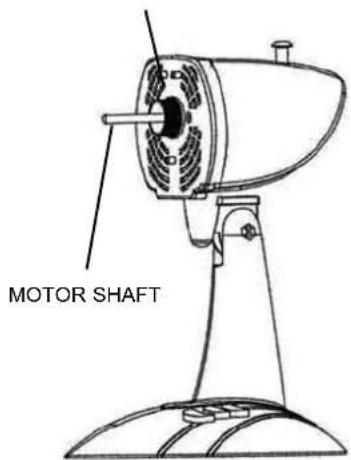
Getting to know your fan
Please read these instructions and have a good look at the illustrations before using your fan.
Safety first!

Your fan should be used in such a way that it is protected from moisture. e.g. condensation, splashed water etc.
Stand your fan on a stable, level surface during use.
Do not place or store your fan where it can fall or be pulled into water or any other liquid.
Do not reach for the appliance if it has fallen in any water or any other liquid. Unplug immediately.

Your fan should be unplugged from the wall socket when left unused for a long time.
Your fan should be placed away from heat sources such as radiators, gas/electric fires and direct sunlight. Keep the power cord away from any heated surfaces.
Use the appliance only for its intended use, as described in this manual. Do not use outdoors.

It is DANGEROUS to insert fingers or objects into the grill. Do not allow young children to play with your fan.
Close supervision is necessary when your fan is used near children.
Never use your fan if it is damaged in any way.
Do not remove any fixed covers.
Never use this appliance if it is not working properly, or if it has been dropped or damaged.
No part of this publication may be reproduced, stored in a retrieval system or transmitted, in any form or by any means, without the prior permission in writing of Dixons Stores Group, nor be otherwise circulated in any form of binding or cover other than that in which is published and without asimilar condition including this condition being imposed on the subsequent purchaser.
How to assemble your fan
Make sure your fan is unplugged before you attempt to assemble
natural_image
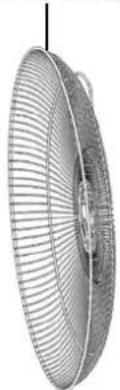
3D wireframe rendering of a circular fan or fan with radial mesh pattern (no text or symbols)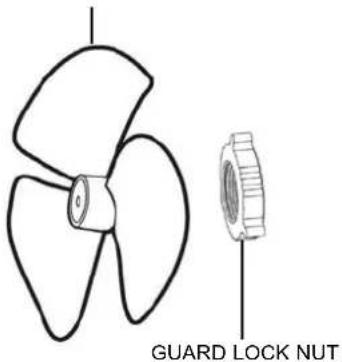
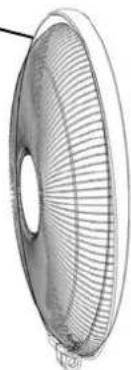
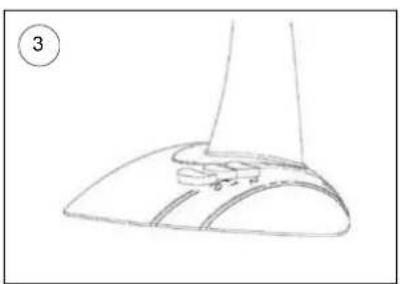
REAR GUARD
natural_image
Close-up of a metallic fan with visible blades and central hub (no text or symbols)During transit this component is stored on the motor housing
natural_image
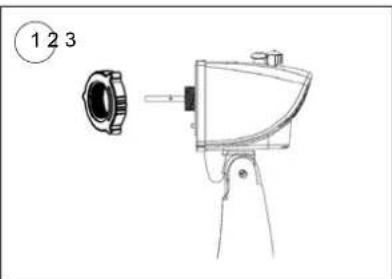
Technical line drawing of a mechanical device with labeled parts (1, 2, 3), no readable text or symbols beyond labelsUnscrew the GUARD LOCK NUT.
natural_image
Technical line drawing of a fan or fan assembly with a central hub and mounting bracket (no text or symbols)Fit the REAR GUARD to the MOTOR. Push firmly until the 3 pins stick through the 3 holes.
natural_image
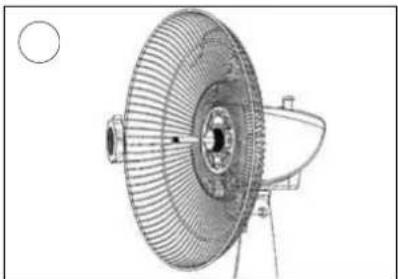
Technical line drawing of a fan or fan assembly with a circular head and mounting bracket (no text or symbols)Secure the REAR GUARD to the MOTOR using the GUARD LOCK NUT.
natural_image
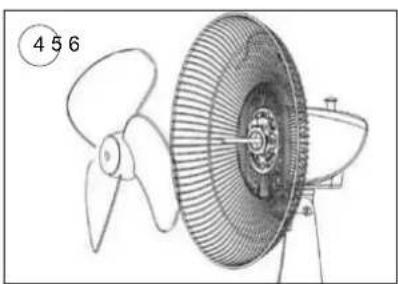
Technical line drawing of a propeller with a fan blade and central hub (no text or symbols)Press the BLADE onto the MOTOR SHAFT.
natural_image
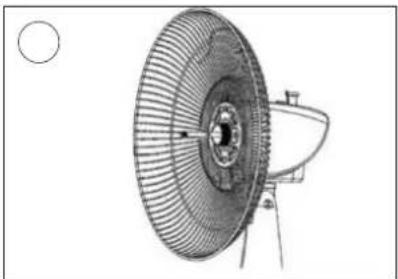
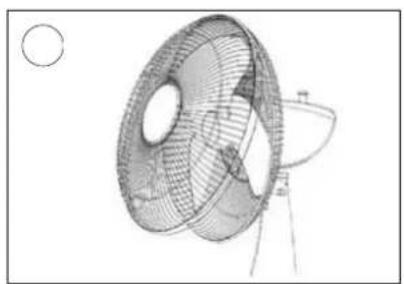
Technical line drawing of a mechanical component with mesh structure and circular features (no text or symbols)Insert the hook on the top of the FRONT GUARD over the rim of the REAR GUARD.
natural_image
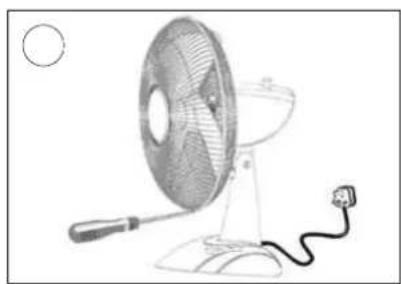
Line drawing of a desktop fan with a power cord and attached cable (no text or symbols)Secure the FRONT GUARD using the 4 locking clips and the 2 screws.
How to use your fan
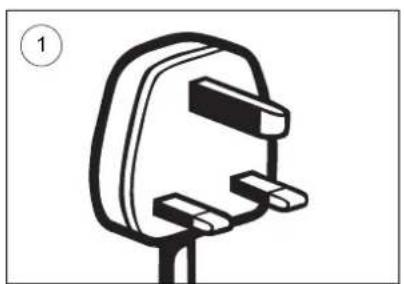
natural_image
Simple line drawing of a plug socket with two connectors and a handle (no text or symbols)Plug into a mains socket and switch on at the wall.
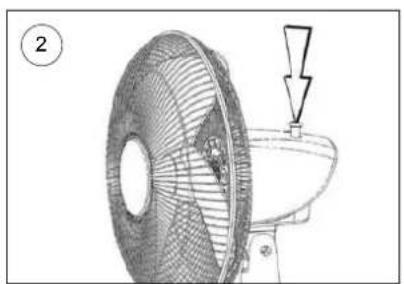
natural_image
Diagram of a fan with a downward arrow indicating a drop or compression point, no text or symbols presentTo make the fan move from side to side, push the OSCILLATING PIN into the MOTOR.
natural_image
Line drawing of a shoe handle and seat assembly (no text or symbols)Press buttons 1 or 2 to control The fan speed. Press 0 to stop the fan.
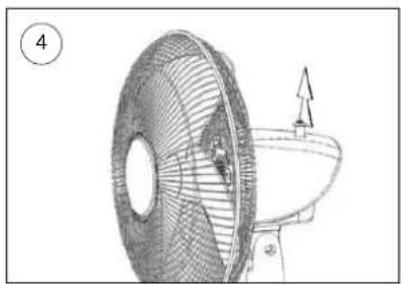
natural_image
Technical line drawing of a fan with internal blades and a handle, showing no text or symbolsTo adjust the direction of the fan, switch OFF. Pull the OSCILLATING PIN up.
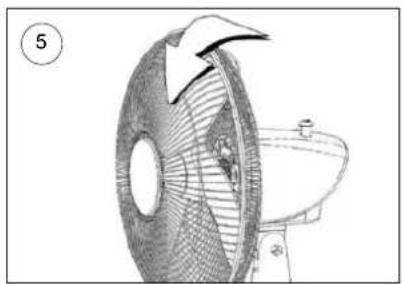
natural_image
Diagram of a fan with an arrow indicating rotation, next to a toilet (no text or symbols)Adjust the angle of the fan.
Cleaning
Always unplug your fan from the mains supply before attempting cleaning. Do not use harsh cleaners or solvents on the fan as they may damage the casing.
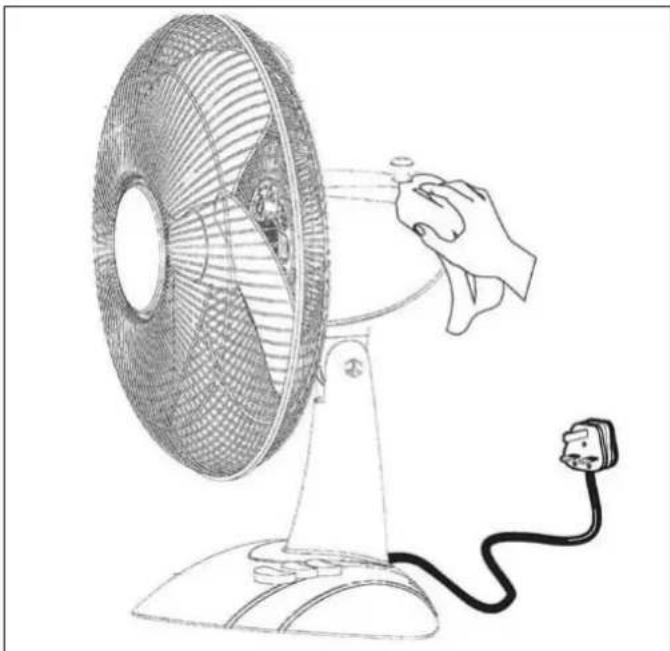
natural_image
Line drawing of a hand operating a small electric fan with a power cord, no text or symbols presentThe fan blade and body of the unit should be cleaned using a cloth dampened with warm water and detergent. Make sure you do not allow water to seep into the controls or motor housing of your fan.
Specifications
Power Supply.....230V 50Hz 30W
This symbol on the product or in the instructions means that your electrical and electronic equipment should be disposed at the end of its life separately from your household waste. There are separate collection systems for recycling in the EU.
For more information, please contact the local authority or your retailer where you purchased the product.
Features and specifications are subject to change without notice.
All trademarks and registered trademarks are the property of their respective owners.
All rights reserved.
Brand : MATSUI
Model : MF222SL
Category : Home Appliance