
SVBV0112ACC - Hand blender SVAN - Free user manual and instructions
Find the device manual for free SVBV0112ACC SVAN in PDF.

| Product Type | Hand Blender |
| Brand | SVAN |
| Model | SVBV0112ACC |
| Power Consumption | 600 W |
| Motor Type | Universal brushed motor |
| Speed Settings | 2 variable speeds + Turbo |
| Blade Material | Stainless steel |
| Shaft Material | Stainless steel |
| Detachable Shaft | Yes |
| Beaker Included | 500 ml plastic beaker with lid |
| Weight | 0.7 kg |
| Total Length | 38 cm |
| Blade Diameter | 5.5 cm |
| Housing Material | ABS plastic |
| Non-Slip Handle | Yes, rubberized |
| Ergonomic Design | Yes, with soft-grip |
| Overheat Protection | Yes, automatic shut-off |
| Dishwasher Safe Parts | Shaft and blade assembly only |
| Repair Service | Available through authorized service centers |
| Spare Parts Availability | Replacement shafts and blades sold separately |
Frequently Asked Questions - SVBV0112ACC SVAN
User questions about SVBV0112ACC SVAN
0 question about this device. Answer the ones you know or ask your own.
Ask a new question about this device
Download the instructions for your Hand blender in PDF format for free! Find your manual SVBV0112ACC - SVAN and take your electronic device back in hand. On this page are published all the documents necessary for the use of your device. SVBV0112ACC by SVAN.
USER MANUAL SVBV0112ACC SVAN
natural_image
Modern kitchen blender with a side view of its lid and control panel (no visible text or symbols)BATIDORA DE VASO

natural_image
Pure mechanical component diagram without any text, numbers, or symbols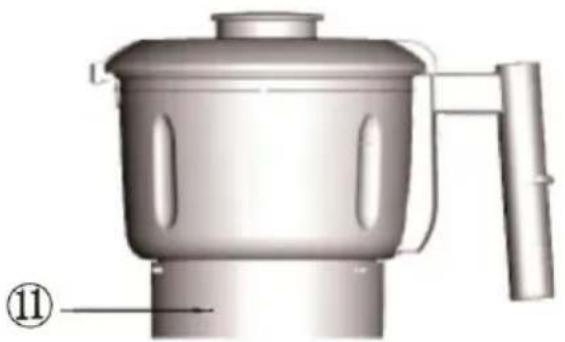
natural_image
3D rendering of a kitchen mixer with handle and lid, labeled with number 11 (no text or symbols on the device itself)
natural_image
Line drawing of a blender with lid and handle, no text or symbols present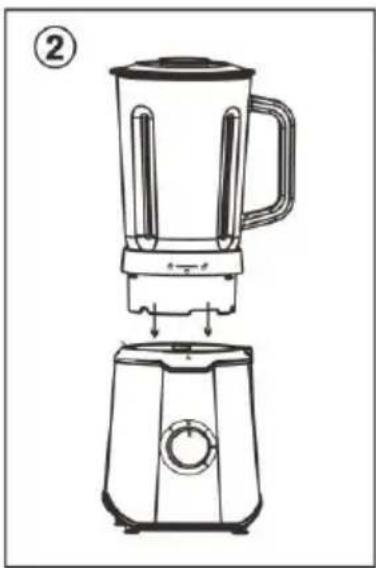
natural_image
Line drawing of a blender with handle and base, showing internal structure (no text or symbols)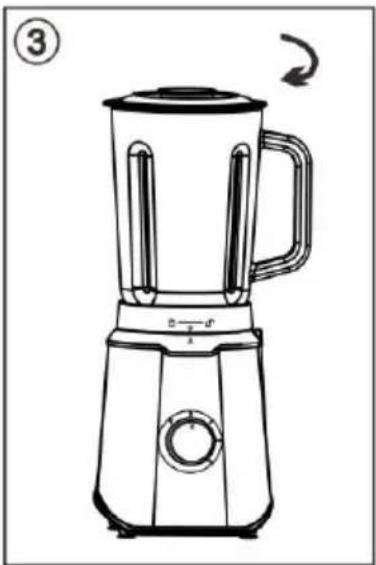
natural_image
Line drawing of a blender with handle and control knob, no text or symbols present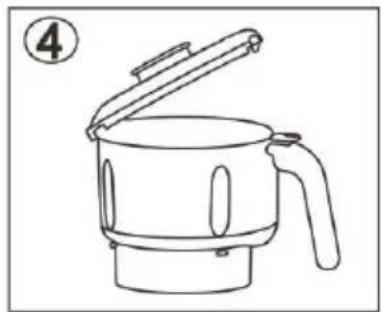
natural_image
Line drawing of a portable coffee maker with lid open, labeled with number 4 (no text or symbols on the device itself)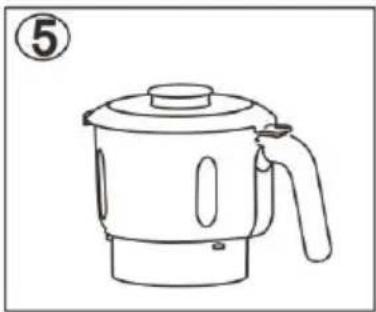
natural_image
Line drawing of a portable water heater with lid and handle (no text or symbols)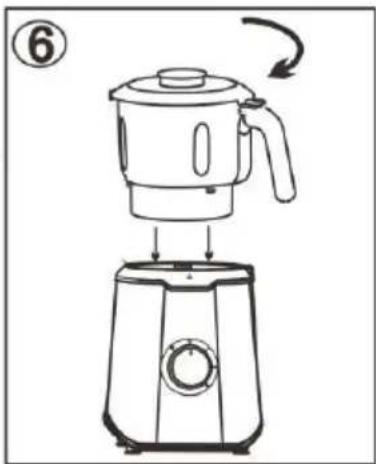
natural_image
Line drawing of a blender with a top handle and base, showing the process of rotation (no text or symbols)natural_image
Modern kitchen blender with a side bowl and control panel (no visible text or symbols)TABLE BLENDER
Please read carefully and keep the instruction well
SVBV0112 & SVBV0112ACC
DESCRIPTION
①
②
③
④
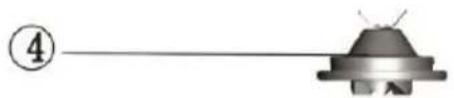
⑤ ⑥ ⑦ ⑧ ⑨ ⑩
⑪
| 1. Measuring Cup | 7. LED Indicator Light |
| 2. Glass Bowl Lid | 8. Start Knob |
| 3. Glass Bowl | 9. Function Button |
| 4. Blade | 10. Feet |
| 5. Glass Bowl Holder | 11. Dry cup * |
| 6. Body |
* Only SVBV0112ACC
Important Safeguards

When using electrical appliances, to reduce the risk of fire, electric shock, and/or injury to persons, basic safety precautions should always be followed, including the following:
You should respect the following safety warnings
⚠ WARNING: the blades of the knife are extremely sharp. Handle them with caution.
- Read all instructions carefully.
- To protect against electric shock, do not place cord, plug or appliance in water or other liquid.
- Close supervision is necessary when any appliance is used by or near children.
- This appliance is not intended for use by persons (including children) with reduced physical, sensory or mental capabilities, or lack of experience and knowledge, unless instructions concerning use of the appliance by a person responsible for their safety.
- Unplug from outlet when not in use and before cleaning.
- Do not operate any appliance with a damaged cord or plug, in case of appliance malfunctions or if the appliance has been damaged in any manner.
- The use of accessory attachments not recommended by manufacturer may cause malfunctions.
- Do not use outdoors.
- Do not let cord hang over edge of table or counter, or touch hot surfaces.
- Do not place the appliance on or near hot gas or electric burner, or
in a heated oven.
- This product has been designed for domestic use only. Any commercial use, inappropriate use or failure to comply with the instructions, the manufacturer accepts no responsibility and guarantee is no more valid.
- Do not use your food processor if any part is broken.
- Do not put the appliance, the power cord or the plug into water or any other liquid.
- Make sure that the cover is securely locked in place before operating the appliance.
- Never place ingredients in the container by hand and while the appliance is in use. Always use the food pusher.
- The blade and discs are sharp. Handle carefully. Store out of reach of children.
- If the power cord or the plug are damaged, do not use your appliance.
- For your own safety, please use only the original accessories and spare parts which are suitable for your appliance.
- Never remove the lid until the knife has stopped completely.
- This appliance is designed to process small quantities. Do not exceed the quantities indicated in these instructions for use.
- Do not use this appliance to mix glutinous food or substance.
- Do not use appliance for other than intended use.
- For your safety, this appliance conforms to the appliance standards, regulations and directives of Low Voltage, Electromagnetic Compatibility, Environment, etc.
SAVE THESE INSTRUCTIONS
Using Your Appliance
Before first use, clean the various parts of the appliance.
Notes:
- When plug in the appliance, three function buttons will with blue flashing light. After the glass jar is fixed, the light will stop flashing. The start knob allows you use variety speeds from mini power to max power.
• The start knob allows you to use 3 speeds:
* speed 1 (slow): rotate to position 1
* speed 2 (medium): rotate to position 2
* speed 3 (fast): rotate to position 3
- When you use start knob for your speed control, the function button can not work in the mean time.
• Three function button for your reference
* Pulse function. * Ice Crushing function. * Smoothie function.
- When you using function button for your food, you can change the buttons base on your need. Besides can also choose to use the start knob for speed control, after you do that, you can not use the function button in the mean time.
• The glass jar is 1.75 L.
• The stainless steel bowl is 500g.
Mincing and Blending

natural_image
Line drawing of a blender with lid and handle (no text or symbols)
natural_image
Line drawing of a blender with handle and base, showing internal structure (no text or symbols)
natural_image
Line drawing of a blender with handle and control knob, no text or symbols present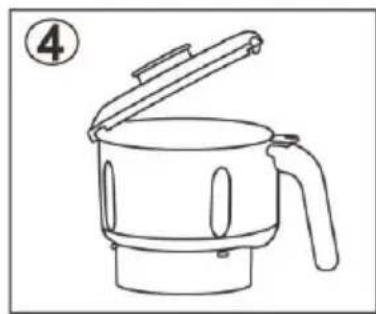
natural_image
Line drawing of a portable kitchen fan with lid open, no text or symbols present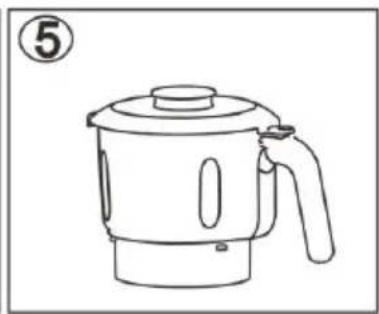
natural_image
Line drawing of a portable electric kettle with handle and lid, labeled with number 5 (no text or symbols on the device itself)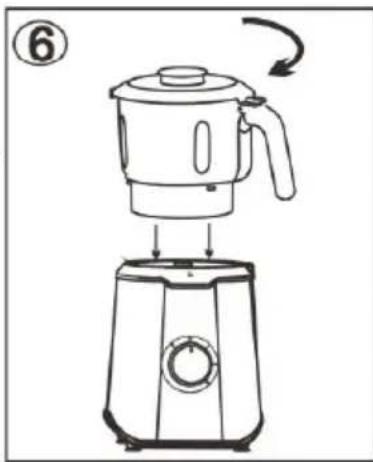
natural_image
Line drawing of a blender with a handle and lid, showing the top portion being folded or removed (no text or symbols)Mincing and Blending With Speed Knob
- Pour in the ingredients and cover the glass bowl (Fig. 1), and then place the bowl into the host (Fig. 2) and turn clockwise (Fig. 3). Lift the glass bowl to check it is locking whether or not.
- Plug in the appliance and rotate the start knob to which speed you need.
- At the end of preparation, rotate the start knob to position 0FF, unplug the appliance and wait until the blades come to a complete stop.
- Remove the glass bowl and take off the lid, then pour out the ingredients.
Mincing and Blending With function button
•Pulse function
When you press button "Pulse", you should press it continuously, when the foods are finished, please release it.
- Ice Crushing function
When you press this button, a cycle is working and all process will last foe 60s.
- Smoothie function
When you press this button, it will work with maximum power for 1min.
Baby Food
To mix or blend cooked food:
- Chop the food into small pieces, add some broth (meat or vegetables) and mix the ingredients with pulses. To blend the mixed food, rotate the start knob till you reach the desired result.
For fruit preserves:
- Chop the fruits into small pieces, add some milk, water or juice and mix the ingredients with pulses. To blend the fruits, rotate the start knob till you reach the desired result.
CAUTION: Maximum time of processing should not exceed 1 minute continuous use. In order to achieve below processing times, use the appliance with pulses and intermediate 5 seconds pauses.
CAUTION: DO NOT OPERATE THE UNIT WHEN EMPTY.
CAUTION: DO NOT PUT HOT INGREDIENTS INTO THE JAR. BEFORE FOOD PREPARATION, ALLOW FOOD TO COOL DOWN FOR A FEW MINUTES.
CAUTION: Before you eat or serve blended food, please always check for ingredients that might have not been blended adequately.
GENERAL:
For better results: please make sure that the quantity of ingredients fully covers the blade while chopping solid food.
Care and Cleaning
• Always unplug the appliance first.
- Only use a damp sponge to clean the motor unit. Never place it in water, or under running water.
TECHNICAL SPECIFICATION
Voltage: 220-240V\~ 50/60Hz
Rated Power: 1000W
Class
II

svan
- BATIDORA DE VASO
- TABLE BLENDER
- DESCRIPTION
- Important Safeguards
- Using Your Appliance
- Notes:
- Mincing and Blending
- Mincing and Blending With Speed Knob
- Mincing and Blending With function button
- •Pulse function
- - Ice Crushing function
- - Smoothie function
- Baby Food
- To mix or blend cooked food:
- For fruit preserves:
- GENERAL:
- Care and Cleaning
- TECHNICAL SPECIFICATION
- svan
Brand : SVAN
Model : SVBV0112ACC
Category : Hand blender