550-020 - Network switch Steren - Free user manual and instructions
Find the device manual for free 550-020 Steren in PDF.


| Product Type | Unmanaged Network Switch |
| Brand | Steren |
| Model | 550-020 |
| Number of Ports | 5 x 10/100 Mbps RJ-45 |
| Dimensions (W x D x H) | 120 x 70 x 25 mm |
| Weight | 150 g |
| Power Supply | External AC adapter 5V DC, 1A |
| Supported Standards | IEEE 802.3, 802.3u, 802.3x |
| Data Transfer Rate | 10/100 Mbps per port |
| Switching Capacity | 1 Gbps |
| MAC Address Table | 1K entries |
| LED Indicators | Power, Link/Activity per port |
| Enclosure Material | Plastic |
| Operating Temperature | 0°C to 40°C |
| Storage Temperature | -10°C to 70°C |
| Humidity | 10% to 90% non-condensing |
| Certifications | CE, FCC |
| Mounting | Desktop or wall-mountable (brackets not included) |
| Maintenance & Cleaning | Disconnect power before cleaning; use a dry cloth; avoid liquids |
| Safety | Keep away from water, heat sources, and ensure proper ventilation |
| Spare Parts & Repairability | No user-serviceable parts; contact Steren support for assistance |
| General Information | Plug-and-play installation; auto-MDI/MDIX; fanless for silent operation |
Frequently Asked Questions - 550-020 Steren
User questions about 550-020 Steren
0 question about this device. Answer the ones you know or ask your own.
Ask a new question about this device
Download the instructions for your Network switch in PDF format for free! Find your manual 550-020 - Steren and take your electronic device back in hand. On this page are published all the documents necessary for the use of your device. 550-020 by Steren.
USER MANUAL 550-020 Steren
Home Network FASTHOME
Systems
CUSTOM CONNECTIVITY PLATFORMS
Installation Guide
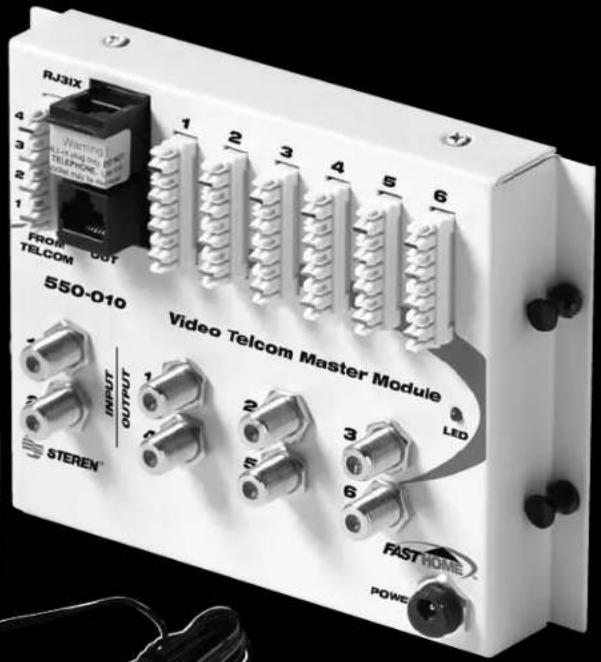
550-010
Fast Media
Telephone/TV Hub Module
6^1/2'' (W) x 4^3/4'' (H) x 1'' (D)

STEREN®
Manufactured by:
Stern Electronics International, LLC
8675 Miralani Drive, San Diego, CA 92126
1-800-266-3333
www.steren.com
FastHome™
550-010 Telephone/TV Hub Module Installation Guide
Introduction
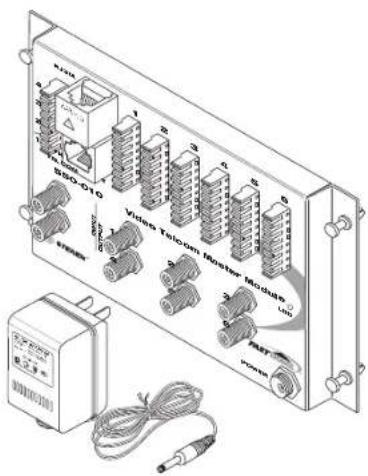
Specifications:
TV Splitter:
- Insertion Loss: 0.0dB ±1dB
- Return Loss: 10dB min.
- Isolation: 20dB min.
Telephone Hub:
• Complies with TIA/EIA 568 CAT5 Standards
About Steren Electronics
Based in San Diego, Steren has been a leading component manufacturer for nearly 50 years.
With more than 2,000 items in our catalog, we supply interconnect products and electronics accessories for home and commercial use.
The FastHome™ Series
of Fast Media Home Network Systems are produced with superior design and engineering, high-quality materials and exceptional manufacturing processes, attributes that are synonymous with the Steren name.
Welcome to the FastHome™ Series
Thank you for purchasing this product, part of the FastHome™ Series of Fast Media Home Network Systems by Steren. You have made an excellent choice for the homeowner. The FastHome™ Series of enclosures and modules provide a quality control center for the wiring of cable TV, phone/fax/modem, Ethernet, security, sound system and other voice, video, data and audio devices. Installation is easy and requires only basic tools. By following the instructions in this guide, you will ensure the proper installation of the FastHome™ module.
Product Description
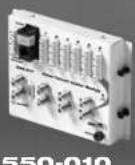
From a centralized location, the Fast Media Telephone/TV Hub Module distributes four incoming phone/fax/modem lines and also combines and distributes two incoming cable TV lines to six rooms. The module allows for the insertion of security camera feed using the RF Modulator Module (550-080) and features an RJ-31X security system connection. This module also includes a 9VDC, 300mA power supply. All FastHome™ modules feature 18-gauge cold rolled steel construction for excellent RFI shielding.
Contents of Package
- Fast Media Telephone/TV Hub Module
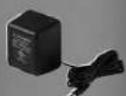
- 9VDC power supply
- Installation manual
Tools for Module Installation and Wiring
- Wire stripper
- Punchdown tool
- Personal protective equipment
Safety Instructions
Read these safety instructions before installing this module and follow them carefully. Keep these instructions handy and refer to them when working on the module.

- Always wear the necessary personal protective gear and follow all basic precautions and safety procedures when working with wires and electrical equipment, using power tools or working in unfinished construction areas.
- Use caution when handling this module. Be careful not to drop the module because this could affect the performance and/or damage the module.
•Take extra precautions when working with cables, wires and tools. Do not install cables and wires that appear to be damaged. Avoid kinking cables and wires during installation. - Be careful when using tools that might touch exposed wires or live electrical contacts.
•To prevent electric shock: 1) do not touch uninsulated wires and terminals that may still be connected to a live circuit; 2) do not install wires or electrical equipment during a lightning storm; 3) do not install wires or electrical equipment or their enclosures near water or locations where water is used (in the kitchen, bathroom, laundry room, swimming pool, etc.); 4) do not install electrical components or equipment in wet areas, unless specifically rated for moisture.
- Make sure all wires in the modules are properly connected or terminated.

STEREN®
Fast Media Home Network Systems Revised 06/04

Pre-Installation Instructions
- After the enclosure has been mounted, determine which modules will be inserted. On a sheet of paper, diagram the location where each module will be placed. An expansion module should be placed close to the module with which it interfaces.
- On the diagram, identify the origin and destination of each cable. Make sure the module serving each device is safely within a 100ft/30m distance.
Installation Instructions
Note: Do not connect the DC power supply to a power outlet until all wiring has been completed.
- Identify the enclosure location on which the module will be mounted.
- Mount the module by inserting the nylon pins into the holes in back of the enclosure and pressing the pins in. Make sure that the pins are firmly seated and the module is secure.
Wiring Instructions
Note: Module wiring should only be performed by a experienced, licensed electrician. Make sure all power has been shut off to the equipment and there is no live circuit. Route all cables through the knock-out holes and bundle with tie wraps or cable straps to ensure safe and long-lasting connections.
Telephone Hub:
- Route Category 5 phone cables from the network interface device at the phone company's demarcation point to the module.
- Using a wire stripper, strip off about 2" of the cable to expose the wires. Separate the four wire pairs.
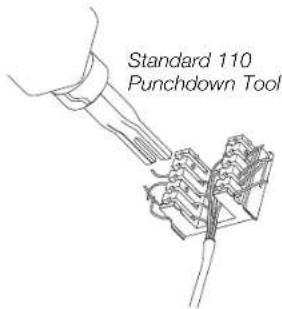
- Using a standard 110 punchdown tool, terminate the tip and ring wires at the "from telcom" side of the telephone hub. Match each wire pair with the color codes on the IDC block (white/blue: blue pair in line one; white/orange: orange pair in line two; white/green: green pair in line three; white/brown: brown pair in line four).
- Perform the stripping and punchdown function for wires at the "output" side of the telephone hub, for 1-6 locations in the home.
- Tag each cable in the module with its point of destination.
- Route the cables from the hub to the phone/fax/modem locations in the home and terminate accordingly.
- Connect the 9VDC power supply cord to the power input jack.
Security System:
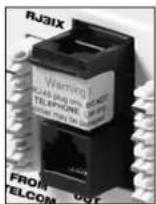
This FastHome™ module offers a connection to the security system that can override any phone in use and alert the security service provider of an emergency. To enable this function, connect the security system cable to the module's RJ-31X jack located below the expansion port. (Refer to the manual from the security system manufacturer for specific instructions and safety information.)
TV Hub:
- Connect F-terminated coaxial cable inputs from the cable TV incoming feed and, if inserting security camera feed, the Fast Media RF Modulator Module (550-080) onto the ports on the "input" side of the TV hub.
- Connect an F-terminated coaxial cable onto each of 1-6 outputs on the "output" side of the hub.
- Route the cables from the hub to the TV set locations in the home and terminate with 75-Ohm F-connectors.
- Place 75-Ohm termination caps over unused TV hub ports to improve video reception.
- Connect the 9VDC power supply cord to the power input jack.
Installation
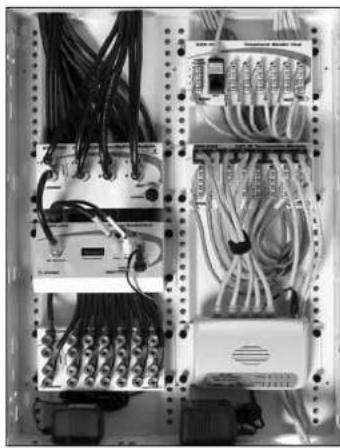
natural_image
Interior view of an electrical control cabinet with exposed wiring and modules (no visible text or labels)Sample configuration for telephone, audio/video, security and Ethernet.
For More Information about FastHome™ and Fast Media Home Network Systems, contact:
Stern Electronics International, LLC 8675 Miralani Drive San Diego, CA 92126 1-800-266-3333 www.steren.com
Copyright ©2004
Stern Electronics International, LLC
Printed in China.

STEREN®
Fast Media Home Network Systems Revised 06/04

FAST HOME
TM
CUSTOM CONNECTIVITY PLATFORMS
Fast Media Home Network Systems
For your future construction needs, consider the entire series of FastHome™ Enclosures and Modules.
FastHome™ Enclosures
From a centralized location, Fast Media Home Network Systems enclosures fully integrate, manage and distribute broadband and multimedia services on a flexible, customizable and upgradeable platform. Constructed of 18-gauge cold rolled steel for strength and protection against interference, FastHome™ enclosures mount on a wall (surface mount) or between 16" center wall studs (flush mount).
FastHome™ Modules
High-quality FastHome™ modules by Steren provide secure, reliable connections for voice, video, data and audio applications. Each module is housed in a sturdy 18-gauge cold rolled steel construction for excellent RFI shielding. The system is expandable by adding multiple modules.
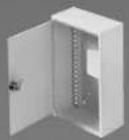
550-100
Small Surface Mount Enclosure 7(W) x 11(H) x 35/16(D)
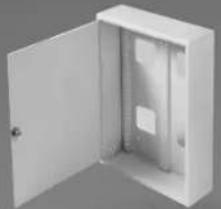
natural_image
White open electrical cabinet with internal compartments (no text or symbols visible)550-105
Large Surface Mount Enclosure 14 ^9/16 (W) x 19 ^7 (H) x 45/16 ^7 (D)
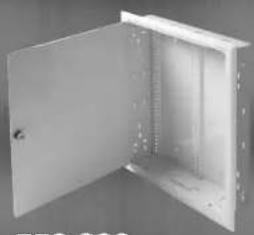
natural_image
Open white industrial cabinet or enclosure with metal grating (no visible text or symbols)550-200
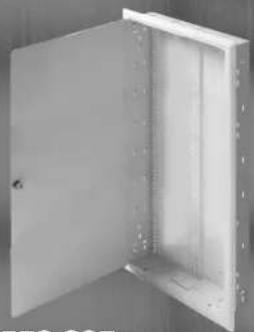
Small Flush Mount Enclosure 14 ^3 /8"(W) x 19"(H) x 31/2"(D)
natural_image
Exterior view of a metal enclosure with open door and side panels (no text or symbols visible)550-205
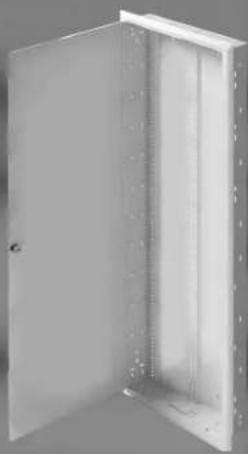
Medium Flush Mount Enclosure 14 ^3/8 (W) x 32(H) x 3 ^1/2 (D)
natural_image
Exterior view of a white metal enclosure with open door and vertical panel (no text or symbols)550-210
Large Flush Mount Enclosure 14 ^3 / 8 (W) x 44" (H) x 3 ^1 / 2 (D)
550-010
Fast Media Telephone/TV Hub Module 6 ^1/2 (W) x 4 ^3/4 (H) x 1" (D)
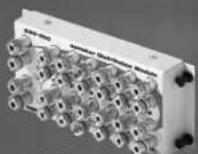
550-050
Fast Media Audio Splitter Module 6 ^1/2 (W) x 2 ^7/8 (H) x 1 ^7 (D)
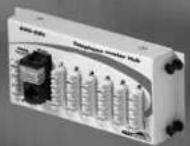
550-020
Fast Media Telephone Hub Module 6 ^1/2 (W) x 2 ^7/8 (H) x 1"(D)
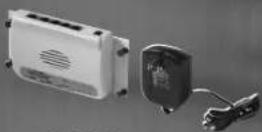
550-060
Fast Media Ethernet Switch Module 6 ^1/2 (W) x 2 ^3/4 (H) x 1 ^7 (D)
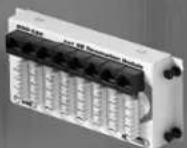
550-030
Fast Media Data Hub Module 6 ^1/2 (W) x 2 ^7/8 (H) x 1"(D)
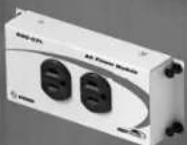
550-070
Fast Media Power Module 6 ^1/2 (W) x 2 ^5/8 (H) x 1 ^7 (D)
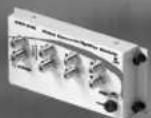
550-040
Fast Media TV Combiner/Splitter Module 6 1/2"(W) x 27/8"(H) x 1"(D)
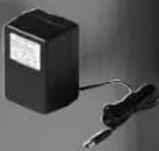
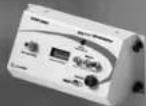
550-080
Fast Media RF Modulator Module 6 ^1/2 (W) x 3" (H) x 2 ^3/8 (D)

STEREN®
Manufactured by:
Stern Electronics International, LLC
8675 Miralani Drive, San Diego, CA 92126
1-800-266-3333
www.steren.com
Made in China
- Home Network FASTHOME
- Systems
- Installation Guide
- FastHome™
- 550-010 Telephone/TV Hub Module Installation Guide
- Introduction
- Specifications:
- TV Splitter:
- Telephone Hub:
- About Steren Electronics
- The FastHome™ Series
- Welcome to the FastHome™ Series
- Product Description
- Contents of Package
- Tools for Module Installation and Wiring
- Safety Instructions
- Pre-Installation Instructions
- Installation Instructions
- Wiring Instructions
- Security System:
- TV Hub:
- Installation
- FAST HOME
- Fast Media Home Network Systems
- FastHome™ Enclosures
- FastHome™ Modules
Brand : Steren
Model : 550-020
Category : Network switch