XM Direct2 - Computer Accessories AUDIOVOX - Free user manual and instructions
Find the device manual for free XM Direct2 AUDIOVOX in PDF.

User questions about XM Direct2 AUDIOVOX
0 question about this device. Answer the ones you know or ask your own.
Ask a new question about this device
Download the instructions for your Computer Accessories in PDF format for free! Find your manual XM Direct2 - AUDIOVOX and take your electronic device back in hand. On this page are published all the documents necessary for the use of your device. XM Direct2 by AUDIOVOX.
USER MANUAL XM Direct2 AUDIOVOX
natural_image
Abstract blue geometric logo with white angular and diagonal lines (no text or symbols)AUDIOVOX®
ELECTRONICS CORP.
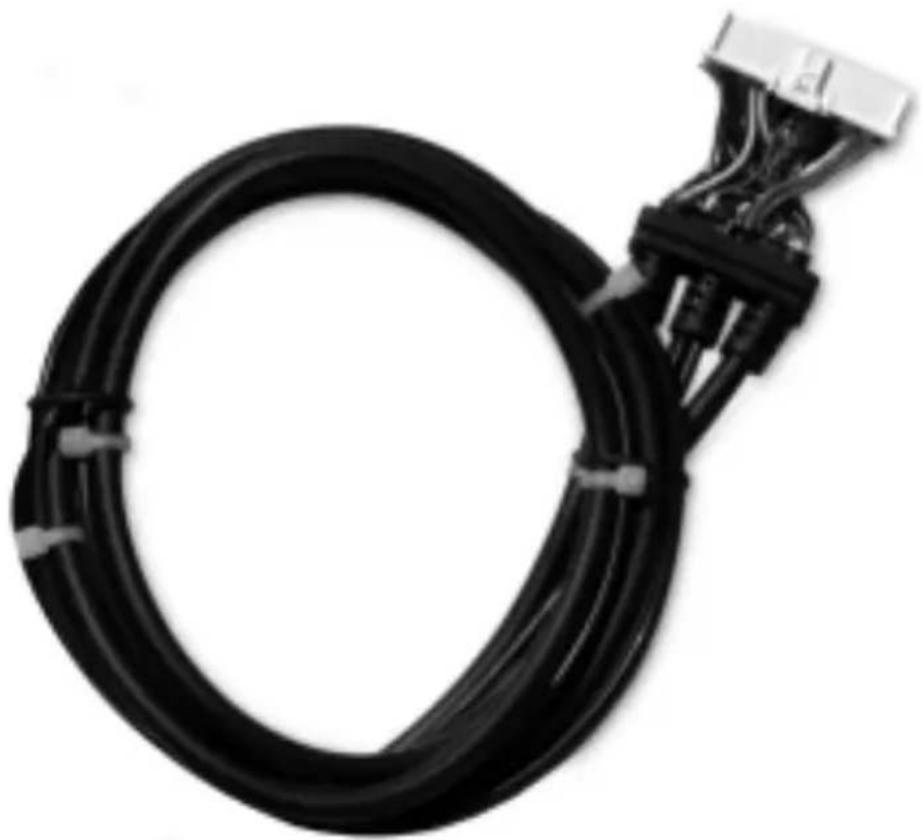
Interface CableInterface Cab
natural_image
Black cable with connectors and connectors attached to a connector (no visible text or symbols)Installation Guideln
Installation Installation
Step 1:
Remove the head unit from your dashboard.
Important: Depending on how your head unit was installed you may have to remove part or all of your dash board before the head unit can be pulled out. You may also have to remove screws to complete this step.
Note: Before proceeding, make sure that the PIA Adapter has been programmed. Refer to the PIA Installation Manual. Professional installation is recommended.
Step 2:
Connect the 34-pin cable connector to the Programmable Interface Adapter (PIA) mating connector as shown in Figure 1. Slide the rubber strain relief onto the PIA case. Attach the Car Dock USB connector into the USB receptacle on the PIA. Make sure the connectors are secure, and slide the top cover onto the bottom housing. (Refer to Figure 2.)

text_image
Mini-Tuner and Car Dock Antenna Yellow and black wire are optional based on model. Mating Connector Connector To Head Unit Pass-Through Connector Left/Right Audio Cable Yellow Wire, 12V Battery Ground Wire Fuse Note: Make sure all cables are securely connected.Figure 1. PIA Cable Interface
Installation (Continued) Installation (Continued)
Step 3:
Connect the end of the cable with the right angle DIN connector and audio cables to the back of the head unit as shown in Figure 2. The shorter end of the cable coming from the PIA is a pass-through cable that can be used to connect other products to your head unit, i.e., CD changer.

text_image
head unit, i.e., CD changer. Left/ Right Audio Cables (Model Specific) Connector Figure 2. Typical Head Unit. Rear ViewFigure 2. Typical Head Unit, Rear View
Note: The location of the connections on the head unit may vary depending on the model.
Step 4:
Start your car and turn on your head unit to confirm that the XM Direct system is properly connected. Please refer to your stereo owners manual on how to access XM mode. When you tune to XM channel 1, you should see “XM Preview” on your head unit LCD, and hear that channel through your car speakers. If not, check to make sure all connections are correct or refer to the troubleshooting section of this installation guide.
Step 5:
Mount and secure the interface cable in a suitable location that will not interfere with the radio and will not vibrate or rattle after installation.
Installation (Continued) Installation (Continued)
Step 6:
Return the head unit to its original location in the dashboard.
CAUTION: Ensure the cables are not kinked or get disconnected when installing the head unit.
Note: If you had removed screws to pull the car stereo head unit out, please reinstall the screws.

text_image
the screws. Figure 3. SmartDigital/AdaptiveFigure 3. Smart Digital Adapter
Installation (Continued) Installation (Continued)
Step 7:
If you had removed the dash board during installation please return it back to its original location. (See Figure 4.)

text_image
Car Mounting Bracket (Alternate Position) Car Mounting Bracket Docking Station and Mini-TunerFigure 4. Typical Dashboard Installation
Completing Activation:
Now that your XM Direct system has been installed your XM Universal Tuner will need to be activated. Tune your car stereo head unit to the XM Preview Channel, channel 1 and follow instructions for activation. You can also go on-line at www.xmradio.com in the U.S. (www.xmradio.ca in Canada) or call the toll free XM activation number at 1-800-852-9696 in the U.S. (1-877-438-9677 in Canada).
Please refer to the XM Radio Operation section of your owners manual.
TroubleshootingTroubleshooting
ANTENNA:
The XM antenna is not connected to the XM tuner.
- Check whether the XM antenna cable is attached securely.
UPDATING:
Radio is being updated with latest encryption code.
- Wait until encryption code has updated. Channels 0 and 1 should function normally.
NO SIGNAL:
XM signal is too weak or blocked at the current location.
- Wait until the car reaches a location with a stronger signal
or
- Wait until the car is in an area that has a clear view of the open sky.
LOADING:
Radio is acquiring audio or program information.
- Wait until the radio has received the information.
OFFAIR:
The channel currently selected has stopped broadcasting.
- Select another channel.
"----" or "----"
The user has selected a Channel Number that does not exist or is not subscribed to.
- The unit will revert back to the previously selected channel.
or
There is no artist name/feature, song/program title, or additional information associated with the channel at that time.
- No action needed.

text_image
AUDIOVOX® ELECTRONICS CORP.12 MONTH LIMITED WARRANTY
Interface Adapter Cable
AUDIOVOX ELECTRONICS CORPORATION (the Company) warrants to the original retail purchaser of this product that should under normal use and conditions, be proven defective in material or workmanship within 12 months from the date of original purchase, such defect(s) will be repaired or replaced with new or reconditioned product (at the Company's option) without charge for parts and repair labor.
To obtain repair or replacement within the terms of this Warranty, the product is to be delivered with proof of warranty coverage (e.g. dated bill of sale), specification of defect(s), transportation prepaid, to an approved warranty station or the Company at the address shown below.
This Warranty does not extend to the elimination of externally generated static or noise, to costs incurred for installation, removal or reinstallation of the product, or to damage to speakers, accessories or electrical systems. Warranty does not apply to malfunction of satellite transmissions, repeater signals or audio systems or to damage caused by poor installation of the interface adapter cable.
This Warranty does not apply to any product in the opinion of the Company that has been damaged through alteration, improper installation, mishandling, misuse, neglect, accident, or by removal or defacement of the factory serial number/bar code label(s). THE EXTENT OF THE COMPANY'S LIABILITY UNDER THIS WARRANTY IS LIMITED TO THE REPAIR OR REPLACEMENT PROVIDED ABOVE AND, IN NO EVENT, SHALL THE COMPANY'S LIABILITY EXCEED THE PURCHASE PRICE PAID BY PURCHASER FOR THE PRODUCT.
This Warranty is in lieu of all other express warranties or liabilities. ANY IMPLIED WARRANTIES, INCLUDING ANY IMPLIED WARRANTY OF MERCHANTABILITY, SHALL BE LIMITED TO THE DURATION OF THIS WRITTEN WARRANTY. ANY ACTION FOR BREACH OF ANY WARRANTY HEREUNDER MUST BE BROUGHT WITHIN 24 MONTHS FROM DATE OF ORIGINAL PURCHASE. IN NO CASE SHALL THE COMPANY BE LIABLE FOR ANY CONSEQUENTIAL OR INCIDENTAL DAMAGES FOR BREACH OF THIS OR ANY
OTHER WARRANTY. No person or representative is authorized to assume for the Company any liability other than expressed herein in connection with the sale of this product.
Some states do not allow limitations on how long an implied warranty lasts or the exclusion or limitation of incidental or consequential damage so the above limitations or exclusions may not apply to you. This Warranty gives you specific legal rights and you may also have other rights which vary from state to state.
AUDIOVOX ELECTRONICS CORPORATION, 150 MARCUS BLVD., HAUPPAUGE, NEW YORK 11788 • 1-800-645-4994
For additional information: call 1-800-645-4994 or visit www.audiovox.com.
For more information about XM Satellite Radio service, visit www.xmradio.com or call 1-800-852-9636.
The XM name and related logos are trademarks of XM Satellite Radio Inc.
128-7984A