
PCSB1725C - Ignition Quoizel - Free user manual and instructions
Find the device manual for free PCSB1725C Quoizel in PDF.


| Brand | Quoizel |
| Model | PCSB1725C |
| Product Type | Light Fixture (Allumage Category) |
| Bulb Type | G9 Xenon |
| Maximum Wattage per Bulb | 40W |
| Number of Bulbs Required | 6 |
| Bulbs Included | No |
| Mounting Type | Hardwired |
| Mounting Hardware Included | Yes (Mounting bracket, lock screws, outlet box screws, wire connectors) |
| Voltage | 120V (Standard) |
| Installation Requirements | Turn off power at circuit breaker before installation |
| Safety Warning | Consult licensed electrician if in doubt; allow bulbs to cool before replacing |
| Cleaning Instructions | Ensure power is off and bulbs are cool before cleaning; use soft dry cloth |
| Compatible Bulb Shapes | G9 wedge base bulbs |
| Wiring Type | Standard household wiring (hot, neutral, ground) |
| Certifications | UL Listed (assumed) |
| Warranty | Limited lifetime warranty (typical for Quoizel) |
| Package Contents | Fixture body, mounting bracket, lock screws, outlet box screws, wire connectors, (shades and bulbs not included) |
| Dimmer Compatibility | Check with bulb manufacturer; may require dimmable bulbs |
| Indoor/Outdoor Use | Indoor Use Only (assumed) |
Frequently Asked Questions - PCSB1725C Quoizel
User questions about PCSB1725C Quoizel
0 question about this device. Answer the ones you know or ask your own.
Ask a new question about this device
Download the instructions for your Ignition in PDF format for free! Find your manual PCSB1725C - Quoizel and take your electronic device back in hand. On this page are published all the documents necessary for the use of your device. PCSB1725C by Quoizel.
USER MANUAL PCSB1725C Quoizel
natural_image
Two types of pliers shown side by side: one with handle, the other with wire (no text or symbols)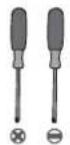


LightSourceTools
40W MAX

BULB SHAPE
TYPE G9 XENON
6BULBSREQUIRED
BULBSNOTINCLUDED
required
⚠️ Warnings and Cautions
Turn off the electricity at the circuit breaker before installation. Consult a licensed electrician if in doubt about installation.
Turn off power to the fixture and allow the bulbs to cool before replacing.
Package Contents
Preparation: Identify and inspect all parts before beginning the installation.
Missing or damaged parts? Contact your original place of purchase.
PARTS BAG


Mounting Bracket x 1

B Lock Screw x2


Outlet Box Screw x 2


Wire Connector
x 3
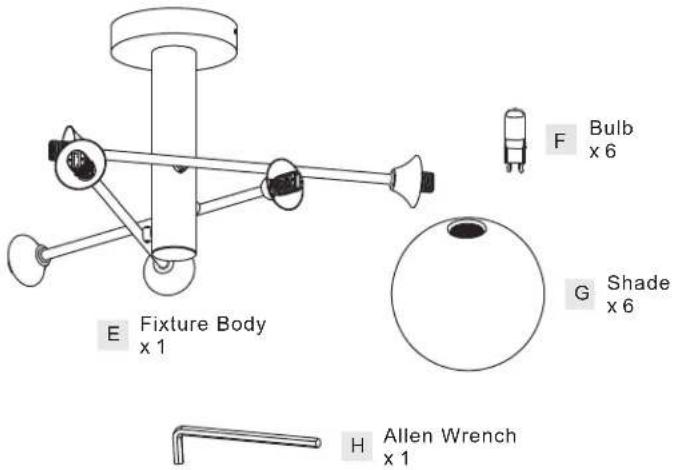
Table of Contents
Mounting Bracket

STEP 1 STE
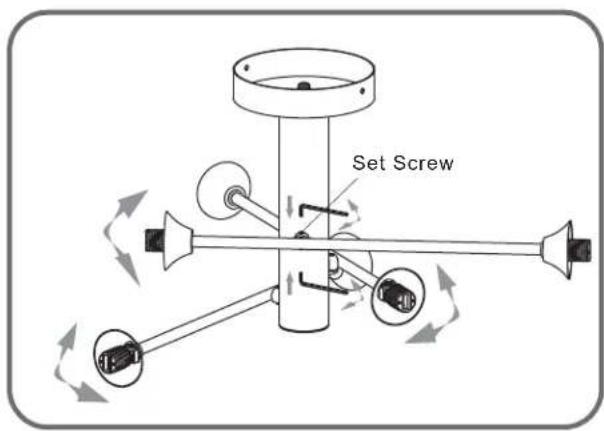
Level Arm

4 STEP 2
Wiring

STEP 3
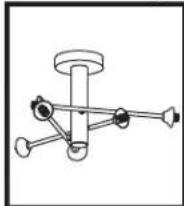
Fixture Body
Bulb & Shade

STEP 5
STEP 1

STEP 2 (Optional)
STEP 3
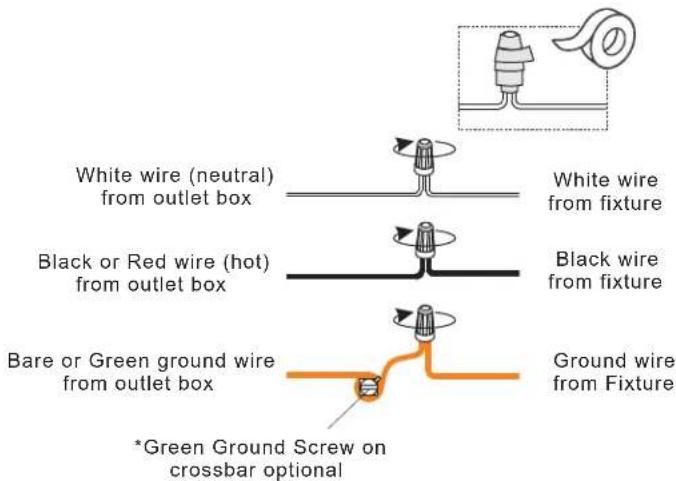
STEP 4

natural_image
Mechanical assembly diagram showing a valve mechanism before and after assembly, with no visible text or symbols.STEP 5

flowchart
graph TD
    A["Eye Input"] --> B["Annotated Eye"]
    B --> C["Annotated Eye with Lens"]
    C --> D["Annotated Eye with Lens"]
    D --> E["Final Product with Molecule Structure"]
    E --> F["Hand icon: thumbs up"]

Brand : Quoizel
Model : PCSB1725C
Category : Ignition